
Indoor Pepper Growing: Unleash the fiery flavors of summer, right in your own home! Imagine plucking a vibrant, sun-ripened pepper from a plant thriving on your windowsill, even in the dead of winter. Sounds like a dream, right? Well, it doesn’t have to be! This article is your ultimate guide to transforming your living space into a miniature pepper paradise.
For centuries, peppers have been cherished across cultures, from their origins in South America where they were used in ancient rituals and culinary delights, to their global spread thanks to explorers and traders. Today, we’re bringing that rich history and vibrant flavor indoors! But why bother with indoor pepper growing when you can just buy them at the store? Because nothing beats the taste of homegrown, and because it’s incredibly rewarding to nurture a plant from seed to harvest. Plus, it’s a fantastic way to add a touch of green to your home and purify the air.
Let’s face it, not everyone has a sprawling backyard perfect for a traditional garden. Apartment dwellers, city folk, and those with limited outdoor space often miss out on the joy of gardening. But fear not! With a few simple tricks and DIY hacks, you can successfully cultivate a thriving pepper garden indoors. I’m going to share my secrets to choosing the right varieties, providing optimal light and nutrients, and troubleshooting common problems. Get ready to spice up your life, one pepper plant at a time!
Growing Peppers Indoors: A Spicy DIY Adventure!
Hey there, fellow gardening enthusiasts! Ever dreamt of having fresh, vibrant peppers right at your fingertips, even when the weather outside is frightful? Well, dream no more! I’m here to guide you through the exciting journey of growing peppers indoors. It’s easier than you might think, and the rewards are oh-so-delicious. Let’s get started!
What You’ll Need: The Pepper Powerhouse Toolkit
Before we dive into the nitty-gritty, let’s gather our supplies. Think of this as assembling your pepper-growing dream team!
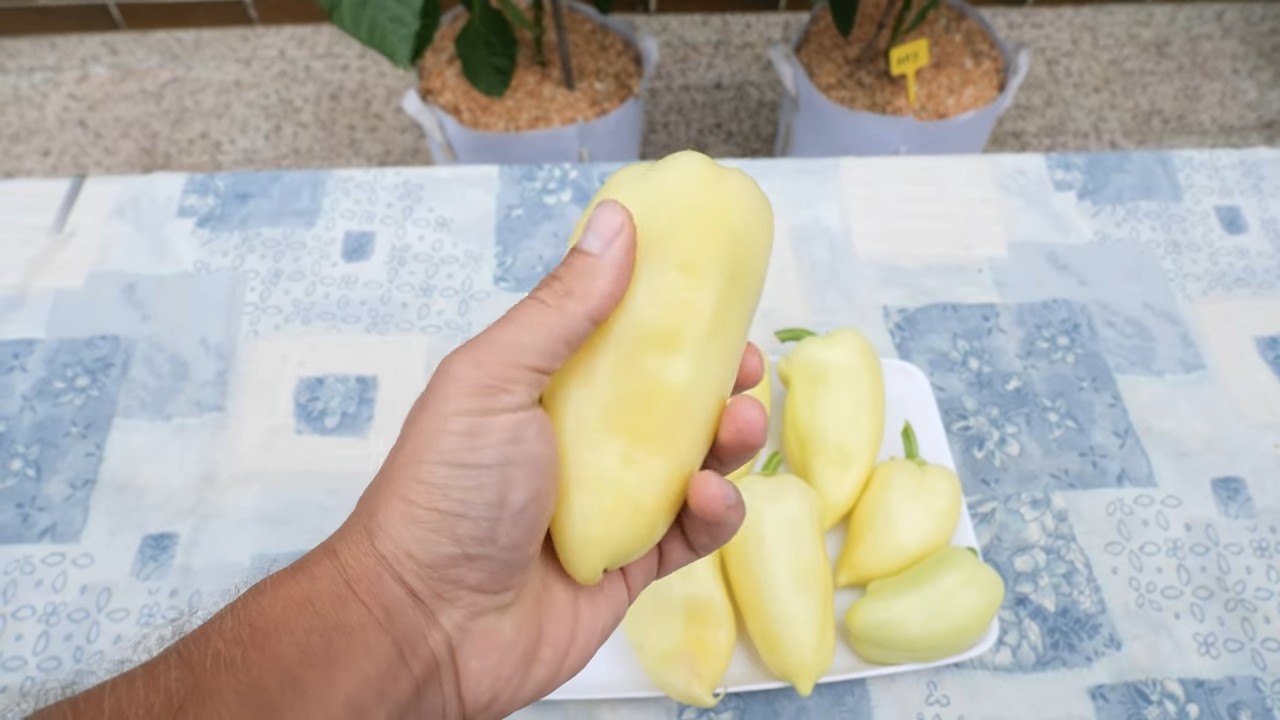
* Pepper Seeds: Choose your pepper varieties wisely! Consider your space and taste preferences. Bell peppers, jalapeños, habaneros – the possibilities are endless! I personally love starting with a mix of sweet and spicy.
* Seed Starting Trays or Small Pots: These will be your pepper seedlings’ first homes.
* Seed Starting Mix: This is crucial! Regular potting soil is often too dense for delicate seedlings. Seed starting mix is light and airy, providing the perfect environment for germination.
* Potting Soil: Once your seedlings are ready for bigger digs, you’ll need a good quality potting soil.
* Grow Lights: Peppers need lots of light, especially indoors. Invest in a good set of grow lights to ensure healthy growth and abundant fruiting. Fluorescent or LED grow lights work well.
* Pots (Larger): Choose pots that are at least 8-12 inches in diameter for most pepper varieties. Larger varieties might need even bigger pots.
* Watering Can or Spray Bottle: Gentle watering is key, especially for young seedlings.
* Fertilizer: A balanced fertilizer formulated for vegetables will provide your peppers with the nutrients they need to thrive.
* Spray Bottle (for Pest Control): Keep a spray bottle handy for misting your plants and for applying organic pest control solutions if needed.
* Small Fan: Good air circulation is important to prevent fungal diseases. A small fan can work wonders.
* Optional: Heat Mat: Pepper seeds germinate best in warm conditions. A heat mat can speed up the germination process.
* Optional: Plant Labels: Trust me, you’ll want to label your different pepper varieties!
Phase 1: Seed Starting – The Genesis of Your Peppers
This is where the magic begins! We’re going to coax those tiny seeds into becoming vibrant pepper plants.
1. Prepare Your Seed Starting Trays: Fill your seed starting trays or small pots with seed starting mix. Gently pat it down to remove any large air pockets.
2. Sow the Seeds: Make a small indentation (about ¼ inch deep) in the soil. Place 2-3 seeds in each indentation. This increases your chances of at least one seed germinating.
3. Cover and Water: Gently cover the seeds with more seed starting mix. Water thoroughly using a spray bottle or a watering can with a gentle nozzle. The soil should be moist but not soggy.
4. Provide Warmth and Light: Place your seed starting trays on a heat mat (if using) and under your grow lights. Keep the lights on for 14-16 hours per day.
5. Maintain Moisture: Keep the soil consistently moist. Check it daily and water as needed.
6. Wait Patiently: Germination typically takes 7-14 days, but it can vary depending on the pepper variety and temperature.
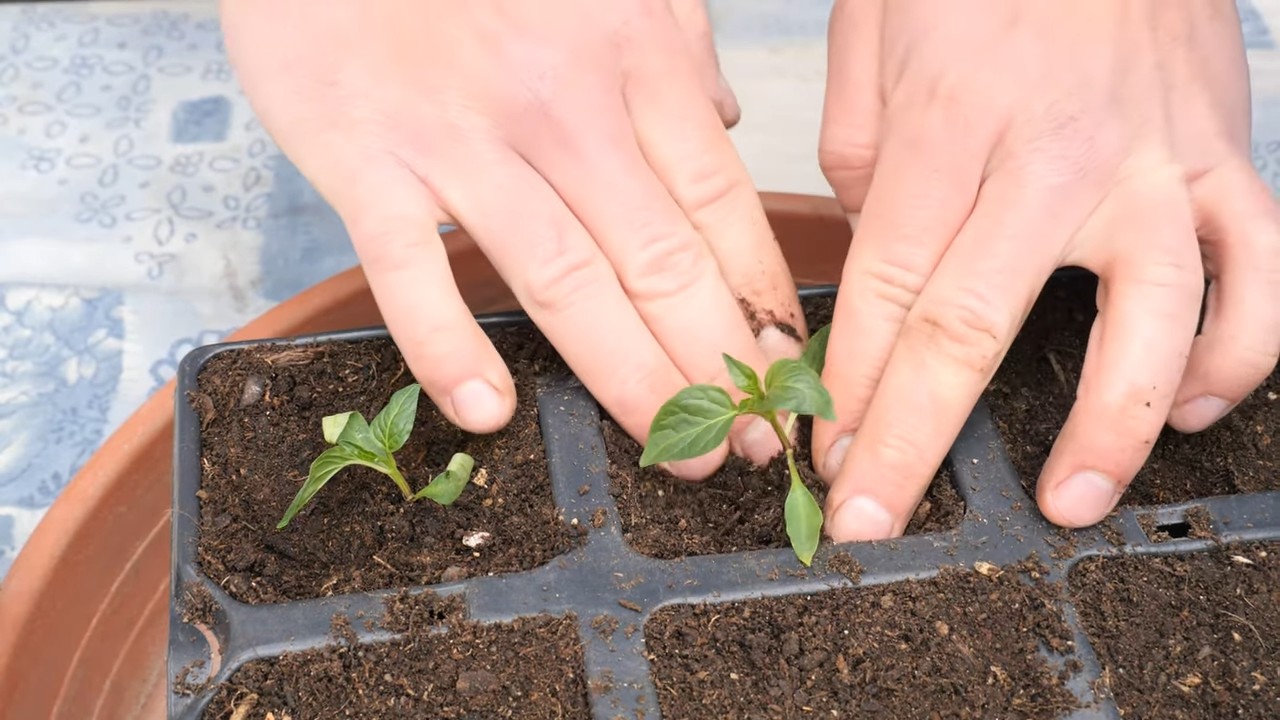
7. Thin the Seedlings: Once the seedlings emerge and have their first true leaves (the second set of leaves), thin them out, leaving only the strongest seedling in each cell or pot. Snip off the weaker seedlings at the soil line with scissors to avoid disturbing the roots of the remaining seedling.
Phase 2: Transplanting – Moving to Bigger and Better Things
Once your seedlings have grown a bit and developed a strong root system, it’s time to move them to their permanent homes.
1. Choose the Right Time: Transplant when your seedlings are about 4-6 inches tall and have several sets of true leaves.
2. Prepare Your Pots: Fill your larger pots with potting soil, leaving about an inch of space at the top.
3. Gently Remove the Seedlings: Carefully remove the seedlings from their seed starting trays or small pots. Be gentle to avoid damaging the roots. You can use a small trowel or spoon to help loosen the soil around the roots.
4. Plant the Seedlings: Make a hole in the potting soil large enough to accommodate the root ball. Place the seedling in the hole and gently backfill with soil.
5. Water Thoroughly: Water the newly transplanted seedlings thoroughly.
6. Provide Support (Optional): For taller pepper varieties, you may want to provide support with stakes or cages. This will help prevent the plants from toppling over as they grow and produce fruit.
Phase 3: Ongoing Care – Nurturing Your Pepper Plants
Now that your peppers are settled in, it’s time to provide them with the care they need to thrive.
1. Light: Peppers need at least 6-8 hours of direct light per day. If you’re growing them indoors, use grow lights to supplement natural light. Position the lights about 6-12 inches above the plants.
2. Watering: Water your pepper plants regularly, keeping the soil consistently moist but not soggy. Allow the top inch of soil to dry out between waterings. Overwatering can lead to root rot.
3. Fertilizing: Feed your pepper plants with a balanced fertilizer every 2-3 weeks. Follow the instructions on the fertilizer package. You can also use organic fertilizers like compost tea or fish emulsion.
4. Temperature: Peppers prefer temperatures between 70-80°F (21-27°C) during the day and 60-70°F (15-21°C) at night.
5. Humidity: Peppers prefer moderate humidity levels. If the air in your home is dry, you can increase humidity by using a humidifier or by placing a tray of water near your plants.
6. Air Circulation: Good air circulation is important to prevent fungal diseases. Use a small fan to circulate air around your plants.
7. Pollination: Peppers are self-pollinating, but indoor plants may need a little help. You can hand-pollinate your peppers by gently shaking the plants or by using a small paintbrush to transfer pollen from one flower to another.
8. Pruning: Pruning can help improve air circulation and encourage bushier growth. Remove any yellowing or dead leaves. You can also pinch off the tips of the branches to encourage branching.
9. Pest Control: Keep an eye out for pests like aphids, spider mites, and whiteflies. If you find any pests, you can treat them with insecticidal soap or neem oil.
10. Harvesting: Peppers are typically ready to harvest when they reach their mature size and color. Use scissors or pruning shears to cut the peppers from the plant.
Troubleshooting: Common Pepper Problems and Solutions
Even with the best care, you might encounter a few challenges along the way. Here are some common pepper problems and how to fix them:
* Yellowing Leaves: This can be caused by overwatering, underwatering, nutrient deficiencies, or pests. Check the soil moisture and adjust your watering accordingly. Fertilize your plants with a balanced fertilizer. Inspect your plants for pests and treat them as needed.
* Blossom Drop: This is when the pepper flowers fall off the plant without producing fruit. It can be caused by temperature stress, lack of pollination, or nutrient deficiencies. Maintain consistent temperatures and hand-pollinate your plants if needed. Fertilize your plants with a fertilizer that is high in phosphorus.
* Stunted Growth: This can be caused by lack of light, nutrient deficiencies, or pests. Provide your plants with adequate light and fertilize them regularly. Inspect your plants for pests and treat them as needed.
* Root Rot: This is caused by overwatering. Allow the soil to dry out between waterings. Make sure your pots have good drainage.
* Pests: Aphids, spider mites, and whiteflies are common pests that can attack pepper plants. Treat them with insecticidal soap or neem oil.
Choosing the Right Pepper Varieties for Indoor Growing
Not all pepper varieties are created equal when it comes to indoor growing. Some varieties are more compact and better suited for container gardening. Here are a few of my favorites:
* Bell Peppers (Dwarf Varieties): Look for dwarf or compact bell pepper varieties like ‘Mini Bell’ or ‘Patio Bell’.
* Jalapeños: Jalapeños are relatively easy to grow indoors and produce a good yield.
* Habaneros: Habaneros can be grown indoors, but they require a lot of light and warmth.
* Thai Peppers
Conclusion
So, there you have it! Mastering indoor pepper growing is not only achievable, but it’s also incredibly rewarding. Imagine the satisfaction of plucking fresh, vibrant peppers from your own indoor garden, adding a burst of flavor and color to your meals year-round. This DIY approach empowers you to control every aspect of your pepper’s environment, from the quality of the soil to the intensity of the light, ensuring a bountiful harvest even when the weather outside is frightful.
This isn’t just about saving money; it’s about connecting with your food, understanding its journey from seed to table, and experiencing the simple joy of nurturing life. Plus, think of the bragging rights! You’ll be the envy of all your friends and neighbors with your thriving indoor pepper patch.
But the best part? This is just the beginning. Once you’ve mastered the basics, the possibilities are endless. Experiment with different varieties of peppers, from the mildest bell peppers to the fiery habaneros. Try different growing mediums, like hydroponics or aquaponics, for an even more sustainable and efficient approach. You can even explore different lighting options, such as LED grow lights, to optimize your pepper’s growth and yield.
Consider these variations to spice up your indoor pepper growing journey:
* Vertical Gardening: If space is limited, try growing your peppers in a vertical garden. This is a great way to maximize your growing area and add a touch of greenery to your home.
* Companion Planting: Plant basil or marigolds alongside your peppers to deter pests and attract beneficial insects. This is a natural and effective way to protect your plants.
* Pepper Jelly: Once you’ve harvested your peppers, use them to make homemade pepper jelly. This is a delicious and unique way to preserve your harvest and enjoy the flavors of summer all year long.
* Hot Sauce Creation: For the adventurous, experiment with creating your own signature hot sauce blends using your homegrown peppers. The possibilities are endless!
Don’t be afraid to experiment and find what works best for you and your peppers. The key is to be patient, observant, and willing to learn. Remember, every pepper plant is unique, and what works for one may not work for another.
We urge you to give this DIY indoor pepper growing trick a try. It’s easier than you think, and the rewards are well worth the effort. Take the plunge, get your hands dirty, and experience the joy of growing your own peppers indoors.
And most importantly, we want to hear about your experience! Share your successes, your challenges, and your tips with us in the comments below. Let’s create a community of indoor pepper growers who can learn from each other and inspire others to embark on this rewarding journey. What varieties are you growing? What challenges have you faced? What tips do you have for other beginners? Your insights could be invaluable to someone just starting out. So, don’t be shy – share your story and let’s grow together!
Frequently Asked Questions (FAQ)
What are the best pepper varieties to grow indoors?
Choosing the right pepper variety is crucial for successful indoor pepper growing. Compact varieties that don’t require excessive space are generally the best choice. Some excellent options include:
* Bell Peppers: These are a classic choice and come in a variety of colors. Look for compact varieties like ‘Mini Bell’ or ‘Patio Bell’.
* Jalapeños: These are relatively easy to grow indoors and produce a good yield. ‘Early Jalapeño’ is a popular choice.
* Serrano Peppers: These are hotter than jalapeños and also do well indoors.
* Thai Peppers: These are small, prolific peppers that are perfect for adding a kick to your cooking.
* Sweet Banana Peppers: These mild peppers are great for pickling or eating fresh.
Consider the size of your growing space and your personal preferences when choosing your pepper varieties. Research the specific needs of each variety to ensure optimal growth.
How much light do indoor pepper plants need?
Light is essential for indoor pepper growing. Peppers need at least 6-8 hours of direct sunlight per day. If you don’t have a sunny window, you’ll need to supplement with artificial light. LED grow lights are a great option because they are energy-efficient and provide the full spectrum of light that peppers need. Position the lights a few inches above the plants and adjust as they grow. Insufficient light can lead to leggy growth and reduced fruit production.
What type of soil is best for indoor pepper plants?
The right soil is crucial for healthy indoor pepper growing. Use a well-draining potting mix that is specifically formulated for vegetables. Avoid using garden soil, as it can be too heavy and may contain pests or diseases. A good potting mix will provide adequate drainage and aeration, which are essential for healthy root growth. You can also amend your potting mix with compost or perlite to improve drainage and fertility.
How often should I water my indoor pepper plants?
Watering frequency depends on several factors, including the size of the pot, the type of soil, and the temperature and humidity of your home. Generally, you should water your pepper plants when the top inch of soil feels dry to the touch. Avoid overwatering, as this can lead to root rot. When you water, water deeply until the water drains out of the bottom of the pot.
How do I fertilize my indoor pepper plants?
Fertilizing is important for providing your pepper plants with the nutrients they need to thrive. Use a balanced fertilizer that is specifically formulated for vegetables. Follow the instructions on the fertilizer label carefully. Fertilize your plants every 2-3 weeks during the growing season. You can also use organic fertilizers, such as compost tea or fish emulsion.
How do I pollinate my indoor pepper plants?
Peppers are self-pollinating, but they may need a little help indoors. You can hand-pollinate your plants by gently shaking the flowers or using a small paintbrush to transfer pollen from one flower to another. This is especially important if you don’t have a lot of air circulation in your home.
How do I deal with pests and diseases on my indoor pepper plants?
Pests and diseases can be a problem for indoor pepper growing, but there are several things you can do to prevent them. Inspect your plants regularly for signs of pests or diseases. If you find any, treat them promptly with an appropriate insecticide or fungicide. You can also use natural pest control methods, such as neem oil or insecticidal soap. Good air circulation and proper watering can also help prevent pests and diseases.
How long does it take to grow peppers indoors?
The time it takes to grow peppers indoors depends on the variety and growing conditions. Generally, it takes about 60-90 days from transplanting seedlings to harvesting peppers. Be patient and provide your plants with the care they need, and you’ll be rewarded with a bountiful harvest.
Can I grow peppers indoors year-round?
Yes, you can absolutely enjoy indoor pepper growing year-round! With the right lighting and care, you can have a continuous supply of fresh peppers, regardless of the season. This is one of the biggest advantages of growing peppers indoors.
What are some common problems with indoor pepper growing and how can I fix them?
Some common problems include:
* Leggy growth: This is usually caused by insufficient light. Provide more light or move your plants to a sunnier location.
* Yellowing leaves: This can be caused by overwatering, underwatering, or nutrient deficiencies. Adjust your watering schedule and fertilize your plants as needed.
* Blossom drop: This is when the flowers fall off the plant without producing fruit. It can be caused by temperature fluctuations, insufficient light, or poor pollination. Provide stable temperatures, adequate light, and hand-pollinate your plants if necessary.
* Pests and diseases: Inspect your plants regularly and treat any problems promptly.
By addressing these common problems, you can ensure a successful and rewarding indoor pepper growing experience.


Leave a Comment