
DIY Vegetable Tower: Imagine stepping outside your back door and harvesting fresh, organic vegetables from a vibrant, vertical garden. Sounds like a dream, right? Well, it doesn’t have to be! This article is your ultimate guide to building your very own DIY vegetable tower, a space-saving, visually stunning, and incredibly rewarding project.
Vertical gardening, while seemingly modern, has roots stretching back centuries. Think of the Hanging Gardens of Babylon, one of the Seven Wonders of the Ancient World! While we might not be building anything quite so grand, the principle remains the same: maximizing space and bringing nature closer to home. For centuries, cultures around the globe have ingeniously utilized vertical structures to cultivate food and flowers, especially in urban environments or areas with limited arable land.
In today’s world, where space is often a premium and the desire for fresh, healthy food is growing, a DIY vegetable tower is more relevant than ever. I know I’ve always wanted a garden, but my small balcony felt too limiting. That’s where the magic of vertical gardening comes in! It’s perfect for apartment dwellers, homeowners with small yards, or anyone who wants to add a touch of green to their lives. Plus, it’s a fantastic way to reduce your carbon footprint by growing your own food and reducing trips to the grocery store. Ready to learn how to create your own thriving DIY vegetable tower? Let’s get started!
Building Your Own Amazing DIY Vegetable Tower
Hey there, fellow gardening enthusiasts! I’m so excited to share this project with you – building your very own vegetable tower! It’s a fantastic way to maximize your growing space, especially if you’re short on yard space or just want a cool, vertical garden feature. Plus, it’s a really rewarding project that you can customize to fit your needs and style. Let’s get started!
What You’ll Need
Before we dive in, let’s gather all the materials. This will make the whole process smoother and less frustrating. Trust me, nothing’s worse than realizing you’re missing a crucial piece halfway through!
* Two sizes of plastic pots: You’ll need one large pot (around 24-30 inches in diameter) for the base and several smaller pots (6-8 inches in diameter) for the tower itself. The number of smaller pots depends on how tall you want your tower to be. I usually aim for around 8-10 smaller pots. Make sure they are all plastic to reduce the weight.
* Potting soil: Get a good quality potting mix that drains well. This is crucial for healthy plant growth.
* Landscape fabric or burlap: This will help prevent soil from washing out of the holes we’ll be cutting in the smaller pots.
* Measuring tape: For accurate measurements when cutting holes.
* Marker or pen: To mark the cutting lines on the pots.
* Utility knife or sharp scissors: For cutting the holes in the smaller pots. Be careful!
* Gloves: To protect your hands.
* Watering can or hose: For watering your plants.
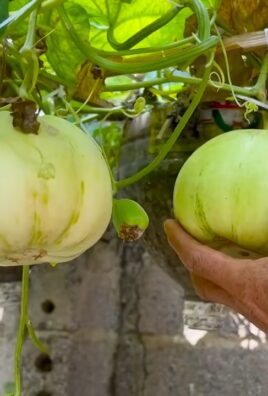
* Your favorite vegetable seedlings or seeds: Think strawberries, herbs, lettuce, spinach, or even small tomato varieties.
* Gravel or small rocks: For drainage in the base pot.
* Optional: Decorative stones or mulch to add a finishing touch.
Preparing the Smaller Pots
This is where the magic happens! We’ll be transforming these ordinary pots into the building blocks of our vegetable tower.
1. Mark the Cutting Lines: On each of the smaller pots, we need to cut a hole large enough to slide the pot over the center support (which will be the large base pot). The size of the hole will depend on the diameter of your base pot. Use your measuring tape to measure the diameter of the top of your base pot. Then, add about an inch or two to that measurement to allow for some wiggle room. Divide that number by two to get the radius. Use your marker to draw a circle with that radius in the center of the bottom of each smaller pot.
2. Cut the Holes: Carefully use your utility knife or sharp scissors to cut out the circles you marked. Go slowly and be extra cautious to avoid accidents. I like to score the plastic first and then gradually deepen the cut.
3. Line with Landscape Fabric or Burlap: Cut pieces of landscape fabric or burlap slightly larger than the holes you just cut. Use glue or even just tuck the fabric into the hole to line the inside of the hole. This will help prevent soil from leaking out when you water your plants.
Building the Tower
Now for the fun part – assembling our vegetable tower!
1. Prepare the Base Pot: Place the large pot in the location where you want your vegetable tower to live. Add a layer of gravel or small rocks to the bottom of the pot for drainage. This will prevent the roots of your plants from sitting in water, which can lead to root rot.
2. Add Soil to the Base Pot: Fill the base pot with potting soil, leaving a few inches of space at the top.
3. Position the First Smaller Pot: Carefully slide the first smaller pot over the top of the base pot, so it rests on the soil inside the base pot. Make sure the hole you cut is centered over the base pot.
4. Add Soil to the First Smaller Pot: Fill the first smaller pot with potting soil, leaving a few inches of space at the top.
5. Repeat the Process: Continue adding the smaller pots, one on top of the other, filling each with potting soil as you go. As you stack the pots, you can slightly offset them to create a more visually appealing tower. I like to rotate each pot a little bit so that the holes are not all lined up. This also helps to create more planting pockets.
6. Secure the Tower (Optional): If you’re worried about the tower tipping over, especially in windy areas, you can use stakes to secure it. Drive stakes into the ground around the base pot and then tie the tower to the stakes with twine or rope.
Planting Your Vegetables
Time to bring your vegetable tower to life with some greenery!
1. Choose Your Plants: Select vegetables that are well-suited for container gardening and that won’t grow too large. Strawberries, herbs like basil and thyme, lettuce, spinach, and small tomato varieties are all great choices.
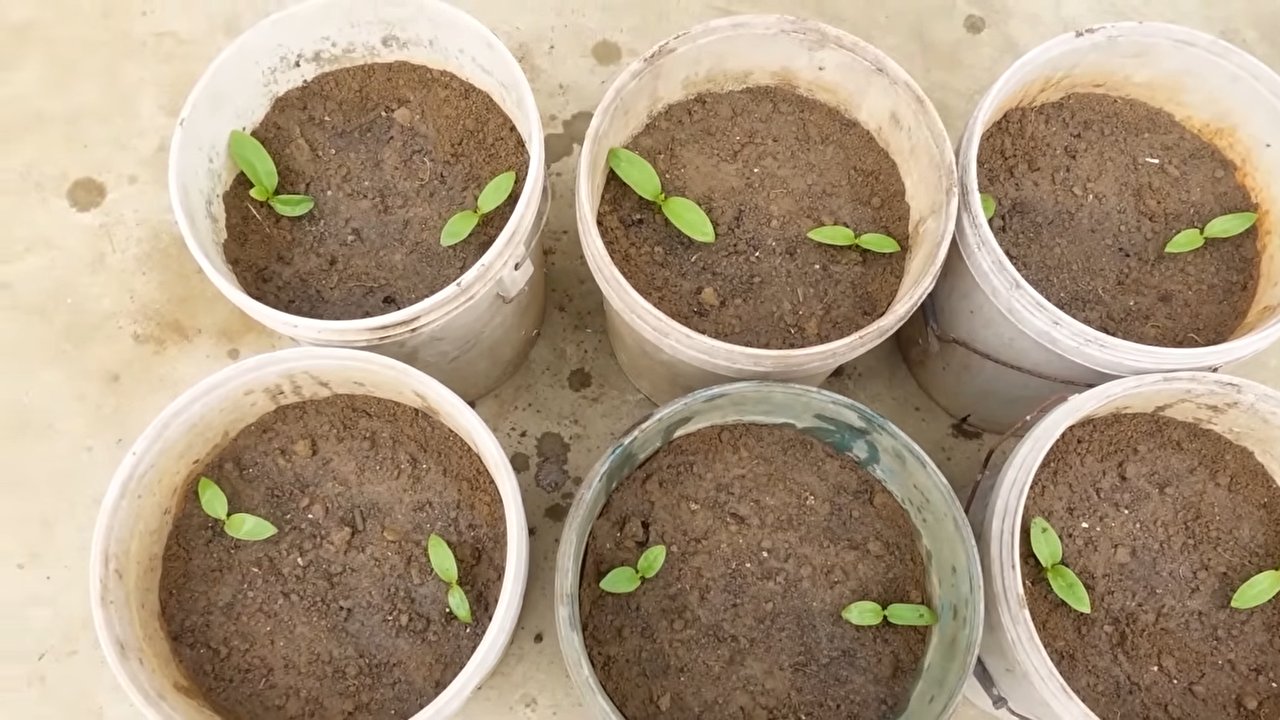
2. Plant Your Seedlings or Seeds: Gently remove your seedlings from their containers and plant them in the soil in the smaller pots. If you’re using seeds, follow the instructions on the seed packet for planting depth and spacing.
3. Water Thoroughly: Water your plants thoroughly after planting. Make sure the water drains out of the bottom of the base pot.
4. Add Decorative Touches (Optional): You can add decorative stones or mulch around the base of the tower to add a finishing touch and help retain moisture in the soil.
Caring for Your Vegetable Tower
Now that your vegetable tower is built and planted, it’s important to provide proper care to ensure your plants thrive.
* Watering: Water your plants regularly, especially during hot, dry weather. Check the soil moisture by sticking your finger into the soil. If the soil feels dry to the touch, it’s time to water. Water deeply, until the water drains out of the bottom of the base pot.
* Fertilizing: Feed your plants with a balanced fertilizer every few weeks. Follow the instructions on the fertilizer package for application rates.
* Sunlight: Make sure your vegetable tower is located in a spot that receives at least 6 hours of sunlight per day.
* Pest Control: Keep an eye out for pests and diseases. If you notice any problems, take action immediately to prevent them from spreading. You can use organic pest control methods, such as insecticidal soap or neem oil.
* Pruning: Prune your plants regularly to encourage bushier growth and remove any dead or diseased leaves.
* Harvesting: Harvest your vegetables as they ripen. Regular harvesting will encourage the plants to produce more.
Troubleshooting
Even with the best planning, sometimes things don’t go exactly as expected. Here are a few common issues you might encounter and how to address them:
* Soil Leaking: If you notice soil leaking out of the holes in the smaller pots, you may need to add more landscape fabric or burlap. You can also try using a thicker potting mix.
* Tower Tipping: If your tower is tipping over, make sure the base pot is stable and that you’ve secured the tower with stakes if necessary. You can also try adding more weight to the base pot by placing rocks or bricks inside.
* Plants Not Growing: If your plants aren’t growing well, it could be due to a number of factors, such as lack of sunlight, poor soil, or insufficient watering. Make sure your plants are getting enough sunlight, water, and nutrients. You may also need to amend the soil with compost or other organic matter.
* Pests and Diseases: If you’re dealing with pests or diseases, identify the problem and take appropriate action. There are many organic pest control methods available, such as insecticidal soap, neem oil, and beneficial insects.
Customization Ideas
One of the best things about this project is that you can customize it to fit your own style and needs. Here are a few ideas to get you started:
* Paint the Pots: Add a splash of color to your vegetable tower by painting the pots. Use outdoor paint that is designed to withstand the elements.
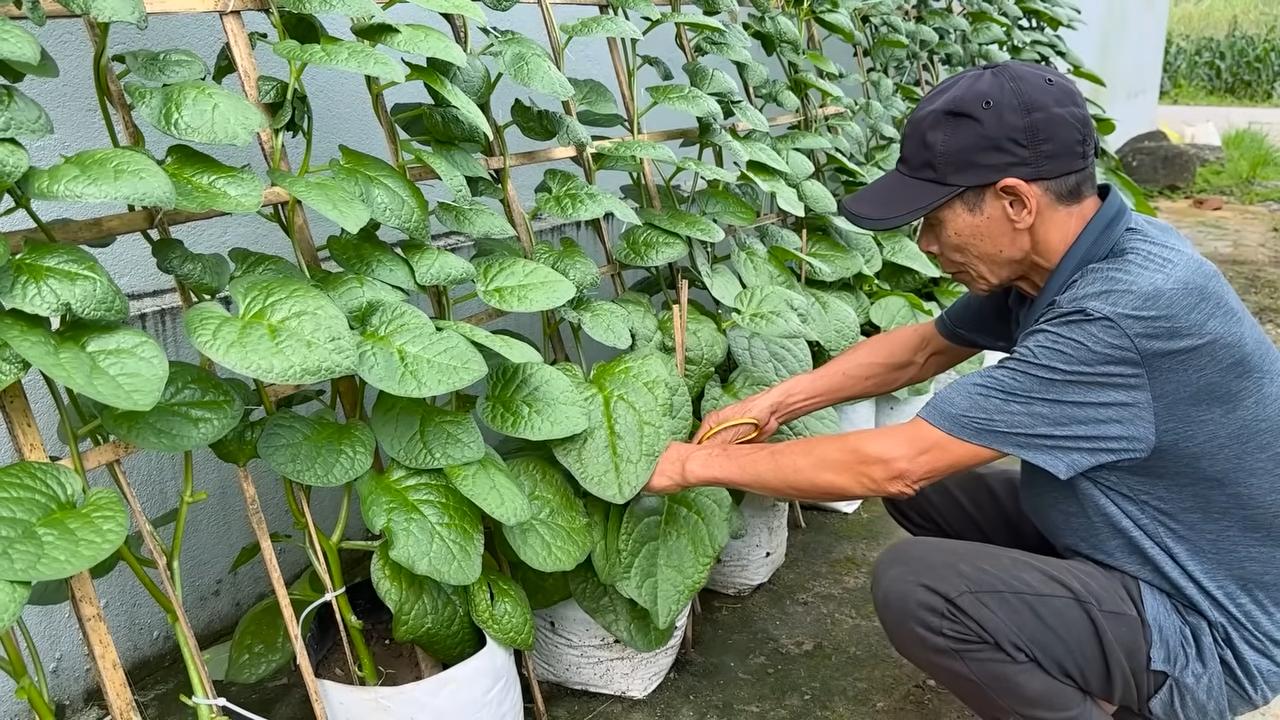
* Add Trellises: You can add small trellises to the smaller pots to support climbing plants like cucumbers or beans.
* Use Different Types of Pots: Experiment with different shapes and sizes of pots to create a unique and interesting tower.
* Incorporate Succulents: Add some succulents to your vegetable tower for a low-maintenance and drought-tolerant option.
* Add Lighting: String lights around the tower to create a beautiful and inviting space at night.
Choosing the Right Plants
Selecting the right plants is crucial for a successful vegetable tower. Here’s a breakdown of some excellent choices:
* Herbs: Herbs are fantastic for vertical gardening. Think basil, thyme, oregano, mint (plant mint in its own container as it can be invasive), rosemary, and ch
Conclusion
So, there you have it! Building your own DIY vegetable tower isn’t just a fun weekend project; it’s a gateway to a more sustainable, space-saving, and ultimately rewarding gardening experience. We’ve walked you through the steps, highlighted the benefits, and hopefully, inspired you to take the plunge.
Why is this DIY trick a must-try? Because it addresses so many common gardening challenges. Limited space? No problem! A vegetable tower allows you to grow a surprising amount of produce in a small footprint, perfect for balconies, patios, or even small yards. Soil quality concerns? You have complete control over the growing medium in your tower, ensuring your plants get the nutrients they need. Pest problems? Elevated towers can deter some ground-dwelling pests, giving your veggies a fighting chance. And let’s not forget the sheer satisfaction of harvesting fresh, homegrown vegetables from a structure you built yourself!
But the beauty of this project lies in its adaptability. Feel free to experiment with different materials. While we suggested using plastic containers, you could repurpose old tires, wooden pallets (ensure they are untreated and food-safe!), or even terracotta pots. Consider the size and shape of your tower based on the vegetables you plan to grow. Taller towers are great for vining plants like tomatoes and cucumbers, while shorter, wider towers are better suited for leafy greens and herbs.
Don’t be afraid to get creative with the planting arrangement. Companion planting can be particularly effective in a vegetable tower. For example, planting basil near tomatoes can help deter pests and improve the flavor of the tomatoes. Marigolds are another excellent companion plant, known for their pest-repelling properties. Think about the sun exposure your tower will receive and choose plants accordingly. Leafy greens can tolerate partial shade, while fruiting vegetables like tomatoes and peppers need at least six hours of sunlight per day.
Consider adding a simple irrigation system to your tower. A drip irrigation system can deliver water directly to the roots of your plants, conserving water and preventing fungal diseases. You can easily create a DIY drip irrigation system using soaker hoses or repurposed plastic bottles.
The possibilities are truly endless! The key is to have fun, experiment, and learn as you go. Gardening is a journey, not a destination, and your DIY vegetable tower is just the beginning.
We wholeheartedly encourage you to try building your own DIY vegetable tower. It’s a rewarding project that will bring you fresh, delicious vegetables and a sense of accomplishment. And most importantly, we want to hear about your experience! Share your photos, tips, and challenges in the comments below. Let’s build a community of DIY vegetable tower enthusiasts and learn from each other. What worked for you? What didn’t? What creative adaptations did you make? Your insights could help others succeed in their gardening endeavors. So, get building, get planting, and get sharing! Let’s grow together!
Frequently Asked Questions (FAQ)
What are the best vegetables to grow in a DIY vegetable tower?
The best vegetables for your tower depend on your climate, sunlight exposure, and personal preferences. However, some popular and successful choices include:
* **Leafy Greens:** Lettuce, spinach, kale, and arugula thrive in towers and are relatively easy to grow.
* **Herbs:** Basil, mint, oregano, thyme, and rosemary are all excellent choices for towers. They add flavor to your meals and can also help deter pests.
* **Strawberries:** These sweet berries are perfect for cascading down the sides of your tower.
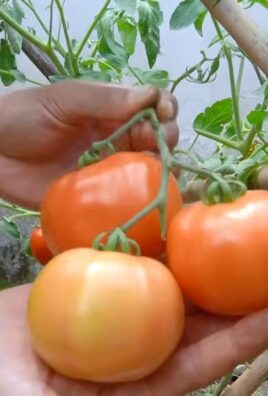
* **Tomatoes:** Choose determinate or bush varieties for easier management in a tower. Cherry tomatoes are particularly well-suited.
* **Peppers:** Bell peppers, chili peppers, and other pepper varieties can be grown successfully in towers.
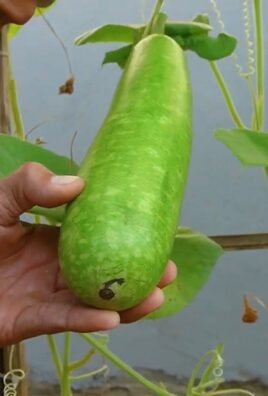
* **Cucumbers:** Vining cucumbers can be trained to climb up the tower structure.
* **Radishes:** These fast-growing root vegetables are a great option for filling in gaps in your tower.
Avoid growing large, sprawling plants like pumpkins or watermelons in a tower, as they require too much space and support.
How do I water my DIY vegetable tower?
Watering is crucial for the success of your vegetable tower. The frequency of watering will depend on the weather, the type of plants you’re growing, and the material of your tower. Generally, you’ll need to water more frequently in hot, sunny weather.
Here are some tips for watering your tower:
* **Water deeply:** Water until the water drains out of the bottom of the tower. This ensures that the roots are thoroughly saturated.
* **Water in the morning:** Watering in the morning allows the foliage to dry out during the day, reducing the risk of fungal diseases.
* **Use a watering can or hose with a gentle spray nozzle:** Avoid using a strong jet of water, as this can damage the plants and erode the soil.
* **Consider a drip irrigation system:** As mentioned earlier, a drip irrigation system can be a very efficient way to water your tower.
* **Check the soil moisture:** Before watering, stick your finger into the soil to check the moisture level. If the soil feels dry to the touch, it’s time to water.
What type of soil should I use in my DIY vegetable tower?
The ideal soil for your vegetable tower is a well-draining, nutrient-rich potting mix. Avoid using garden soil, as it can be too heavy and compacted for container gardening.
Here’s a recipe for a good potting mix:
* 1 part peat moss or coco coir
* 1 part perlite or vermiculite
* 1 part compost
You can also add slow-release fertilizer to the potting mix to provide your plants with a steady supply of nutrients.
How do I fertilize my DIY vegetable tower?
Vegetables grown in towers need regular fertilization to thrive. You can use a liquid fertilizer, a slow-release fertilizer, or a combination of both.
* **Liquid fertilizer:** Apply a liquid fertilizer every 2-4 weeks, following the instructions on the label. Choose a fertilizer that is specifically formulated for vegetables.
* **Slow-release fertilizer:** Incorporate a slow-release fertilizer into the potting mix at planting time. This will provide your plants with a steady supply of nutrients for several months.
* **Compost tea:** Compost tea is a great organic fertilizer that can be used to boost the growth of your plants.
How do I protect my DIY vegetable tower from pests and diseases?
Pests and diseases can be a challenge for any gardener, but there are several things you can do to protect your vegetable tower:
* **Choose disease-resistant varieties:** When selecting your plants, look for varieties that are known to be resistant to common diseases.
* **Practice good sanitation:** Remove any dead or diseased leaves from your plants. Keep the area around your tower clean and free of debris.
* **Use organic pest control methods:** If you encounter pests, try using organic pest control methods such as insecticidal soap, neem oil, or diatomaceous earth.
* **Companion planting:** As mentioned earlier, companion planting can help deter pests and attract beneficial insects.
* **Monitor your plants regularly:** Check your plants regularly for signs of pests or diseases. The earlier you catch a problem, the easier it will be to treat.
How much sunlight does my DIY vegetable tower need?
Most vegetables need at least six hours of sunlight per day to thrive. However, some leafy greens can tolerate partial shade. Place your tower in a location that receives plenty of sunlight. If you don’t have a sunny spot, you can supplement with grow lights.
Can I move my DIY vegetable tower?
The movability of your tower depends on its size and construction. Smaller, lighter towers can be moved relatively easily. However, larger, heavier towers may be difficult to move, especially when they are full of soil and plants. Consider the weight and size of your tower when choosing its location. If you think you might need to move it in the future, consider using a tower with wheels or casters.
How long will my DIY vegetable tower last?
The lifespan of your tower depends on the materials you use and how well you maintain it. Towers made from durable materials like plastic or wood can last for several years. To extend the lifespan of your tower, clean it regularly, protect it from the elements, and repair any damage promptly.
Leave a Comment