
Baseboard cleaning doesn’t have to be a chore you dread! Let’s be honest, we often overlook those humble baseboards, but they silently collect dust, grime, and pet hair, impacting the overall cleanliness and even the air quality of our homes. Imagine walking into a room and being greeted not just by visual cleanliness, but by a subtle, refreshing aroma – that’s the power of this DIY trick!
Historically, keeping homes clean has been a sign of prosperity and well-being across cultures. While our ancestors might not have had the same cleaning products we do today, the desire for a fresh and inviting living space is timeless. This simple DIY hack builds on that tradition, offering a modern, eco-friendly, and delightfully fragrant approach to baseboard cleaning.
I’m going to show you how to not only effectively clean your baseboards, but also infuse your home with an amazing smell that will linger long after you’ve finished. This isn’t just about aesthetics; it’s about creating a healthier and more pleasant environment for you and your loved ones. Who wouldn’t want to ditch the harsh chemicals and embrace a natural, aromatic cleaning solution? Get ready to transform your baseboard cleaning routine from a tedious task into a sensory experience!
DIY Scented Baseboard Cleaning: A Home Fragrance Hack!
Hey everyone! I’m so excited to share this super simple, yet incredibly effective DIY hack with you. We’re going to transform your regular baseboard cleaning routine into an aromatherapy session that leaves your entire home smelling amazing! Forget those harsh chemical smells; we’re going natural and fragrant.
Why Scented Baseboard Cleaning?
You might be thinking, “Why bother scenting baseboard cleaner?” Well, let me tell you, it’s a game-changer! Baseboards are often overlooked, but they collect dust, dirt, and even pet hair. Cleaning them is essential for a clean home, but adding a scent boost takes it to the next level. As the cleaner evaporates, it releases a subtle, pleasant fragrance that permeates the room. Plus, using natural essential oils can have added benefits like mood boosting and air purification!
What You’ll Need: The Supplies List
Before we dive in, let’s gather our supplies. This is a pretty straightforward project, so you probably have most of these items already.
* **Spray Bottle:** A clean, empty spray bottle is essential for applying the cleaning solution.
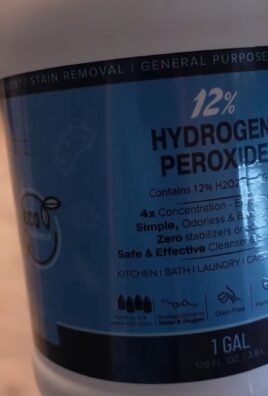
* **White Vinegar:** This is our main cleaning agent. Vinegar is a natural disinfectant and deodorizer.
* **Water:** To dilute the vinegar and make it less harsh on your baseboards.
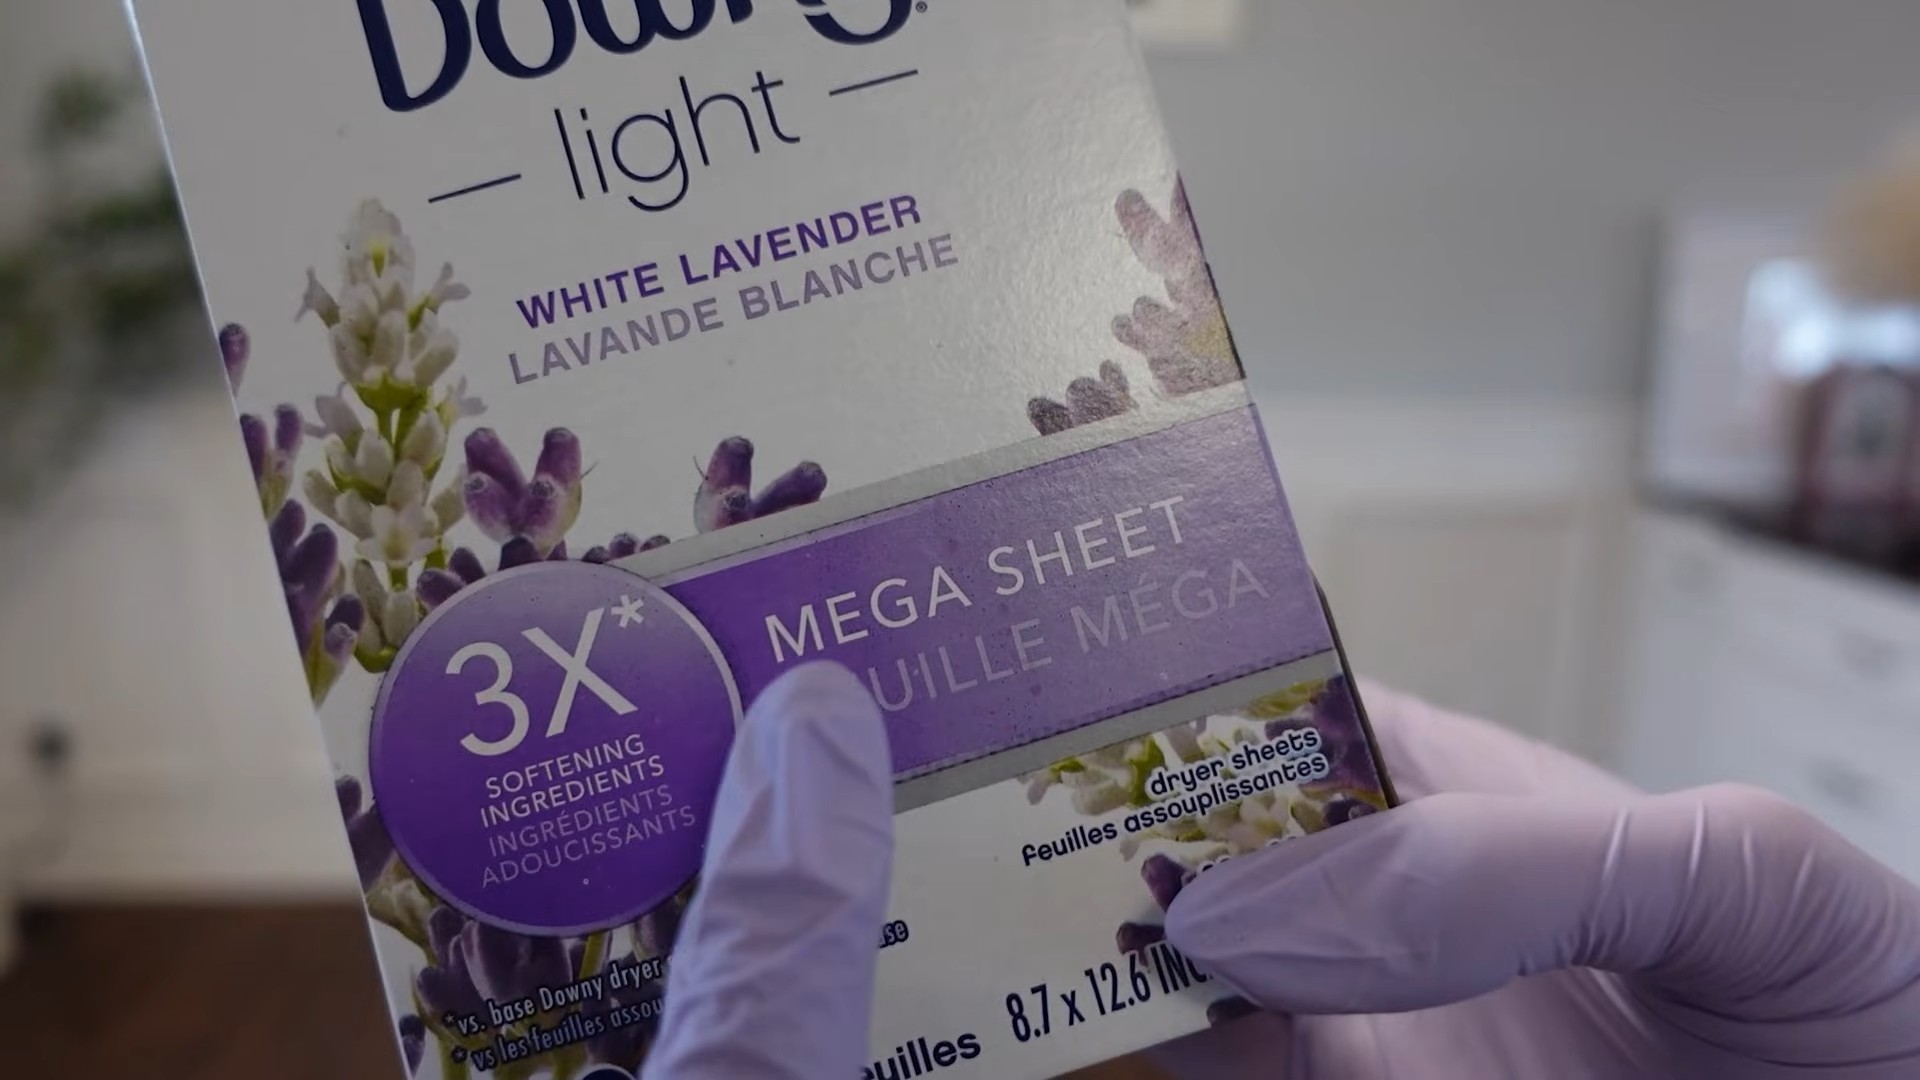
* **Essential Oils:** This is where the magic happens! Choose your favorite scents. I personally love lavender, lemon, eucalyptus, or a blend of orange and clove.
* **Microfiber Cloths:** These are perfect for wiping down the baseboards without leaving streaks or lint.
* **Bucket (Optional):** If you prefer to use a mop or sponge, you’ll need a bucket.
* **Old Toothbrush (Optional):** For tackling stubborn dirt or grime in corners and crevices.
* **Gloves (Optional):** If you have sensitive skin, gloves are always a good idea.
The Recipe: Mixing Your Scented Cleaning Solution
Now for the fun part: creating our fragrant cleaning solution! This recipe is easy to adjust based on your preferences.
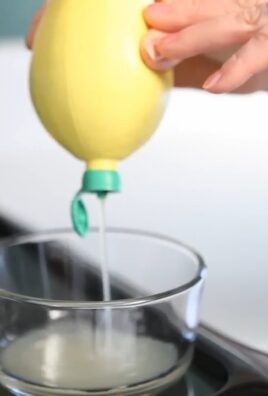
1. **Combine Vinegar and Water:** In your spray bottle, mix equal parts white vinegar and water. I usually do 1 cup of each, but you can adjust the amount depending on the size of your spray bottle.
2. **Add Essential Oils:** This is where you get to customize the scent! Start with 10-15 drops of your chosen essential oil(s). You can always add more if you want a stronger scent. Remember to consider the properties of the oils you choose. Lavender is calming, lemon is energizing, and eucalyptus is great for clearing sinuses.
3. Shake Well: Secure the lid on your spray bottle and shake vigorously to combine all the ingredients. This ensures the essential oils are properly dispersed throughout the solution.
Cleaning Time! Step-by-Step Guide
Alright, let’s get those baseboards sparkling clean and smelling divine!
1. **Prepare the Area:** Before you start spraying, take a quick look at your baseboards. If there’s a lot of loose dust or debris, give them a quick once-over with a dry microfiber cloth or a vacuum cleaner with a brush attachment. This will prevent you from just spreading the dirt around.
2. **Spray the Solution:** Lightly spray the cleaning solution onto a section of your baseboard. Don’t saturate it; a light mist is all you need.
3. **Wipe Clean:** Immediately wipe the sprayed area with a clean microfiber cloth. Use a gentle back-and-forth motion to remove dirt and grime.
4. **Tackle Stubborn Spots:** If you encounter any stubborn spots or grime, let the solution sit for a minute or two before wiping. For really tough areas, use an old toothbrush to gently scrub the dirt away.
5. **Dry (Optional):** In most cases, the solution will evaporate quickly. However, if you live in a humid climate or you’ve used a lot of solution, you can dry the baseboards with a clean, dry microfiber cloth.
6. **Repeat:** Continue spraying and wiping in sections until you’ve cleaned all the baseboards in the room.
7. Enjoy the Aroma: As the solution evaporates, it will release a wonderful fragrance, leaving your home smelling fresh and clean!
Dealing with Different Types of Baseboards
Not all baseboards are created equal! Here’s how to adjust your cleaning method based on the type of baseboard you have.
* **Painted Baseboards:** These are the most common type and are generally easy to clean. Just be sure to use a gentle touch and avoid abrasive cleaners that could damage the paint.
* **Wood Baseboards:** Wood baseboards can be a bit more delicate. Avoid using too much water, as it can damage the wood. You might also want to test the solution on an inconspicuous area first to make sure it doesn’t stain or discolor the wood.
* **Tile Baseboards:** Tile baseboards are very durable and can withstand more aggressive cleaning. However, be careful not to scratch the tile with abrasive cleaners or scrub brushes.
* **Vinyl Baseboards:** Vinyl baseboards are easy to clean and resistant to water damage. You can use the same cleaning solution as you would for painted baseboards.
Troubleshooting Tips
Even with the best instructions, sometimes things don’t go exactly as planned. Here are a few troubleshooting tips to help you out.
* **Streaky Baseboards:** If you’re noticing streaks after cleaning, it could be due to using too much solution or not using a clean microfiber cloth. Try using less solution and switching to a clean cloth more frequently.
* **Lingering Vinegar Smell:** The vinegar smell should dissipate quickly. If it’s lingering, try opening a window to ventilate the room. You can also add a few extra drops of essential oil to the solution.
* **Solution Not Cleaning Effectively:** If the solution isn’t cleaning effectively, it could be that your baseboards are heavily soiled. Try pre-cleaning them with a dry cloth or vacuum cleaner before using the solution. You can also increase the concentration of vinegar in the solution.
* **Essential Oil Sensitivity:** If you’re sensitive to essential oils, start with a very small amount and gradually increase it until you reach your desired scent level. You can also choose milder essential oils like lavender or chamomile.
Essential Oil Blends: My Favorite Combinations
Want to get creative with your scents? Here are a few of my favorite essential oil blends for cleaning:
* **The Energizer:** Lemon and Peppermint. This blend is uplifting and invigorating, perfect for a morning cleaning session.
* **The Relaxer:** Lavender and Chamomile. This blend is calming and soothing, ideal for cleaning before bedtime.
* **The Air Purifier:** Eucalyptus and Tea Tree. This blend is great for clearing sinuses and purifying the air.
* **The Festive Blend:** Orange and Clove. This blend is warm and inviting, perfect for the holidays.
* The Fresh Start: Grapefruit and Rosemary. This blend is crisp and clean, ideal for a spring cleaning session.
Safety First!
While this DIY cleaning solution is natural and generally safe, it’s still important to take a few precautions.
* **Keep Out of Reach of Children and Pets:** Store the cleaning solution in a safe place where children and pets cannot access it.
* **Avoid Contact with Eyes:** If the solution gets in your eyes, rinse immediately with plenty of water.
* **Test on an Inconspicuous Area:** Before cleaning your entire baseboard, test the solution on a small, inconspicuous area to make sure it doesn’t damage or discolor the surface.
* **Ventilate the Room:** When cleaning, open a window to ventilate the room and prevent the buildup of fumes.
Beyond Baseboards: Other Uses for Your Scented Solution
The beauty of this DIY cleaning solution is that it’s versatile! You can use it to clean other surfaces in your home, such as:
* **Countertops:** Wipe down your kitchen and bathroom countertops with the solution for a fresh, clean scent.
* **Doorknobs and Light Switches:** Disinfect these high-touch areas with the solution to kill germs and bacteria.
* **Bathroom Fixtures:** Clean your sinks, toilets, and showers with the solution to remove soap scum and grime.
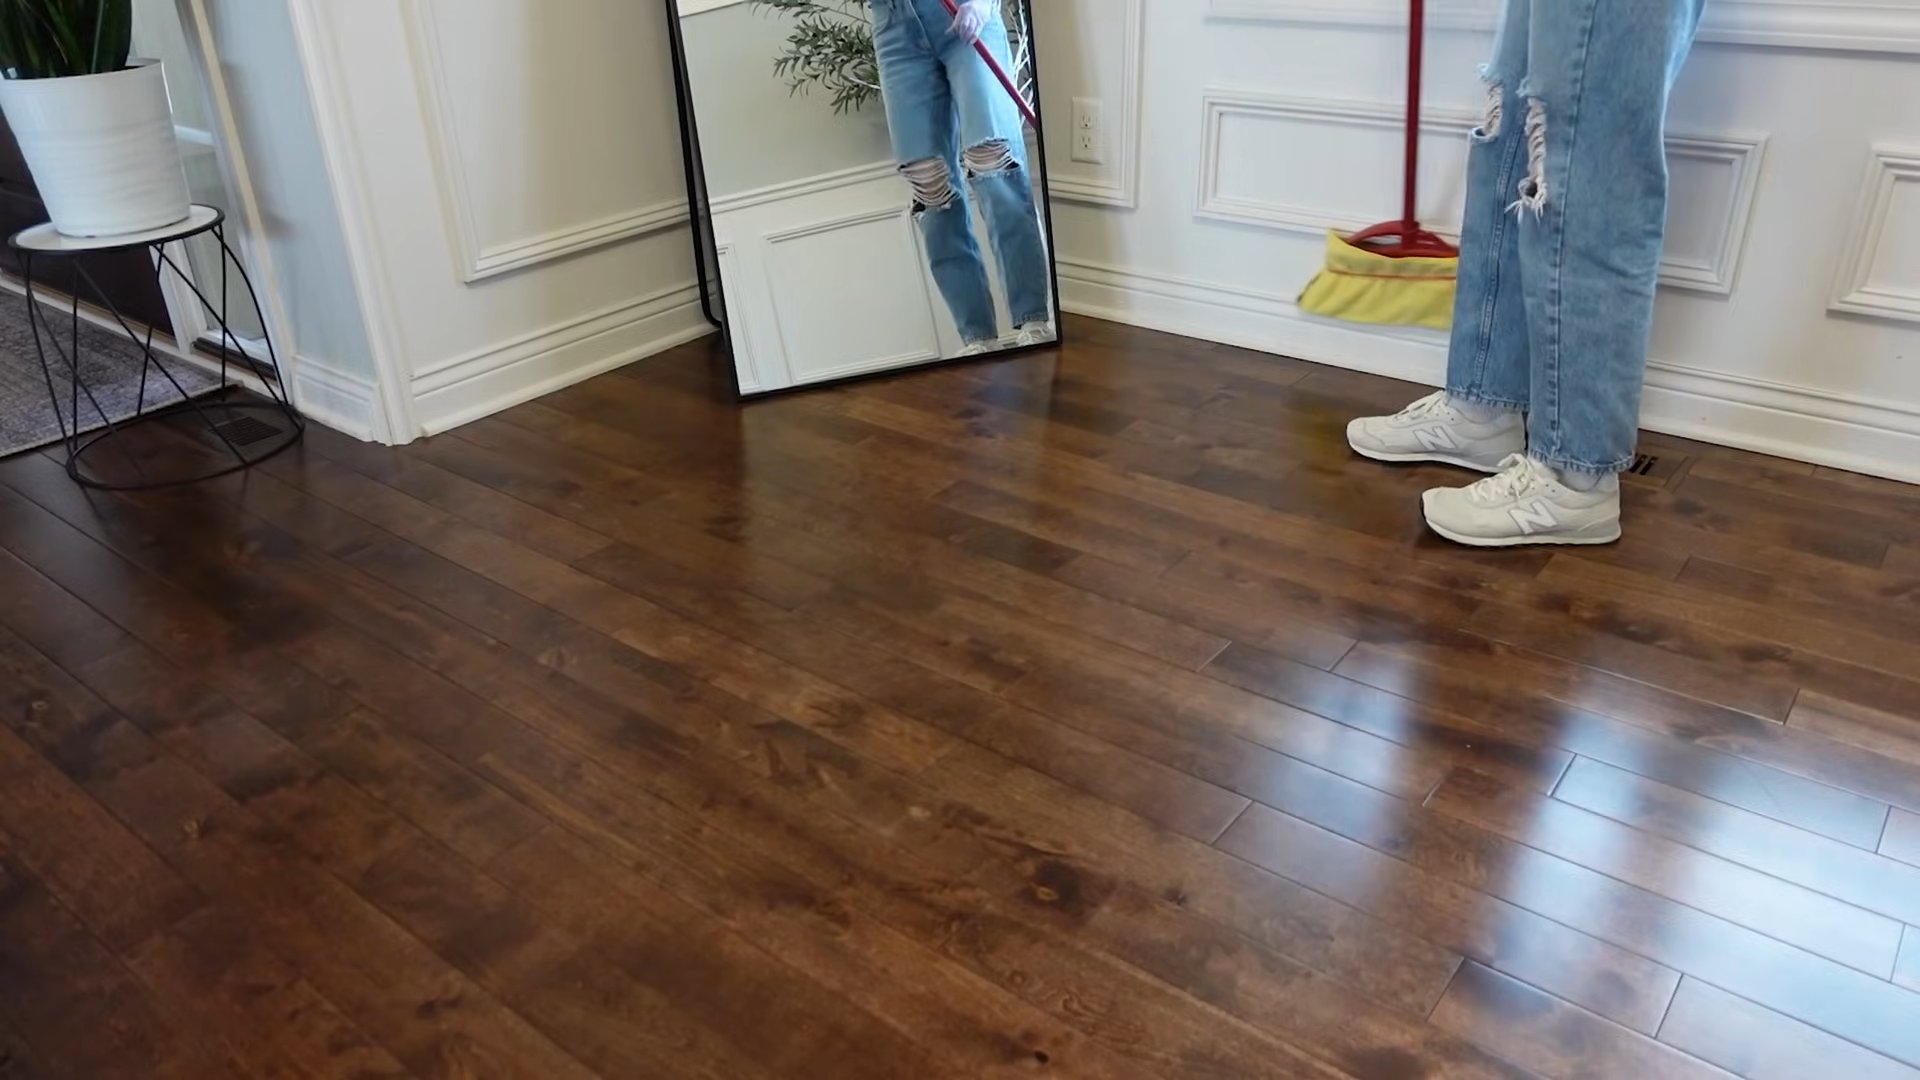
* **Floors (with caution):** You can add a small amount of the solution to your mop bucket for a fragrant floor cleaning experience. However, be sure to test it on an inconspicuous area first to make sure it doesn’t damage the flooring.
Final Thoughts
So there you have it! A simple, effective, and fragrant way to clean your baseboards and freshen up your home. I hope you enjoy this DIY hack as much as I do. Happy cleaning!
Conclusion
So, there you have it! This simple, yet incredibly effective DIY trick for achieving an amazing smell while cleaning your baseboards is a game-changer. Forget harsh chemicals and overpowering artificial fragrances. This method harnesses the power of natural ingredients to not only clean your baseboards thoroughly but also infuse your home with a subtle, long-lasting, and genuinely pleasant aroma.
Why is this a must-try? Because it’s cost-effective, eco-friendly, and customizable. You’re likely to already have most of the ingredients in your pantry, saving you a trip to the store and reducing your reliance on potentially harmful commercial cleaners. Plus, you have complete control over the scent profile. Want a burst of citrus? Add more lemon or orange essential oil. Prefer a calming lavender scent? Go for it! The possibilities are endless.
Beyond the immediate benefits of a clean and fragrant home, this DIY approach promotes a healthier living environment. By avoiding harsh chemicals, you’re reducing your exposure to potential irritants and allergens, making it a particularly beneficial option for households with children, pets, or individuals with sensitivities.
Variations to Explore:
Don’t be afraid to experiment and tailor this DIY baseboard cleaning solution to your specific needs and preferences. Here are a few suggestions to get you started:
* Vinegar Infusion: For extra cleaning power, especially on stubborn grime, infuse your vinegar with citrus peels for a week or two before using it in the solution. This will not only boost its cleaning capabilities but also add a delightful citrusy aroma.
* Essential Oil Blends: Create your own signature scent by blending different essential oils. Consider combinations like eucalyptus and peppermint for a refreshing and invigorating aroma, or chamomile and lavender for a calming and relaxing atmosphere.
* Herbal Power: Add dried herbs like rosemary or thyme to your vinegar infusion for an earthy and aromatic twist. These herbs also possess natural antibacterial properties, further enhancing the cleaning power of the solution.
* Gentle Scouring: For heavily soiled baseboards, add a small amount of baking soda to the solution to create a gentle scouring paste. Be sure to test it on an inconspicuous area first to ensure it doesn’t scratch the surface.
* Wood Polish Boost: If your baseboards are made of wood, consider adding a teaspoon of olive oil to the solution. This will help to nourish the wood and restore its natural shine.
We are confident that once you try this DIY trick, you’ll never go back to using harsh chemical cleaners again. The combination of effective cleaning and an amazing smell is simply irresistible.
So, what are you waiting for? Gather your ingredients, mix up a batch of this amazing DIY baseboard cleaner, and experience the difference for yourself. We encourage you to share your experiences with us! Let us know what scent combinations you tried, what worked best for you, and any other tips or tricks you discovered along the way. Your feedback will help us refine and improve this recipe for everyone. Share your photos and stories on social media using [Your Hashtag Here] and join the conversation! Let’s create a community of clean, fragrant, and healthy homes, one baseboard at a time. This DIY baseboard cleaning method is truly a game changer.
Frequently Asked Questions (FAQ)
1. What type of vinegar should I use?
White distilled vinegar is the best option for cleaning because it’s acidic and effective at removing dirt and grime. Apple cider vinegar can also be used, but it has a stronger scent that some people may find less appealing. Avoid using cleaning vinegar, as it is too strong and can damage some surfaces.
2. Can I use any type of essential oil?
While you can technically use any essential oil you like, it’s important to choose oils that are safe for cleaning and have a pleasant aroma. Some popular choices include lemon, orange, lavender, tea tree, eucalyptus, and peppermint. Always dilute essential oils properly before using them on surfaces, and avoid using them on delicate materials like leather or silk. If you have pets, research which essential oils are safe to use around them, as some can be toxic.
3. How often should I clean my baseboards?
The frequency of cleaning your baseboards depends on several factors, including the amount of foot traffic in your home, the presence of pets, and your personal preferences. As a general rule, aim to clean your baseboards at least once a month. However, if you notice a buildup of dust, dirt, or grime, you may need to clean them more frequently.
4. Will this DIY cleaner damage my baseboards?
This DIY cleaner is generally safe for most types of baseboards, including painted, wood, and vinyl. However, it’s always a good idea to test it on an inconspicuous area first to ensure it doesn’t cause any damage or discoloration. Avoid using abrasive scrubbers or harsh chemicals, as these can scratch or damage the surface of your baseboards.
5. Can I use this cleaner on other surfaces besides baseboards?
While this cleaner is primarily designed for baseboards, it can also be used on other surfaces, such as walls, floors, and countertops. However, it’s important to test it on an inconspicuous area first to ensure it doesn’t cause any damage or discoloration. Avoid using it on delicate materials like marble or granite, as the vinegar can etch the surface.
6. How do I store the leftover cleaning solution?
Store any leftover cleaning solution in a clean, airtight container in a cool, dark place. It’s best to use a glass or plastic spray bottle for easy application. The solution should last for several weeks, but it’s always a good idea to check it for any signs of spoilage before using it. If it smells off or looks cloudy, discard it and make a fresh batch.
7. What if I don’t have essential oils? Can I still make this cleaner?
Yes, you can still make this cleaner without essential oils. Simply omit them from the recipe. The vinegar and water solution will still effectively clean your baseboards. However, the essential oils add a pleasant aroma and can also provide additional cleaning benefits. You could also try adding a few drops of your favorite fragrance oil as an alternative, but be sure to test it on an inconspicuous area first.
8. My baseboards are really dirty. Will this cleaner be strong enough?
For heavily soiled baseboards, you may need to pre-treat them with a stronger cleaning solution before using this DIY cleaner. You can also try adding a small amount of baking soda to the solution to create a gentle scouring paste. Be sure to test it on an inconspicuous area first to ensure it doesn’t scratch the surface. You may also need to use a scrub brush or sponge to remove stubborn dirt and grime.
9. Can I use this cleaner if I have allergies or sensitivities?
If you have allergies or sensitivities, it’s important to choose essential oils that are safe for you to use. You may also want to wear gloves and a mask while cleaning to avoid any potential irritation. If you’re unsure whether a particular essential oil is safe for you, consult with your doctor or an allergist.
10. What are the benefits of using a DIY cleaner instead of a store-bought cleaner?
There are many benefits to using a DIY cleaner instead of a store-bought cleaner. DIY cleaners are typically more cost-effective, eco-friendly, and customizable. They also allow you to avoid harsh chemicals and artificial fragrances, which can be harmful to your health and the environment. Plus, making your own cleaner can be a fun and rewarding experience!
Leave a Comment