
Stainless steel cleaner DIY: Are you tired of battling fingerprints, smudges, and water spots on your beautiful stainless steel appliances? I know I am! It feels like a never-ending cycle of wiping and polishing, only to have them looking dull again within minutes. But what if I told you that you could ditch those expensive, chemical-laden cleaners and create your own effective solution using ingredients you probably already have in your pantry?
For generations, resourceful homemakers have relied on simple, natural ingredients to keep their homes sparkling. Think about it – before the age of mass-produced cleaning products, vinegar, baking soda, and lemon juice were the go-to solutions for everything from scrubbing floors to polishing silverware. This tradition of DIY cleaning is not only cost-effective but also environmentally friendly, reducing our reliance on harsh chemicals that can harm our health and the planet.
In this article, I’m going to share my favorite stainless steel cleaner DIY recipes and hacks that will leave your appliances gleaming without breaking the bank or exposing your family to harmful toxins. We’ll explore different combinations of readily available ingredients and learn the best techniques for achieving a streak-free shine. Say goodbye to frustrating smudges and hello to a sparkling, stainless steel kitchen you can be proud of!
DIY Stainless Steel Cleaner: Make Your Kitchen Shine!
Hey everyone! Are you tired of those expensive stainless steel cleaners that promise the world but leave streaks and smudges behind? I know I was! That’s why I decided to experiment and create my own DIY stainless steel cleaner. And guess what? It works wonders! Plus, it’s super cheap and uses ingredients you probably already have in your pantry. Let’s get started!
What You’ll Need
Before we dive into the cleaning magic, let’s gather our supplies. This is a pretty simple list, so don’t worry, you won’t need to raid a hardware store.
* **White Vinegar:** This is our main cleaning agent. Vinegar is a natural degreaser and disinfectant, perfect for cutting through grime and grease.
* **Dish Soap:** A mild dish soap will help lift dirt and add a bit of extra cleaning power. I recommend using a clear, unscented variety to avoid any residue or unwanted smells.
* **Olive Oil (Optional):** This is the secret ingredient for that beautiful, streak-free shine! It acts as a polish and protects the stainless steel.
* **Spray Bottle:** You’ll need a clean spray bottle to mix and apply the cleaner.
* **Microfiber Cloths:** These are essential for wiping and polishing. Microfiber cloths are gentle on stainless steel and won’t leave lint behind.
* **Soft Sponge (Optional):** For tackling stubborn stains or baked-on food.
* **Water (Optional):** For diluting the vinegar if you have sensitive stainless steel.
Mixing the Magic Potion
Now for the fun part – creating our cleaning solution! I’ve found that these ratios work best, but feel free to adjust them slightly to suit your needs.
1. **Prepare the Spray Bottle:** Make sure your spray bottle is clean and dry. Any residue inside could affect the performance of your cleaner.
2. **Add Vinegar:** Pour 1 cup of white vinegar into the spray bottle.
3. **Add Dish Soap:** Add 1 teaspoon of dish soap to the vinegar. Be careful not to add too much, as it can make the solution too sudsy.
4. **Dilute (Optional):** If you’re concerned about the acidity of the vinegar, you can add 1 cup of water to dilute the solution. This is especially helpful for older or more delicate stainless steel appliances.
5. **Shake Well:** Secure the spray bottle lid and shake the mixture gently to combine all the ingredients. Avoid shaking too vigorously, as this can create excessive suds.
Cleaning Your Stainless Steel: Step-by-Step
Alright, let’s get down to business! Here’s how to use our DIY cleaner to make your stainless steel sparkle.
1. **Test in an Inconspicuous Area:** Before applying the cleaner to the entire surface, test it in a small, hidden area to ensure it doesn’t damage or discolor the stainless steel. This is especially important for older or more delicate appliances.
2. **Spray the Surface:** Lightly spray the stainless steel surface with the cleaner. Don’t over-saturate it; a light mist is all you need.
3. **Wipe with a Microfiber Cloth:** Immediately wipe the surface with a clean microfiber cloth, following the grain of the stainless steel. This is crucial for preventing streaks.
4. **Tackle Stubborn Stains (If Needed):** If you encounter any stubborn stains or baked-on food, let the cleaner sit for a few minutes before wiping. You can also use a soft sponge to gently scrub the area.
5. **Rinse (Optional):** If you used a lot of cleaner or are concerned about residue, you can rinse the surface with a damp microfiber cloth.
6. **Dry with a Clean Microfiber Cloth:** Thoroughly dry the surface with a clean, dry microfiber cloth. This will help prevent water spots and streaks.
The Olive Oil Shine: The Final Touch
This is where the magic really happens! The olive oil adds a beautiful shine and helps protect the stainless steel from future smudges.
1. **Apply a Small Amount of Olive Oil:** Pour a very small amount of olive oil (about a teaspoon) onto a clean microfiber cloth.
2. **Buff the Surface:** Gently buff the stainless steel surface with the olive oil-coated cloth, again following the grain. You only need a very thin layer of oil.
3. **Buff with a Clean Cloth:** Use a clean, dry microfiber cloth to buff away any excess oil. This will leave a beautiful, streak-free shine.
Dealing with Specific Stainless Steel Items
Different stainless steel items might require slightly different approaches. Here are some tips for cleaning specific appliances:
* **Refrigerators:** Pay extra attention to fingerprints and spills. Clean the handles and around the ice and water dispenser frequently.
* **Dishwashers:** Clean the exterior regularly to prevent water spots and food splatters.
* **Ovens:** Be careful not to get the cleaner inside the oven. Focus on the exterior and the door.
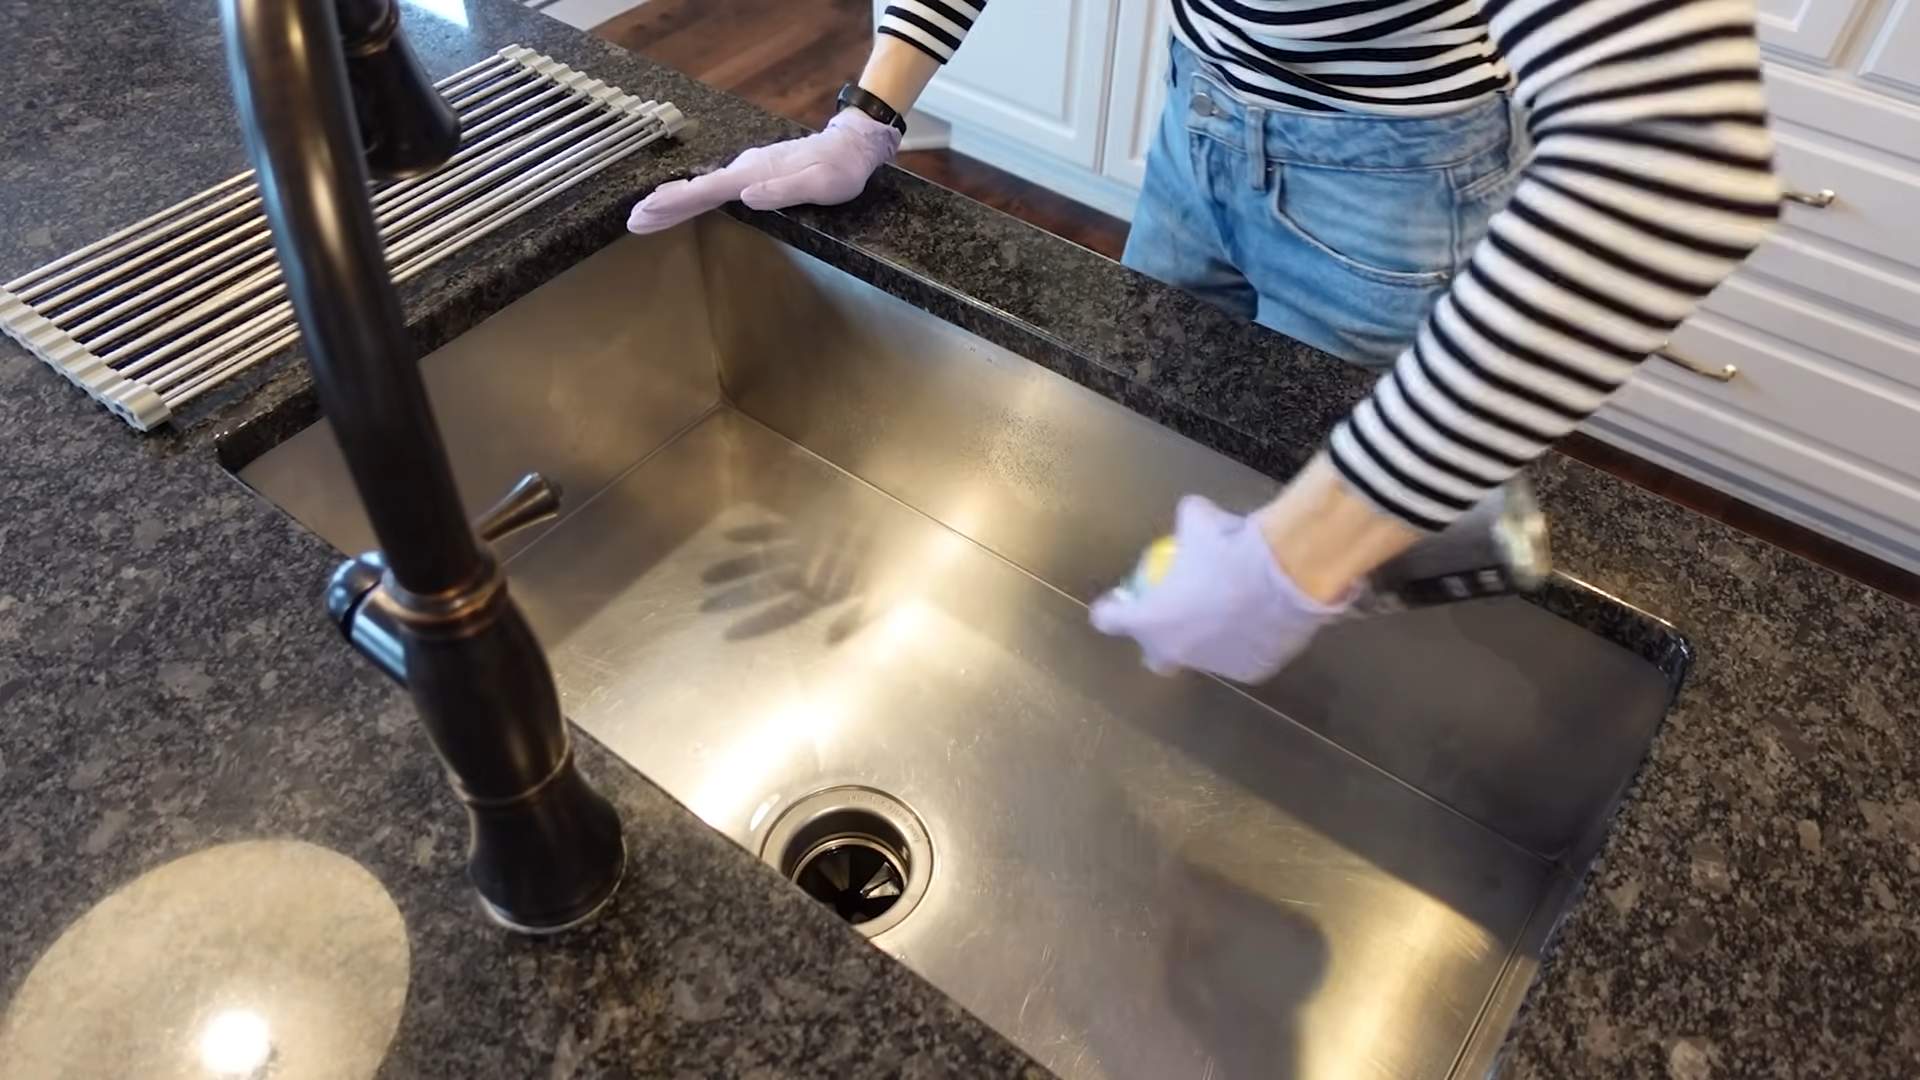
* **Sinks:** Rinse thoroughly after cleaning to prevent soap scum buildup.
* **Cooktops:** Clean up spills immediately to prevent them from baking onto the surface. Use a soft sponge to remove any stuck-on food.
Tips and Tricks for Sparkling Stainless Steel
Here are a few extra tips to keep your stainless steel looking its best:
* **Clean Regularly:** The more often you clean your stainless steel, the easier it will be to maintain. Aim to clean high-traffic areas like refrigerator handles and cooktops daily.
* **Follow the Grain:** Always wipe in the direction of the grain to prevent streaks.
* **Use Microfiber Cloths:** These cloths are gentle and effective for cleaning and polishing stainless steel.
* **Avoid Abrasive Cleaners:** Abrasive cleaners can scratch and damage stainless steel.
* **Dry Thoroughly:** Always dry the surface thoroughly after cleaning to prevent water spots.
* **Don’t Use Steel Wool:** Steel wool will scratch your stainless steel.
* **Vinegar Smell:** The vinegar smell will dissipate quickly. If you’re sensitive to the smell, you can add a few drops of your favorite essential oil to the cleaning solution. Lavender or lemon are great choices.
* **Preventative Measures:** Consider using stainless steel wipes or sprays for quick touch-ups between deep cleanings.
* **Hard Water Spots:** If you have hard water, you may need to use a slightly stronger vinegar solution or a dedicated hard water stain remover.
* Always test on a small, hidden area first! This is the golden rule of DIY cleaning.
Troubleshooting Common Problems
Even with the best DIY cleaner, you might encounter a few challenges. Here’s how to troubleshoot some common problems:
* **Streaks:** If you’re getting streaks, make sure you’re wiping in the direction of the grain and using a clean microfiber cloth. You may also be using too much cleaner or not drying the surface thoroughly enough.
* **Smudges:** Smudges are often caused by fingerprints or oily residue. Make sure you’re cleaning the surface thoroughly and using the olive oil sparingly.
* **Water Spots:** Water spots are caused by hard water. Dry the surface immediately after cleaning to prevent them from forming.
* **Rust:** While stainless steel is resistant to rust, it can still occur in certain conditions. If you notice rust, try using a stainless steel cleaner specifically designed to remove rust.
* **Dullness:** Over time, stainless steel can become dull. Polishing with olive oil can help restore its shine.
Why This DIY Cleaner Works
So, what makes this DIY cleaner so effective? It’s all about the combination of ingredients:
* **Vinegar:** The vinegar’s acidity cuts through grease and grime, dissolving dirt and stains. It’s also a natural disinfectant, helping to kill bacteria.
* **Dish Soap:** The dish soap helps to lift dirt and add extra cleaning power. It also helps to emulsify the vinegar and water, creating a more stable solution.
* **Olive Oil:** The olive oil acts as a polish, leaving a beautiful shine and protecting the stainless steel from future smudges. It also helps to repel water, preventing water spots.
Safety Precautions
While this DIY cleaner is made with natural ingredients, it’s still important to take a few safety precautions:
* **Avoid Contact with Eyes:** Vinegar can irritate the eyes. If you get the cleaner in your eyes, rinse them thoroughly with water.
* **Keep Out of Reach of Children:** Although the ingredients are relatively safe, it’s best to keep the cleaner out of reach of children.
* **Ventilation:** When cleaning in a small, enclosed space, make sure to have adequate ventilation.
* Don’t Mix with Bleach: Never mix vinegar with bleach, as this can create toxic fumes.
Final Thoughts
I hope you found this DIY stainless steel cleaner guide helpful! I’ve been using this method for years, and it’s saved me a ton of money and kept my kitchen looking sparkling clean. Give it a try and let me know what you think! Happy cleaning!
Conclusion
So, there you have it! Ditching the expensive, chemical-laden store-bought cleaners and embracing this simple, effective stainless steel cleaner DIY method is a game-changer for your kitchen and beyond. Not only will you save money and reduce your environmental impact, but you’ll also achieve a streak-free shine that rivals, and often surpasses, commercial products. The satisfaction of creating something so powerful with just a few common household ingredients is truly rewarding.
But the benefits don’t stop there. This DIY cleaner is incredibly versatile. While we’ve focused on stainless steel appliances like refrigerators, dishwashers, and ovens, don’t hesitate to experiment with it on other stainless steel surfaces. Think stainless steel sinks, cookware, and even outdoor grills. Just remember to always test a small, inconspicuous area first to ensure compatibility, especially with brushed or coated stainless steel.
Looking for variations? For extra degreasing power, add a few drops of lemon essential oil to your solution. Lemon oil not only boosts cleaning performance but also leaves behind a fresh, citrusy scent. Alternatively, if you’re dealing with stubborn water spots, try increasing the vinegar concentration slightly. Remember, the beauty of DIY is that you can customize the recipe to suit your specific needs and preferences.
This isn’t just about cleaning; it’s about taking control of the products you use in your home and making conscious choices that benefit both your health and the planet. It’s about embracing a more sustainable and resourceful lifestyle.
We’re confident that once you try this stainless steel cleaner DIY, you’ll never go back to store-bought alternatives. The results speak for themselves: sparkling clean surfaces, a lighter footprint, and a happier wallet.
So, what are you waiting for? Gather your ingredients, mix up a batch, and prepare to be amazed. We encourage you to share your experiences with us! Let us know in the comments below how this DIY cleaner worked for you, any variations you tried, and any other tips or tricks you discovered along the way. Your feedback is invaluable and helps us all learn and grow together in our pursuit of a cleaner, greener home. Share your before and after photos on social media using #DIYStainlessSteelCleaner – we can’t wait to see your sparkling results! Let’s revolutionize the way we clean, one stainless steel surface at a time!
Frequently Asked Questions (FAQ)
Is this stainless steel cleaner DIY safe for all types of stainless steel?
While this DIY cleaner is generally safe for most stainless steel surfaces, it’s always best to test it on a small, inconspicuous area first. This is especially important for brushed stainless steel, coated stainless steel, or stainless steel with a special finish. Apply a small amount of the cleaner, let it sit for a minute or two, and then wipe it away. If you notice any discoloration or damage, discontinue use. For heavily soiled or delicate stainless steel items, consider consulting the manufacturer’s recommendations.
How often should I use this DIY stainless steel cleaner?
The frequency of cleaning depends on how often your stainless steel surfaces get dirty. For appliances that are frequently touched, like refrigerators and dishwashers, cleaning once or twice a week is usually sufficient. For less frequently used items, like stainless steel cookware stored in cabinets, cleaning once a month may be enough. Observe your surfaces and clean them as needed to maintain their shine and prevent the buildup of grime.
Can I use this DIY cleaner on other surfaces besides stainless steel?
While this cleaner is specifically formulated for stainless steel, it can potentially be used on other surfaces. However, it’s crucial to test it on a small, inconspicuous area first. Avoid using it on porous surfaces like wood or stone, as the vinegar can damage them. It’s also not recommended for use on painted surfaces, as the vinegar can dull the paint. When in doubt, stick to using it on stainless steel surfaces.
What if I don’t have white vinegar? Can I use another type of vinegar?
White vinegar is the preferred choice for this DIY cleaner because it’s clear and doesn’t contain any added colors or flavors that could potentially stain or discolor stainless steel. However, if you don’t have white vinegar on hand, you can use apple cider vinegar as a substitute. Apple cider vinegar is also relatively mild and safe for most surfaces. Avoid using other types of vinegar, such as balsamic vinegar or red wine vinegar, as they can stain stainless steel.
How should I store the leftover DIY stainless steel cleaner?
Store any leftover DIY stainless steel cleaner in a clean, airtight spray bottle. Label the bottle clearly to avoid confusion. Keep it in a cool, dark place away from direct sunlight and heat. The cleaner should last for several weeks, but it’s best to use it within a month for optimal effectiveness. If you notice any changes in color or odor, discard the cleaner and make a fresh batch.
My stainless steel has stubborn water spots. How can I remove them?
Stubborn water spots can be a challenge to remove from stainless steel. For persistent water spots, try increasing the concentration of vinegar in your DIY cleaner. You can also try applying undiluted white vinegar directly to the water spots, letting it sit for a few minutes, and then wiping it away with a clean cloth. For extremely stubborn water spots, you may need to use a commercial stainless steel cleaner specifically designed to remove water spots. Always follow the manufacturer’s instructions carefully.
Can I add essential oils to this DIY stainless steel cleaner?
Yes, you can add essential oils to this DIY stainless steel cleaner for added cleaning power and a pleasant scent. Lemon essential oil is a popular choice because it has degreasing properties and leaves behind a fresh, citrusy aroma. Other essential oils that work well include tea tree oil (for its antibacterial properties) and lavender oil (for its calming scent). Add a few drops of your chosen essential oil to the cleaner and shake well before using.
Is this DIY cleaner safe for my pets and children?
This DIY cleaner is generally considered safe for pets and children because it’s made with natural ingredients. However, it’s still important to exercise caution. Keep the cleaner out of reach of children and pets. Avoid spraying it directly onto food preparation surfaces. If your pet or child accidentally ingests the cleaner, contact a medical professional or veterinarian immediately. As with any cleaning product, it’s always best to err on the side of caution.
What type of cloth should I use to clean stainless steel with this DIY cleaner?
The best type of cloth to use for cleaning stainless steel with this DIY cleaner is a microfiber cloth. Microfiber cloths are soft, absorbent, and non-abrasive, making them ideal for cleaning delicate surfaces like stainless steel. They also trap dirt and grime effectively, leaving behind a streak-free shine. Avoid using abrasive cloths or sponges, as they can scratch the stainless steel.
How do I prevent streaks when cleaning stainless steel?
To prevent streaks when cleaning stainless steel, always wipe in the direction of the grain. Stainless steel has a grain, which is the direction in which the metal was polished. Wiping in the direction of the grain helps to avoid streaks and ensures a more even finish. Also, use a clean, dry microfiber cloth to buff the stainless steel after cleaning. This will help to remove any remaining residue and leave behind a sparkling shine.

Leave a Comment