
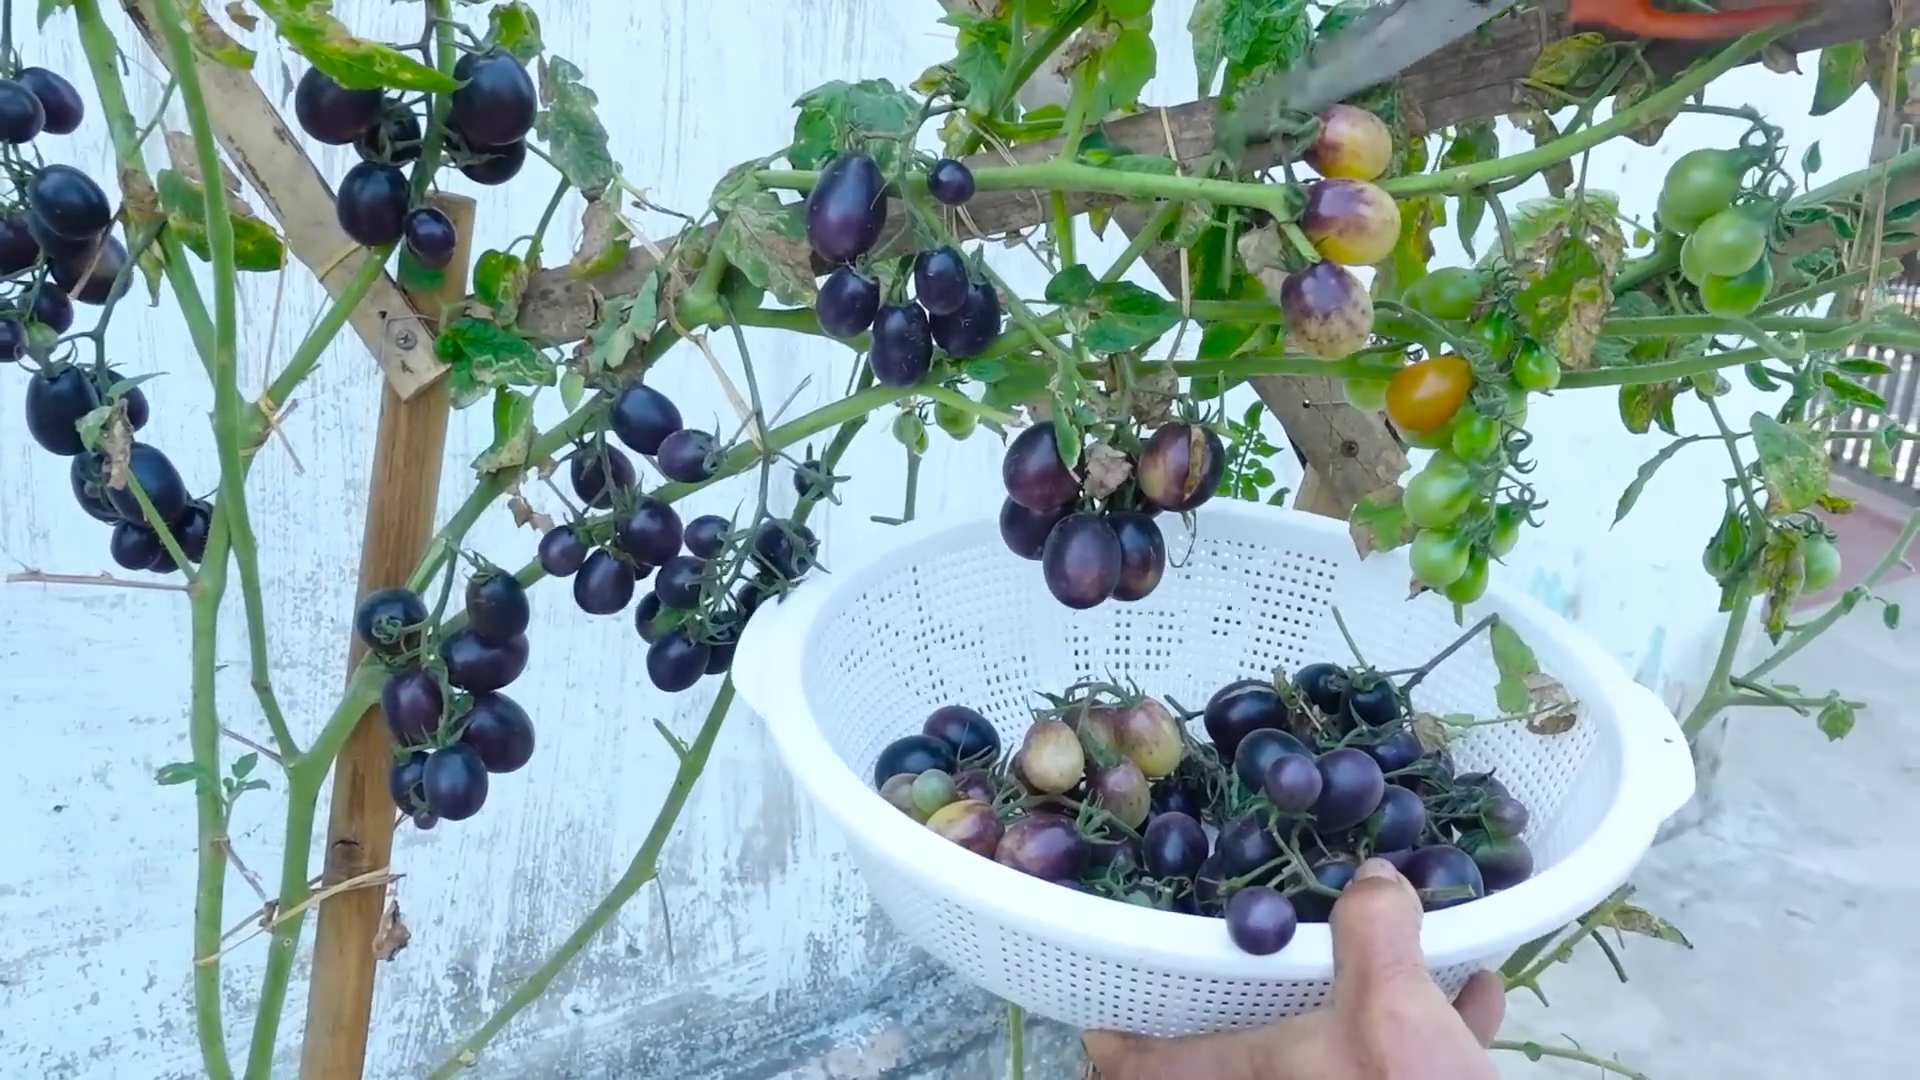
Tomato pot harvest – just the phrase conjures up images of sun-ripened goodness, bursting with flavor, ready to be plucked straight from your own little garden oasis. But let’s be honest, sometimes that dream feels a million miles away from reality, doesn’t it? You’ve nurtured your tomato plants, watered them diligently, and yet, the promised bounty remains stubbornly elusive. Maybe you’re facing stunted growth, blossom end rot, or just a general lack of juicy, red tomatoes.
For centuries, cultivating tomatoes has been a cherished tradition, dating back to the Aztecs and Incas who first domesticated these vibrant fruits. From humble beginnings, tomatoes have become a global staple, a symbol of summer abundance and culinary delight. But even with centuries of knowledge, achieving a successful tomato pot harvest can still feel like a challenge. That’s where a few clever DIY tricks and hacks come in!
I’m here to share some simple, yet effective, techniques that can transform your tomato-growing experience. Whether you’re a seasoned gardener or a complete beginner, these tips will help you maximize your yield, combat common problems, and finally enjoy the satisfaction of harvesting a truly impressive crop of homegrown tomatoes. Get ready to roll up your sleeves and unlock the secrets to a thriving tomato pot harvest!
DIY Self-Watering Tomato Pot from a Plastic Bucket
Hey there, fellow gardening enthusiasts! I’m so excited to share this super easy and effective DIY project with you: creating a self-watering tomato pot from a simple plastic bucket. This is a game-changer for anyone who wants to grow delicious tomatoes without the constant worry of watering, especially during those hot summer months. Plus, it’s a fantastic way to recycle those old buckets you might have lying around! Let’s get started!
What You’ll Need
Before we dive in, let’s gather all the necessary materials. Trust me, having everything ready beforehand will make the whole process much smoother.
* A large plastic bucket (5-gallon is ideal, but bigger is even better!)
* A smaller plastic container (like a yogurt tub or a small bucket that fits inside the larger one)
* Drill with various sized drill bits
* PVC pipe (about 12-18 inches long, 1-2 inch diameter)
* Landscape fabric or burlap
* Potting mix (specifically for tomatoes)
* Tomato seedling
* Scissors or utility knife
* Gravel or small rocks
* Water
* Measuring tape or ruler
* Gloves (optional, but recommended)
Preparing the Bucket and Inner Container
This step is all about modifying our containers to create the self-watering system. Don’t worry, it’s easier than it sounds!
1. Drill Drainage Holes in the Inner Container: Take your smaller plastic container (the yogurt tub or small bucket) and drill several holes in the bottom and sides. These holes are crucial because they allow water to seep into the soil and keep your tomato plant hydrated. I usually aim for about 10-15 holes, evenly spaced. Use a smaller drill bit for this step.
2. Create the Overflow Hole in the Outer Bucket: Now, grab your large plastic bucket. We need to create an overflow hole to prevent the bucket from becoming waterlogged. Measure about 2-3 inches from the bottom of the bucket and drill a hole. The size of the hole should be large enough to accommodate the PVC pipe. This hole will allow excess water to drain out, preventing root rot.
3. Insert the PVC Pipe: Carefully insert the PVC pipe into the overflow hole. This pipe will act as a water level indicator and a fill tube. Make sure the pipe fits snugly. If it’s too loose, you can use some waterproof sealant around the edges to secure it. The pipe should extend a few inches above the top of the bucket.
Assembling the Self-Watering System
Now comes the fun part – putting everything together!
1. Add Gravel to the Bottom of the Bucket: Pour a layer of gravel or small rocks into the bottom of the large bucket. This layer will act as a reservoir for the water and help with drainage. I usually add about 2-3 inches of gravel.
2. Wrap the Inner Container with Landscape Fabric: Cut a piece of landscape fabric or burlap large enough to wrap around the smaller plastic container. This fabric will prevent the potting mix from falling into the water reservoir and clogging the drainage holes. Secure the fabric with some twine or rubber bands.
3. Place the Inner Container Inside the Bucket: Carefully place the wrapped inner container on top of the gravel layer in the large bucket. Make sure it’s centered and stable. The bottom of the inner container should be slightly above the gravel layer, creating a space for the water reservoir.
4. Fill the Inner Container with Potting Mix: Now, it’s time to add the potting mix. Use a high-quality potting mix specifically formulated for tomatoes. Fill the inner container almost to the top, leaving a few inches of space. Gently pat down the soil to remove any air pockets.
Planting Your Tomato Seedling
This is where the magic happens!
1. Create a Hole for the Seedling: In the center of the potting mix, dig a hole large enough to accommodate the root ball of your tomato seedling.
2. Carefully Remove the Seedling from its Container: Gently remove the tomato seedling from its original container. Be careful not to damage the roots. If the roots are tightly bound, gently loosen them with your fingers.
3. Plant the Seedling: Place the seedling into the hole and gently backfill with potting mix. Make sure the top of the root ball is level with the surrounding soil.
4. Water Thoroughly: Water the seedling thoroughly to help it settle in. Pour water directly onto the soil until it starts to drain out of the overflow hole.
Maintaining Your Self-Watering Tomato Pot
Now that your tomato plant is happily settled in its new home, here’s how to keep it thriving.
1. Watering: The beauty of this system is that you don’t need to water as frequently. Simply fill the PVC pipe with water when the water level drops. You can check the water level by looking inside the pipe. I usually check it every few days, especially during hot weather.
2. Fertilizing: Tomatoes are heavy feeders, so you’ll need to fertilize them regularly. Use a tomato-specific fertilizer according to the package instructions. You can either mix the fertilizer into the water you add to the PVC pipe or apply it directly to the soil.
3. Sunlight: Tomatoes need plenty of sunlight to thrive. Place your self-watering tomato pot in a location that receives at least 6-8 hours of direct sunlight per day.
4. Support: As your tomato plant grows, it will need support. Use a tomato cage or stakes to keep the plant upright and prevent the branches from breaking.
5. Pruning: Prune your tomato plant regularly to remove suckers (the small shoots that grow between the main stem and the branches). This will help the plant focus its energy on producing fruit.
Troubleshooting
Even with the best intentions, sometimes things don’t go exactly as planned. Here are a few common issues you might encounter and how to fix them.
* Plant Wilting: If your tomato plant is wilting, it could be a sign of underwatering or overwatering. Check the water level in the PVC pipe. If it’s low, add water. If it’s full, the overflow hole might be clogged. Clear the hole to allow excess water to drain. Also, ensure the plant is getting enough sunlight.
* Yellowing Leaves: Yellowing leaves can indicate a nutrient deficiency. Make sure you’re fertilizing your tomato plant regularly with a tomato-specific fertilizer.
* Pests: Keep an eye out for common tomato pests like aphids, whiteflies, and tomato hornworms. Treat infestations promptly with insecticidal soap or other appropriate methods.
* Root Rot: If you notice a foul smell coming from the bucket, it could be a sign of root rot. This is usually caused by overwatering. Make sure the overflow hole is clear and that the potting mix is well-draining.
Extra Tips for Success
Here are a few extra tips to help you get the most out of your self-watering tomato pot:
* Choose the Right Tomato Variety: Some tomato varieties are better suited for container gardening than others. Look for determinate or bush varieties, which tend to be more compact and manageable.
* Use High-Quality Potting Mix: Don’t skimp on the potting mix! Use a high-quality mix specifically formulated for tomatoes. This will provide the plant with the nutrients it needs to thrive.
* Mulch the Soil: Add a layer of mulch to the top of the soil to help retain moisture and suppress weeds.
* Rotate Your Crops: If you’re growing tomatoes in the same pot year after year, rotate your crops to prevent soilborne diseases.
I hope you found this DIY tutorial helpful! Building your own self-watering tomato pot is a rewarding project that will save you time and effort while providing you with a bountiful harvest of delicious tomatoes. Happy gardening!
Conclusion
So, there you have it! Transforming a simple pot into a bountiful tomato harvest is not only achievable but incredibly rewarding. We’ve walked you through the process, highlighting the key steps to ensure your success. But why is this DIY tomato pot harvest method a must-try?
Firstly, it’s incredibly space-efficient. Whether you have a sprawling garden or just a small balcony, this method allows you to enjoy fresh, homegrown tomatoes regardless of your space constraints. Secondly, it offers a level of control over the growing environment that in-ground gardening often lacks. You can easily manage soil quality, watering, and pest control, leading to healthier plants and a more abundant yield. Thirdly, and perhaps most importantly, it’s immensely satisfying. There’s nothing quite like nurturing a plant from seedling to fruit and then enjoying the delicious, sun-ripened tomatoes you’ve grown yourself.
This DIY tomato pot harvest technique is a game-changer for any tomato lover.
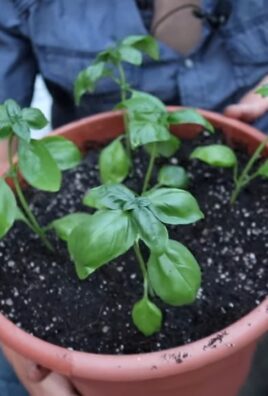
But don’t stop there! Feel free to experiment with different tomato varieties. Cherry tomatoes, Roma tomatoes, and even larger beefsteak varieties can thrive in pots, each offering a unique flavor and texture. Consider adding companion plants like basil or marigolds to your pot to deter pests and enhance the flavor of your tomatoes. You can also adjust the soil mix to suit the specific needs of your chosen tomato variety. Some varieties prefer slightly acidic soil, while others thrive in more alkaline conditions.
For those in colder climates, consider using a dark-colored pot to absorb more heat from the sun. You can also move your pot indoors during particularly cold snaps to protect your plants from frost damage. If you live in a very hot climate, opt for a lighter-colored pot to reflect sunlight and prevent the soil from overheating.
And remember, consistent watering and fertilization are crucial for a successful tomato pot harvest. Monitor the soil moisture regularly and water deeply whenever the top inch feels dry. Use a balanced fertilizer specifically formulated for tomatoes, following the instructions on the label.
We are confident that you will find this DIY tomato pot harvest method to be a fun, rewarding, and delicious experience. So, grab a pot, some soil, and your favorite tomato seedlings, and get started today! We can’t wait to see the amazing results you achieve.
We encourage you to share your experiences with us! Post photos of your tomato pots, share your tips and tricks, and let us know what varieties you’re growing. Together, we can create a community of passionate tomato growers and help each other achieve even greater success. Let us know if you have any questions, and happy gardening!
Frequently Asked Questions (FAQ)
What size pot is best for growing tomatoes?
The ideal pot size depends on the type of tomato you’re growing. For determinate (bush) varieties, a 15-20 gallon pot is usually sufficient. Indeterminate (vining) varieties, which grow much larger, will need at least a 25-gallon pot, and even larger is better. The larger the pot, the more room the roots have to grow, and the more water and nutrients the plant can access. Ensure the pot has adequate drainage holes to prevent waterlogging.
What type of soil should I use for my tomato pot harvest?
Use a high-quality potting mix specifically formulated for vegetables. Avoid using garden soil, as it can be too heavy and compacted for container gardening. A good potting mix will be well-draining, aerated, and contain essential nutrients. You can also amend the potting mix with compost or other organic matter to further improve its fertility and drainage. Consider adding a slow-release fertilizer to the mix at planting time to provide a steady supply of nutrients throughout the growing season.
How often should I water my tomato plants in pots?
Watering frequency depends on several factors, including the weather, the size of the pot, and the type of tomato. Generally, you should water deeply whenever the top inch of soil feels dry to the touch. During hot, sunny weather, you may need to water daily or even twice a day. Avoid overwatering, as this can lead to root rot. Use a moisture meter to accurately gauge the moisture level in the soil. Water early in the morning to allow the foliage to dry before nightfall, which can help prevent fungal diseases.
How much sunlight do tomato plants need?
Tomato plants need at least 6-8 hours of direct sunlight per day to thrive. Choose a location for your tomato pot that receives plenty of sunlight throughout the day. If you don’t have a sunny spot, you can supplement with grow lights. Rotate the pot regularly to ensure that all sides of the plant receive equal sunlight.
What kind of fertilizer should I use for my tomato plants?
Use a balanced fertilizer specifically formulated for tomatoes. Look for a fertilizer with an NPK ratio (nitrogen, phosphorus, potassium) that is higher in phosphorus and potassium than nitrogen. Phosphorus promotes root growth and flowering, while potassium promotes fruit development. Follow the instructions on the fertilizer label carefully, as over-fertilizing can damage your plants. You can also use organic fertilizers, such as compost tea or fish emulsion.
How do I prevent pests and diseases in my tomato pot harvest?
Prevention is key when it comes to pests and diseases. Start with healthy seedlings and use a clean potting mix. Monitor your plants regularly for signs of pests or diseases. Common tomato pests include aphids, whiteflies, and tomato hornworms. Common tomato diseases include early blight, late blight, and blossom end rot. Use organic pest control methods, such as insecticidal soap or neem oil, to control pests. Ensure good air circulation around your plants to prevent fungal diseases. Remove any diseased leaves or fruit promptly.
What is blossom end rot, and how do I prevent it?
Blossom end rot is a common problem in tomatoes caused by a calcium deficiency. It appears as a dark, leathery spot on the bottom of the fruit. To prevent blossom end rot, ensure that your soil has adequate calcium and that your plants are receiving consistent watering. You can add calcium to the soil by amending it with bone meal or crushed eggshells. Avoid letting the soil dry out completely, as this can prevent the plants from absorbing calcium.
Do I need to prune my tomato plants in pots?
Pruning is generally recommended for indeterminate tomato varieties, as it helps to improve air circulation and promote fruit production. Remove suckers (the small shoots that grow between the main stem and the branches) regularly. You can also prune the lower leaves of the plant to improve air circulation and prevent diseases. Determinate tomato varieties generally do not need to be pruned.
How do I support my tomato plants in pots?
Indeterminate tomato varieties will need support to prevent them from sprawling. You can use a tomato cage, a stake, or a trellis to support your plants. Insert the support into the pot at planting time to avoid damaging the roots later. Tie the main stem of the plant to the support as it grows.
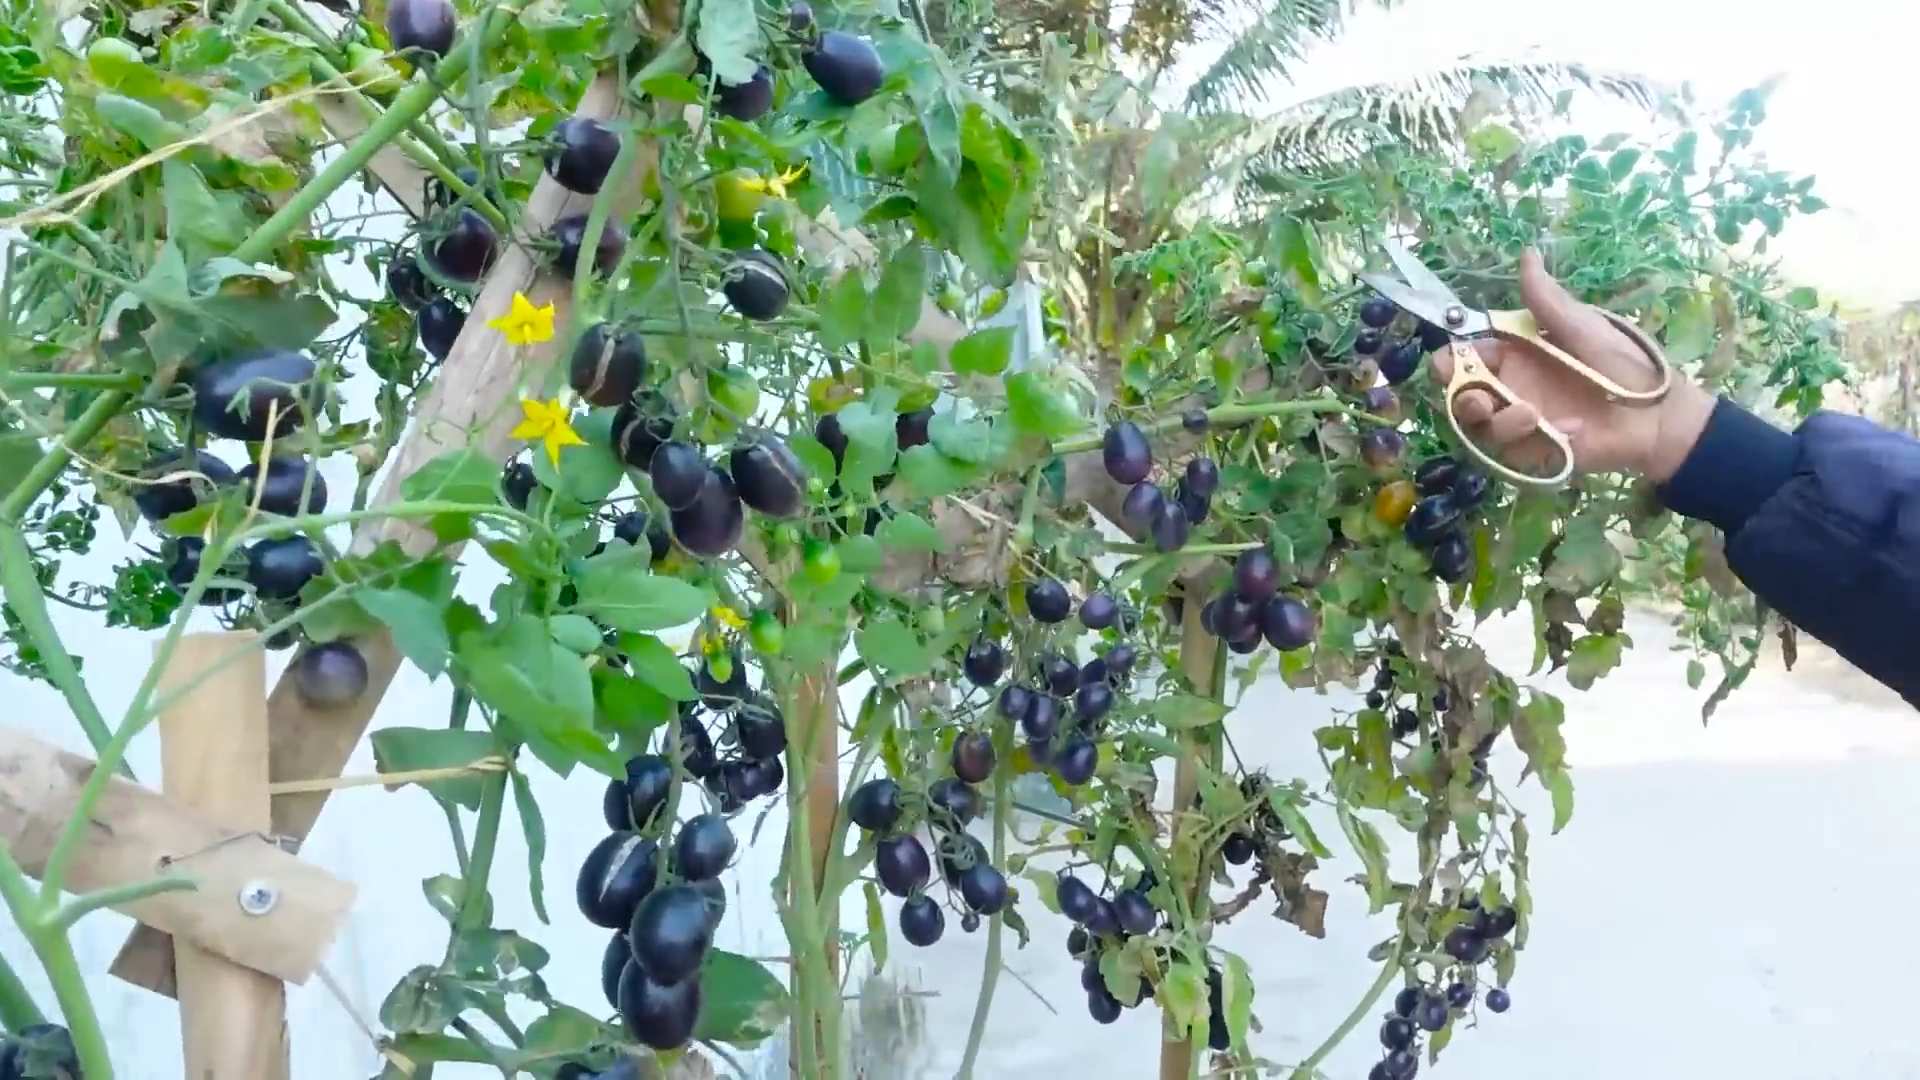
When should I harvest my tomatoes?
Tomatoes are ready to harvest when they are fully colored and slightly soft to the touch. Gently twist the tomato off the vine, leaving the stem attached. The color will depend on the variety of tomato you are growing. For example, a ripe Roma tomato will be deep red, while a ripe yellow pear tomato will be bright yellow. Taste one to make sure it is ripe.
Can I grow tomatoes indoors using this method?
Yes, you can grow tomatoes indoors using this method, but you’ll need to provide adequate light. A sunny south-facing window may be sufficient, but you’ll likely need to supplement with grow lights. Choose a compact tomato variety that is well-suited for indoor growing. Ensure that the pot has good drainage and that you are providing adequate ventilation.
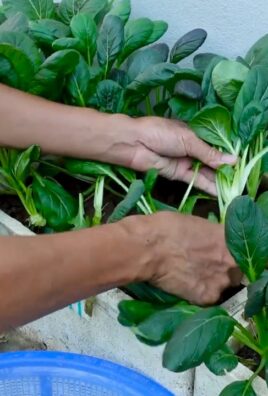
What are some good companion plants for tomatoes in pots?
Companion planting can help to deter pests, attract beneficial insects, and improve the flavor of your tomatoes. Some good companion plants for tomatoes include basil, marigolds, nasturtiums, and onions. Basil repels tomato hornworms and whiteflies, while marigolds deter nematodes. Nasturtiums attract aphids away from your tomatoes, and onions repel various pests.
How do I overwinter my tomato plants?
Tomato plants are typically annuals, meaning they complete their life cycle in one growing season. However, you can try to overwinter your tomato plants indoors. Before the first frost, prune the plant back significantly and move it indoors to a sunny location. Water sparingly and avoid fertilizing during the winter months. The plant may not produce fruit during the winter, but it may survive until the following spring, when you can move it back outdoors.
Leave a Comment