
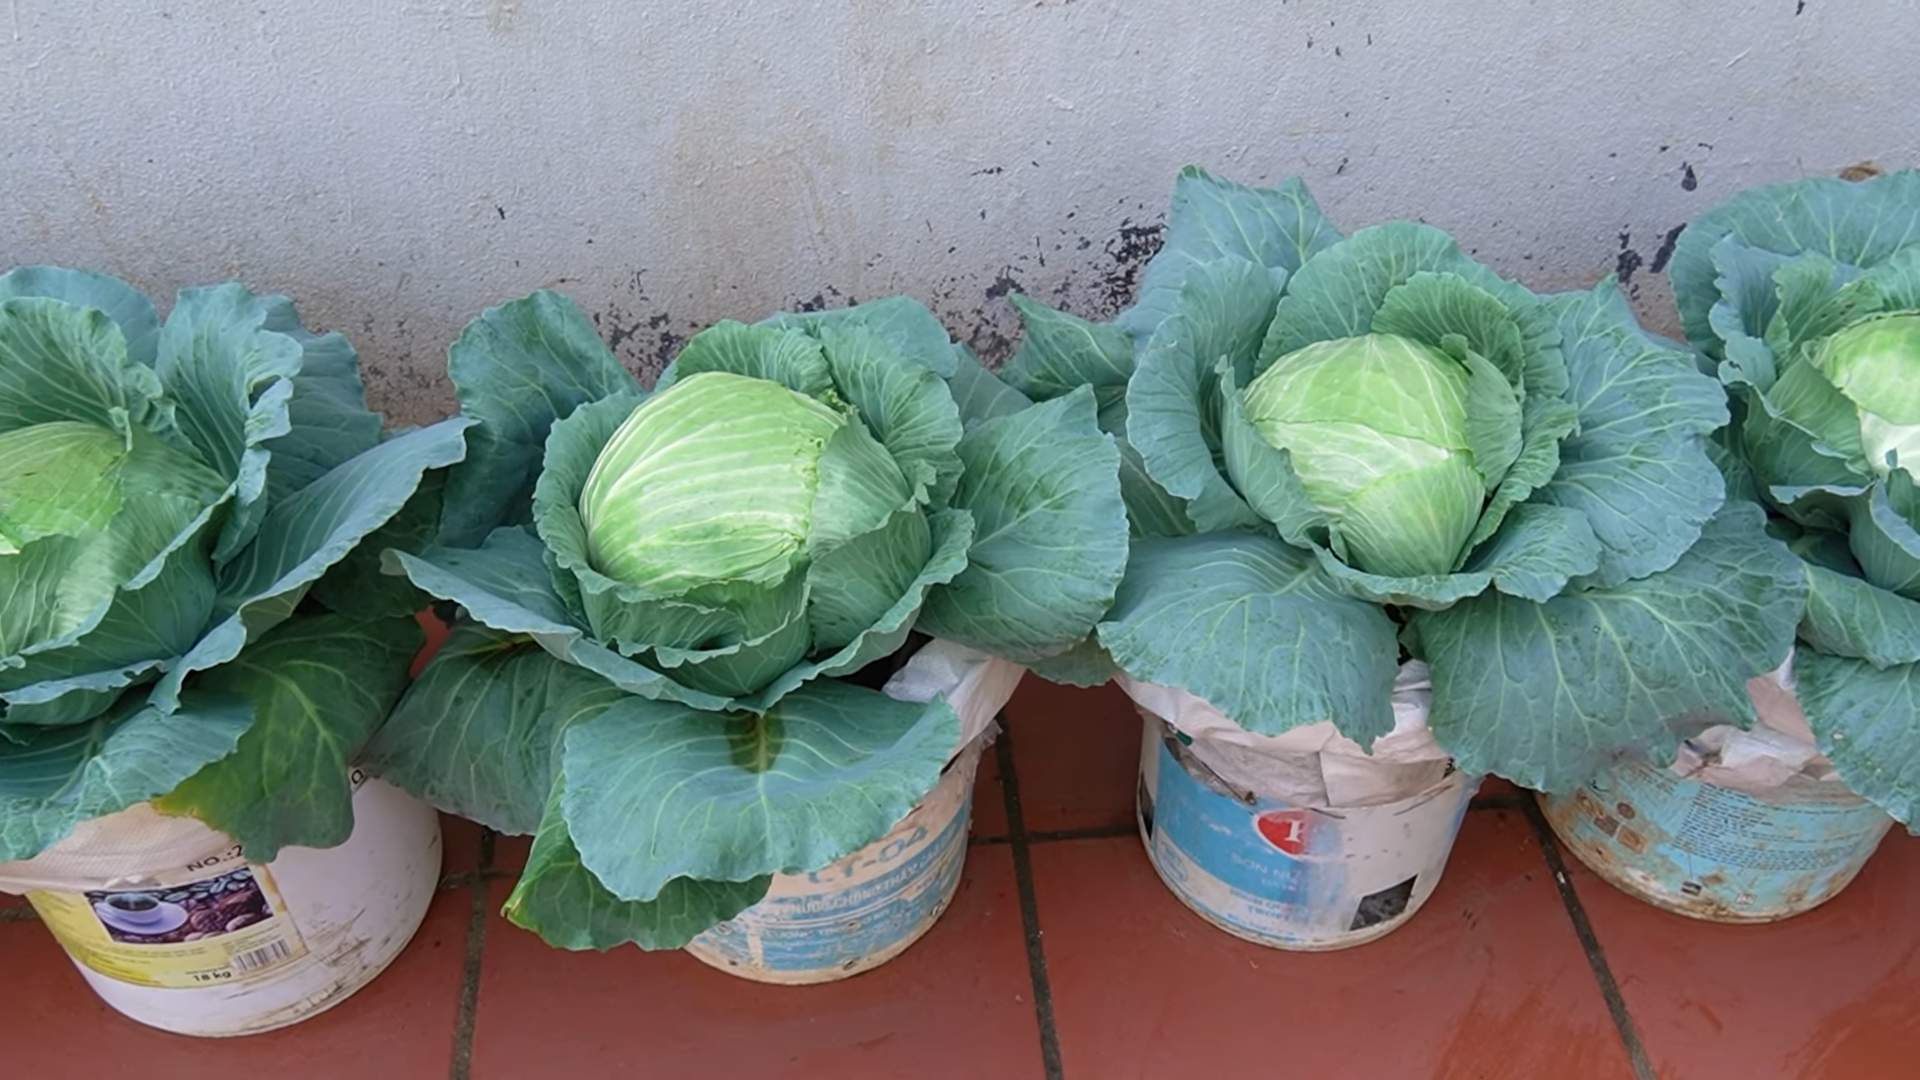
Soilless Cabbage Growing DIY: Imagine harvesting plump, juicy cabbages right from your balcony, even if you don’t have a traditional garden! Sounds like a dream? Well, it’s totally achievable with a soilless cabbage growing DIY project. For centuries, cabbage has been a staple in diets across the globe, from sauerkraut in Eastern Europe to kimchi in Korea. But what if I told you that you don’t need acres of land or even a backyard to enjoy this versatile vegetable?
That’s where soilless gardening, also known as hydroponics, comes in. This method allows you to grow plants without soil, using nutrient-rich water solutions instead. It’s perfect for urban dwellers, apartment residents, or anyone looking to maximize their yield in a small space. Plus, it can be incredibly rewarding to see your cabbages thrive in a controlled environment, free from soil-borne pests and diseases.
In this article, I’ll guide you through a simple and effective soilless cabbage growing DIY project that you can easily set up at home. We’ll cover everything from choosing the right hydroponic system to selecting the best cabbage varieties for soilless cultivation. Get ready to ditch the dirt and embrace a new way to grow your own delicious, homegrown cabbages!
DIY Soiless Cabbage Growing: A Beginner’s Guide
Hey there, fellow gardening enthusiasts! Ever thought about growing cabbage without getting your hands dirty in soil? Well, you’re in for a treat! I’m going to walk you through a super cool DIY project: growing cabbage using a soilless method, specifically hydroponics. It’s easier than you think, and the results are incredibly rewarding. Get ready to impress your friends and family with your hydroponically grown cabbage!
What You’ll Need
Before we dive in, let’s gather all the necessary materials. Trust me, having everything ready beforehand will make the whole process smoother and more enjoyable.
* Cabbage Seeds: Choose your favorite variety! I personally love the ‘Golden Acre’ for its compact size and early maturity, perfect for hydroponics.
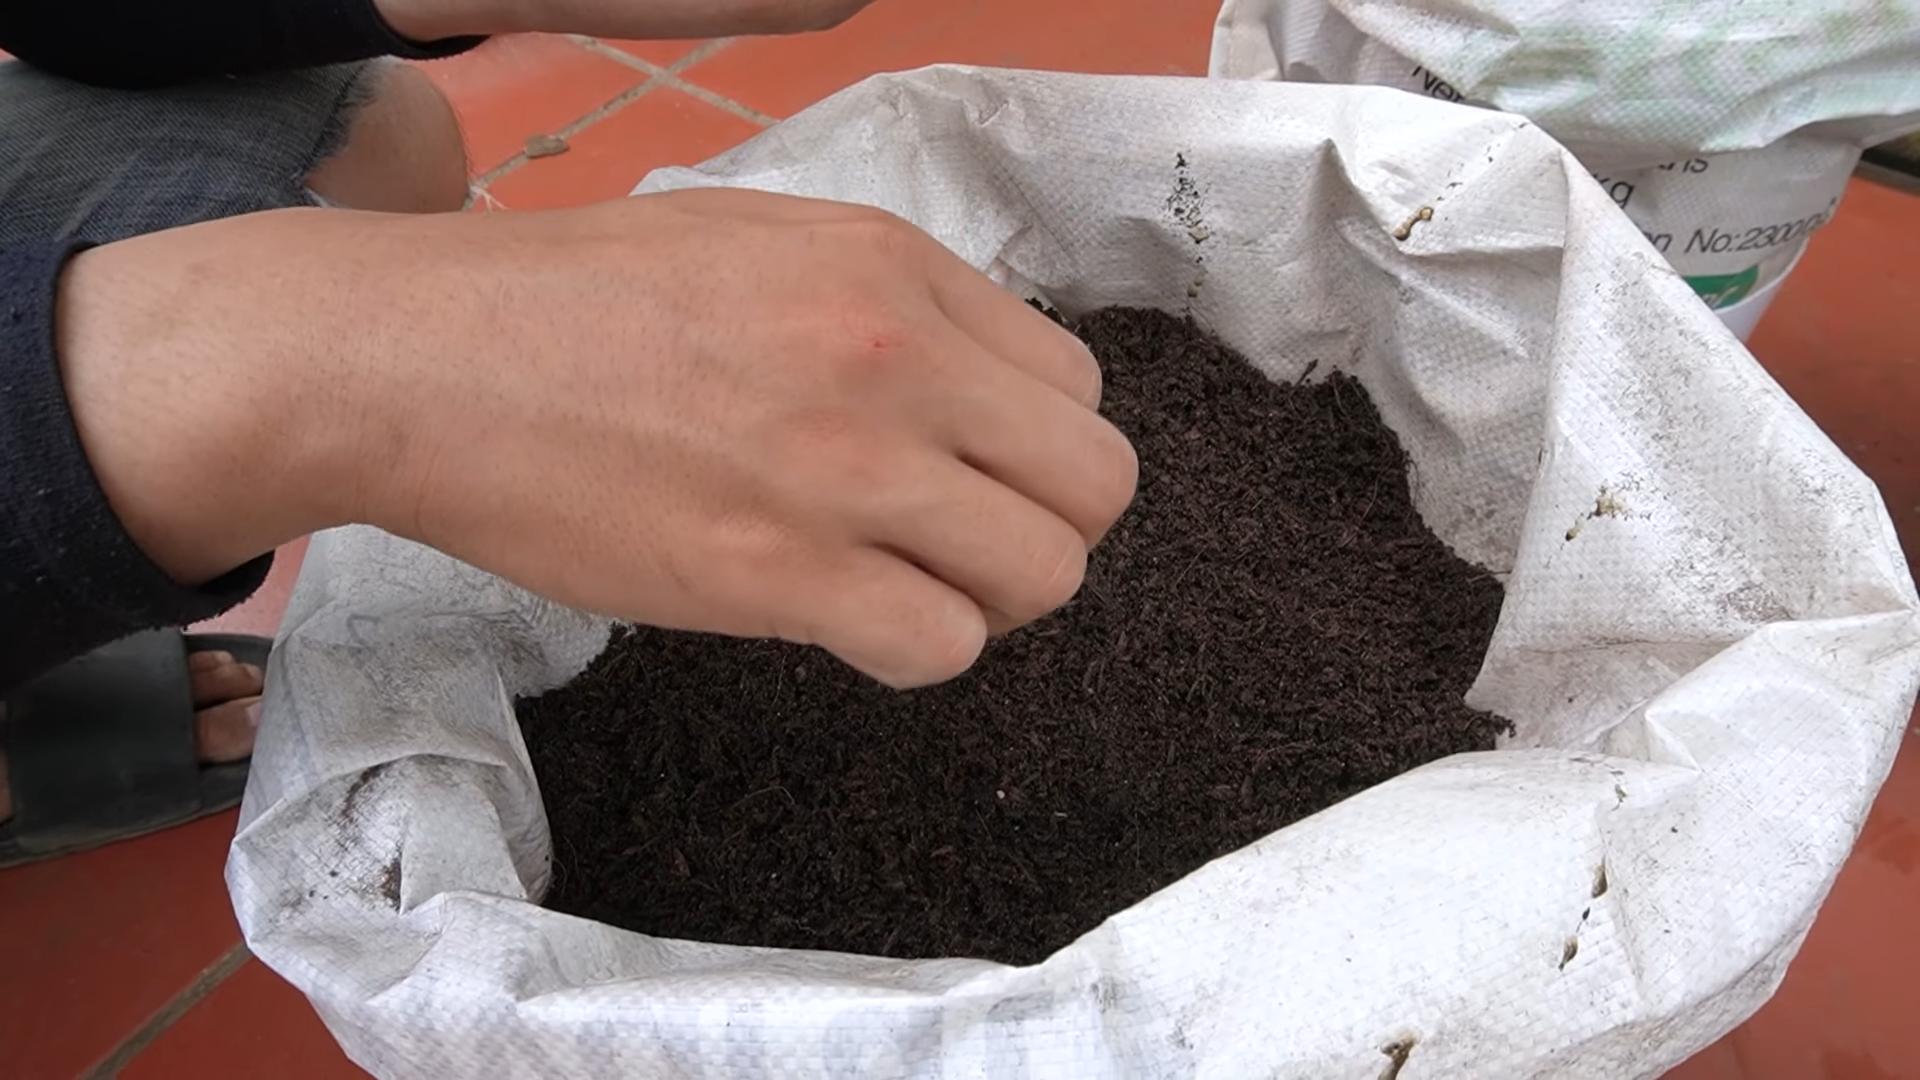
* Seed Starting Tray and Medium: Rockwool cubes, coco coir plugs, or even peat pellets work great for starting your seeds. I prefer rockwool because it’s inert and holds moisture well.
* Hydroponic System: You can buy a pre-made system, but where’s the fun in that? We’re going DIY! A simple Deep Water Culture (DWC) system is perfect for beginners. This consists of:
* A plastic container (5-gallon bucket or larger)
* A net pot (to hold the cabbage seedling)
* An air pump and air stone (to oxygenate the nutrient solution)
* Hydroponic nutrient solution (specifically formulated for leafy greens)
* pH Meter and TDS Meter: These are crucial for monitoring the nutrient solution.
* pH Up and pH Down Solutions: To adjust the pH of the nutrient solution.
* Grow Lights (Optional but Recommended): If you don’t have a sunny spot, grow lights will be your best friend. LED grow lights are energy-efficient and work wonders.
* Timer: To control the grow lights (if using).
* Measuring Cups and Spoons: For accurate nutrient mixing.
* Water: Use filtered or dechlorinated water for best results.
* Protective Gloves: To keep your hands clean and protected.
Section 1: Seed Starting
This is where our cabbage journey begins! Getting the seeds off to a good start is crucial for a healthy and productive hydroponic system.
1. Prepare Your Seed Starting Medium: If you’re using rockwool, soak the cubes in water with a pH of 5.5-6.0 for a few hours. This helps to saturate the rockwool and adjust its pH to the optimal range for seed germination. Coco coir plugs should also be soaked in water before use.
2. Sow the Seeds: Make a small indentation in the center of each rockwool cube or coco coir plug. Place 1-2 cabbage seeds in each indentation. Lightly cover the seeds with a bit of the medium.
3. Provide Moisture and Warmth: Place the seed starting tray in a warm location (around 70-75°F or 21-24°C). You can use a heat mat to provide bottom heat, which can speed up germination. Keep the medium consistently moist by misting it with water regularly. Don’t let it dry out!
4. Provide Light: Once the seeds germinate (usually within 3-7 days), provide them with light. If you’re using grow lights, position them a few inches above the seedlings. If you’re using natural light, place the tray in a sunny window.
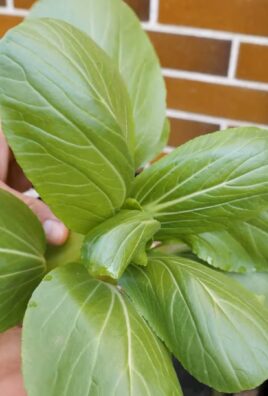
5. Thin the Seedlings: Once the seedlings have developed their first true leaves (the second set of leaves after the initial seed leaves), thin them to one seedling per cube or plug. Choose the strongest and healthiest seedling and gently snip off the others at the base.
Section 2: Building Your DWC System
Now, let’s get our hands dirty (well, not really, since it’s soilless!) and build our Deep Water Culture (DWC) system. This is where the magic happens!
1. Prepare the Container: Clean the plastic container thoroughly with soap and water. Rinse it well to remove any soap residue. This is important to prevent contamination of the nutrient solution.
2. Create a Hole for the Net Pot: Measure the diameter of your net pot. Using a drill or a utility knife, carefully cut a hole in the lid of the container that is slightly smaller than the diameter of the net pot. The net pot should fit snugly in the hole.
3. Assemble the Air Pump and Air Stone: Connect the air tubing to the air pump and the air stone. Place the air stone at the bottom of the container. The air stone will release bubbles, which oxygenate the nutrient solution and promote healthy root growth.
4. Fill the Container with Water: Fill the container with filtered or dechlorinated water, leaving a few inches of space at the top.
5. Add Nutrient Solution: This is where the pH and TDS meters come in handy. Follow the instructions on your hydroponic nutrient solution to mix the correct concentration. Start with a lower concentration than recommended and gradually increase it as the cabbage grows. Use the TDS meter to measure the nutrient concentration (EC or PPM). The ideal TDS for cabbage is typically between 800-1200 PPM.
6. Adjust the pH: Use the pH meter to measure the pH of the nutrient solution. The ideal pH for cabbage is between 6.0 and 6.5. Use pH Up or pH Down solutions to adjust the pH as needed. Add small amounts of the solutions at a time and re-measure the pH until it’s within the desired range.
Section 3: Transplanting and Growing
The moment we’ve been waiting for! Time to transplant our little cabbage seedlings into their new hydroponic home.
1. Prepare the Seedlings: Gently remove the cabbage seedlings from the seed starting tray. Be careful not to damage the roots.
2. Place the Seedling in the Net Pot: Place the rockwool cube or coco coir plug containing the seedling into the net pot. You can use some clay pebbles or hydroton to fill the space around the cube and provide support.
3. Position the Net Pot in the DWC System: Place the net pot into the hole in the lid of the container. The bottom of the rockwool cube or coco coir plug should be just touching the nutrient solution. This will allow the roots to grow down into the solution.
4. Provide Light and Air: Turn on the air pump to provide oxygen to the nutrient solution. If you’re using grow lights, turn them on and set the timer to provide 14-16 hours of light per day.
5. Monitor the Nutrient Solution: Regularly check the pH and TDS of the nutrient solution. Adjust as needed to maintain the optimal range. Change the nutrient solution every 1-2 weeks to prevent nutrient imbalances and the buildup of harmful bacteria.
6. Observe Your Cabbage: Keep an eye on your cabbage plants for any signs of nutrient deficiencies or pests. Adjust the nutrient solution or take other measures as needed.
Section 4: Maintenance and Troubleshooting
Growing hydroponically requires a bit of attention and care. Here are some tips for maintaining your system and troubleshooting common problems.
* Nutrient Deficiencies: Yellowing leaves, stunted growth, or other unusual symptoms can indicate nutrient deficiencies. Consult a nutrient deficiency chart to identify the specific deficiency and adjust the nutrient solution accordingly.
* pH Fluctuations: The pH of the nutrient solution can fluctuate over time due to nutrient uptake and other factors. Check the pH regularly and adjust as needed.
* Algae Growth: Algae can grow in the nutrient solution, especially if it’s exposed to light. To prevent algae growth, keep the container covered and use opaque materials. You can also add a small amount of hydrogen peroxide to the nutrient solution to kill algae.
* Root Rot: Root rot is a fungal disease that can affect hydroponically grown plants. It’s often caused by poor oxygenation or contaminated nutrient solution. To prevent root rot, ensure that the air pump is working properly and change the nutrient solution regularly.
* Pests: While hydroponics reduces the risk of soilborne pests, your cabbage can still be susceptible to aphids, spider mites, and other pests. Inspect your plants regularly and take action if you see any signs of infestation. You can use insecticidal soap or neem oil to control pests.
Section 5: Harvesting Your Cabbage
After all your hard work, it’s time to reap the rewards! Harvesting your hydroponically grown cabbage is a satisfying experience.
1. Check for Maturity: Cabbage is typically ready to harvest when the head is firm and compact. The size of the head will depend on the variety you’re growing.
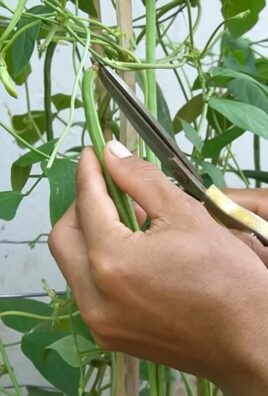
2. Harvesting: Use a sharp knife to cut the cabbage head from the stem. Leave a few outer leaves on the stem, as they may produce smaller side heads.
3. Enjoy Your Harvest: Your
Conclusion
So, there you have it! This soilless cabbage growing DIY method offers a fantastic alternative to traditional gardening, especially if you’re short on space, dealing with poor soil quality, or simply looking for a cleaner, more controlled growing environment. We’ve walked you through the steps, highlighting the benefits of hydroponics for cultivating crisp, healthy cabbages right at home.
Why is this a must-try? Because it’s efficient, rewarding, and surprisingly simple. Imagine harvesting plump, vibrant cabbages grown with minimal effort and maximum control over their nutrient intake. You’ll be amazed at the difference in taste and texture compared to store-bought varieties. Plus, you’ll be reducing your environmental impact by growing your own food locally.
But the beauty of this soilless cabbage growing DIY approach lies in its adaptability. Feel free to experiment with different nutrient solutions to find the perfect balance for your cabbages. You could even try different hydroponic systems, such as deep water culture (DWC) or nutrient film technique (NFT), to see which one works best for your space and preferences. Consider adding companion plants like marigolds or dill around your hydroponic setup to deter pests naturally. For a spicier kick, try growing red cabbage varieties alongside your regular green ones. The possibilities are endless!
Don’t be intimidated by the term “hydroponics.” This method is far more accessible than you might think. With a little bit of planning and a few readily available materials, you can transform your balcony, patio, or even a sunny windowsill into a thriving cabbage patch.
We wholeheartedly encourage you to give this soilless cabbage growing DIY project a try. It’s a fun, educational, and ultimately delicious way to connect with your food and enjoy the fruits (or rather, vegetables) of your labor. Once you’ve harvested your first batch of hydroponically grown cabbages, we’d love to hear about your experience! Share your photos, tips, and any variations you’ve tried in the comments below. Let’s build a community of soilless cabbage growers and learn from each other’s successes! Happy growing!
Frequently Asked Questions (FAQ)
What exactly is soilless cabbage growing, and why should I consider it?
Soilless cabbage growing, often referred to as hydroponics, is a method of cultivating cabbages without using traditional soil. Instead, the plants receive their nutrients from a water-based solution. This method offers several advantages, including faster growth rates, higher yields, reduced water consumption, and less susceptibility to soilborne diseases and pests. It’s an excellent option for urban gardeners, those with limited space, or anyone looking for a more sustainable and efficient way to grow their own food.
What kind of hydroponic system is best for growing cabbages?
Several hydroponic systems can be used for growing cabbages, but some are more suitable than others. Deep water culture (DWC) and nutrient film technique (NFT) are popular choices. DWC involves suspending the cabbage roots in a nutrient-rich solution, while NFT involves continuously flowing a thin film of nutrient solution over the roots. Wick systems are simpler and require less maintenance, making them a good option for beginners. Ultimately, the best system for you will depend on your budget, space constraints, and level of experience.
What type of nutrient solution should I use for my soilless cabbage growing DIY project?
You’ll need a balanced hydroponic nutrient solution specifically formulated for leafy greens or vegetables. These solutions typically contain essential macronutrients like nitrogen, phosphorus, and potassium, as well as micronutrients like iron, manganese, and zinc. You can purchase pre-mixed nutrient solutions online or at your local garden center. Be sure to follow the manufacturer’s instructions carefully when mixing and applying the solution. Regularly monitor the pH and EC (electrical conductivity) of the solution to ensure that it’s within the optimal range for cabbage growth. A pH between 6.0 and 6.5 is generally recommended.
How often should I change the nutrient solution?
The frequency of nutrient solution changes depends on the size of your system and the growth rate of your cabbages. As a general rule, you should change the solution every 1-2 weeks. However, it’s important to monitor the solution regularly and change it more frequently if it becomes cloudy, discolored, or if the pH or EC levels fluctuate significantly. Regularly topping off the reservoir with fresh water is also important to maintain the correct nutrient concentration.
What kind of lighting do cabbages need when grown hydroponically?
Cabbages require plenty of light to thrive, especially when grown indoors. If you’re growing your cabbages indoors, you’ll need to provide them with artificial lighting. LED grow lights are a popular choice because they are energy-efficient and produce a full spectrum of light that is beneficial for plant growth. Aim for at least 14-16 hours of light per day. If you’re growing your cabbages outdoors, make sure they receive at least 6-8 hours of direct sunlight per day.
How long does it take to grow cabbages hydroponically?
The time it takes to grow cabbages hydroponically depends on the variety, the growing conditions, and the size of the cabbage you want to harvest. Generally, you can expect to harvest your cabbages in 60-90 days from transplanting seedlings. Keep a close eye on your plants and harvest them when the heads are firm and compact.
What are some common problems I might encounter when growing cabbages hydroponically, and how can I prevent them?
Some common problems include nutrient deficiencies, pest infestations, and diseases. To prevent nutrient deficiencies, use a balanced hydroponic nutrient solution and monitor the pH and EC levels regularly. To prevent pest infestations, inspect your plants regularly for signs of pests and take action promptly if you find any. You can use organic pest control methods, such as insecticidal soap or neem oil. To prevent diseases, maintain good hygiene in your growing area and avoid overwatering. Ensure good air circulation to prevent fungal diseases.
Can I grow other vegetables alongside my cabbages in the same hydroponic system?
Yes, you can grow other vegetables alongside your cabbages, but it’s important to choose companion plants that have similar nutrient requirements and growth habits. Good companion plants for cabbages include lettuce, spinach, radishes, and herbs like dill and chamomile. Avoid planting cabbages with plants that are heavy feeders or that attract pests that also attack cabbages.
How do I harvest my hydroponically grown cabbages?
Harvest your cabbages when the heads are firm and compact. Use a sharp knife to cut the cabbage head from the stem, leaving a few outer leaves intact. You can store your harvested cabbages in the refrigerator for up to two weeks.
Is soilless cabbage growing DIY really worth the effort?
Absolutely! While it requires some initial setup and ongoing maintenance, the benefits of growing cabbages hydroponically far outweigh the effort. You’ll enjoy faster growth, higher yields, better control over nutrient intake, and a reduced risk of pests and diseases. Plus, you’ll have the satisfaction of growing your own fresh, healthy cabbages right at home. Give it a try, and you might just discover a new passion for hydroponic gardening!

Leave a Comment