
Grow Collard Greens Easily, even if you think you don’t have a green thumb! Have you ever dreamed of stepping outside your back door and harvesting fresh, vibrant greens for a delicious and healthy meal? I know I have! For generations, collard greens have been a staple in Southern cuisine, symbolizing prosperity and good fortune, especially around New Year’s. But you don’t have to be Southern to appreciate the incredible flavor and nutritional benefits of these leafy wonders.
The truth is, many people are intimidated by the thought of growing their own food. They imagine hours of back-breaking labor and complicated gardening techniques. But what if I told you that you could grow collard greens easily with just a few simple tricks and DIY hacks? That’s right! This article is packed with practical, easy-to-follow advice that will empower you to cultivate a thriving collard green patch, no matter your experience level.
Why is this important? Because fresh, homegrown collard greens taste infinitely better than anything you can buy at the store. Plus, you’ll know exactly what went into growing them – no harmful pesticides or chemicals. So, get ready to roll up your sleeves and discover the secrets to a bountiful collard green harvest. Let’s get growing!
Growing Collard Greens: A Beginner-Friendly DIY Guide
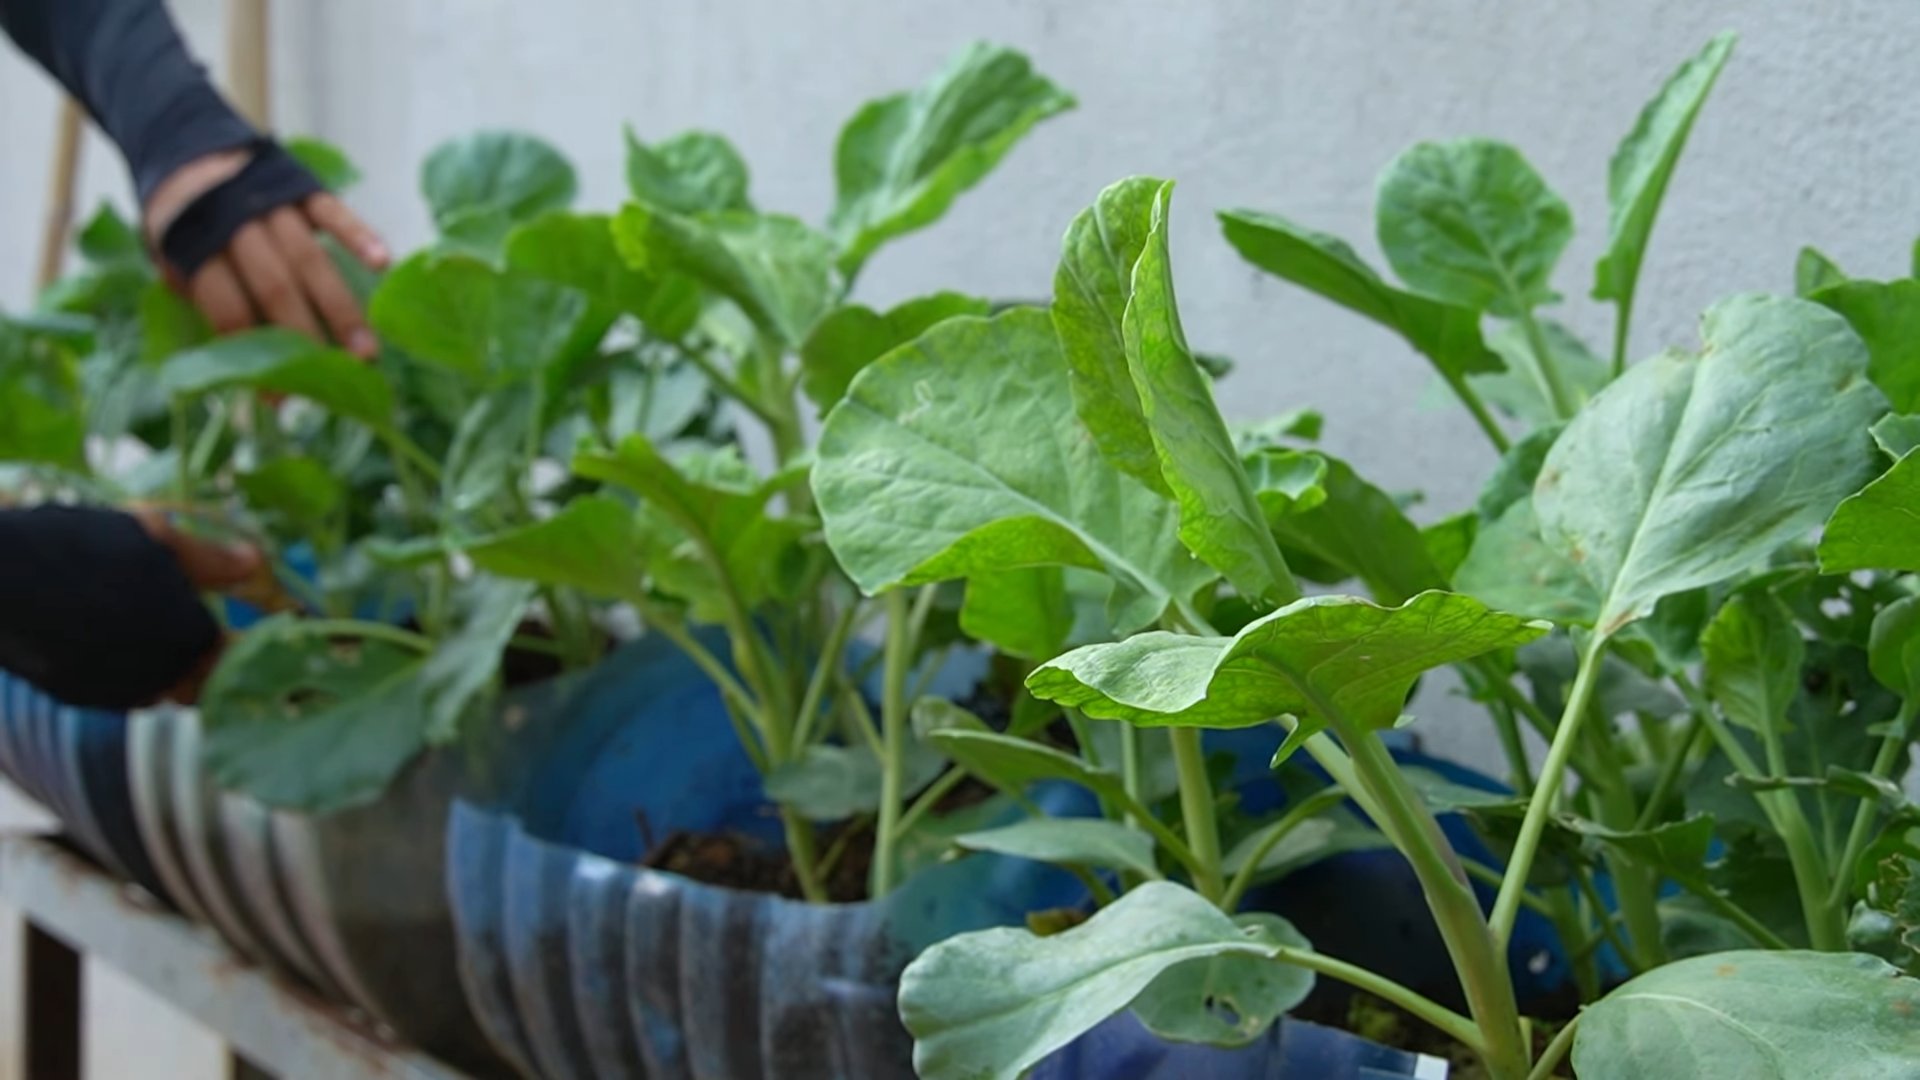
Hey there, fellow gardening enthusiasts! I’m so excited to share my tried-and-true method for growing collard greens. These leafy greens are not only delicious and nutritious but also surprisingly easy to cultivate, even if you’re a complete beginner. I’ve had great success with this method, and I’m confident you will too! Let’s get our hands dirty and grow some amazing collard greens.
Choosing Your Collard Green Variety
Before we dive into the nitty-gritty, let’s talk about choosing the right collard green variety for your garden. There are tons of options out there, each with its own unique characteristics. Here are a few of my favorites:
* Georgia Southern: This is a classic variety known for its large, slightly crumpled leaves and mild flavor. It’s a reliable choice and widely available.
* Vates: A compact variety that’s perfect for smaller gardens. It’s also cold-hardy, making it a great option for cooler climates.
* Champion: This variety is known for its disease resistance and high yields. It’s a good choice if you’ve had trouble with pests or diseases in the past.
* Top Bunch: A fast-growing variety that produces a large bunch of leaves in a short amount of time. If you’re impatient like me, this one’s for you!
* Blue Max: This variety has a beautiful blue-green color and a slightly sweeter flavor than other collard greens. It’s a real showstopper in the garden.
Consider your climate, garden size, and personal preferences when choosing a variety. You can even try growing a few different varieties to see which ones you like best!
Getting Started: Planting Your Collard Greens
Now that you’ve chosen your variety, it’s time to get planting! You can start collard greens from seed either indoors or directly in the garden. I usually prefer starting them indoors, especially if I want an early harvest.
Starting Seeds Indoors (Optional)
Starting seeds indoors gives you a head start on the growing season, especially if you live in a colder climate. Here’s how I do it:
1. Gather Your Supplies: You’ll need seed starting trays or small pots, seed starting mix, collard green seeds, a spray bottle, and a grow light (optional but recommended).
2. Prepare the Seed Starting Mix: Moisten the seed starting mix with water until it’s damp but not soggy.
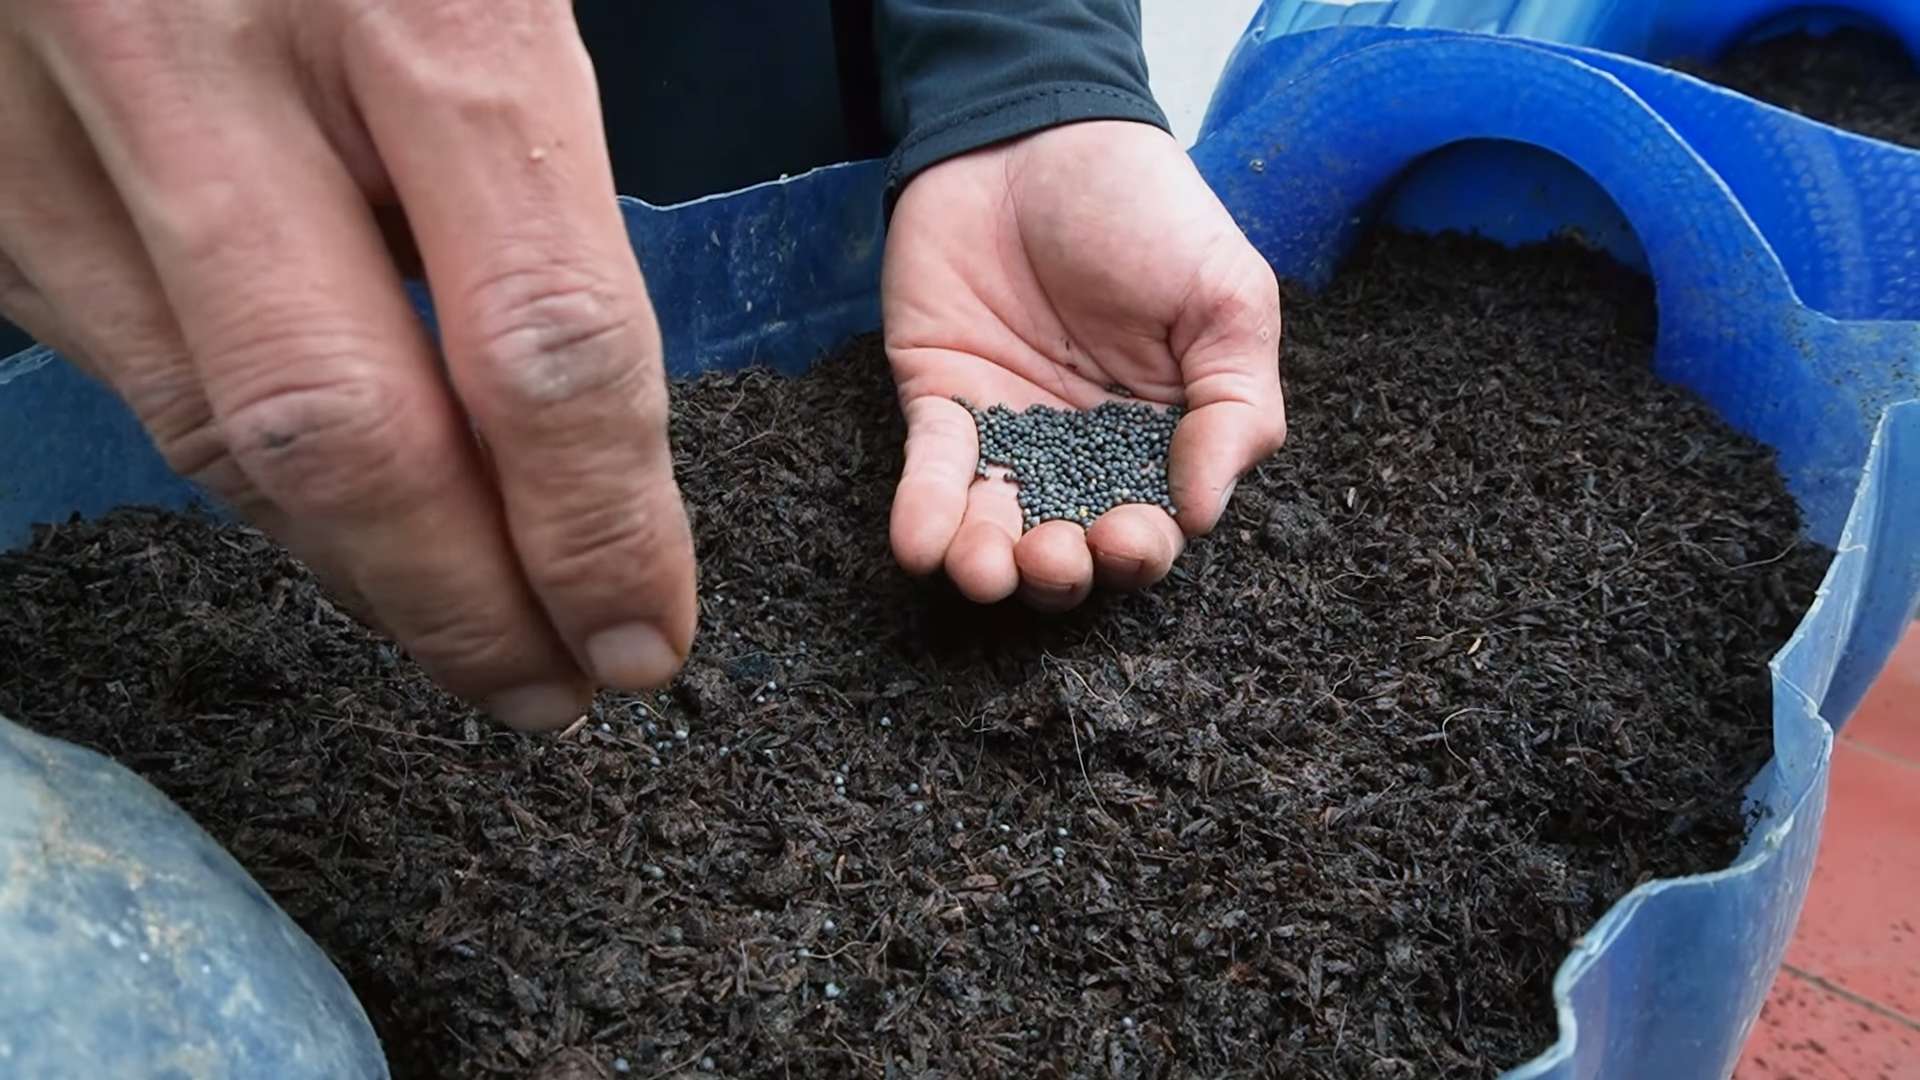
3. Sow the Seeds: Fill the trays or pots with the moistened mix and sow the seeds about 1/4 inch deep. I usually plant 2-3 seeds per cell or pot to increase my chances of germination.
4. Water Gently: Use a spray bottle to gently water the seeds. Avoid overwatering, as this can lead to rot.
5. Provide Light and Warmth: Place the trays or pots in a warm location (around 70-75°F) and provide plenty of light. A grow light is ideal, but a sunny windowsill can also work.
6. Keep the Soil Moist: Check the soil regularly and water as needed to keep it moist but not soggy.
7. Thin the Seedlings: Once the seedlings have emerged and have a few true leaves, thin them to one plant per cell or pot. Choose the strongest seedling and snip off the others at the soil line.
8. Harden Off the Seedlings: Before transplanting the seedlings outdoors, you’ll need to harden them off. This means gradually exposing them to outdoor conditions over a period of 7-10 days. Start by placing them in a sheltered location for a few hours each day, gradually increasing the amount of time they spend outdoors.
Direct Sowing in the Garden
If you live in a warmer climate or don’t want to bother with starting seeds indoors, you can direct sow collard green seeds in the garden.
1. Prepare the Soil: Choose a location that gets at least 6 hours of sunlight per day. Collard greens prefer well-drained soil that’s rich in organic matter. Amend the soil with compost or aged manure before planting.
2. Sow the Seeds: Sow the seeds about 1/2 inch deep and 1-2 inches apart in rows.
3. Water Gently: Water the seeds gently to moisten the soil.
4. Thin the Seedlings: Once the seedlings have emerged and have a few true leaves, thin them to 12-18 inches apart.
Transplanting Your Collard Greens
Whether you started your seeds indoors or purchased seedlings from a nursery, you’ll need to transplant them into the garden.
1. Choose a Cloudy Day: Transplanting on a cloudy day will help prevent the seedlings from getting stressed.
2. Prepare the Planting Holes: Dig holes that are slightly larger than the root balls of the seedlings. Space the holes 12-18 inches apart.
3. Remove the Seedlings from Their Containers: Gently remove the seedlings from their containers, being careful not to damage the roots.
4. Place the Seedlings in the Holes: Place the seedlings in the holes and backfill with soil.
5. Water Thoroughly: Water the seedlings thoroughly to help them settle in.
6. Mulch Around the Plants: Mulch around the plants with straw, wood chips, or other organic material to help retain moisture and suppress weeds.
Caring for Your Collard Greens
Once your collard greens are planted, it’s important to provide them with the care they need to thrive.
* Watering: Collard greens need consistent moisture, especially during hot, dry weather. Water deeply whenever the soil feels dry to the touch.
* Fertilizing: Collard greens are heavy feeders, so they benefit from regular fertilization. I like to use a balanced organic fertilizer every few weeks. You can also side-dress with compost or aged manure.
* Weeding: Keep the area around your collard greens free of weeds. Weeds compete with the plants for nutrients and water.
* Pest Control: Collard greens can be susceptible to pests such as aphids, cabbage worms, and flea beetles. Inspect your plants regularly and take action if you see any signs of infestation. I prefer to use organic pest control methods, such as insecticidal soap or neem oil.
* Disease Control: Collard greens can also be susceptible to diseases such as downy mildew and black rot. To prevent diseases, make sure to provide good air circulation and avoid overwatering. If you see any signs of disease, remove the affected leaves and treat the plants with a fungicide.
Harvesting Your Collard Greens
The best part of growing collard greens is, of course, harvesting them! You can start harvesting collard greens when the leaves are about 10-12 inches long.
1. Harvest the Outer Leaves: Harvest the outer leaves first, leaving the inner leaves to continue growing. This will allow you to harvest collard greens over a longer period of time.
2. Use a Sharp Knife or Scissors: Use a sharp knife or scissors to cut the leaves from the plant.
3. Wash the Leaves: Wash the leaves thoroughly to remove any dirt or debris.
4. Store the Leaves: Store the leaves in the refrigerator in a plastic bag or container. They will keep for several days.
Troubleshooting Common Problems
Even with the best care, you may encounter some problems when growing collard greens. Here are a few common issues and how to address them:
* Yellowing Leaves: Yellowing leaves can be a sign of nutrient deficiency, overwatering, or disease. Check the soil pH and nutrient levels, and adjust your watering schedule as needed. If you suspect disease, remove the affected leaves and treat the plants with a fungicide.
* Holes in Leaves: Holes in leaves are usually caused by pests such as cabbage worms or flea beetles. Inspect your plants regularly and take action if you see any signs of infestation.
* Stunted Growth: Stunted growth can be caused by a variety of factors, including poor soil, lack of sunlight, or pest infestation. Make sure your plants are getting enough sunlight and nutrients, and address any pest problems promptly.
* Bolting: Bolting is when the plant starts to produce flowers and seeds prematurely. This can happen if the plant is stressed by heat or drought. To prevent bolting, make sure to provide consistent moisture and shade during hot weather.
Enjoying Your Harvest
Now that you’ve harvested your collard greens, it’s time to enjoy them! Collard greens can be cooked in a variety of ways. Here are a few of my favorite recipes:
* Southern-Style Collard Greens: This is a classic recipe that involves simmering collard greens with ham hocks or bacon until they are tender and flavorful.
* Sautéed Collard Greens: Sautéed coll
Conclusion
So, there you have it! Growing collard greens doesn’t have to be a daunting task reserved for seasoned gardeners. With this simple, DIY trick, you can unlock a bountiful harvest of these nutritious and delicious leafy greens, even if you’re a complete beginner. The beauty of this method lies in its simplicity and adaptability. It minimizes common problems like soil erosion, weed competition, and inconsistent watering, allowing your collard greens to thrive with minimal effort.
Why is this a must-try? Because it’s effective, economical, and incredibly rewarding. Imagine stepping out into your garden and harvesting fresh, vibrant collard greens for your next meal. No more trips to the grocery store, no more worrying about pesticides or questionable growing practices. Just pure, homegrown goodness.
But the fun doesn’t stop there! Feel free to experiment with different varieties of collard greens. From the classic Georgia Southern to the more frilly Vates, each variety offers a unique flavor and texture. You can also adjust the spacing between your plants to suit your garden size and desired yield. Consider companion planting with herbs like rosemary or thyme to deter pests and enhance the flavor of your collard greens. Another variation is to use different types of organic mulch, such as straw or shredded leaves, to further enrich the soil and suppress weeds.
Don’t be afraid to get creative and personalize this DIY trick to fit your specific needs and preferences. The most important thing is to get started and experience the joy of growing your own food.
We are confident that this method will revolutionize your collard green growing experience. It’s a game-changer for both novice and experienced gardeners alike. It’s not just about growing collard greens; it’s about connecting with nature, nourishing your body, and enjoying the satisfaction of creating something beautiful and delicious with your own hands.
Now, it’s your turn! We encourage you to try this DIY trick and see the amazing results for yourself. Plant those seeds, nurture those seedlings, and watch your collard greens flourish. And most importantly, share your experience with us! We’d love to hear your success stories, your challenges, and any variations you’ve tried. Let’s build a community of collard green enthusiasts and learn from each other. Share your photos, tips, and tricks in the comments below. Let’s get growing!
Frequently Asked Questions (FAQs)
What type of soil is best for growing collard greens using this DIY trick?
Collard greens thrive in well-draining soil that is rich in organic matter. A slightly acidic to neutral pH (around 6.0 to 7.0) is ideal. Before planting, amend your soil with compost, aged manure, or other organic materials to improve its fertility and drainage. If your soil is heavy clay, consider adding sand or perlite to improve drainage. The DIY trick helps to create a more favorable soil environment by minimizing compaction and promoting aeration around the roots.
How often should I water my collard greens when using this method?
Watering frequency depends on your climate and soil type. Generally, collard greens need consistent moisture, especially during hot and dry periods. Aim to water deeply whenever the top inch of soil feels dry to the touch. Avoid overwatering, as this can lead to root rot. The DIY trick helps to retain moisture in the soil, reducing the need for frequent watering. Mulching around the plants further helps to conserve moisture and suppress weeds. Check the soil moisture regularly, especially during the first few weeks after planting, to ensure the seedlings are getting enough water.
What are some common pests and diseases that affect collard greens, and how can I prevent them?
Common pests that attack collard greens include aphids, cabbage worms, flea beetles, and slugs. Diseases include black rot, downy mildew, and clubroot. To prevent these problems, practice good garden hygiene, such as removing plant debris and weeds regularly. Use row covers to protect young plants from pests. Encourage beneficial insects, such as ladybugs and lacewings, which prey on aphids and other pests. If necessary, use organic insecticides, such as neem oil or insecticidal soap, to control pests. Choose disease-resistant varieties of collard greens and practice crop rotation to prevent soilborne diseases. The DIY trick can help to improve air circulation around the plants, reducing the risk of fungal diseases.
How long does it take for collard greens to mature and be ready for harvest?
Collard greens typically mature in 55 to 75 days from planting. You can start harvesting leaves as soon as they are large enough to eat, usually when they are about 8 to 10 inches long. Harvest the outer leaves first, allowing the inner leaves to continue growing. Regular harvesting encourages continued production. The DIY trick can help to accelerate growth by providing a favorable growing environment.
Can I grow collard greens in containers using this DIY trick?
Yes, you can definitely grow collard greens in containers using this DIY trick. Choose a large container that is at least 12 inches deep and wide to accommodate the plant’s root system. Use a well-draining potting mix and follow the same steps as you would for growing collard greens in the ground. Container-grown collard greens may require more frequent watering and fertilization than those grown in the ground. The DIY trick can help to improve drainage and aeration in containers, preventing waterlogging and root rot.
What are some good companion plants for collard greens?
Good companion plants for collard greens include herbs like rosemary, thyme, and sage, which deter pests. Marigolds also repel nematodes and other harmful insects. Onions and garlic can help to deter aphids and other pests. Legumes, such as beans and peas, can fix nitrogen in the soil, benefiting the collard greens. Avoid planting collard greens near other members of the brassica family, such as broccoli, cabbage, and cauliflower, as they can attract the same pests and diseases.
How do I store harvested collard greens to keep them fresh?
To store harvested collard greens, wash them thoroughly and remove any damaged or yellowing leaves. Wrap the leaves in a damp paper towel and place them in a plastic bag or container in the refrigerator. Collard greens can be stored for up to a week using this method. For longer storage, you can blanch and freeze the leaves.
What are some creative ways to use my homegrown collard greens?
Beyond the traditional Southern-style braised collard greens, there are many creative ways to use your homegrown harvest. Try adding them to soups, stews, and stir-fries. Use them as a wrap for fillings like rice and beans. Blend them into smoothies for a nutritious boost. Make collard green chips by baking them in the oven. Experiment with different seasonings and spices to create unique and flavorful dishes.
How does this DIY trick specifically help with growing collard greens compared to traditional methods?
This DIY trick offers several advantages over traditional methods. It improves soil drainage and aeration, reducing the risk of root rot. It helps to retain moisture in the soil, reducing the need for frequent watering. It suppresses weeds, minimizing competition for nutrients and water. It creates a more favorable growing environment for the plants, leading to healthier and more productive growth. It also minimizes soil erosion, which can be a problem in traditional gardening methods. By simplifying the growing process and minimizing common problems, this DIY trick makes it easier for anyone to grow collard greens successfully.
Can I use this DIY trick in raised beds or other types of gardens?
Absolutely! This DIY trick is highly adaptable and can be used in raised beds, container gardens, or any other type of garden. The principles remain the same: create a well-draining, nutrient-rich environment for your collard greens to thrive. Adjust the materials and techniques as needed to suit your specific garden setup. For example, in a raised bed, you may not need to worry as much about soil erosion, but you can still benefit from the improved drainage and weed suppression that this trick provides.
Leave a Comment