
Grow grapes at home? Absolutely! Imagine stepping into your backyard and plucking juicy, sun-ripened grapes straight from the vine. Sounds like a dream, right? Well, it’s a dream that can easily become a reality with a few simple tricks and a little DIY spirit. For centuries, grapes have been cultivated and cherished, not just for their delicious fruit, but also for their role in winemaking, a tradition deeply woven into the fabric of many cultures. From ancient Roman vineyards to the sprawling landscapes of Napa Valley, the allure of the grape has endured.
But you don’t need a sprawling vineyard to enjoy the fruits of your labor. This article is your ultimate guide to successfully grow grapes at home, even if you have limited space or gardening experience. I’m going to share some easy-to-follow DIY hacks that will help you cultivate healthy vines, maximize your yield, and enjoy a bountiful harvest. Whether you’re dreaming of homemade grape juice, delicious jams, or simply the satisfaction of growing your own food, these tips will set you on the path to grape-growing success. So, grab your gardening gloves, and let’s get started!
Growing Grapes at Home: A DIY Guide to Vineyard Dreams
Okay, so you want to grow grapes at home? Awesome! It’s totally doable, and honestly, there’s nothing quite like enjoying grapes you’ve nurtured yourself. It might seem intimidating at first, but trust me, with a little planning and effort, you can be harvesting your own delicious grapes in a few years. This guide will walk you through everything you need to know, from choosing the right variety to pruning like a pro. Let’s get started!
Choosing Your Grape Variety
This is a crucial first step, so don’t rush it! You need to consider your climate, the space you have available, and what you want to *do* with your grapes.
* Climate is Key: Different grape varieties thrive in different climates. Some are cold-hardy, while others need long, hot summers. Check your USDA plant hardiness zone to make sure the variety you choose is suitable for your area.
* Space Considerations: Grapevines need room to spread. Some varieties are more vigorous than others. If you have limited space, consider a less vigorous variety or plan to prune more aggressively.
* Intended Use: Are you planning to make wine, eat them fresh, or make juice or jelly? Different varieties are better suited for different purposes. Table grapes are generally larger and sweeter, while wine grapes have a higher sugar content and more complex flavors.
* Disease Resistance: Some grape varieties are more resistant to common grape diseases like powdery mildew and black rot. Choosing a disease-resistant variety can save you a lot of headaches (and fungicide!).
Some popular and relatively easy-to-grow grape varieties include:
* ‘Concord’: A classic American grape, great for juice, jelly, and eating fresh. It’s cold-hardy and relatively disease-resistant.
* ‘Niagara’: Another American grape, similar to Concord but with a lighter, sweeter flavor.
* ‘Reliance’: A seedless table grape that’s very cold-hardy.
* ‘Thompson Seedless’: The most popular seedless table grape, but it needs a long, hot growing season.
* ‘Cabernet Sauvignon’: A popular red wine grape, but it needs a warm climate.
* ‘Chardonnay’: A popular white wine grape, also needs a warm climate.
Once you’ve considered these factors, do some research and choose a variety that’s right for you. Local nurseries are a great resource for finding varieties that thrive in your area.
Preparing the Planting Site
Grapes need a sunny spot with well-drained soil. Seriously, well-drained soil is non-negotiable. They hate having wet feet!
* Sunlight: Grapes need at least 6-8 hours of direct sunlight per day. The more sun, the better!
* Soil Drainage: Perform a drainage test. Dig a hole about a foot deep and fill it with water. If the water doesn’t drain within 24 hours, you have drainage problems. You’ll need to amend the soil or choose a different location.
* Soil pH: Grapes prefer a slightly acidic soil pH of around 6.0-7.0. You can test your soil pH with a soil testing kit. If your soil is too alkaline, you can amend it with sulfur. If it’s too acidic, you can add lime.
* Soil Preparation: Clear the area of weeds, grass, and rocks. Dig a hole that’s twice as wide and as deep as the root ball of your grape vine. Amend the soil with compost or other organic matter to improve drainage and fertility.
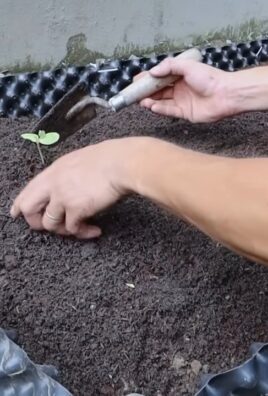
Planting Your Grapevine
Now for the fun part!
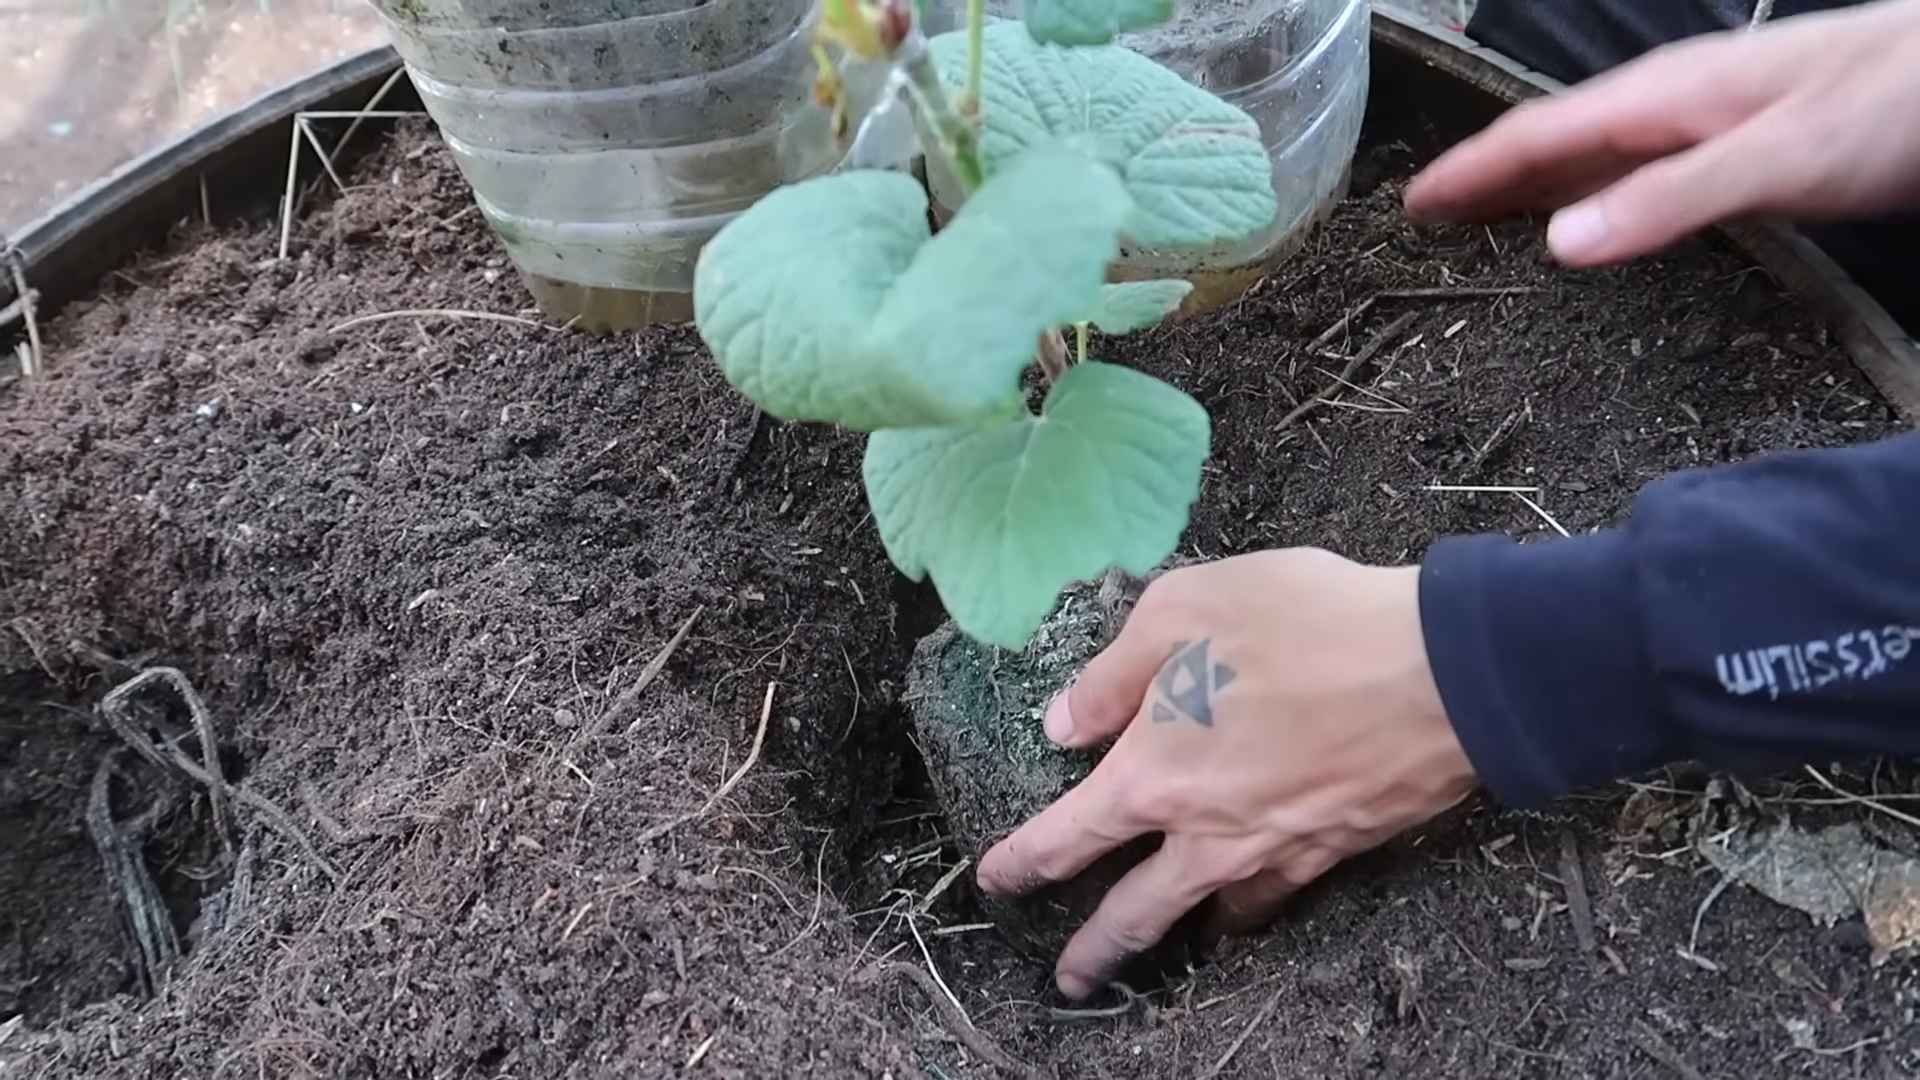
1. Soak the Roots: Before planting, soak the roots of your grapevine in water for about an hour. This will help rehydrate them.
2. Position the Vine: Carefully remove the grapevine from its container and gently loosen the roots. Place the vine in the hole, making sure the top of the root ball is level with the ground.
3. Backfill the Hole: Backfill the hole with the amended soil, gently tamping it down as you go.
4. Water Thoroughly: Water the newly planted grapevine thoroughly.
5. Mulch: Apply a layer of mulch around the base of the vine to help retain moisture and suppress weeds. Keep the mulch a few inches away from the trunk of the vine to prevent rot.
6. Support System: Install a support system for your grapevine. This could be a trellis, a fence, or a post. Grapevines need support to grow properly. I personally prefer a simple two-wire trellis system.
Training and Pruning Your Grapevine
This is where things get a little more complicated, but don’t worry, I’ll break it down for you. Training and pruning are essential for shaping your grapevine and maximizing fruit production.
* Training: Training refers to the process of guiding the growth of your grapevine. The goal is to establish a strong framework of permanent branches (the trunk and cordons) that will support the fruiting canes.
* Pruning: Pruning is the process of removing unwanted growth. It’s essential for controlling the size and shape of the vine, improving air circulation, and promoting fruit production.
There are several different training systems you can use, but I recommend the “bilateral cordon” system for beginners. It’s relatively easy to learn and maintain.
Year 1: Establishing the Trunk
1. Planting Time: After planting, cut the grapevine back to just two or three buds. This may seem drastic, but it will encourage strong root growth.
2. Spring Growth: As the vine begins to grow, select the strongest shoot and remove the others.
3. Training the Trunk: Tie the selected shoot to the support system (trellis wire or stake) as it grows.
4. Pinching: Once the shoot reaches the desired height (usually the height of the bottom wire of your trellis), pinch off the tip to encourage lateral growth.
Year 2: Establishing the Cordons
1. Dormant Pruning: In late winter or early spring, before the buds begin to swell, prune the vine back to the strongest cane. Cut it off just above the bottom wire of your trellis.
2. Selecting Cordons: As the vine begins to grow, select two strong shoots that are growing in opposite directions along the wire. These will become your cordons.
3. Training the Cordons: Tie the cordons to the wire as they grow.
4. Pinching: Once the cordons reach the desired length (usually about half the distance between vines), pinch off the tips to encourage lateral growth.
Year 3 and Beyond: Fruiting and Maintenance Pruning
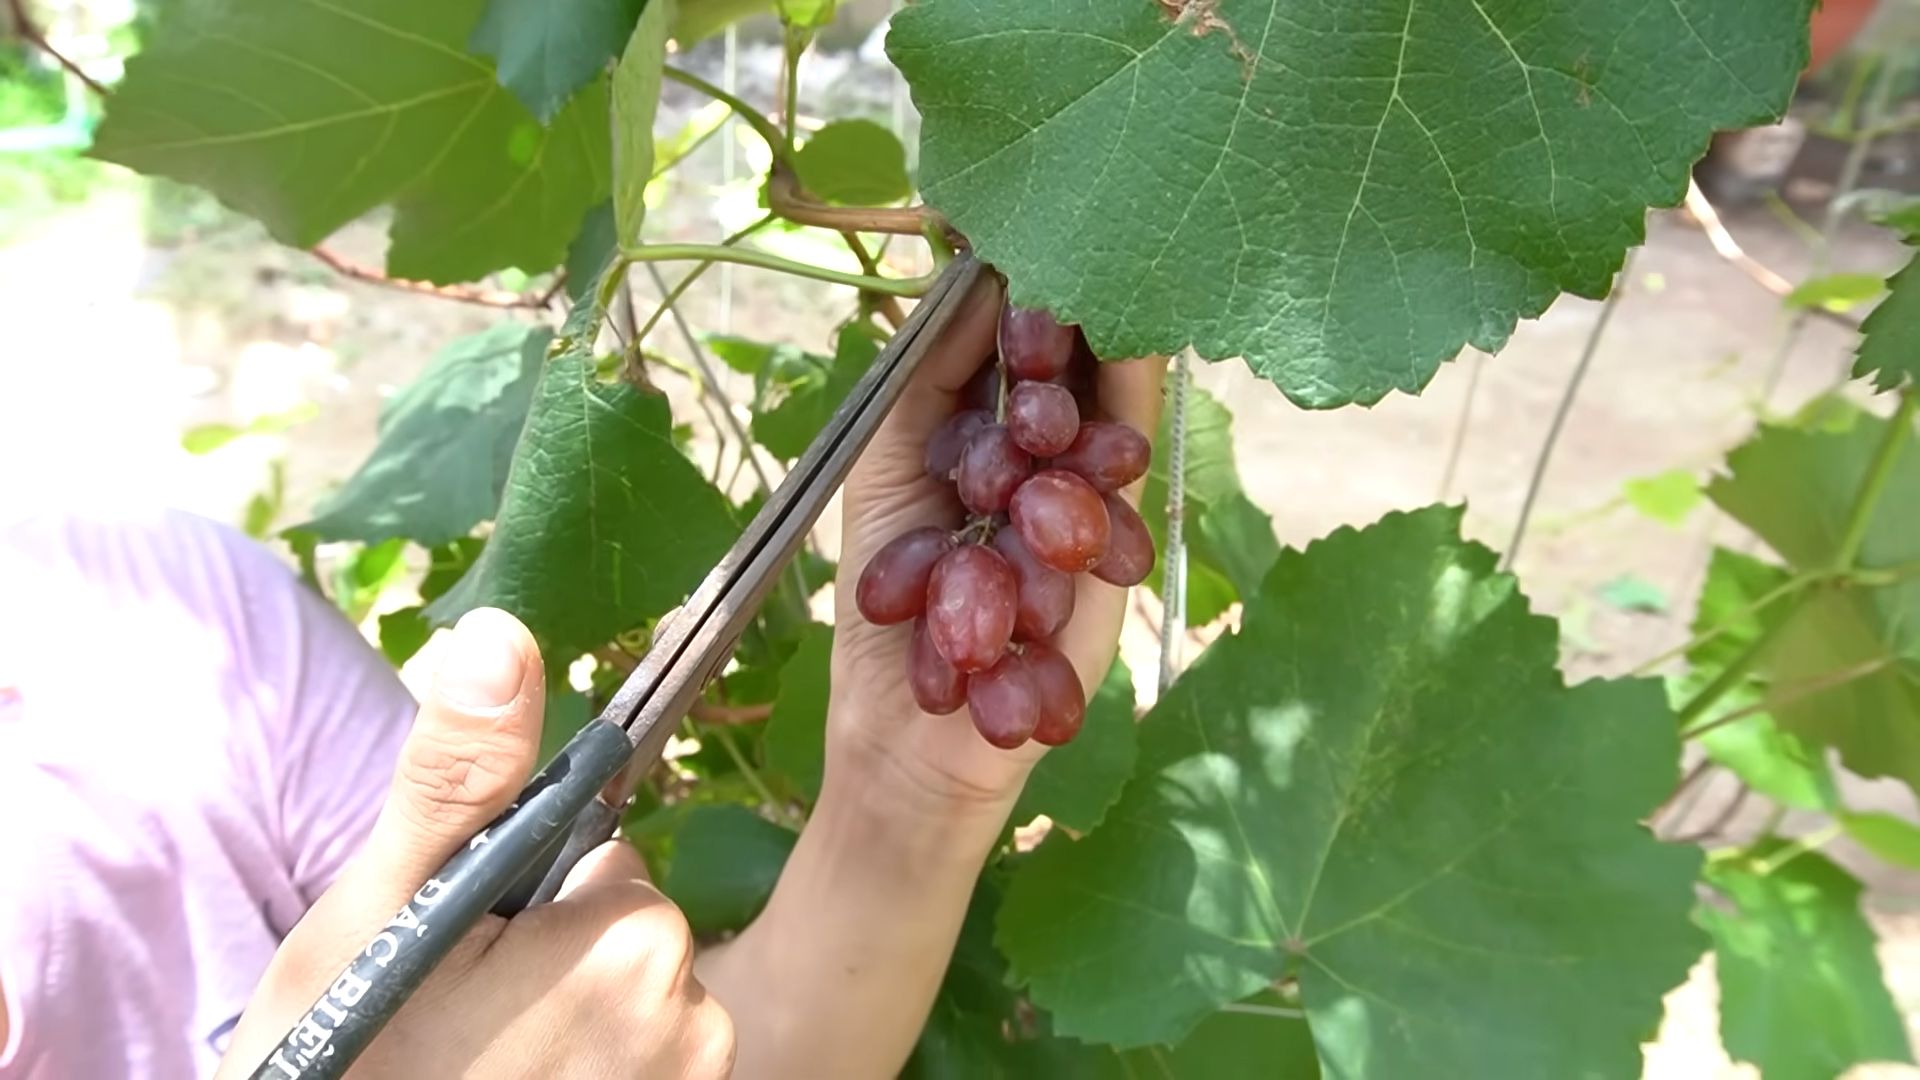
1. Dormant Pruning: This is the most important pruning of the year. The goal is to remove excess growth and select the fruiting canes for the upcoming season.
2. Selecting Fruiting Canes: Choose canes that are about the thickness of a pencil and have 6-10 buds. These are the canes that will produce fruit.
3. Spur Pruning: Cut back the selected canes to just 2-3 buds. These short canes are called spurs.
4. Removing Excess Growth: Remove all other canes and shoots, leaving only the spurs.
5. Summer Pruning: During the growing season, you may need to do some light pruning to remove excess foliage and improve air circulation. Remove any suckers (shoots that grow from the base of the vine) and water sprouts (vigorous, non-fruiting shoots).
Pruning can seem complicated, but the key is to understand the basic principles. Remember, you’re trying to create a balanced vine that produces plenty of fruit without becoming overgrown. There are tons of great resources online and in libraries that can help you learn more about grape pruning. Don’t be afraid to experiment and see what works best for you.
Watering and Fertilizing
Grapes need consistent watering, especially during dry periods.
* Watering: Water deeply and regularly, especially during the first year. Once the vine is established, you can water less frequently, but make sure the soil doesn’t dry out completely.
* Fertilizing: Fertilize your grapevine in the spring with a balanced fertilizer. Avoid over-fertilizing, as this can lead to excessive vegetative growth and reduced fruit production. A soil test can help you determine what nutrients your soil is lacking.
Pest and Disease Control
Grapes are susceptible to a variety of pests and diseases.
* Common Pests: Japanese beetles, grape phylloxera, and spider mites are common grape pests.
* Common Diseases: Powdery mildew, black rot, and downy mildew are common grape diseases.
* Prevention: The best way to control pests and diseases is to prevent them in the first place. Choose disease-
Conclusion
So, there you have it! Growing grapes at home might seem daunting at first, but with a little patience, the right knowledge, and this simple DIY trick, you’ll be well on your way to harvesting your own delicious, juicy grapes. This isn’t just about saving money; it’s about connecting with nature, understanding the process of food production, and enjoying the unparalleled satisfaction of eating something you nurtured from the very beginning.
This method, focusing on [insert specific method from main article, e.g., propagation from cuttings], offers a fantastic alternative to purchasing expensive vines. It’s a cost-effective, environmentally friendly, and surprisingly rewarding experience. Imagine the pride you’ll feel when you serve a cheese platter adorned with grapes you grew yourself, or when you bottle your own homemade grape juice or even venture into the world of winemaking!
But the beauty of this DIY project lies in its adaptability. Feel free to experiment with different grape varieties suited to your climate. Perhaps you’d like to try a seedless variety for easy snacking, or a specific wine grape known for its unique flavor profile. You can also adjust the [mention specific aspect of the DIY trick, e.g., rooting medium] to see what works best in your particular environment. Some gardeners have found success adding a touch of [mention a specific amendment, e.g., bone meal] to the soil to boost root development. Don’t be afraid to get creative and tailor the process to your specific needs and preferences.
This DIY grape growing trick is a game-changer for any home gardener looking to expand their fruit-growing repertoire. It’s a sustainable, economical, and incredibly fulfilling way to enjoy the fruits (literally!) of your labor.
We wholeheartedly encourage you to give this a try. The initial investment is minimal, and the potential rewards are immense. Picture yourself enjoying the shade of your own grape arbor, laden with clusters of sweet, sun-ripened grapes. It’s a dream that’s well within your reach.
And most importantly, we want to hear about your experiences! Did this DIY trick work for you? What challenges did you encounter, and how did you overcome them? What variations did you try? Share your stories, tips, and photos in the comments below. Let’s build a community of home grape growers and learn from each other’s successes and failures. Together, we can unlock the secrets to growing abundant, delicious grapes right in our own backyards. So, grab your gardening gloves, get ready to get your hands dirty, and embark on this exciting journey of growing grapes at home!
Frequently Asked Questions (FAQ)
What are the best grape varieties to grow at home?
The best grape varieties to grow at home depend largely on your climate. Different grapes thrive in different temperature ranges and humidity levels. For cooler climates, consider varieties like ‘Reliance’ (seedless), ‘Concord’ (classic grape juice flavor), or ‘Niagara’ (white grape). In warmer climates, ‘Thompson Seedless’ (table grape), ‘Flame Seedless’ (red table grape), or ‘Muscadine’ (unique flavor and texture) are good options. Research which varieties are known to perform well in your specific region and consider factors like disease resistance and ripening time. Local nurseries and agricultural extension offices are excellent resources for this information.
How long does it take for a grape vine to produce fruit after planting?
Generally, it takes about three years for a grape vine to produce a significant crop of fruit after planting. The first year is focused on root development, and you might see a few grapes, but it’s best to prune them off to encourage stronger growth. The second year, you’ll likely see more grapes, but the yield will still be relatively small. By the third year, you should have a more substantial harvest. However, this timeline can vary depending on the grape variety, the growing conditions, and the care you provide. Consistent watering, proper fertilization, and regular pruning are crucial for maximizing fruit production.
What kind of soil is best for growing grapes?
Grapes prefer well-drained soil that is slightly acidic to neutral (pH 6.0-7.0). Good drainage is essential because grape vines are susceptible to root rot in soggy conditions. The soil should also be relatively fertile, but avoid overly rich soils, as this can lead to excessive foliage growth at the expense of fruit production. Before planting, it’s a good idea to conduct a soil test to determine the pH and nutrient levels. Amend the soil as needed with compost, well-rotted manure, or other organic matter to improve drainage, fertility, and water retention. Sandy loam soils are often considered ideal for grape growing.
How much sun do grape vines need?
Grape vines need at least 6-8 hours of direct sunlight per day to thrive and produce a good crop of fruit. Sunlight is essential for photosynthesis, which provides the energy the vine needs to grow and ripen the grapes. Choose a planting location that receives full sun throughout the day, especially during the growing season. If your grape vine is shaded for a significant portion of the day, it will likely produce fewer grapes, and the grapes that do develop may be smaller and less flavorful.
How often should I water my grape vines?
Watering frequency depends on the climate, soil type, and the age of the vine. Young grape vines need more frequent watering than established vines. In general, water deeply but infrequently, allowing the soil to dry out slightly between waterings. During the first year, water newly planted vines every few days, especially during hot, dry weather. Once the vines are established, water them deeply once a week or every two weeks, depending on rainfall. Avoid overwatering, as this can lead to root rot. A good rule of thumb is to water when the top inch or two of soil feels dry to the touch. During periods of drought, you may need to water more frequently.
What are some common pests and diseases that affect grape vines, and how can I control them?
Grape vines are susceptible to a variety of pests and diseases, including Japanese beetles, grape phylloxera, powdery mildew, downy mildew, and black rot. Regular monitoring of your vines is crucial for early detection and control. For pests like Japanese beetles, handpicking or using insecticidal soap can be effective. Grape phylloxera is a more serious pest that attacks the roots; using resistant rootstocks is the best prevention. For fungal diseases like powdery mildew, downy mildew, and black rot, good air circulation, proper pruning, and the application of fungicides can help. Choose disease-resistant grape varieties whenever possible. Organic options like copper-based fungicides and neem oil can also be used. Consult your local agricultural extension office for specific recommendations on pest and disease control in your area.
How do I prune grape vines?
Pruning is essential for maintaining the health and productivity of grape vines. It helps to control the size and shape of the vine, improve air circulation, and promote fruit production. The best time to prune grape vines is during the dormant season, typically in late winter or early spring before the buds begin to swell. There are different pruning methods, such as cane pruning and spur pruning, depending on the grape variety and the training system. Cane pruning involves removing most of the previous year’s growth and leaving only a few canes with a certain number of buds. Spur pruning involves cutting back the previous year’s growth to short spurs with a few buds each. Research the specific pruning requirements for your grape variety and follow a consistent pruning schedule each year.
Can I grow grapes in containers?
Yes, you can grow grapes in containers, but it requires careful attention to watering, fertilization, and pruning. Choose a large container (at least 20 gallons) with good drainage. Select a grape variety that is well-suited for container growing, such as dwarf or compact varieties. Use a well-draining potting mix and provide regular watering and fertilization. Container-grown grape vines tend to dry out more quickly than those planted in the ground, so monitor the soil moisture closely. Prune the vines regularly to control their size and shape. Container-grown grapes may also require more frequent repotting as they grow.
How do I know when my grapes are ripe?
Determining when grapes are ripe requires a combination of visual cues, taste testing, and measuring sugar levels. Look for changes in color; grapes will typically become more vibrant and uniform in color as they ripen. The grapes should also feel slightly soft to the touch. Taste testing is the most reliable way to determine ripeness; the grapes should be sweet and flavorful, with a good balance of acidity. You can also use a refractometer to measure the sugar content (Brix) of the grape juice. The ideal Brix level will vary depending on the grape variety and your personal preference.
Leave a Comment