
Growing Sweet Potatoes Indoors might sound like a challenge reserved for seasoned gardeners, but trust me, it’s a surprisingly rewarding and accessible project for anyone! Have you ever imagined harvesting your own sweet potatoes right from the comfort of your home? It’s not just a whimsical dream; it’s a tangible reality with the right know-how. For centuries, sweet potatoes have been a staple crop in many cultures, revered not only for their delicious flavor but also for their nutritional value. From the indigenous peoples of South America, where they originated, to their widespread cultivation across Asia and Africa, sweet potatoes have nourished communities for generations.
But why bother growing them indoors? Well, for starters, it extends your growing season, allowing you to enjoy fresh sweet potatoes even when the weather outside is frightful. Plus, it’s a fantastic way to add a touch of green to your living space and connect with nature, especially if you have limited outdoor space. Many people struggle with the misconception that growing sweet potatoes indoors is complicated or requires specialized equipment. That’s where this DIY guide comes in! I’m here to demystify the process and provide you with simple, step-by-step instructions and clever hacks to ensure your indoor sweet potato adventure is a resounding success. Get ready to roll up your sleeves and discover the joy of homegrown goodness!

Growing Sweet Potatoes Indoors: A DIY Guide to Bountiful Vines and Maybe Even a Few Spuds!
Okay, let’s be honest. Growing sweet potatoes entirely indoors for a massive harvest of edible tubers is a bit of a challenge. But growing beautiful, trailing sweet potato vines indoors? Totally doable! And who knows, with the right conditions, you might even get a few small sweet potatoes to enjoy. This guide focuses on the fun of growing the vines and the *potential* for a small harvest. I’m going to walk you through everything you need to know.
What You’ll Need
Before we dive in, let’s gather our supplies. This is a pretty straightforward project, so you probably have a lot of this stuff already!
* A Sweet Potato: Organic is best, as non-organic potatoes are sometimes treated to prevent sprouting. Choose one that’s firm and healthy-looking.
* A Wide-Mouthed Jar or Glass: Something that can hold the sweet potato with the bottom submerged in water.
* Toothpicks: These will act as supports to suspend the sweet potato.
* Water: Tap water is fine.
* Potting Soil: A well-draining mix is crucial if you plan to pot the slips (sprouts).
* A Pot with Drainage Holes: Choose a pot that’s at least 12 inches in diameter for each slip you intend to plant.
* Grow Lights (Optional but Recommended): Especially if you don’t have a super sunny window.
* Liquid Fertilizer (Optional): For feeding your vines once they’re established.
Sprouting Your Sweet Potato: The Water Method
This is the most common and visually appealing method for starting sweet potato slips. It’s like a science experiment and a decoration all in one!
1. Prepare the Sweet Potato: Give your sweet potato a good wash to remove any dirt. This helps prevent mold growth later on.
2. Insert the Toothpicks: Insert 3-4 toothpicks around the middle of the sweet potato, spacing them evenly. These will rest on the rim of your jar.
3. Submerge the Bottom Half: Fill your jar with water. Position the sweet potato so that the bottom half (the end with more “eyes” or potential sprouting points) is submerged in the water. The top half should remain dry.
4. Find a Sunny Spot: Place the jar in a warm, sunny location. A windowsill is ideal, but avoid direct, scorching sunlight, especially during the hottest part of the day.
5. Change the Water Regularly: Change the water every 2-3 days to prevent algae growth and keep things fresh.
6. Be Patient: It can take several weeks for sprouts (slips) to emerge. Don’t give up! You should start seeing small roots growing from the bottom and sprouts appearing on the top.
From Sprouts to Slips: Getting Ready to Plant
Once your sweet potato has produced healthy sprouts, it’s time to encourage them to grow into slips that can be planted.
1. Let the Sprouts Grow: Allow the sprouts to grow to about 6-8 inches long. They should have several leaves.
2. Separate the Slips (Two Options): You have two options for separating the slips:
* Option 1: Twisting and Rooting in Water: Gently twist the slips off the sweet potato. Place them in a glass of water, making sure the bottom inch or two of the stem is submerged. Roots will develop in a few days. This is my preferred method as it gives the slips a stronger start.
* Option 2: Direct Planting: Carefully twist the slips off the sweet potato and plant them directly into your prepared pots. Keep the soil consistently moist. This method can be a bit riskier, as the slips might not root as readily.
3. Rooting the Slips (If Using Option 1): Change the water in the glass every 1-2 days. You should see roots developing within a week. Once the roots are about an inch long, the slips are ready to be planted.
Planting Your Sweet Potato Slips: Giving Them a Home
Now for the fun part – planting your slips and watching them grow!
1. Prepare Your Pots: Fill your pots with well-draining potting soil. Leave about an inch of space at the top of the pot.
2. Plant the Slips: Gently dig a small hole in the soil for each slip. If you rooted your slips in water, carefully remove them from the glass and plant them in the hole, covering the roots with soil. If you’re planting directly, insert the bottom of the slip into the hole.
3. Water Thoroughly: Water the newly planted slips thoroughly. Make sure the soil is evenly moist but not waterlogged.
4. Provide Light: Place the pots in a sunny location or under grow lights. Sweet potatoes need plenty of light to thrive. If using grow lights, aim for 12-16 hours of light per day.
Caring for Your Indoor Sweet Potato Vines: Keeping Them Happy
Maintaining your sweet potato vines is relatively easy. Here’s what you need to do:
1. Watering: Water regularly, keeping the soil consistently moist but not soggy. Allow the top inch of soil to dry out slightly between waterings. Overwatering can lead to root rot.
2. Fertilizing (Optional): If you want to encourage vigorous growth, you can fertilize your vines every 2-3 weeks with a diluted liquid fertilizer. Choose a fertilizer that’s balanced or slightly higher in phosphorus, which promotes root development.
3. Pruning: Prune your vines as needed to control their size and shape. You can trim them back to encourage bushier growth. Don’t be afraid to prune – sweet potatoes are resilient!
4. Support (Optional): As your vines grow, they may need some support. You can use a trellis, stakes, or even let them trail over the edge of the pot.
5. Pest Control: Keep an eye out for common houseplant pests like aphids, spider mites, and whiteflies. Treat any infestations promptly with insecticidal soap or neem oil.
Encouraging Tuber Development (The Tricky Part)
This is where things get a little more challenging. Getting sweet potatoes to form indoors requires specific conditions, and even then, success isn’t guaranteed. But here are some tips to increase your chances:
1. Large Pot: Make sure you’re using a large enough pot. Sweet potatoes need plenty of room to develop. A pot that’s at least 12 inches in diameter and 12 inches deep is ideal.
2. Consistent Warmth: Sweet potatoes thrive in warm temperatures. Keep the room temperature consistently between 70-80°F (21-27°C).
3. Phosphorus-Rich Fertilizer: Use a fertilizer that’s high in phosphorus. Phosphorus is essential for root development.
4. Burying the Vines: As the vines grow, you can try burying sections of the stem in the soil. This can encourage roots (and potentially tubers) to form along the buried sections.
5. Patience, Patience, Patience: It can take several months for sweet potatoes to develop. Don’t expect to see results overnight.
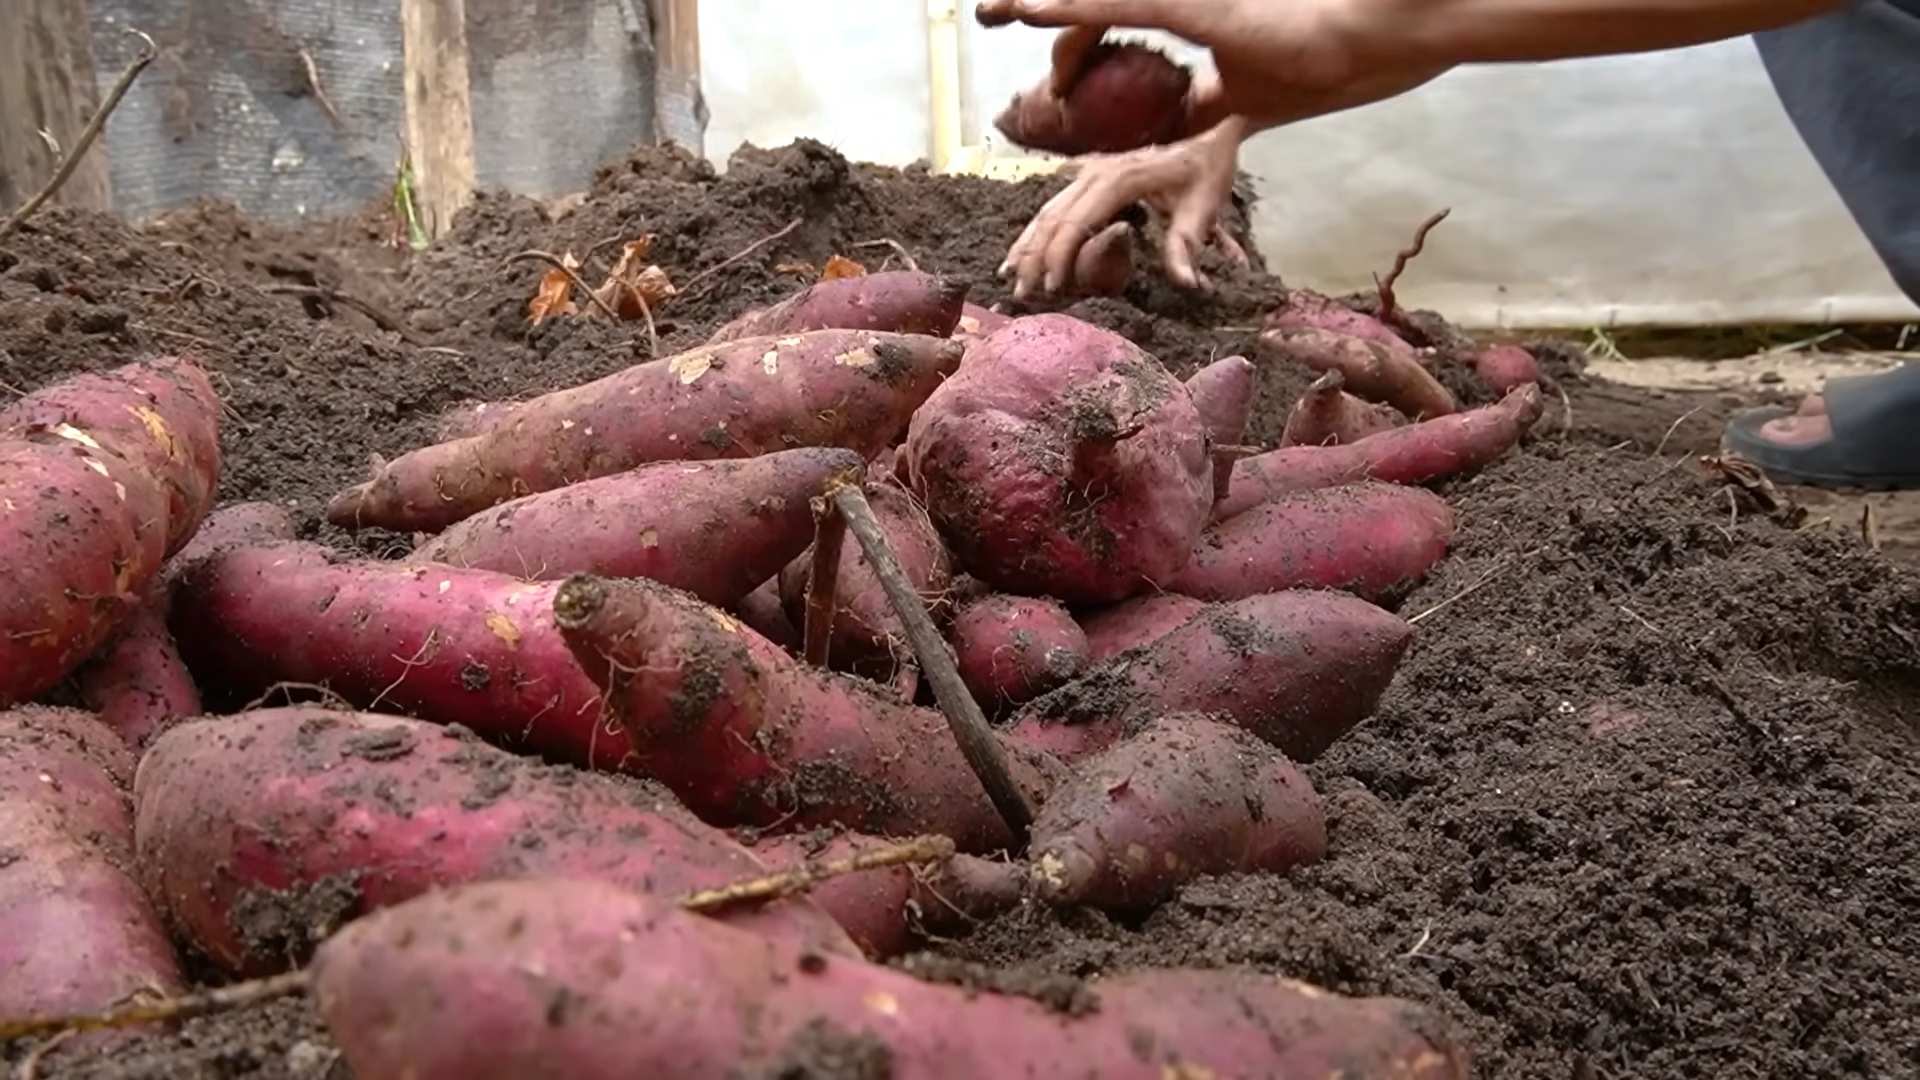
Harvesting (If You’re Lucky!)
If you’ve followed all the steps and provided the right conditions, you might be rewarded with a few small sweet potatoes.
1. Signs of Maturity: The leaves may start to yellow and die back, indicating that the plant is nearing the end of its life cycle.
2. Careful Digging: Gently dig around the base of the plant to see if any sweet potatoes have formed. Be careful not to damage the tubers.
3. Curing (Optional): If you do harvest any sweet potatoes, you can cure them to improve their flavor and storage life. Cure them by placing them in a warm, humid place (80-85°F or 27-29°C) for about a week.
Troubleshooting
* No Sprouts: If your sweet potato isn’t sprouting, make sure it’s getting enough light and warmth. Also, check the water level and change it regularly. If it’s been several weeks and still no sprouts, try a different sweet potato.
* Yellowing Leaves: Yellowing leaves can be a sign of overwatering, underwatering, or nutrient deficiency. Adjust your watering schedule and consider fertilizing.
* Leggy Vines: Leggy vines (long, spindly vines with few leaves) indicate that the plant isn’t getting enough light. Move it to a sunnier location or provide grow lights.
* Pests: Inspect your plants regularly for pests. Treat any infestations promptly.
Enjoy the Process!
Even if you don’t get a huge harvest of sweet
Conclusion
So, there you have it! Growing sweet potatoes indoors is not only achievable, but it’s also a rewarding and surprisingly simple project that can bring a touch of the garden into your home, regardless of the season. We’ve walked through the steps, from selecting the right sweet potato to providing the optimal environment for growth. But why should you actually *do* it?
The answer is multifaceted. First, it’s a fantastic way to repurpose a sweet potato that might be starting to sprout anyway. Instead of tossing it in the compost, you’re giving it a new lease on life and creating something beautiful and potentially edible. Second, it’s an engaging educational experience, especially for children. Watching the roots and vines develop is a tangible lesson in botany and the miracle of plant growth. Third, it’s a unique and attractive decorative element. The cascading vines of a sweet potato plant can add a touch of greenery and whimsy to any room. Finally, and perhaps most importantly, you can eventually harvest your own sweet potatoes! While indoor yields may not rival those of a dedicated outdoor garden, the satisfaction of growing your own food, even on a small scale, is immeasurable.
But the fun doesn’t stop there! Feel free to experiment with different varieties of sweet potatoes. Some produce more vibrant foliage than others, offering a wider range of aesthetic options. You can also try different containers. While a simple glass jar works perfectly well, you could also use a decorative vase or even a repurposed container to add your personal touch. Consider adding a small trellis or support structure to guide the vines as they grow, creating a more structured and visually appealing display.
For those feeling adventurous, you can even try propagating new plants from the slips (the sprouts that grow from the sweet potato). Once the slips have developed roots, carefully detach them from the parent potato and plant them in individual pots filled with well-draining potting mix. This allows you to expand your indoor sweet potato garden and share the joy of growing with friends and family.
Ultimately, growing sweet potatoes indoors is a testament to the power of resourcefulness and the beauty of nature. It’s a project that’s accessible to everyone, regardless of their gardening experience or living space. It’s a chance to connect with the natural world, learn something new, and add a touch of green to your home.
We wholeheartedly encourage you to give this DIY trick a try. It’s a simple, satisfying, and sustainable way to bring the garden indoors. And once you’ve experienced the joy of watching your own sweet potato plant thrive, we’d love to hear about it! Share your photos, tips, and experiences in the comments below. Let’s create a community of indoor sweet potato growers and inspire others to discover the magic of this simple yet rewarding project. Let us know what you think about this method of growing sweet potatoes indoors!
Frequently Asked Questions (FAQ)
What kind of sweet potato should I use?
You can use any sweet potato you find at the grocery store! Organic sweet potatoes are often recommended, as they are less likely to have been treated with sprout inhibitors. However, non-organic sweet potatoes will also work in most cases. Look for sweet potatoes that are firm, free of blemishes, and starting to show signs of sprouting (small eyes or buds). If you have a choice, opt for varieties known for their vigorous vine growth, such as Beauregard or Jewel.
How long does it take for the sweet potato to sprout?
Sprouting time can vary depending on the temperature and humidity of your environment. Generally, you can expect to see sprouts emerge within 2-4 weeks. Keep the bottom half of the sweet potato consistently submerged in water and place it in a warm, sunny location to encourage faster sprouting. Be patient! Sometimes it takes a little longer, but the sprouts will eventually appear.
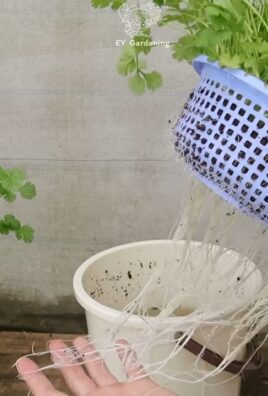
What do I do with the slips (sprouts) once they grow?
Once the slips are about 6-8 inches long and have developed roots, they are ready to be removed from the sweet potato. Gently twist or cut them off the potato, being careful not to damage the roots. Place the slips in a glass of water for a few days to allow the roots to develop further. Once the roots are a few inches long, you can plant the slips in individual pots filled with well-draining potting mix.
What kind of soil should I use for planting the slips?
Use a well-draining potting mix that is rich in organic matter. A mix of peat moss, perlite, and vermiculite is a good option. Avoid using garden soil, as it can be too heavy and may contain pests or diseases. Ensure the pot has drainage holes to prevent waterlogging.
How much sunlight do sweet potato plants need indoors?
Sweet potato plants need at least 6-8 hours of sunlight per day. Place them in a sunny window that receives direct sunlight. If you don’t have a sunny window, you can supplement with artificial grow lights. LED grow lights are a good option, as they are energy-efficient and provide the full spectrum of light that plants need.
How often should I water my sweet potato plant?
Water your sweet potato plant when the top inch of soil feels dry to the touch. Avoid overwatering, as this can lead to root rot. Ensure the pot has drainage holes to allow excess water to drain away. During the growing season (spring and summer), you may need to water more frequently than during the dormant season (fall and winter).
Do I need to fertilize my sweet potato plant?
Yes, fertilizing your sweet potato plant will help it grow and thrive. Use a balanced liquid fertilizer diluted to half strength every 2-4 weeks during the growing season. Avoid over-fertilizing, as this can burn the roots.
Can I actually harvest sweet potatoes from an indoor plant?
Yes, you can harvest sweet potatoes from an indoor plant, but the yield will likely be smaller than what you would get from an outdoor garden. To encourage tuber development, use a large container (at least 10 gallons) and provide plenty of sunlight and nutrients. It typically takes 3-4 months for sweet potatoes to mature. You’ll know they’re ready to harvest when the vines start to yellow and die back.
How do I harvest the sweet potatoes?
Carefully dig around the base of the plant to unearth the sweet potatoes. Be gentle, as they can be easily bruised. Once you’ve harvested the sweet potatoes, cure them for a week or two in a warm, humid place to allow the skins to harden. This will improve their flavor and storage life.
Are sweet potato leaves edible?
Yes, sweet potato leaves are edible and nutritious! They can be eaten raw in salads or cooked like spinach. Choose young, tender leaves for the best flavor. Avoid eating leaves from plants that have been treated with pesticides or herbicides.
My sweet potato plant is attracting pests. What should I do?
Inspect your plant regularly for pests such as aphids, spider mites, and whiteflies. If you find any pests, you can try washing them off with a strong stream of water or using insecticidal soap. You can also introduce beneficial insects, such as ladybugs, to control pest populations.
Can I grow sweet potatoes indoors year-round?
Yes, you can grow sweet potatoes indoors year-round, provided you provide them with the right conditions. This includes adequate sunlight (or artificial grow lights), consistent watering, and regular fertilization. You may need to adjust your care routine depending on the season.
What if my sweet potato just rots in the water?
Sometimes, despite your best efforts, a sweet potato will rot instead of sprouting. This can be due to a number of factors, such as the potato being damaged or infected with a fungus. If this happens, simply discard the rotten potato and try again with a fresh one. Make sure the water is clean and change it regularly to prevent bacterial growth.
Is growing sweet potatoes indoors worth it?
Absolutely! Even if you don’t get a huge harvest of sweet potatoes, the experience of growing your own food and enjoying the beauty of the plant is well worth the effort. It’s a fun, educational, and rewarding project that can bring a touch of nature into your home. Plus, you’ll have the satisfaction of knowing that you’re growing sweet potatoes indoors in a sustainable and eco-friendly way.

Leave a Comment