
Shaving foam cleaning tricks – who knew something you use to get a smooth shave could also be your secret weapon for a sparkling clean home? I certainly didn’t, until I stumbled upon this game-changer! For generations, shaving foam has been a grooming essential, but its cleaning potential has largely remained untapped. Think about it: the same properties that soften your beard can also loosen grime and lift stains.
Now, you might be wondering, “Why should I use shaving foam instead of my usual cleaners?” Well, that’s exactly what I asked myself! But trust me, the results speak for themselves. We’re talking about a budget-friendly, readily available product that can tackle everything from stubborn carpet stains to grimy bathroom mirrors. Plus, it’s often gentler than harsh chemicals, making it a great option for delicate surfaces.
In this article, I’m going to share my favorite shaving foam cleaning tricks that will revolutionize your cleaning routine. Get ready to ditch those expensive, specialized cleaners and embrace the power of this unexpected household hero. You’ll be amazed at how versatile and effective shaving foam can be – and your wallet will thank you too!
Shaving Foam: Your Unexpected Cleaning Superhero!
Okay, friends, let’s talk about something you probably have sitting in your bathroom right now: shaving foam! Yes, that fluffy stuff you (or someone you know) uses to get a smooth shave is actually a surprisingly versatile cleaning agent. I’m going to show you some amazing ways to use shaving foam to tackle everyday messes around your house. Get ready to be amazed!
Cleaning Mirrors and Glass
Forget expensive glass cleaners! Shaving foam works wonders on mirrors and windows, leaving them streak-free and sparkling.
What you’ll need:
* Shaving foam (any kind will do, but I prefer the foamy kind)
* A clean, dry microfiber cloth
* Spray bottle with water (optional)
Step-by-step instructions:
1. Apply the shaving foam: Squirt a generous amount of shaving foam directly onto the mirror or glass surface. Don’t be shy!
2. Spread it around: Use your hand or a clean cloth to spread the foam evenly over the entire surface. Make sure you cover every inch.
3. Let it sit: Allow the shaving foam to sit for a minute or two. This gives it time to break down any grime and dirt.
4. Wipe it away: Using a clean, dry microfiber cloth, wipe away the shaving foam in a circular motion. You’ll see the dirt and grime disappearing as you wipe.
5. Buff to a shine: If you notice any streaks, use a fresh, dry section of the microfiber cloth to buff the surface until it’s sparkling clean. If you still see streaks, lightly mist the surface with water and buff again.
6. Admire your reflection! Seriously, the results are amazing. Your mirrors and windows will be crystal clear.
Removing Stains from Carpets and Upholstery
Accidents happen! But don’t panic when you spill something on your carpet or upholstery. Shaving foam can come to the rescue.
What you’ll need:
* Shaving foam (again, the foamy kind is best)
* A clean, damp cloth or sponge
* A vacuum cleaner
Step-by-step instructions:
1. Act fast! The sooner you treat the stain, the better the results will be.
2. Apply the shaving foam: Cover the stain completely with a generous layer of shaving foam.
3. Let it penetrate: Allow the shaving foam to sit on the stain for at least 15-20 minutes. For tougher stains, you can let it sit for up to an hour. This gives the foam time to break down the stain molecules.
4. Blot, don’t rub: Using a clean, damp cloth or sponge, gently blot the stain. Avoid rubbing, as this can spread the stain and damage the fibers. Work from the outside of the stain towards the center.
5. Repeat if necessary: If the stain is still visible, repeat steps 2-4 until it’s gone. You might need to apply fresh shaving foam and blot several times.
6. Rinse (optional): If you’re concerned about residue, you can lightly rinse the area with clean water. Be sure to blot up any excess water with a clean towel.
7. Vacuum: Once the area is completely dry, vacuum it thoroughly to restore the fibers and remove any remaining residue.
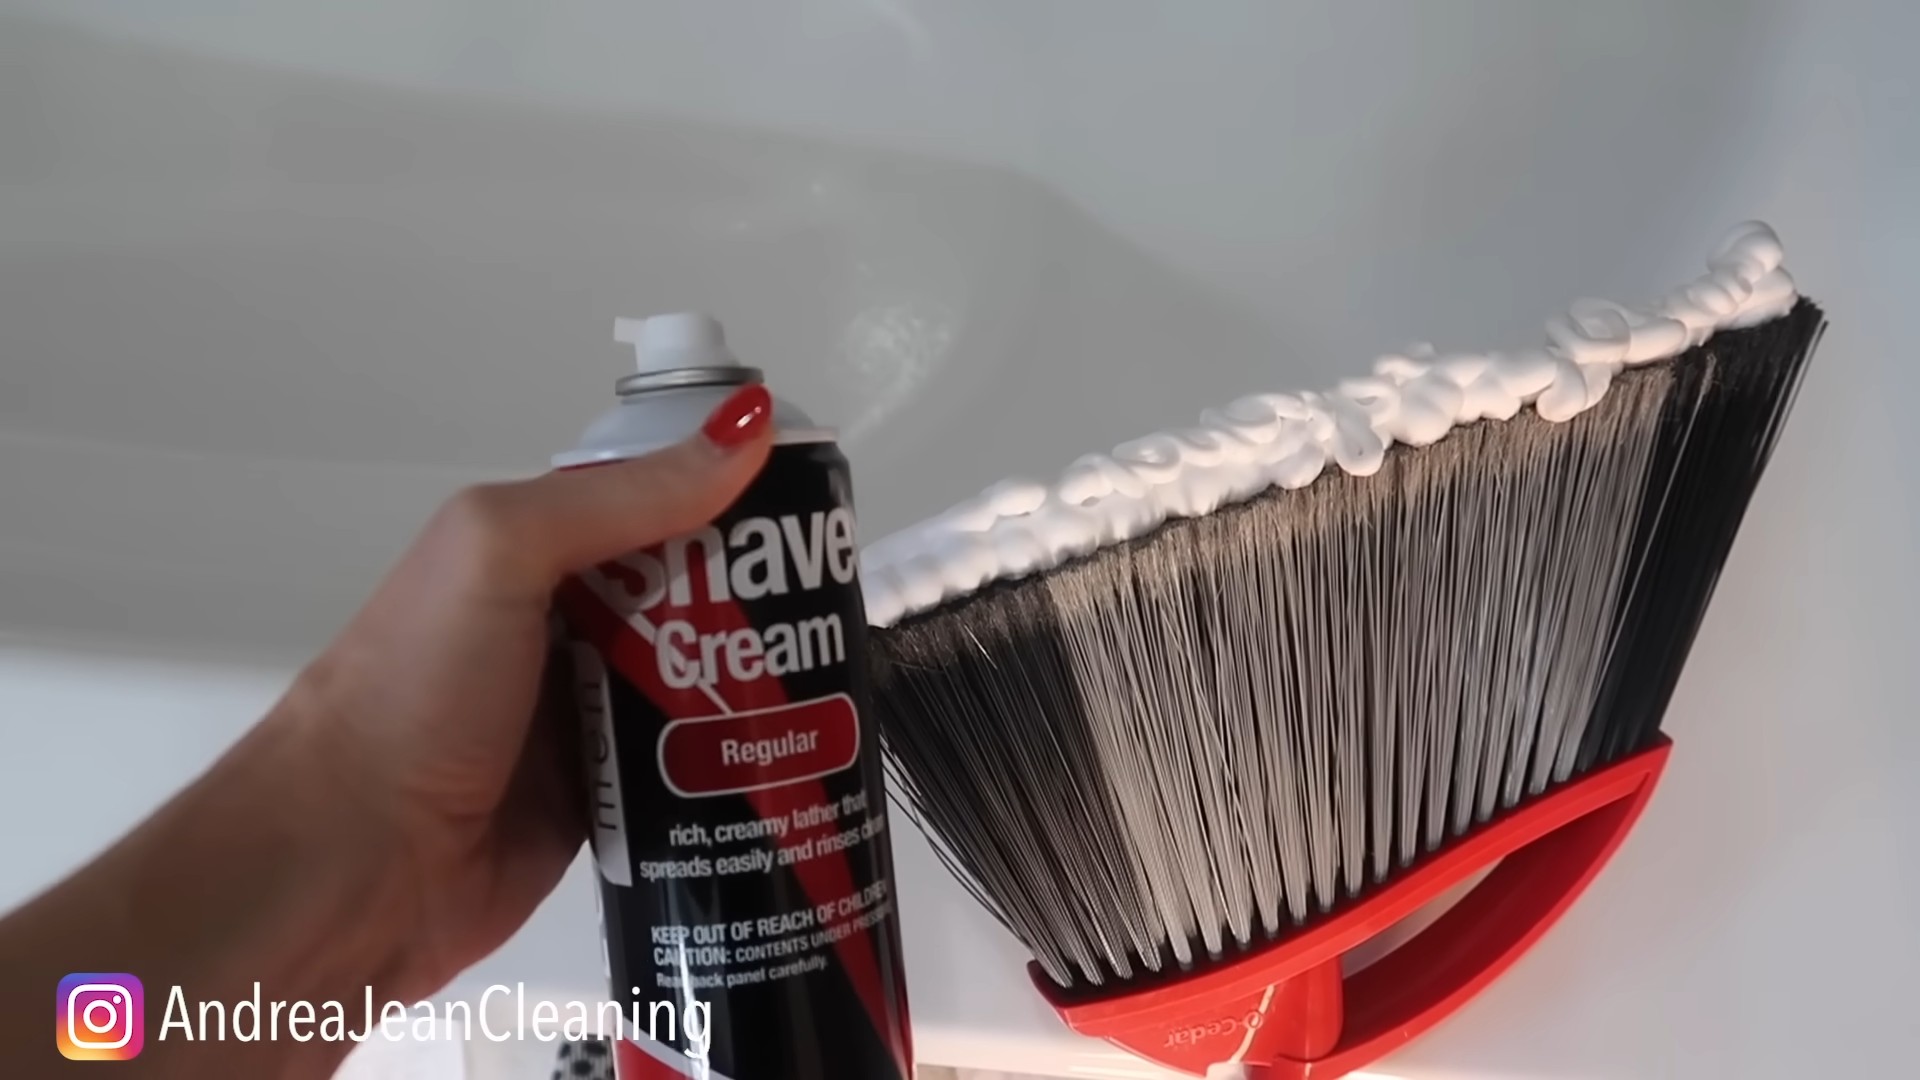
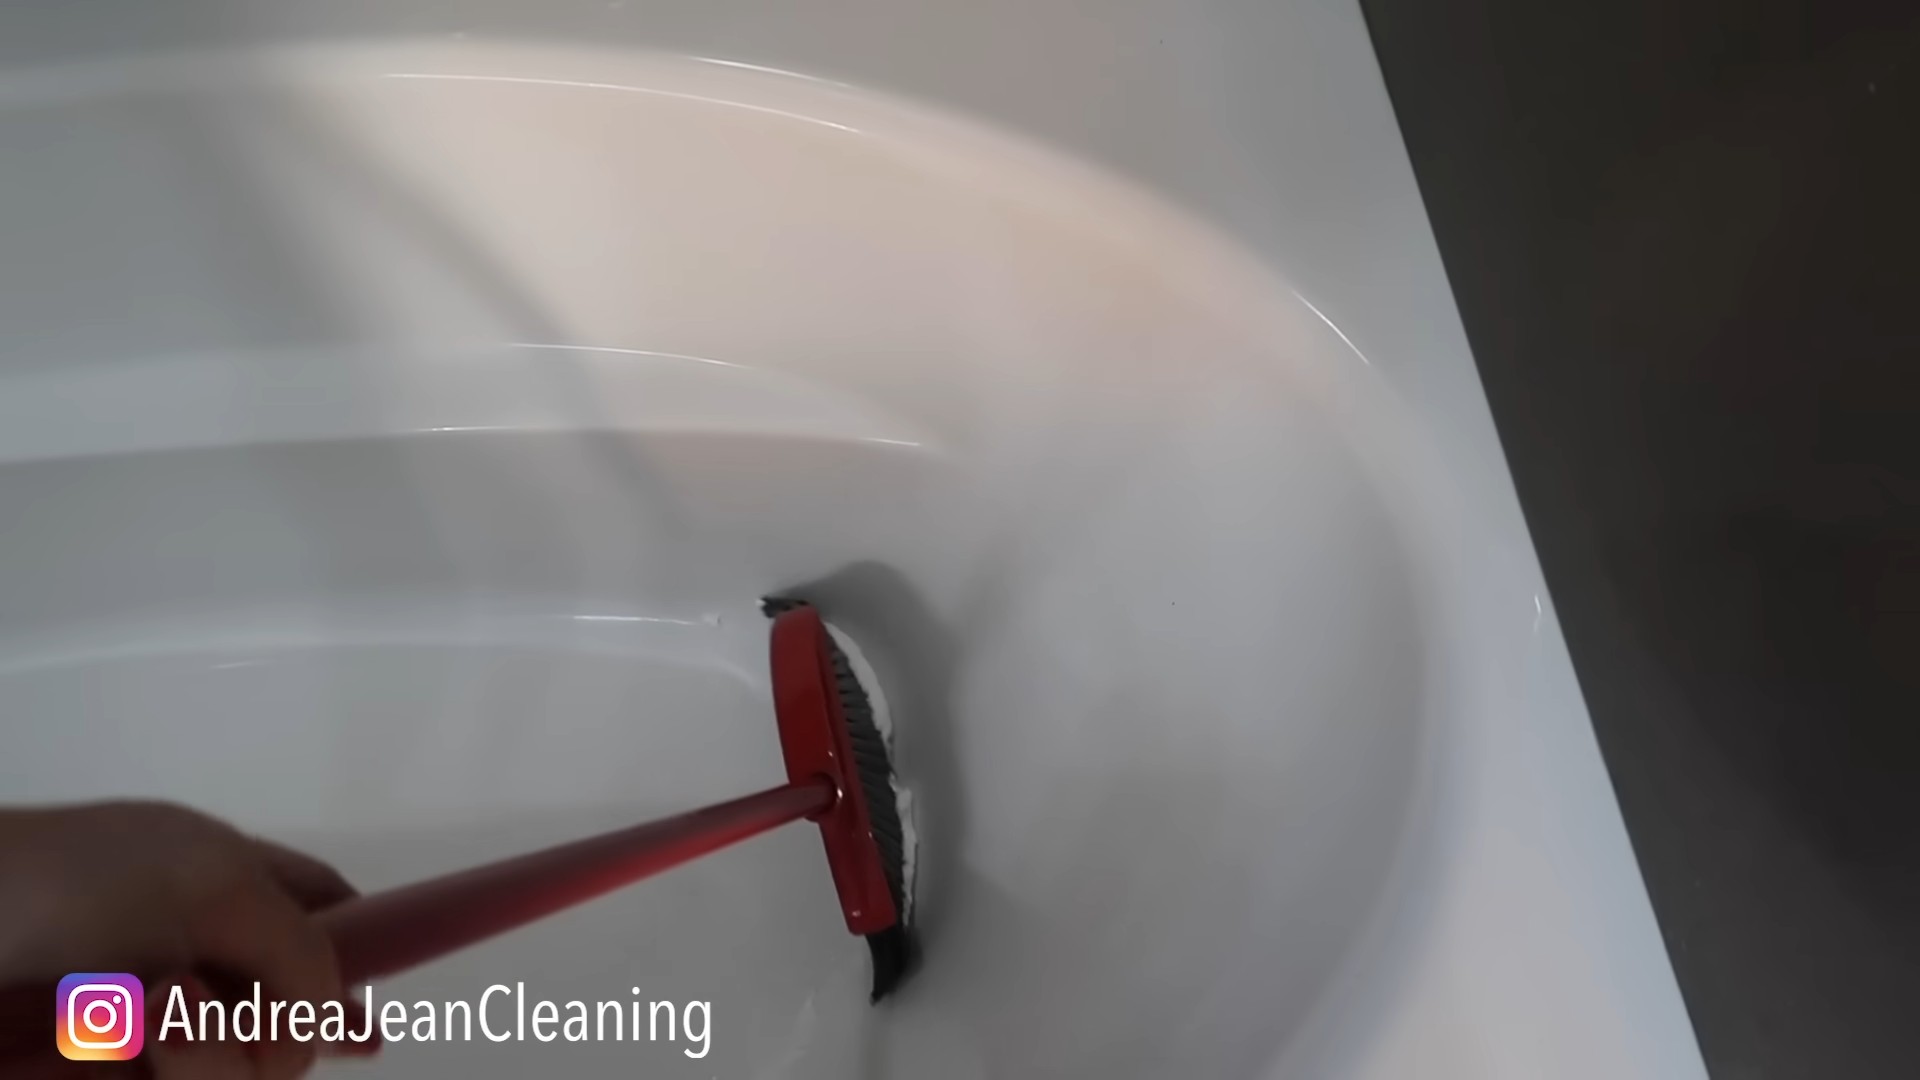
Cleaning Bathroom Fixtures
Shaving foam is a fantastic way to clean bathroom fixtures like faucets, showerheads, and even toilet bowls. It helps remove soap scum, water spots, and other grime.
What you’ll need:
* Shaving foam
* A clean cloth or sponge
* An old toothbrush (for hard-to-reach areas)
Step-by-step instructions:
1. Apply the shaving foam: Squirt shaving foam onto the fixtures you want to clean.
2. Spread it around: Use a cloth or sponge to spread the foam evenly over the surface.
3. Let it sit: Allow the shaving foam to sit for a few minutes to loosen the grime.
4. Scrub: Use a cloth or sponge to scrub the fixtures. For hard-to-reach areas, like around faucets or showerheads, use an old toothbrush.
5. Rinse: Rinse the fixtures thoroughly with water.
6. Dry: Use a clean, dry cloth to dry the fixtures and buff them to a shine.
Preventing Foggy Mirrors
This is one of my favorite shaving foam tricks! It’s a simple and effective way to prevent your bathroom mirror from fogging up after a hot shower.
What you’ll need:
* Shaving foam
* A clean, dry microfiber cloth
Step-by-step instructions:
1. Apply the shaving foam: Squirt a small amount of shaving foam onto the mirror.
2. Spread it around: Use your hand or a clean cloth to spread the foam evenly over the entire surface.
3. Wipe it away: Using a clean, dry microfiber cloth, wipe away the shaving foam completely. Make sure there are no streaks or residue left behind.
4. Enjoy a fog-free mirror! The shaving foam creates a protective barrier that prevents condensation from forming on the mirror. This trick usually lasts for a few days, depending on how often you shower.
Cleaning Stainless Steel Appliances
Shaving foam can also be used to clean stainless steel appliances like refrigerators, dishwashers, and ovens. It helps remove fingerprints, smudges, and water spots, leaving your appliances looking shiny and new.
What you’ll need:
* Shaving foam
* A clean, damp cloth
* A clean, dry microfiber cloth
Step-by-step instructions:
1. Apply the shaving foam: Squirt a small amount of shaving foam onto a clean, damp cloth.
2. Wipe the appliance: Gently wipe the stainless steel appliance with the damp cloth, following the grain of the metal.
3. Rinse: Use a clean, damp cloth to rinse the appliance, removing any shaving foam residue.
4. Dry and buff: Use a clean, dry microfiber cloth to dry the appliance and buff it to a shine.
Polishing Chrome
Want to make your chrome fixtures sparkle? Shaving foam can help with that too! It’s a gentle and effective way to remove tarnish and restore shine to chrome surfaces.
What you’ll need:
* Shaving foam
* A clean, soft cloth
Step-by-step instructions:
1. Apply the shaving foam: Apply a small amount of shaving foam to the chrome surface.
2. Rub gently: Use a clean, soft cloth to gently rub the shaving foam into the chrome.
3. Rinse: Rinse the chrome surface with water.
4. Dry and buff: Use a clean, dry cloth to dry the chrome and buff it to a shine.
Cleaning Jewelry (Use with Caution!)
Okay, this one comes with a disclaimer! Shaving foam *can* be used to clean some types of jewelry, but you need to be careful. Do NOT use it on delicate or porous stones like pearls, opals, or emeralds. It’s best for cleaning metal jewelry like gold, silver, and platinum.
What you’ll need:
* Shaving foam
* A soft-bristled toothbrush
* Warm water
* A clean, soft cloth
Step-by-step instructions:
1. Test a small area: Before cleaning your entire piece of jewelry, test the shaving foam on a small, inconspicuous area to make sure it doesn’t damage the metal or stones.
2. Apply the shaving foam: Apply a small amount of shaving foam to the jewelry.
3. Gently scrub: Use a soft-bristled toothbrush to gently scrub the jewelry, paying attention to any dirt or grime buildup.
4. Rinse: Rinse the jewelry thoroughly with warm water.
5. Dry: Use a clean, soft cloth to dry the jewelry completely.
Removing Paint from Skin
If you’ve ever gotten paint on your skin while doing a DIY project, you know how difficult it can be to remove. Shaving foam can help!
What you’ll need:
* Shaving foam
* A clean cloth
Step-by-step instructions:
1. Apply the shaving foam: Apply a generous amount of shaving foam to the painted area of your skin.
2. Let it sit: Allow the shaving foam to sit for a few minutes to soften the paint.
3. Wipe away: Use a clean cloth to wipe away the shaving foam and the paint.
4. Rinse: Rinse your
Conclusion
So, there you have it! Shaving foam, that humble bathroom staple, is secretly a cleaning powerhouse just waiting to be unleashed. We’ve explored a range of surprising and effective cleaning applications, from banishing stubborn carpet stains to restoring the sparkle to your bathroom mirrors. But why should you ditch your usual cleaning products and embrace this foamy alternative?
Simply put, shaving foam offers a unique combination of affordability, accessibility, and effectiveness. It’s likely you already have a can tucked away in your bathroom, saving you a trip to the store and the expense of specialized cleaners. Its gentle yet powerful formula is safe for a variety of surfaces, reducing the risk of damage or discoloration. And, let’s be honest, the light, airy texture and pleasant scent make cleaning with shaving foam a surprisingly enjoyable experience.
The real magic lies in the foam’s ability to lift dirt and grime without harsh chemicals. The surfactants in shaving foam work to break down grease and oils, while the foam itself acts as a gentle abrasive, scrubbing away stubborn stains without scratching delicate surfaces. This makes it an ideal solution for everything from cleaning upholstery to polishing chrome fixtures.
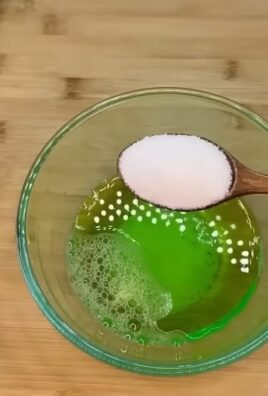
But the possibilities don’t stop there! Feel free to experiment with different variations to suit your specific needs. For example, adding a few drops of essential oil, like lemon or lavender, can boost the cleaning power and leave behind a refreshing fragrance. For tougher stains, try letting the shaving foam sit for a longer period of time before wiping it away. You can even create your own custom cleaning solutions by combining shaving foam with other household ingredients, like vinegar or baking soda.
Consider these variations:
* For extra-tough stains: Mix shaving foam with a tablespoon of baking soda for added scrubbing power.
* For a fresh scent: Add a few drops of your favorite essential oil to the shaving foam before applying it to the surface.
* For delicate surfaces: Test the shaving foam on an inconspicuous area first to ensure it doesn’t cause any damage.
* For cleaning grout: Apply shaving foam to the grout lines, let it sit for 15-20 minutes, then scrub with a brush and rinse.
* For removing hard water stains: Combine shaving foam with a small amount of white vinegar for extra cleaning power.
Ultimately, the best way to discover the full potential of shaving foam cleaning is to try it for yourself. We encourage you to experiment with these tips and tricks, and to share your own discoveries with us. What unexpected cleaning challenges did you conquer with shaving foam? What variations did you find most effective?
Don’t be shy – head to the comments section and tell us all about your shaving foam cleaning adventures! We’re eager to hear your stories and learn from your experiences. Together, we can unlock even more hidden uses for this versatile household product and revolutionize the way we clean our homes. So, grab a can of shaving foam and get ready to experience the cleaning power you never knew you had! Embrace the foamy revolution and discover the joy of effortless, effective, and affordable cleaning. You’ll be amazed at the results! This shaving foam cleaning trick is a game changer.
Frequently Asked Questions (FAQ)
Is shaving foam safe to use on all surfaces?
While shaving foam is generally safe for most surfaces, it’s always a good idea to test it on an inconspicuous area first, especially on delicate materials like painted walls, leather, or certain types of fabrics. This will help you ensure that the shaving foam doesn’t cause any discoloration or damage. If you’re unsure, consult the manufacturer’s instructions for the surface you’re cleaning. Avoid using shaving foam on surfaces that are sensitive to moisture or alcohol, as some formulations may contain these ingredients.
What type of shaving foam works best for cleaning?
Most types of shaving foam will work for cleaning purposes, but the best option is typically a basic, non-gel formula. Avoid using shaving creams that contain moisturizers or oils, as these can leave a residue on the surface you’re cleaning. A simple, inexpensive shaving foam is usually the most effective and won’t leave behind any unwanted film. Look for a foam that creates a rich, thick lather for optimal cleaning power.
How long should I leave the shaving foam on a surface before wiping it off?
The amount of time you should leave shaving foam on a surface depends on the type of stain or grime you’re trying to remove. For light cleaning, a few minutes may be sufficient. For tougher stains, you may need to leave the shaving foam on for 15-20 minutes, or even longer. Monitor the surface closely and wipe away the shaving foam as soon as you see the stain starting to lift. Avoid letting the shaving foam dry completely on the surface, as this can make it more difficult to remove.
Can I use shaving foam to clean my car’s interior?
Yes, shaving foam can be used to clean certain parts of your car’s interior, such as fabric upholstery and carpets. However, it’s important to test it on a small, hidden area first to ensure it doesn’t damage the material. Avoid using shaving foam on leather seats or dashboards, as it can dry them out or cause discoloration. When cleaning your car’s interior with shaving foam, apply a small amount to the affected area, gently rub it in with a cloth, and then wipe away the excess with a clean, damp cloth.
Will shaving foam damage my furniture?
Shaving foam is generally safe for use on most furniture fabrics, but it’s always best to test it on an inconspicuous area first. Avoid using shaving foam on delicate fabrics like silk or velvet, as it can damage the fibers. When cleaning furniture with shaving foam, apply a small amount to the affected area, gently rub it in with a cloth, and then wipe away the excess with a clean, damp cloth. Be sure to allow the furniture to dry completely before using it.
Is shaving foam safe for children and pets?
While shaving foam is generally considered safe, it’s important to keep it out of reach of children and pets. Shaving foam is not meant to be ingested, and it can cause irritation if it comes into contact with the eyes or skin. If a child or pet accidentally ingests shaving foam, contact a medical professional or veterinarian immediately. When cleaning with shaving foam, be sure to ventilate the area well and keep children and pets away from the treated surfaces until they are completely dry.
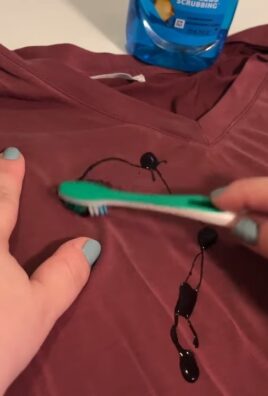
Can I use shaving foam to remove makeup stains from clothing?
Yes, shaving foam can be an effective way to remove makeup stains from clothing. Apply a small amount of shaving foam to the stain, gently rub it in, and then let it sit for a few minutes. Rinse the area with cold water and then launder the garment as usual. For stubborn stains, you may need to repeat the process or use a stain remover in addition to shaving foam.
Does shaving foam have an expiration date?
While shaving foam doesn’t typically have a specific expiration date, it can lose its effectiveness over time. The propellant in the can may weaken, causing the foam to become less dense and less effective at cleaning. If your shaving foam is old or has been stored in extreme temperatures, it may not work as well as it should. It’s best to use shaving foam that is relatively fresh for optimal cleaning results.
Can I use shaving foam to clean my eyeglasses?
Yes, shaving foam can be used to clean eyeglasses, but it’s important to use a gentle, non-abrasive formula. Apply a small amount of shaving foam to the lenses, gently rub it in with your fingers, and then rinse with warm water. Dry the lenses with a soft, lint-free cloth. Avoid using shaving foam that contains moisturizers or oils, as these can leave a film on the lenses.
Leave a Comment