
Grow Celery at Home, you say? Absolutely! Imagine stepping into your backyard and snipping fresh, crisp celery stalks for your salads, soups, or even just a healthy snack. No more limp, store-bought celery that’s been sitting on the shelf for days! This DIY guide is your ticket to a thriving celery patch, right outside your door.
Celery, believe it or not, has a rich history. Originating in the Mediterranean, it was initially valued more for its medicinal properties than its culinary uses. Ancient Greeks used it to crown victors in athletic competitions! Now, it’s a staple in kitchens worldwide, and you can easily grow celery at home, too.
Why should you bother with this DIY project? Well, for starters, homegrown celery tastes infinitely better. Plus, you’ll know exactly what’s gone into growing it – no harmful pesticides or chemicals. In today’s world, where we’re all trying to eat healthier and be more sustainable, having a little garden patch is a fantastic way to take control of your food source. I’m excited to share some simple yet effective tricks and hacks that will have you harvesting your own delicious celery in no time. Let’s get started!
Grow Your Own Celery at Home: A Comprehensive DIY Guide
Hey everyone! Have you ever wondered if you can easily grow celery at home? The answer is a clear YES! And I’m going to show you how. It’s easier than you think and super satisfying when you can harvest your own crisp celery stalks. This guide is packed with tips and tricks I’ve learned over time to help you get started. Let’s go!
What You’ll Need
Before we get started, here is a list of the things you will need:
- A celery base: It’s best to use one from the supermarket that still has an intact base.
- A shallow dish or bowl: Something wide enough to hold the celery base.
- Water: Tap water is perfectly fine.
- A sunny spot: A windowsill or another place with plenty of light.
- Potting soil: High-quality potting soil for the later move.
- A pot: A pot with good drainage that is large enough to hold the celery.
- Optional: Liquid fertilizer: For extra growth, but not strictly necessary.
Phase 1: Reviving the Celery Base
This first step is crucial to bring the celery back to life.
- Prepare the celery: Cut the celery stalks about 5-7 cm (2-3 inches) from the bottom end. You should keep the base with the roots (or what’s left of them). You can, of course, use the upper stalks for soups, salads, or for snacking!
- Prepare the water bath: Fill your shallow dish or bowl with about 2-3 cm (1 inch) of water.
- Place the celery: Put the celery base, root-side down, into the water. Make sure the base is sitting in the water, but the top parts are not submerged.
- Find a sunny spot: Place the dish in a sunny location, for example, on a windowsill. Celery loves light!
- Change the water: Change the water every 1-2 days to keep it fresh and prevent mold from forming.
- Be patient: After about 5-7 days, you should see small roots sprouting from the base and new green leaves growing in the center. That’s a good sign!
Phase 2: Potting and Further Care
Once your celery has developed roots, it’s time to plant it in soil.
- Prepare the pot: Fill your pot with potting soil. Leave about 2-3 cm (1 inch) of space at the top.
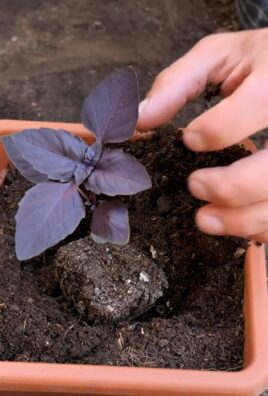
- Transplant the celery: Dig a small hole in the center of the soil, large enough to accommodate the celery base. Carefully lift the celery out of the water and place it in the hole.
- Cover with soil: Fill the hole with soil so that the base of the celery is covered, but the new leaves remain free.
- Water it in: Water the celery thoroughly until water runs out of the drainage holes.
- Find a sunny spot (again): Place the pot back in a sunny location.
- Water regularly: Keep the soil moist, but not soaked. Water when the top layer of soil feels dry.
- Fertilize (optional): If you wish, you can fertilize every few weeks with a diluted liquid fertilizer to promote growth. Follow the instructions on the fertilizer package.
Phase 3: Care and Harvest
Now it’s about keeping your celery happy and healthy until it’s ready for harvest.
- Observe: Watch for signs of pests or diseases. Celery can be susceptible to aphids or powdery mildew. If you notice any problems, treat them as quickly as possible with an appropriate remedy.
- Rotate: Rotate the pot regularly so that all sides of the celery get even light.
- Watering: As mentioned, keep the soil moist, but not soggy. Overwatering can lead to root rot.
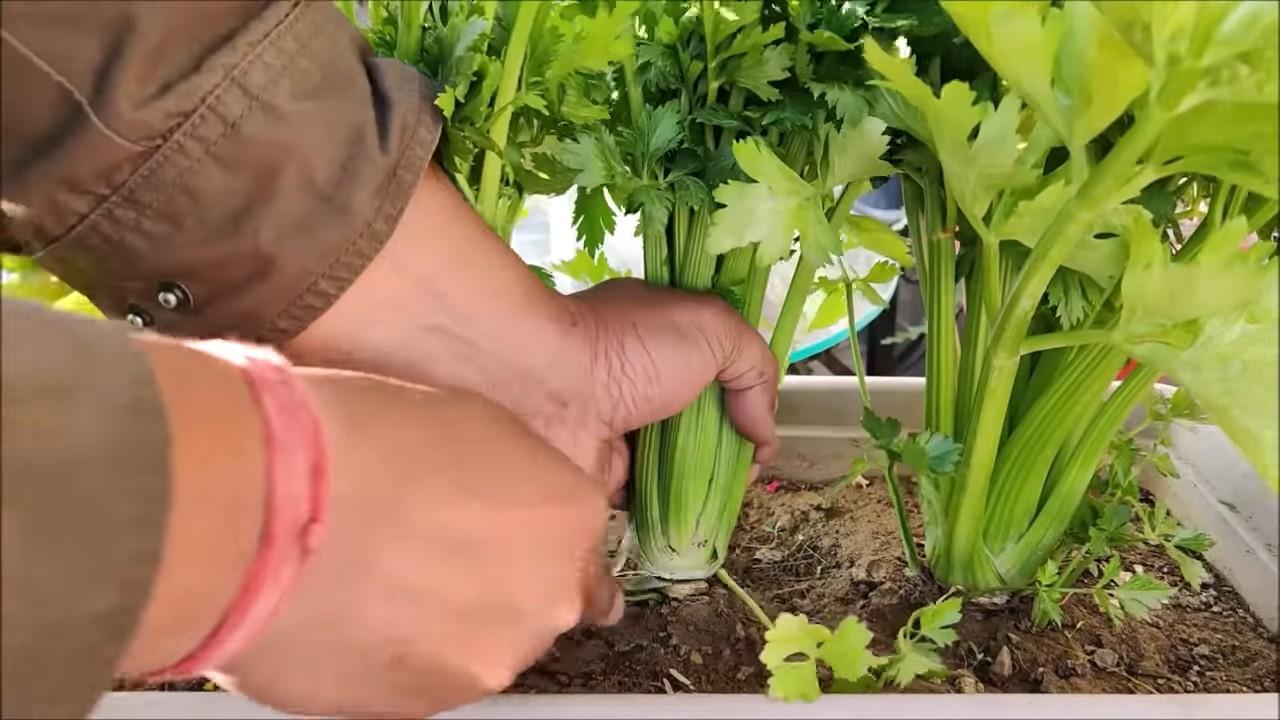
- Harvest: You can harvest individual stalks as soon as they are large enough. Simply cut them at the base. Alternatively, you can harvest the entire celery plant when it has reached the desired size. This usually takes about 2-3 months.
- Let it continue to grow: If you only harvest individual stalks, the celery will continue to grow and produce new ones.
Additional Tips and Tricks
- Celery variety: Not all celery varieties are the same. Some are easier to grow than others. Try to find a variety that grows well in your region.
- Soil quality: Celery prefers a nutrient-rich, well-draining soil. You can work compost or other organic matter into the soil to improve its quality.
- Pests: Keep an eye out for pests like aphids or slugs. You can combat them with natural methods, such as insecticidal soap or by picking them off by hand.
- Diseases: Celery can be susceptible to diseases like powdery mildew or Septoria leaf spot. Ensure good air circulation and avoid wetting the leaves when watering to prevent diseases.
- Patience: Celery takes time to grow. Be patient and give it the right care, and you will be rewarded with a plentiful harvest.
- Hardy plant: In mild climates, celery can be grown as a biennial plant. This means it grows in the first year and flowers and produces seeds in the second. In colder climates, celery is usually grown as an annual.
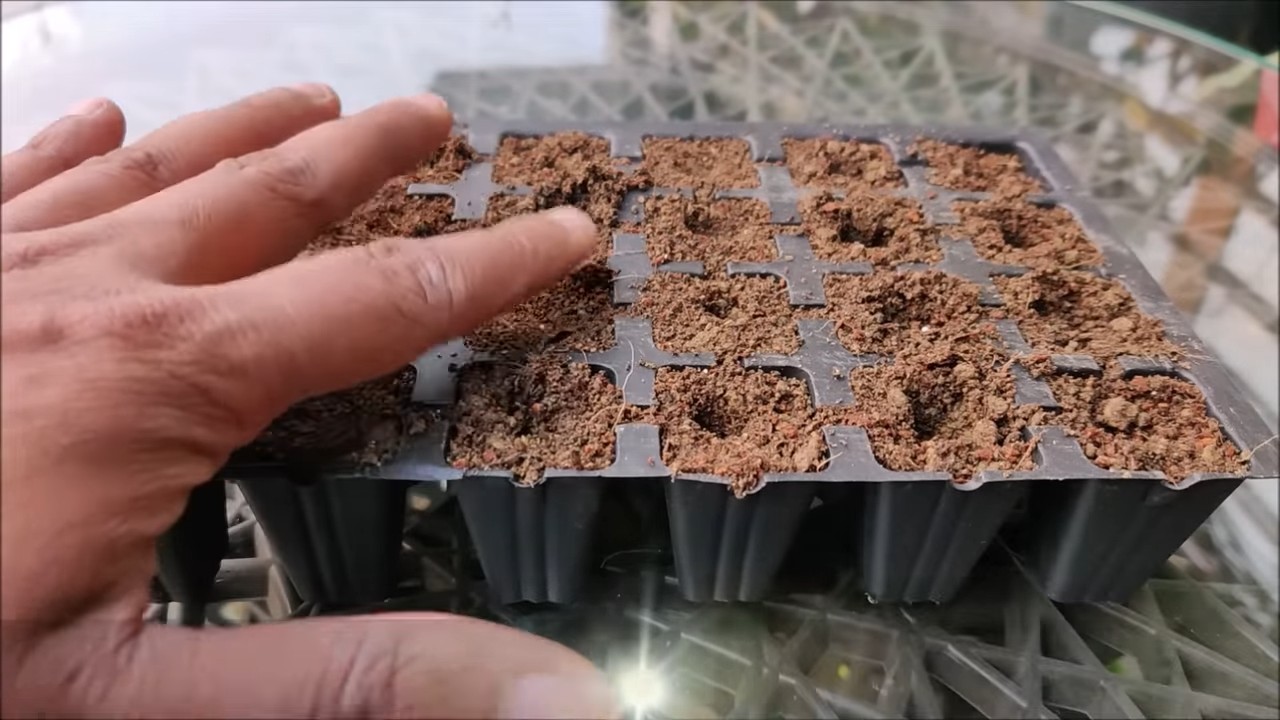
- Growing celery from seed: You can also grow celery from seed, but this is a bit more difficult and time-consuming. If you want to try, start the seeds indoors about 10-12 weeks before the last frost.
- Blanching celery: To get lighter, more tender celery stalks, you can blanch the celery. This means covering the stalks with soil or cardboard about 2-3 weeks before harvesting to protect them from sunlight.
Common Problems and Solutions
- Yellow leaves: Yellow leaves can be a sign of overwatering, nutrient deficiency, or a pest infestation. Check the soil moisture, fertilize the celery, and inspect it for pests.
- Limp stalks: Limp stalks can be a sign of underwatering or heat stress. Water the celery thoroughly and move it to a cooler spot.
- Small stalks: Small stalks can be a sign of a nutrient deficiency or insufficient sunlight. Fertilize the celery and move it to a sunnier location.
Why You Should Grow Your Own Celery
There are many reasons why it’s worth growing your own celery:
Health benefits: Celery is rich in vitamins, minerals, and antioxidants. It’s good for digestion, the cardiovascular system, and the immune system.
Fresh taste: Homegrown celery tastes much better than the kind from the supermarket. It’s crisper, more aromatic, and simply fresher.
Conclusion
So, there you have it! Growing celery at home from scraps isn’t just a fun experiment; it’s a sustainable way to reduce food waste, enjoy fresh, flavorful celery, and connect with the natural world. It’s a surprisingly simple process that yields rewarding results, and once you get the hang of it, you’ll wonder why you haven’t been doing it all along.
This DIY trick is a must-try for several reasons. First, it’s incredibly cost-effective. Instead of tossing those celery bases into the compost bin, you’re essentially getting a free head of celery. Second, it’s environmentally friendly. You’re reducing food waste and minimizing your reliance on commercially grown celery, which often involves pesticides and long-distance transportation. Third, it’s a fantastic learning experience, especially for kids. It teaches them about plant life cycles, sustainability, and the magic of growing your own food.
But the best reason to try this is the taste. Homegrown celery, nurtured with your own care, boasts a crispness and flavor that surpasses anything you’ll find in the grocery store. Imagine adding that fresh, vibrant celery to your soups, salads, or even enjoying it as a healthy snack with your favorite dip.
Ready to take your celery growing to the next level? Consider these variations:
* Experiment with different celery varieties: While standard Pascal celery is the most common, you can try growing other varieties like Utah celery or even celeriac (celery root) using similar methods.
* Hydroponic celery: For those without garden space, you can adapt this method to hydroponics. Simply suspend the celery base in a nutrient-rich water solution instead of soil.
* Succession planting: To ensure a continuous supply of celery, start new bases every few weeks. This way, you’ll always have fresh celery ready to harvest.
* Companion planting: Plant your celery alongside other vegetables that benefit from its presence, such as tomatoes, onions, and cabbage. Celery can help deter certain pests and improve the overall health of your garden.
Don’t be afraid to experiment and find what works best for you. The beauty of this DIY project is its adaptability. Whether you have a sprawling garden or a small windowsill, you can successfully grow celery at home.
We wholeheartedly encourage you to give this DIY trick a try. It’s a simple, rewarding, and sustainable way to enjoy fresh, flavorful celery. Once you’ve harvested your first homegrown stalk, we’d love to hear about your experience. Share your photos, tips, and stories with us in the comments below. Let’s build a community of home celery growers and inspire others to embrace the joy of growing their own food! Let us know if you have any questions about how to grow celery at home.
Frequently Asked Questions (FAQ)
How long does it take to grow celery from a base?
The time it takes to grow celery from a base can vary depending on several factors, including the variety of celery, the growing conditions (sunlight, water, temperature), and the quality of the soil. Generally, you can expect to see new growth within a week or two after planting the base in water. After transferring it to soil, it can take anywhere from 2 to 4 months to grow a full-sized head of celery ready for harvest. Be patient and consistent with watering and care, and you’ll be rewarded with fresh, homegrown celery.
What kind of soil is best for growing celery?
Celery thrives in rich, well-draining soil that is high in organic matter. A loamy soil with a slightly acidic to neutral pH (around 6.0 to 7.0) is ideal. Before planting, amend your soil with compost, well-rotted manure, or other organic materials to improve its fertility and drainage. Celery is a heavy feeder, so providing it with nutrient-rich soil is crucial for healthy growth. You can also supplement with a balanced fertilizer throughout the growing season.
How much sunlight does celery need?
Celery needs at least 6 hours of sunlight per day to grow properly. However, in very hot climates, it can benefit from some afternoon shade to prevent the leaves from scorching. Choose a location in your garden that receives plenty of morning sun and is sheltered from strong winds. If you’re growing celery indoors, place it near a sunny window or use grow lights to provide adequate illumination.
How often should I water my celery?
Celery needs consistent moisture to thrive. Water your celery plants deeply and regularly, especially during hot, dry weather. Aim to keep the soil consistently moist but not waterlogged. Check the soil moisture regularly by sticking your finger into the soil about an inch deep. If it feels dry, it’s time to water. Mulching around the plants can help retain moisture and suppress weeds.
What are some common problems when growing celery, and how can I prevent them?
Some common problems when growing celery include pests like aphids and celery leaf tiers, as well as diseases like celery blight and pink rot. To prevent these problems, practice good garden hygiene by removing weeds and debris that can harbor pests and diseases. Use insecticidal soap or neem oil to control aphids and other pests. Ensure good air circulation around your plants to prevent fungal diseases. Choose disease-resistant celery varieties whenever possible.
Can I grow celery indoors year-round?
Yes, you can grow celery indoors year-round, provided you can provide the necessary growing conditions. Celery needs plenty of sunlight (or grow lights), consistent moisture, and a cool temperature (around 60-70°F). Choose a large pot with good drainage and use a rich, well-draining potting mix. Fertilize regularly with a balanced fertilizer. Be sure to monitor for pests and diseases and take action promptly if any problems arise.
How do I harvest celery?
You can harvest celery when the stalks are at least 6-8 inches long and have reached the desired thickness. To harvest, simply cut the stalks at the base of the plant with a sharp knife. You can harvest individual stalks as needed or harvest the entire head of celery at once. After harvesting, store the celery in the refrigerator to keep it fresh.
Is it better to grow celery from seed or from a base?
Growing celery from a base is a faster and easier way to get started, as you’re essentially giving the plant a head start. Growing from seed requires more patience and attention, as celery seeds can be slow to germinate. However, growing from seed allows you to choose from a wider variety of celery varieties. Ultimately, the best method depends on your preferences and experience level.
Can I use the same celery base to grow multiple times?
While it’s possible to get a second or even third growth from a celery base, the subsequent harvests will likely be smaller and less vigorous than the first. The base will eventually exhaust its stored energy and stop producing new growth. For best results, it’s recommended to start with a fresh celery base each time you want to grow celery.
What are the nutritional benefits of eating homegrown celery?
Homegrown celery is a nutritious and low-calorie vegetable that is packed with vitamins, minerals, and antioxidants. It’s a good source of vitamin K, vitamin A, vitamin C, potassium, and folate. Celery also contains compounds that have anti-inflammatory and antioxidant properties. Eating homegrown celery is a great way to boost your nutrient intake and support overall health.


Leave a Comment