
Homemade White Vinegar Recipes: Unlock the power of this pantry staple and transform your home with these easy DIY solutions! Have you ever wondered if you could create your own cleaning solutions, weed killers, or even beauty treatments using just a few simple ingredients? Well, wonder no more! This article is your ultimate guide to crafting incredible products with homemade white vinegar recipes.
Vinegar, in its various forms, has been used for centuries. From ancient civilizations using it for preservation to modern households relying on it for cleaning, vinegar’s versatility is undeniable. In fact, evidence suggests that vinegar production dates back to around 5000 BC in Babylonia, where it was primarily used as a food preservative and medicine. Today, we’re rediscovering its potential beyond the kitchen.
Why should you embrace these homemade white vinegar recipes? Because they’re cost-effective, eco-friendly, and surprisingly simple! In a world increasingly concerned about harsh chemicals and their impact on our health and the environment, creating your own solutions is a powerful step towards a more sustainable lifestyle. Plus, you’ll save money! I’m excited to share these simple yet effective recipes that will help you ditch the expensive store-bought products and embrace the magic of homemade white vinegar. Let’s get started!
Making Your Own White Vinegar: A Comprehensive Guide
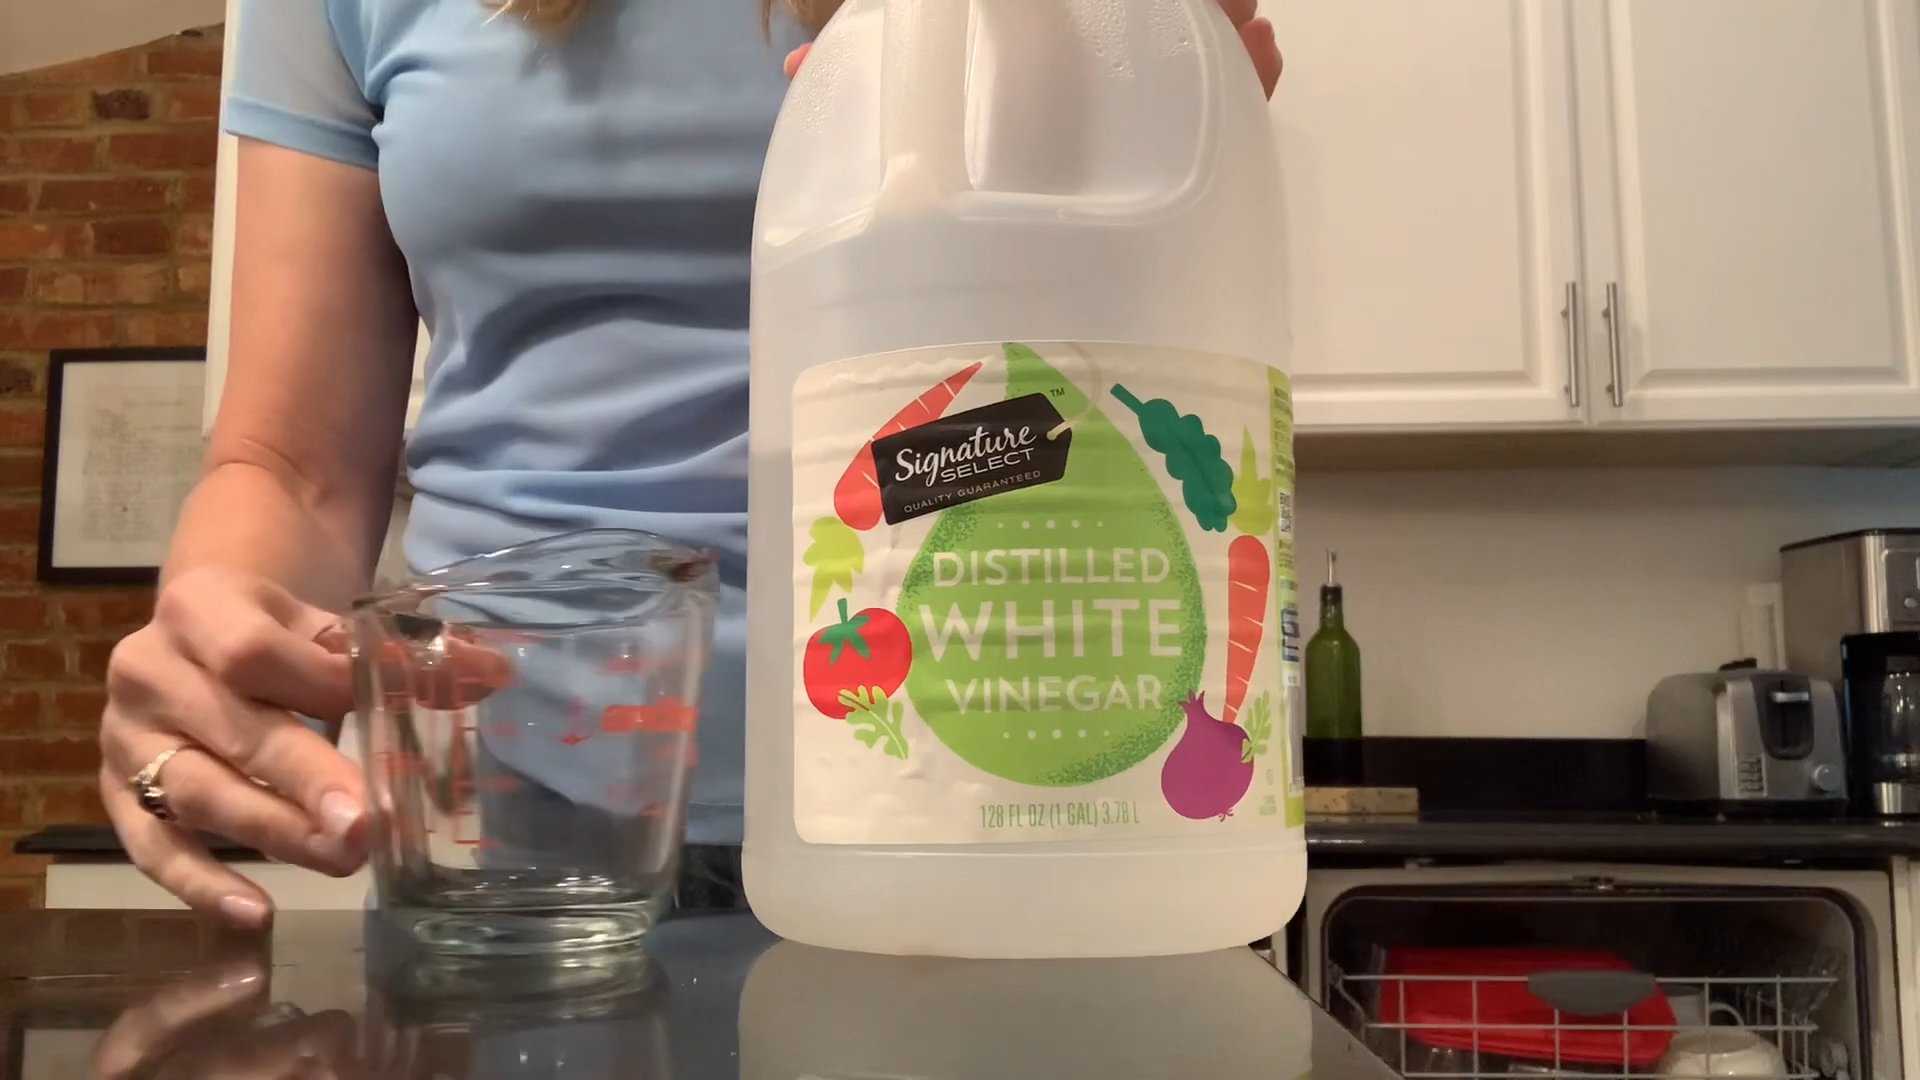
Hey there, fellow DIY enthusiasts! Ever run out of white vinegar in the middle of a cleaning spree or pickling project? Or maybe you’re just looking for a more sustainable and budget-friendly alternative to store-bought vinegar? Well, you’re in the right place! I’m going to walk you through several methods for making your own white vinegar at home. It’s easier than you think, and the results are surprisingly effective.
Understanding the Process: From Alcohol to Acetic Acid
Before we dive into the recipes, let’s quickly understand what we’re doing. Vinegar is essentially acetic acid diluted in water. The process involves two main steps:
* **Fermentation to Alcohol:** First, you need to create an alcoholic liquid. This can be done using various sugary substances like fruit scraps, sugar water, or even leftover wine. Yeast consumes the sugar and produces alcohol as a byproduct.
* **Conversion to Acetic Acid:** Next, you introduce *Acetobacter* bacteria (also known as “mother of vinegar”) to the alcoholic liquid. These bacteria consume the alcohol and convert it into acetic acid, which is what gives vinegar its characteristic tang.
Now, let’s get to the fun part – making our own vinegar!
Method 1: Fruit Scrap Vinegar (My Favorite!)
This is my go-to method because it’s a fantastic way to reduce food waste and create something useful. Plus, the subtle fruity notes add a unique touch to your homemade vinegar.
What You’ll Need:
* Fruit scraps (apple cores, pear peels, grape stems, etc. – avoid oily fruits like avocados)
* Sugar (white or brown)
* Water (non-chlorinated is best)
* Large glass jar or crock
* Cheesecloth or breathable fabric
* Rubber band
* “Mother of Vinegar” (optional, but speeds up the process)
Step-by-Step Instructions:
1. **Prepare the Fruit Scrap Mixture:** Fill your glass jar about halfway with fruit scraps. The more scraps you use, the stronger your vinegar will be.
2. **Add Sugar:** For every quart of water you’ll be adding, dissolve about 1/4 cup of sugar. This provides the yeast with the food it needs to create alcohol. I usually eyeball it, but it’s better to err on the side of more sugar than less.
3. **Add Water:** Pour the sugar water over the fruit scraps, ensuring they are completely submerged. Leave about an inch or two of headspace at the top of the jar.
4. **Cover and Secure:** Cover the jar opening with cheesecloth or a breathable fabric (like muslin) and secure it with a rubber band. This allows air to circulate while keeping out fruit flies and other unwanted guests.
5. **First Fermentation (Alcohol Production):** Place the jar in a dark, cool place (around 65-75°F or 18-24°C) for about 2-4 weeks. You should start to see bubbles forming, which indicates that the yeast is working its magic. Give it a gentle stir every few days to prevent mold growth.
6. **Strain the Liquid:** After 2-4 weeks, strain the liquid through a cheesecloth-lined sieve into a clean jar. Discard the fruit scraps (or compost them!).
7. **Second Fermentation (Acetic Acid Production):** This is where the magic happens! If you have a “mother of vinegar” (a cellulose mass containing *Acetobacter* bacteria), add it to the strained liquid. If you don’t have one, don’t worry! *Acetobacter* is naturally present in the air and will eventually colonize the liquid. It just might take a bit longer.
8. **Cover and Secure (Again!):** Cover the jar with cheesecloth and a rubber band, just like before.
9. **Wait Patiently:** Place the jar back in the dark, cool place for another 4-8 weeks (or longer). The longer it sits, the stronger the vinegar will become. You’ll likely see a “mother of vinegar” forming on the surface of the liquid. This is a good sign!
10. **Test and Bottle:** After 4-8 weeks, start tasting the vinegar. Use a clean spoon and dip it into the liquid. If it tastes sufficiently sour and vinegary, it’s ready! If not, let it sit for another week or two and test again. Once it’s to your liking, strain the vinegar through a coffee filter to remove any sediment and bottle it in clean, sterilized bottles.
11. **Pasteurize (Optional):** To prevent further fermentation and ensure a longer shelf life, you can pasteurize the vinegar. Heat it to 140°F (60°C) for 10 minutes, then let it cool completely before bottling.
12. **Store:** Store your homemade white vinegar in a cool, dark place. It should last for several months, if not longer.
Method 2: Sugar Water Vinegar (The Reliable Standby)
This method is a bit more straightforward than the fruit scrap method, as it relies solely on sugar and water. It’s a great option if you don’t have fruit scraps readily available.
What You’ll Need:
* Sugar (white or brown)
* Water (non-chlorinated)
* Large glass jar or crock
* Cheesecloth or breathable fabric
* Rubber band
* “Mother of Vinegar” (optional, but recommended)
Step-by-Step Instructions:
1. **Prepare the Sugar Water:** Dissolve 1 cup of sugar in 1 gallon of water. Make sure the sugar is completely dissolved.
2. **Pour into Jar:** Pour the sugar water into your glass jar, leaving a few inches of headspace at the top.
3. **Add Mother of Vinegar (Recommended):** If you have a “mother of vinegar,” add it to the sugar water. This will significantly speed up the fermentation process. If you don’t have one, you can still proceed, but it will take longer for the vinegar to develop.
4. **Cover and Secure:** Cover the jar opening with cheesecloth or a breathable fabric and secure it with a rubber band.
5. **Fermentation:** Place the jar in a dark, cool place (around 65-75°F or 18-24°C) for 6-12 weeks, or even longer. The fermentation process will be slower without a “mother of vinegar.”
6. **Test and Bottle:** After 6-12 weeks, start tasting the vinegar. If it tastes sufficiently sour and vinegary, it’s ready! If not, let it sit for another few weeks and test again. Once it’s to your liking, strain the vinegar through a coffee filter to remove any sediment and bottle it in clean, sterilized bottles.
7. **Pasteurize (Optional):** To prevent further fermentation and ensure a longer shelf life, you can pasteurize the vinegar. Heat it to 140°F (60°C) for 10 minutes, then let it cool completely before bottling.
8. **Store:** Store your homemade white vinegar in a cool, dark place.
Method 3: Wine Vinegar (For the Wine Lovers!)
If you happen to have leftover wine that’s gone a bit sour, don’t throw it away! You can easily turn it into delicious wine vinegar.
What You’ll Need:
* Leftover wine (red or white)
* “Mother of Vinegar” (highly recommended)
* Glass jar or crock
* Cheesecloth or breathable fabric
* Rubber band
Step-by-Step Instructions:
1. **Pour Wine into Jar:** Pour the leftover wine into a clean glass jar, leaving a few inches of headspace at the top.
2. **Add Mother of Vinegar (Essential):** For this method, a “mother of vinegar” is pretty much essential. It will kickstart the conversion of alcohol to acetic acid.
3. **Cover and Secure:** Cover the jar opening with cheesecloth or a breathable fabric and secure it with a rubber band.
4. **Fermentation:** Place the jar in a dark, cool place (around 65-75°F or 18-24°C) for 2-4 weeks, or longer, depending on the strength of the wine and the activity of the “mother of vinegar.”
5. **Test and Bottle:** After 2-4 weeks, start tasting the vinegar. If it tastes sufficiently sour and vinegary, it’s ready! If not, let it sit for another week or two and test again. Once it’s to your liking, strain the vinegar through a coffee filter to remove any sediment and bottle it in clean, sterilized bottles.
6. **Pasteurize (Optional):** To prevent further fermentation and ensure a longer shelf life, you can pasteurize the vinegar. Heat it to 140°F (60°C) for 10 minutes, then let it cool completely before bottling.

Conclusion
So, there you have it! Crafting your own homemade white vinegar is not only surprisingly simple, but it’s also a game-changer for your cleaning routine, your cooking endeavors, and even your garden care. We’ve walked you through several methods, from the patient apple cider vinegar route to the quicker, more straightforward distilled white vinegar fermentation. Each offers a unique approach, giving you the power to choose the best fit for your lifestyle and available resources.
Why is this a must-try? Because you’re taking control. You know exactly what’s going into your vinegar, avoiding any unwanted additives or preservatives that might lurk in store-bought versions. Plus, it’s incredibly cost-effective, especially if you’re already brewing your own beer or wine, or have an abundance of fruit scraps. Think of the satisfaction of using a cleaning solution or a salad dressing that you made entirely from scratch!
But the benefits don’t stop there. Consider the environmental impact. By making your own vinegar, you’re reducing your reliance on mass-produced products and minimizing plastic waste. It’s a small step with a big potential impact.
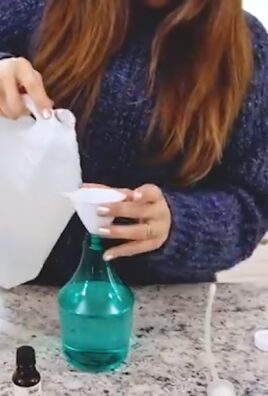
Now, let’s talk variations. Feeling adventurous? Infuse your homemade vinegar with herbs like rosemary, thyme, or lavender for a fragrant cleaning solution or a unique culinary twist. Add citrus peels for a zesty aroma and extra cleaning power. Experiment with different fruits beyond apples – pears, grapes, or even pineapple scraps can yield interesting and flavorful vinegars. The possibilities are truly endless!
Don’t be intimidated by the fermentation process. It’s a natural and fascinating transformation. Just remember to be patient, maintain a clean environment, and follow the instructions carefully. And most importantly, have fun with it!
We wholeheartedly encourage you to give this DIY project a try. Whether you’re a seasoned DIY enthusiast or a complete beginner, making your own homemade white vinegar is a rewarding experience. Once you’ve mastered the basics, you can start experimenting with different flavors and techniques to create your own signature blends.
We’re eager to hear about your experiences! Share your successes, your challenges, and your creative variations in the comments below. Let’s build a community of homemade vinegar enthusiasts and learn from each other. What fruits did you use? What herbs did you infuse? What cleaning tasks did you conquer? Your insights could inspire others to embark on their own vinegar-making journey. So, go ahead, get fermenting, and let us know how it goes!
Frequently Asked Questions (FAQ)
What exactly *is* white vinegar, and why would I want to make it myself?
White vinegar is essentially acetic acid diluted with water. It’s a versatile liquid used for cleaning, cooking, and even some medicinal purposes. Making it yourself allows you to control the ingredients, avoid unwanted additives, reduce plastic waste, and save money. Plus, it’s a fun and educational project! You’ll know exactly what went into your homemade white vinegar.
Is it safe to make my own vinegar? I’m worried about contamination.
Yes, it’s generally safe as long as you follow proper sanitation procedures. The high acidity of vinegar inhibits the growth of most harmful bacteria. However, it’s crucial to use clean equipment, sterilize your containers, and maintain a clean working environment. If you notice any signs of mold or unusual odors during the fermentation process, discard the batch. Always err on the side of caution.
How long does it take to make homemade white vinegar?
The fermentation time varies depending on the method you choose. The apple cider vinegar method can take several weeks or even months, while the distilled white vinegar fermentation method is significantly faster, often ready in a week or two. Patience is key! Regularly check the pH level to ensure the vinegar is acidic enough.
What kind of container should I use for fermentation?
Glass containers are ideal for fermentation because they are non-reactive and easy to sterilize. Avoid using metal containers, as the acidity of the vinegar can react with the metal. Wide-mouth jars are preferable for easy access and cleaning. Make sure the container is thoroughly cleaned and sterilized before use.
How do I know when my vinegar is ready?
The best way to determine if your vinegar is ready is to test its pH level. A pH of 2-3 indicates that the vinegar is acidic enough and safe to use. You can use pH strips or a digital pH meter to measure the acidity. You can also taste it – it should have a distinctively sour, vinegary flavor.
Can I use any type of fruit to make vinegar?
While apples are a popular choice, you can experiment with other fruits like pears, grapes, berries, or even pineapple scraps. The sugar content of the fruit will influence the fermentation process and the final flavor of the vinegar. Avoid using fruits that are moldy or rotten.
What’s the difference between white vinegar and apple cider vinegar?
White vinegar is typically made from grain alcohol or distilled spirits, while apple cider vinegar is made from fermented apples. White vinegar has a sharper, more acidic flavor, while apple cider vinegar has a milder, fruitier flavor. Both types of vinegar have their own unique uses and benefits.
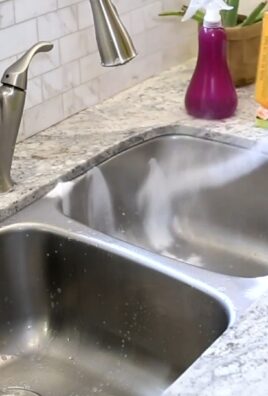
Can I use my homemade vinegar for cleaning?
Yes, absolutely! Homemade white vinegar is an excellent natural cleaner. It can be used to clean countertops, floors, windows, and bathrooms. However, avoid using it on delicate surfaces like marble or granite, as the acidity can damage them. Always dilute the vinegar with water before using it for cleaning.
How should I store my homemade vinegar?
Store your homemade vinegar in a cool, dark place in a tightly sealed glass container. Properly stored vinegar can last for several years. The flavor may mellow slightly over time, but the acidity will remain relatively stable.
My vinegar has a cloudy sediment at the bottom. Is that normal?
Yes, that’s perfectly normal and harmless. It’s called the “mother” of vinegar, and it’s a colony of beneficial bacteria that helps with the fermentation process. You can filter it out if you prefer a clearer vinegar, but it’s not necessary. In fact, some people believe that the “mother” contains additional health benefits.
Can I use my homemade vinegar for pickling?
Yes, you can use your homemade white vinegar for pickling, but it’s important to ensure that it has a pH of 3 or lower to prevent spoilage. Use a reliable recipe and follow proper canning procedures to ensure the safety of your pickled goods.
What if my vinegar doesn’t seem to be fermenting?
Several factors can affect the fermentation process, including temperature, sugar content, and the presence of yeast or bacteria. Make sure your container is stored in a warm place (around 70-80°F) and that you’ve added enough sugar or fruit to fuel the fermentation. You can also add a small amount of unpasteurized apple cider vinegar to introduce beneficial bacteria.
Can I make flavored vinegar?
Absolutely! Once your vinegar is ready, you can infuse it with herbs, spices, or citrus peels to create unique and flavorful blends. Simply add your desired ingredients to the vinegar and let it steep for a few weeks. Strain out the solids before using.
Is homemade vinegar safe for people with sensitivities to sulfites?
Generally, yes. Most homemade vinegar recipes don’t involve sulfites. However, if you are extremely sensitive, it’s best to use ingredients that you know are sulfite-free and monitor the fermentation process carefully. If you are unsure, consult with your doctor.
Leave a Comment