
Home Grown Turnips, bursting with fresh, earthy flavor, are easier to cultivate than you might think! Forget those bland, store-bought roots – imagine pulling crisp, juicy turnips straight from your own backyard. This isn’t just about growing vegetables; it’s about connecting with nature, enjoying the fruits (or rather, roots!) of your labor, and adding a touch of homegrown goodness to your meals.
For centuries, turnips have been a staple crop in many cultures, providing sustenance and versatility in the kitchen. From hearty stews to vibrant salads, these humble vegetables have nourished generations. But in today’s fast-paced world, the art of growing your own food, especially something as simple and rewarding as home grown turnips, has often been overlooked.
That’s where this DIY guide comes in! I’m here to share some simple yet effective tricks and hacks that will empower you to grow your own delicious turnips, even if you have limited space or gardening experience. We’ll cover everything from seed selection to soil preparation, watering techniques to pest control, ensuring you have a bountiful harvest. So, grab your gardening gloves, and let’s get started on this exciting journey of growing your own turnips!
Growing Delicious Turnips at Home: A Beginner’s Guide
Hey there, fellow gardening enthusiasts! I’m so excited to share my experience growing turnips at home. They’re surprisingly easy to cultivate, and the satisfaction of harvesting your own fresh veggies is unbeatable. Plus, both the roots and the greens are edible, making them a super versatile addition to your kitchen. Let’s dive in!
Choosing Your Turnip Variety
Before we get our hands dirty, let’s talk about choosing the right turnip variety. There are tons of options, each with its own unique characteristics. Here are a few of my favorites:
* **Purple Top White Globe:** This is a classic, all-around great turnip. It’s known for its mild flavor and smooth texture. It’s also a good choice for both roots and greens.
* **Tokyo Cross:** If you’re looking for a quick harvest, Tokyo Cross is your friend. These turnips mature super fast and have a delicate, sweet flavor.
* **Golden Ball:** As the name suggests, these turnips have a beautiful golden color. They’re known for their sweet and nutty flavor.
* **Hakurei:** These Japanese turnips are incredibly tender and mild. They’re delicious raw in salads or lightly cooked.
Consider your climate, taste preferences, and desired harvest time when making your selection. I usually plant a mix of varieties to keep things interesting!
Preparing Your Garden Bed
Turnips thrive in well-drained soil that’s rich in organic matter. Here’s how I prepare my garden bed:
* **Choose a Sunny Spot:** Turnips need at least 6 hours of sunlight per day.
* **Clear the Area:** Remove any weeds, rocks, and debris from the planting area.
* **Loosen the Soil:** Use a garden fork or tiller to loosen the soil to a depth of at least 12 inches. This will allow the turnip roots to grow easily.
* **Amend the Soil:** Incorporate plenty of compost or well-rotted manure into the soil. This will improve drainage, fertility, and water retention. I usually add about 2-3 inches of compost.
* **Check the pH:** Turnips prefer a soil pH between 6.0 and 6.8. You can test your soil using a home testing kit or send a sample to your local agricultural extension office. If your soil is too acidic, add lime to raise the pH. If it’s too alkaline, add sulfur to lower the pH.
* **Rake Smooth:** Rake the soil smooth to create a level planting surface.
Planting Your Turnip Seeds
Now for the fun part – planting! Turnips are cool-season crops, so the best time to plant them is in the spring or fall.
* **Timing is Key:** For a spring crop, plant your seeds 2-4 weeks before the last expected frost. For a fall crop, plant them 6-8 weeks before the first expected frost. I usually aim for late summer planting for a fall harvest.
* **Direct Sowing:** Turnips are best direct-sown into the garden. They don’t transplant well.
* **Spacing:** Sow the seeds about ½ inch deep and 1 inch apart in rows that are 12-18 inches apart.
* **Water Gently:** Water the soil gently after planting to keep it moist.
Caring for Your Turnip Plants
Once your turnip seeds have sprouted, it’s important to provide them with proper care.
* **Thinning:** When the seedlings are about 2 inches tall, thin them to 3-4 inches apart. This will give the turnips enough space to grow. Don’t throw away the thinnings! You can eat them as microgreens.
* **Watering:** Keep the soil consistently moist, but not waterlogged. Water deeply whenever the top inch of soil feels dry.
* **Weeding:** Regularly remove any weeds that pop up around your turnip plants. Weeds can compete with the turnips for nutrients and water.
* **Fertilizing:** Turnips are relatively light feeders, but they will benefit from a side dressing of compost or a balanced fertilizer a few weeks after planting. I like to use a liquid seaweed fertilizer.
* **Pest Control:** Keep an eye out for common pests like aphids, flea beetles, and cabbage worms. You can control these pests with insecticidal soap, neem oil, or by handpicking them off the plants.
* **Row Covers:** Consider using row covers to protect your turnip plants from pests and frost.
Harvesting Your Turnips
The moment you’ve been waiting for – harvest time! Turnips are typically ready to harvest in 50-60 days, depending on the variety.
* **Root Size:** Harvest the roots when they are 2-3 inches in diameter. You can check the size by gently digging around the base of the plant.
* **Greens:** You can harvest the greens at any time. Just snip off the outer leaves, leaving the inner leaves to continue growing.
* **Harvesting Technique:** To harvest the roots, gently loosen the soil around the turnip with a garden fork. Then, grasp the greens near the base and pull the turnip out of the ground.
* **Storage:** Store the turnip roots in a cool, dry place. They will keep for several months. The greens can be stored in the refrigerator for a few days.
Using Your Homegrown Turnips
Now that you’ve harvested your delicious turnips, it’s time to get creative in the kitchen! Here are some of my favorite ways to use them:
* **Roasted Turnips:** Toss turnip cubes with olive oil, salt, pepper, and your favorite herbs. Roast them in a 400°F oven for 20-30 minutes, or until they are tender and slightly caramelized.
* **Mashed Turnips:** Boil turnip cubes until tender. Drain and mash them with butter, milk, and salt.
* **Turnip Greens:** Sauté turnip greens with garlic, olive oil, and a pinch of red pepper flakes.
* **Turnip Soup:** Add turnip cubes to your favorite vegetable soup recipe.
* **Raw Turnips:** Thinly slice raw turnips and add them to salads or slaws.
* **Pickled Turnips:** Pickle turnip slices for a tangy and flavorful condiment.
Troubleshooting Common Turnip Problems
Even with the best care, you might encounter some problems while growing turnips. Here are a few common issues and how to address them:
* **Bolting:** Bolting is when the turnip plant prematurely sends up a flower stalk. This can happen if the weather is too hot or if the plants are stressed. To prevent bolting, plant your turnips at the right time of year and provide them with consistent moisture.
* **Root Maggots:** Root maggots are small, white larvae that feed on the roots of turnips. They can cause the roots to become stunted and deformed. To prevent root maggots, use row covers to protect your plants and practice crop rotation.
* **Clubroot:** Clubroot is a fungal disease that causes the roots of turnips to become swollen and distorted. To prevent clubroot, improve soil drainage, maintain a soil pH between 6.0 and 6.8, and practice crop rotation.
* **Flea Beetles:** These tiny beetles can create small holes in the leaves of your turnip plants. They’re most active in warm, dry weather. You can control them with insecticidal soap, neem oil, or by covering your plants with row covers.
Saving Turnip Seeds
If you want to save seeds from your turnip plants, you’ll need to let a few plants bolt and produce seed pods.
* **Choose Healthy Plants:** Select the healthiest and most vigorous plants to save seeds from.
* **Allow Bolting:** Let the plants bolt and produce seed pods.
* **Harvest Seed Pods:** Once the seed pods are dry and brown, harvest them.
* **Extract Seeds:** Crack open the seed pods and extract the seeds.
* **Dry Seeds:** Spread the seeds out on a screen or tray to dry completely.
* **Store Seeds:** Store the dried seeds in an airtight container in a cool, dark, and dry place.
Enjoying the Fruits (and Roots!) of Your Labor
Growing turnips at home is a rewarding experience. Not only will you have access to fresh, delicious vegetables, but you’ll also gain a deeper appreciation for the natural world. So get out there, get your hands dirty, and start growing your own turnips today! I promise, you won’t regret it. Happy gardening!
Conclusion
So, there you have it! Mastering the art of growing your own turnips is not only surprisingly simple, but also incredibly rewarding. From the vibrant greens to the crisp, subtly sweet roots, home grown turnips offer a flavor and freshness that you simply can’t find in store-bought varieties. Forget those bland, sometimes bitter turnips you’ve encountered before; these are a completely different experience.
This DIY trick – starting with quality seeds, ensuring well-drained soil, and providing consistent watering – unlocks the full potential of this often-overlooked vegetable. Imagine the satisfaction of harvesting your own turnips, knowing exactly where they came from and how they were grown. Think of the delicious meals you can create, from creamy mashed turnips and roasted root vegetable medleys to pickled turnip salads and stir-fries bursting with flavor.
But the benefits extend beyond just taste. Growing your own turnips is a sustainable and eco-friendly choice. You’re reducing your carbon footprint by eliminating transportation costs and packaging waste. You’re also gaining control over the growing process, ensuring that your turnips are free from harmful pesticides and herbicides. Plus, gardening is a fantastic way to connect with nature, relieve stress, and get some fresh air and exercise.
Don’t be afraid to experiment with different varieties of turnips. There are globe-shaped turnips, elongated turnips, white turnips, purple-top turnips, and even golden turnips, each with its own unique flavor profile and texture. Try growing ‘Purple Top White Globe’ for a classic turnip flavor, or ‘Golden Ball’ for a sweeter, milder taste. You can also adjust the planting time to extend your harvest season. Plant a small batch of seeds every few weeks to ensure a continuous supply of fresh turnips throughout the fall and winter.
Consider companion planting to further enhance your turnip growing experience. Plant turnips alongside carrots, radishes, or onions to deter pests and improve soil health. You can also use turnip greens as a cover crop to suppress weeds and add nutrients to the soil.
And remember, the greens are just as valuable as the roots! Turnip greens are packed with vitamins and minerals and can be cooked like spinach or kale. Sauté them with garlic and olive oil, add them to soups and stews, or even blend them into smoothies for a nutritional boost.
We urge you to give this DIY turnip growing trick a try. It’s easier than you think, and the rewards are well worth the effort. Once you’ve tasted the difference between home grown turnips and store-bought ones, you’ll never go back.
So, grab some seeds, prepare your garden bed, and get ready to enjoy the deliciousness of homegrown turnips. We’re confident that you’ll be amazed by the results. And don’t forget to share your experiences with us! We’d love to hear about your favorite turnip varieties, your growing tips, and your delicious turnip recipes. Share your photos and stories on social media using #HomeGrownTurnips and inspire others to discover the joy of growing their own food. Happy gardening!
Frequently Asked Questions (FAQ)
What is the best time of year to plant turnips?
Turnips are a cool-season crop, so the best time to plant them is in the late summer or early fall for a fall harvest. In warmer climates, you can also plant them in early spring for a spring harvest. Avoid planting during the hottest months of summer, as the heat can cause the turnips to become bitter and bolt (go to seed). For a fall harvest, aim to plant your turnip seeds about 4-6 weeks before the first expected frost. This will give them enough time to mature before the weather gets too cold. For a spring harvest, plant as soon as the ground can be worked in the spring.
How much sunlight do turnips need?
Turnips need at least 6 hours of sunlight per day to grow well. Choose a location in your garden that receives full sun for the best results. If you live in a particularly hot climate, some afternoon shade can be beneficial to prevent the turnips from overheating.
What kind of soil is best for growing turnips?
Turnips prefer well-drained, fertile soil with a pH between 6.0 and 6.8. Before planting, amend the soil with compost or other organic matter to improve drainage and fertility. Avoid heavy clay soils, as they can become waterlogged and prevent the turnips from developing properly. If you have heavy clay soil, consider growing your turnips in raised beds or containers.
How often should I water my turnips?
Turnips need consistent moisture to grow well. Water them regularly, especially during dry periods. Aim to keep the soil consistently moist but not waterlogged. A good rule of thumb is to water deeply once or twice a week, depending on the weather conditions. Mulching around the plants can help to retain moisture in the soil.
How long does it take for turnips to mature?
Turnips typically mature in about 50-60 days, depending on the variety. You can start harvesting the greens as soon as they are large enough to eat, usually about 3-4 weeks after planting. The roots are ready to harvest when they reach the desired size, usually about 2-3 inches in diameter.
How do I know when my turnips are ready to harvest?
The best way to tell if your turnips are ready to harvest is to check the size of the roots. They should be about 2-3 inches in diameter. You can also gently pull one up to check its size and maturity. If the roots are too small, leave them in the ground for a few more days. If they are too large, they may become tough and bitter.
What are some common pests and diseases that affect turnips?
Some common pests that can affect turnips include aphids, flea beetles, and root maggots. Diseases that can affect turnips include clubroot and downy mildew. To prevent pest and disease problems, practice good garden hygiene, such as removing weeds and debris from the garden. You can also use organic pest control methods, such as insecticidal soap or neem oil, to control pests. Choose disease-resistant varieties of turnips to reduce the risk of disease problems.
Can I eat the turnip greens?
Yes, turnip greens are edible and nutritious. They are a good source of vitamins A, C, and K, as well as calcium and fiber. You can cook turnip greens like spinach or kale. Sauté them with garlic and olive oil, add them to soups and stews, or even blend them into smoothies.
How do I store turnips after harvesting?
To store turnips after harvesting, cut off the greens, leaving about an inch of stem attached. Brush off any excess soil and store the turnips in a cool, dark, and humid place, such as a root cellar or refrigerator. They can be stored for several months under the right conditions.
Can I grow turnips in containers?
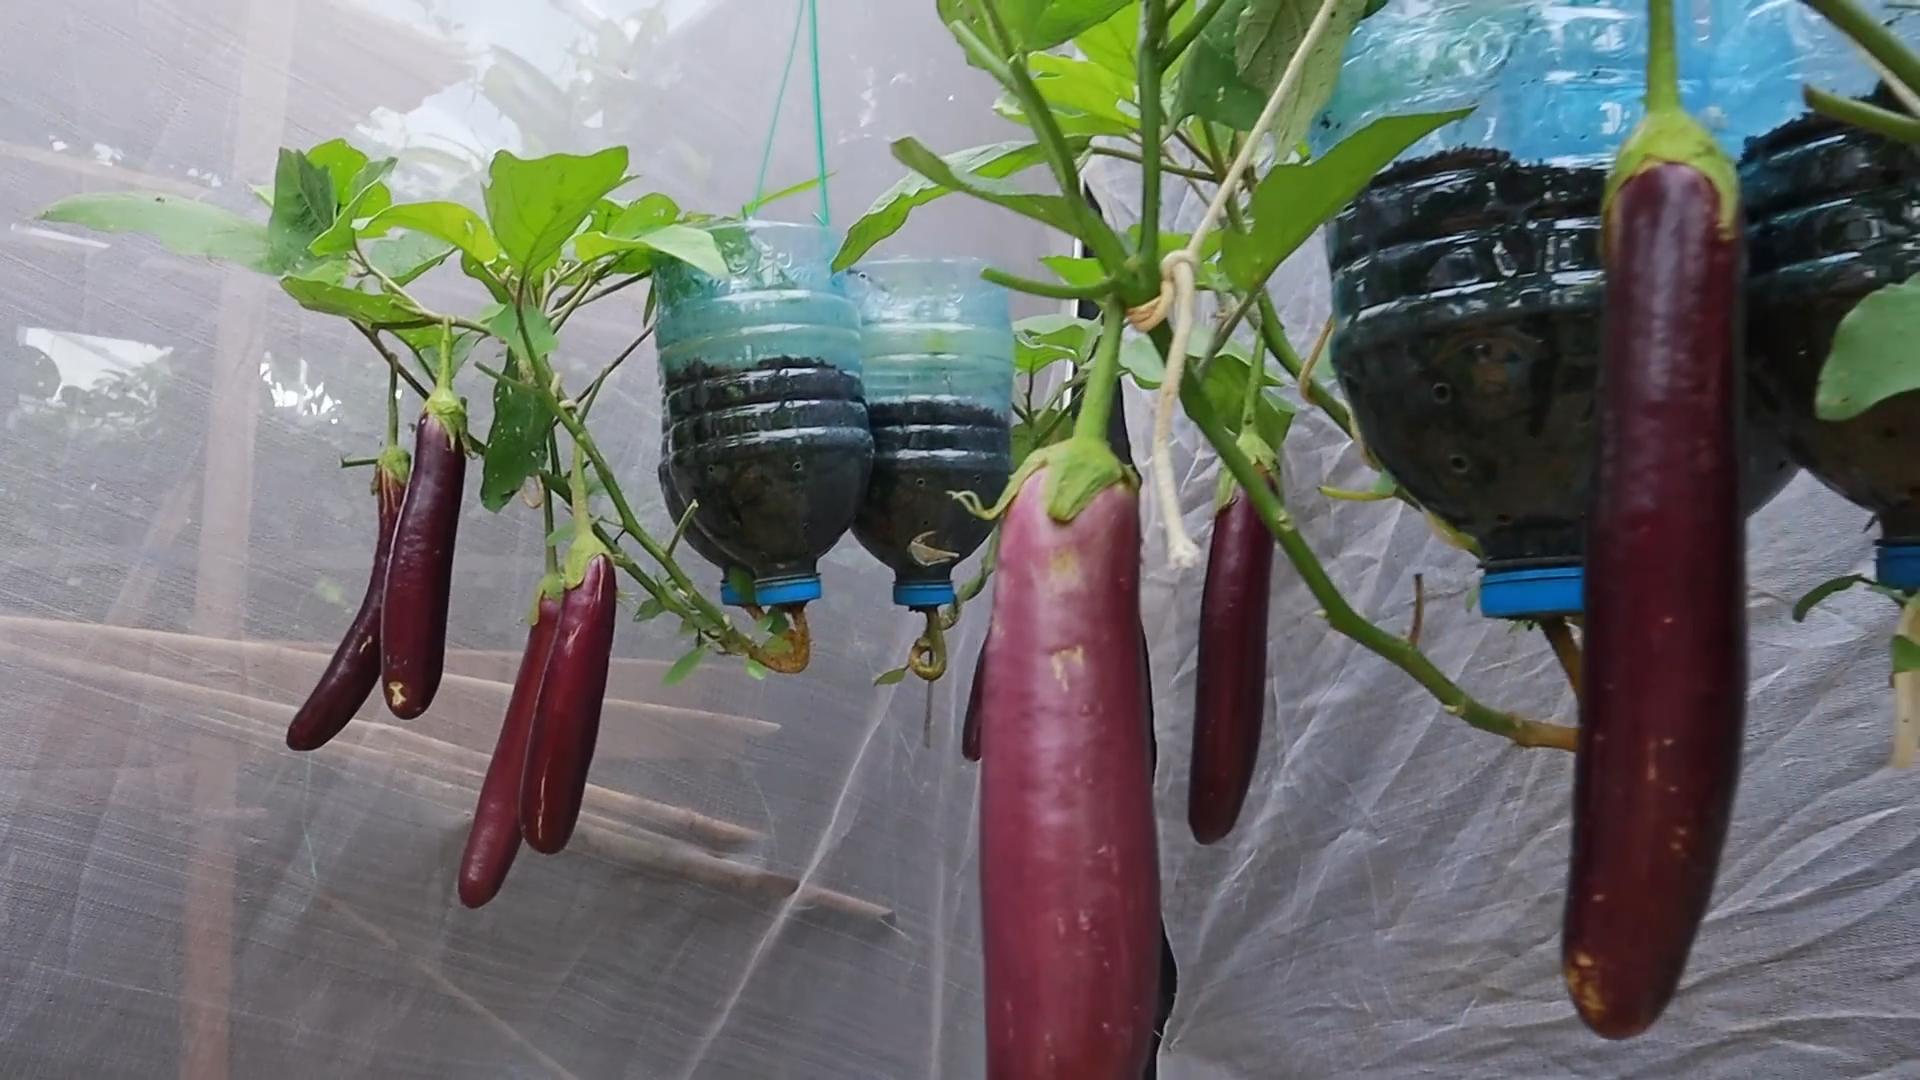
Yes, you can grow turnips in containers. Choose a container that is at least 12 inches deep and wide. Fill the container with well-drained potting mix and plant the turnip seeds according to the package directions. Water regularly and fertilize every few weeks with a balanced fertilizer.

Leave a Comment