
Shaving Cream Uses: Who knew that the foamy stuff you use to get a close shave could be your secret weapon in the garden and around the house? I certainly didn’t, until I stumbled upon a treasure trove of unexpected shaving cream uses! For generations, shaving cream has been a bathroom staple, evolving from simple soaps to the luxurious, lather-rich formulas we know today. But its utility extends far beyond just grooming.
Think about it: you’re probably spending money on specialized cleaning products and stain removers when the solution might already be sitting on your bathroom shelf. That’s where these DIY tricks come in! I’m going to show you how to harness the power of shaving cream to tackle everyday problems, saving you time, money, and a trip to the store.
From banishing stubborn stains to preventing foggy mirrors, the versatility of shaving cream uses is truly astounding. Ready to unlock the hidden potential of this everyday product? Let’s dive into some amazing DIY hacks that will transform the way you think about shaving cream!
Unlock the Unexpected: 10 Surprising Uses for Shaving Cream Beyond Shaving!
Hey there, DIY enthusiasts! I’m always on the lookout for clever hacks that make life a little easier and save a few bucks. And guess what? I’ve discovered that humble can of shaving cream is a multi-tasking marvel! Forget just using it for a smooth shave; this stuff can clean, protect, and even add a touch of whimsy to your home. So, ditch the expensive specialty cleaners and get ready to be amazed by these 10 surprising uses for shaving cream!
1. Streak-Free Mirror Cleaning
Tired of those annoying streaks on your bathroom mirror? Shaving cream to the rescue! This is one of my absolute favorite uses because it’s so simple and effective.
Why it works: The ingredients in shaving cream help to break down grime and leave a protective layer that prevents fogging.
Step-by-step instructions:
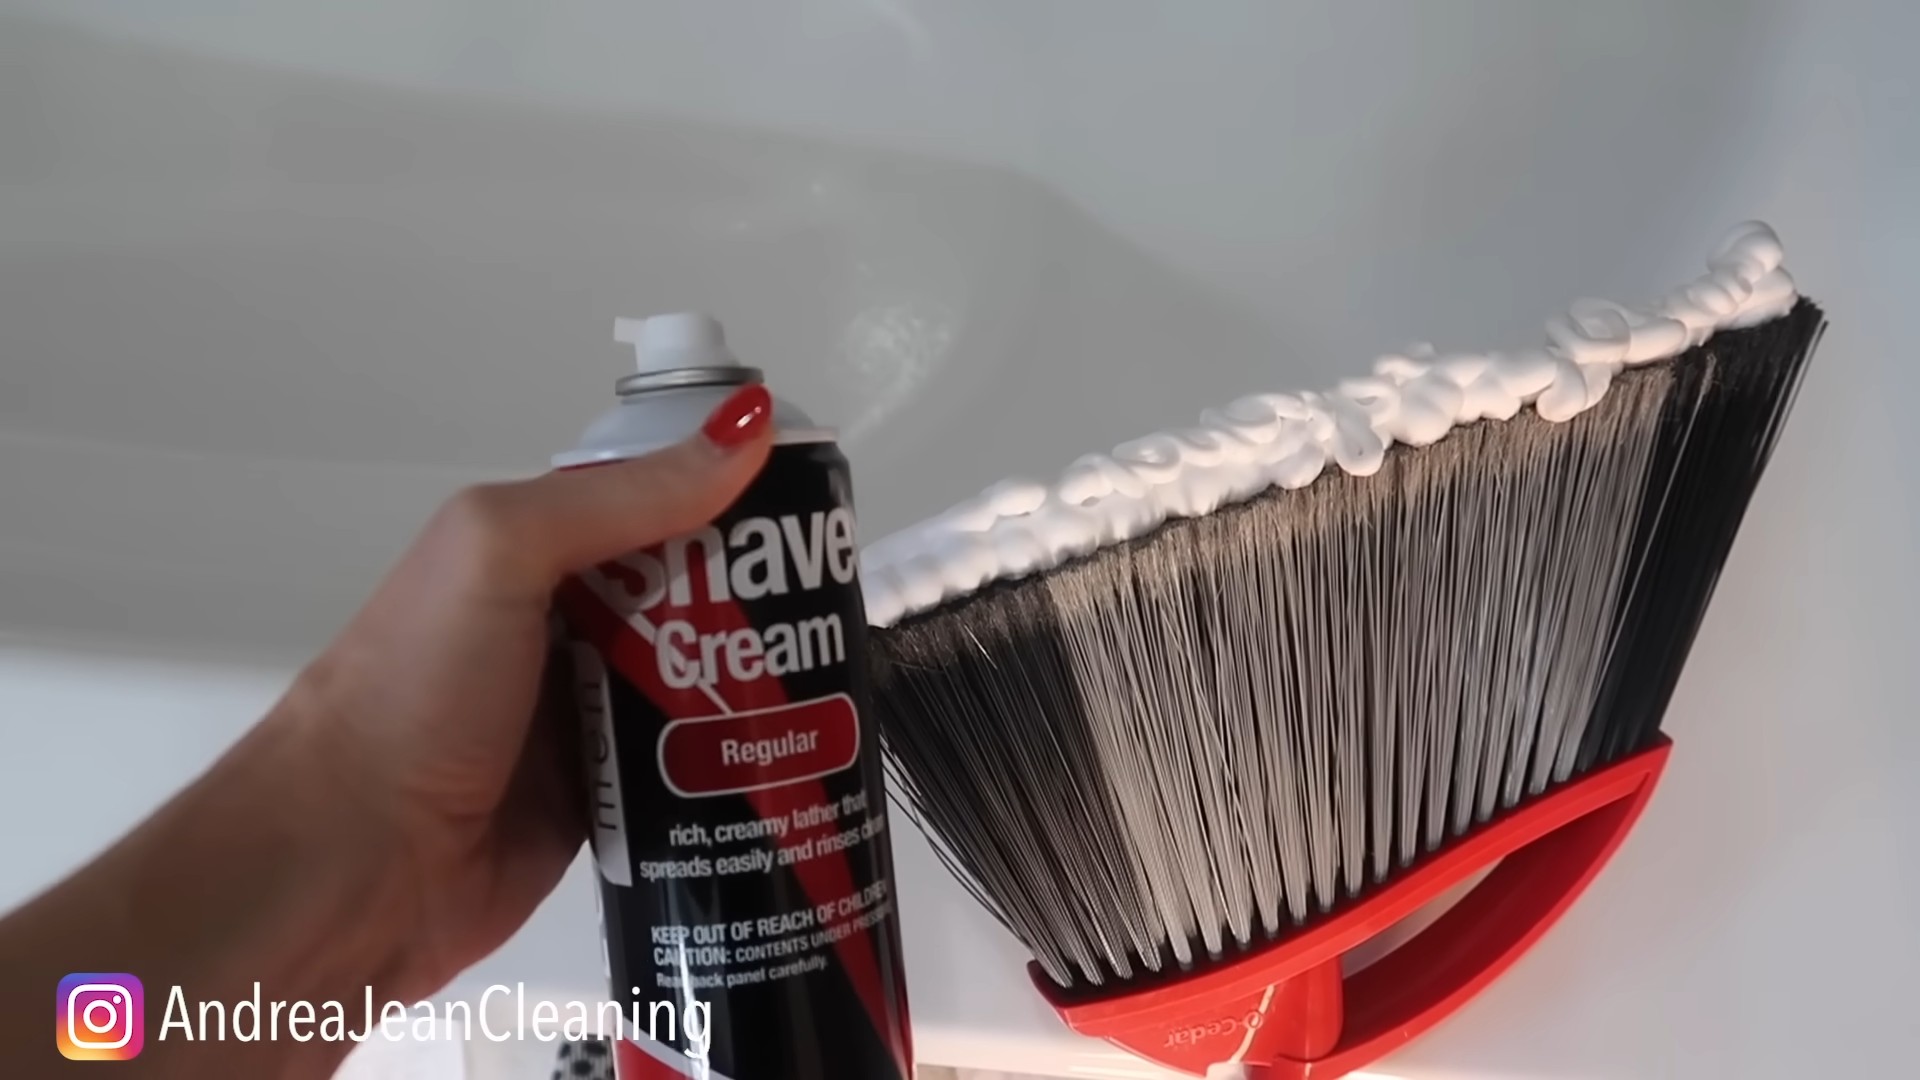
1. Apply a thin layer: Squirt a small amount of shaving cream (the foamy kind works best) directly onto your mirror. You don’t need a ton – a little goes a long way.
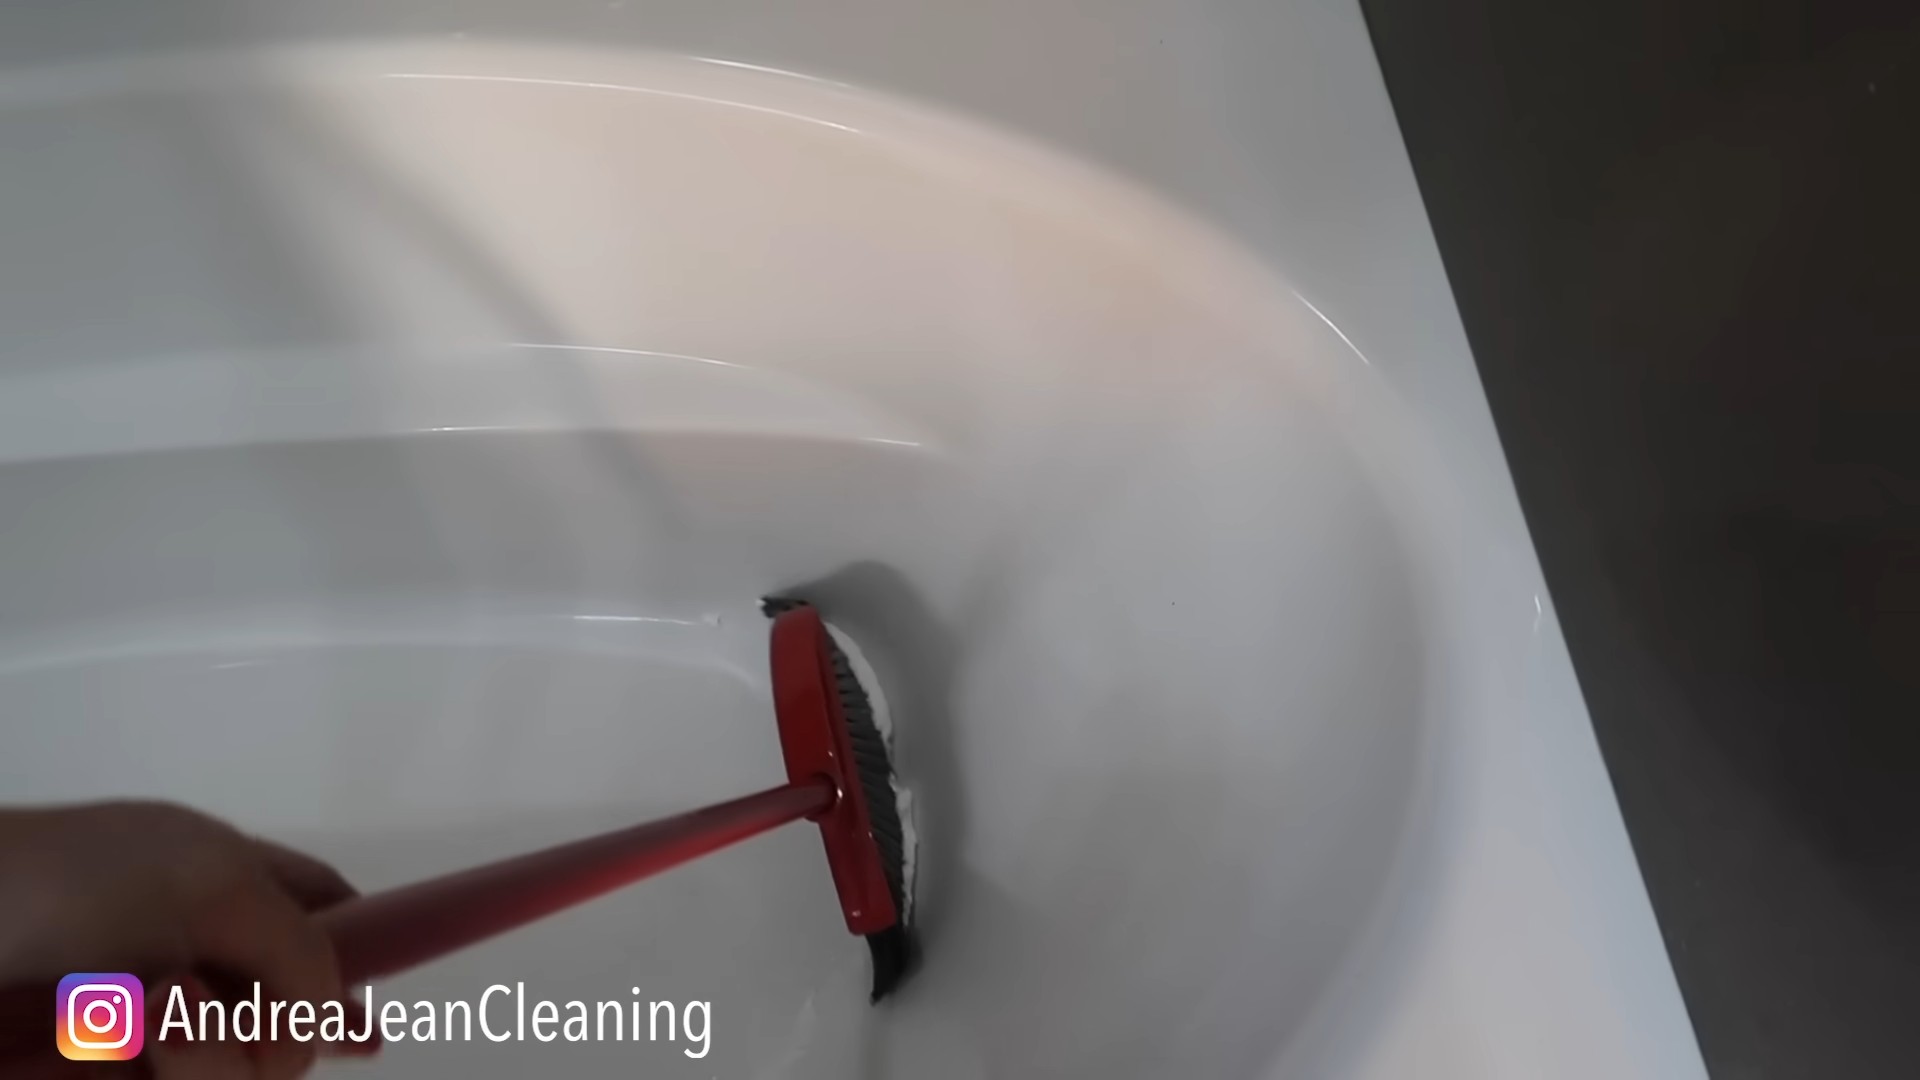
2. Spread it around: Use your fingers or a soft cloth to spread the shaving cream evenly over the entire surface of the mirror.
3. Wipe it clean: Grab a clean, damp cloth and wipe away the shaving cream.
4. Buff to a shine: Finish by buffing the mirror with a dry, lint-free cloth. Voila! A sparkling, streak-free mirror that won’t fog up after your shower.
2. Prevent Bathroom Mirror Fog
This is a natural extension of the mirror cleaning hack, but it deserves its own spotlight. Say goodbye to foggy mirrors after a hot shower!
Why it works: Shaving cream creates a barrier that prevents condensation from forming on the mirror’s surface.
Step-by-step instructions:
1. Apply a thin layer: As with cleaning, apply a thin layer of shaving cream to the dry mirror.
2. Spread it evenly: Use a clean cloth or your fingers to spread the cream across the entire surface. Make sure it’s a thin, even coat.
3. Wipe it off completely: This is key! Use a clean, damp cloth to wipe away *all* of the shaving cream. You shouldn’t see any residue.
4. Buff it dry: Finally, buff the mirror with a dry, lint-free cloth. Now, enjoy your fog-free showers! You’ll need to reapply every few weeks, depending on how often you shower.
3. Upholstery Stain Remover
Spilled coffee on your favorite armchair? Don’t panic! Shaving cream can often lift those pesky stains.
Important Note: Always test a small, inconspicuous area of the fabric first to ensure it doesn’t damage or discolor the material.
Step-by-step instructions:
1. Apply to the stain: Apply a generous amount of shaving cream directly onto the stain.
2. Let it sit: Allow the shaving cream to sit on the stain for about 15-20 minutes. This gives it time to penetrate and break down the stain.
3. Blot, don’t rub: Using a clean, damp cloth, gently blot the stain. Avoid rubbing, as this can spread the stain and damage the fabric.
4. Repeat if necessary: If the stain is still visible, repeat the process.
5. Dry thoroughly: Once the stain is gone, use a clean, dry cloth to absorb any excess moisture. You can also use a hairdryer on a low setting to speed up the drying process.
4. Clean Jewelry
Give your jewelry a quick sparkle boost with shaving cream! This is a gentle way to remove dirt and grime without harsh chemicals.
Important Note: Avoid using this method on delicate jewelry, such as pearls or opals, as it could damage them.
Step-by-step instructions:
1. Apply a small amount: Squeeze a small amount of shaving cream onto your hand.
2. Rub gently: Gently rub the shaving cream onto your jewelry, paying attention to any areas with dirt or grime.
3. Rinse thoroughly: Rinse the jewelry thoroughly under warm water.
4. Dry and buff: Use a soft cloth to dry and buff the jewelry to a shine.
5. Remove Makeup Stains from Clothing
Accidentally smudged foundation on your shirt collar? Shaving cream can help lift those makeup stains.
Important Note: As with upholstery, always test a small, hidden area of the fabric first.
Step-by-step instructions:
1. Apply to the stain: Apply a generous amount of shaving cream directly onto the makeup stain.
2. Let it sit: Allow the shaving cream to sit for about 10-15 minutes.
3. Rub gently: Gently rub the shaving cream into the stain using your fingers or a soft cloth.
4. Rinse thoroughly: Rinse the area thoroughly with cold water.
5. Launder as usual: Launder the garment as usual, following the care instructions on the label.
6. Soften Leather Shoes
New leather shoes feeling a little stiff? Shaving cream can help soften them up and prevent blisters.
Important Note: Test on a small, inconspicuous area first to ensure it doesn’t discolor the leather.
Step-by-step instructions:
1. Apply a small amount: Apply a small amount of shaving cream to a soft cloth.
2. Rub into the leather: Gently rub the shaving cream into the leather, focusing on areas that feel stiff or prone to rubbing.
3. Let it absorb: Allow the shaving cream to absorb into the leather for about 10-15 minutes.
4. Wipe off excess: Wipe off any excess shaving cream with a clean, dry cloth.
5. Buff to a shine: Buff the leather with a clean cloth to restore its shine.
7. Clean Stainless Steel
Give your stainless steel appliances a sparkling clean with shaving cream! It’s a gentle and effective way to remove fingerprints and smudges.
Step-by-step instructions:
1. Apply a small amount: Apply a small amount of shaving cream to a soft cloth.
2. Wipe the surface: Wipe the stainless steel surface with the cloth, covering the entire area.
3. Rinse with water: Rinse the surface with a damp cloth to remove any shaving cream residue.
4. Dry and buff: Dry the surface with a clean, dry cloth and buff to a shine.
8. DIY Puffy Paint
Get creative with your kids (or yourself!) and make your own puffy paint using shaving cream. This is a fun and easy activity that results in textured, three-dimensional artwork.
What you’ll need:
* Shaving cream (the foamy kind)
* White glue
* Food coloring or liquid watercolors
* Bowls or containers
* Spoons or popsicle sticks
* Paper or cardboard
Step-by-step instructions:
1. Mix the ingredients: In a bowl, mix equal parts shaving cream and white glue. Start with a small amount and adjust as needed.
2. Add color: Add a few drops of food coloring or liquid watercolors to the mixture and stir until you achieve your desired color.
3. Repeat for multiple colors: Repeat steps 1 and 2 for each color you want to create.
4. Paint! Use spoons, popsicle sticks, or even your fingers to apply the puffy paint to paper or cardboard.
5. Let it dry: Allow the paint to dry completely. It will puff up and create a textured effect. Drying time can vary depending on the thickness of the paint.
9. Soothe Sunburns
While it’s always best to prevent sunburns in the first place, shaving cream can provide some relief if you accidentally get too much sun.
Why it works: The moisturizing ingredients in shaving cream can help soothe and hydrate irritated skin.
Important Note: This is not a substitute for proper medical care. If you have a severe sunburn, consult a doctor.
Step-by-step instructions:
1. Apply to the affected area: Gently apply a thin layer of shaving cream to the sunburned area.
2. Let it sit: Allow the shaving cream to sit on the skin for about 15-20 minutes.
3. Rinse gently: Rinse the area gently with cool water.
4. Pat dry: Pat the skin dry with a soft towel.
10. Clean Paintbrushes
Keep your paintbrushes in top condition by cleaning them with shaving cream after each use.
Step-
Conclusion
So, there you have it! Growing turnips at home is not only achievable, but it’s also a deeply rewarding experience that connects you directly to the source of your food. Forget those bland, store-bought turnips that have traveled miles and lost their vibrancy. Imagine instead, crisp, sweet turnips pulled fresh from your own garden, bursting with flavor and packed with nutrients. This simple DIY project offers a tangible way to embrace sustainability, reduce your carbon footprint, and enjoy the unparalleled taste of homegrown produce.
But the benefits extend beyond just the taste. Growing your own turnips allows you to control exactly what goes into them – no harmful pesticides or herbicides necessary! You can cultivate them organically, ensuring a healthy and wholesome harvest for you and your family. Plus, the act of gardening itself is incredibly therapeutic. It’s a chance to de-stress, connect with nature, and get some gentle exercise.
Don’t be intimidated if you’re a beginner gardener. Turnips are remarkably forgiving and easy to grow, making them an excellent choice for those just starting out. And the quick turnaround time – often just a month or two from planting to harvest – provides instant gratification and encourages you to keep experimenting in your garden.
Consider these variations to personalize your turnip-growing adventure:
* Explore different varieties: From the classic Purple Top White Globe to the sweeter Tokyo Cross, there’s a turnip variety to suit every palate. Experiment with different types to discover your favorites.
* Succession planting: Plant a new batch of turnip seeds every few weeks to ensure a continuous harvest throughout the growing season.
* Companion planting: Plant turnips alongside beneficial companions like beans, peas, or mint to deter pests and improve soil health.
* Turnip greens: Don’t forget about the greens! Turnip greens are a delicious and nutritious addition to salads, stir-fries, and soups. Harvest them regularly to encourage further root growth.
Growing turnips at home is more than just a gardening project; it’s an investment in your health, your well-being, and the environment. It’s a chance to reconnect with nature, learn new skills, and enjoy the unparalleled taste of homegrown produce.
We wholeheartedly encourage you to give this DIY trick a try. Start small, be patient, and don’t be afraid to experiment. We’re confident that you’ll be amazed at how easy and rewarding it is to grow your own turnips.
Once you’ve harvested your first crop, we’d love to hear about your experience! Share your tips, tricks, and photos in the comments below. Let’s build a community of home gardeners and inspire others to embrace the joy of growing their own food. What variety did you choose? What challenges did you face, and how did you overcome them? Your insights can help others succeed in their own turnip-growing endeavors. Happy gardening!
Frequently Asked Questions (FAQ)
What is the best time of year to plant turnips?
Turnips are a cool-season crop, meaning they thrive in cooler temperatures. The best time to plant them is in the spring or fall. For a spring crop, plant seeds 2-4 weeks before the last expected frost. For a fall crop, plant seeds 6-8 weeks before the first expected frost. In areas with mild winters, you may even be able to grow turnips throughout the winter months. Check your local climate and frost dates to determine the optimal planting time for your region.
How much sunlight do turnips need?
Turnips need at least 6 hours of sunlight per day to grow properly. Choose a planting location that receives full sun for the majority of the day. If you live in a particularly hot climate, some afternoon shade can be beneficial to prevent the turnips from bolting (going to seed prematurely).
What kind of soil is best for growing turnips?
Turnips prefer well-drained, fertile soil with a pH between 6.0 and 6.8. Before planting, amend the soil with compost or other organic matter to improve drainage and fertility. Avoid planting in heavy clay soil, as this can lead to root rot. If your soil is compacted, consider tilling or double-digging to loosen it up.
How often should I water my turnips?
Turnips need consistent moisture to grow properly. Water them regularly, especially during dry periods. Aim to keep the soil consistently moist but not waterlogged. A good rule of thumb is to water deeply once or twice a week, depending on the weather conditions. Mulching around the plants can help to retain moisture and suppress weeds.
How far apart should I plant turnip seeds?
Plant turnip seeds about 1/2 inch deep and 1 inch apart in rows that are 12-18 inches apart. Once the seedlings emerge, thin them to 3-4 inches apart to allow the roots to develop properly. Thinning is crucial for producing larger, more uniform turnips.
When are turnips ready to harvest?
Turnips are typically ready to harvest in 1-2 months after planting, depending on the variety and growing conditions. The roots should be about 2-3 inches in diameter. You can harvest them earlier if you prefer smaller, more tender turnips. To harvest, gently loosen the soil around the turnip and pull it out of the ground.
Can I eat turnip greens?
Yes, turnip greens are edible and nutritious! They can be harvested at any time during the growing season. Simply cut off the outer leaves, leaving the inner leaves to continue growing. Turnip greens can be eaten raw in salads or cooked in stir-fries, soups, and other dishes. They have a slightly peppery flavor that complements a variety of cuisines.
What are some common pests and diseases that affect turnips?
Some common pests that can affect turnips include aphids, flea beetles, and root maggots. Diseases that can affect turnips include clubroot and powdery mildew. To prevent pest and disease problems, practice good garden hygiene, such as removing weeds and debris, and rotate your crops regularly. You can also use organic pest control methods, such as insecticidal soap or neem oil, to control pests.
How do I store turnips after harvesting?
To store turnips, remove the greens and wash the roots thoroughly. Store them in a cool, dark, and humid place, such as a refrigerator or root cellar. They can be stored for several months under the right conditions. Place them in a plastic bag or container to prevent them from drying out.
Can I grow turnips in containers?
Yes, turnips can be grown in containers, making them a great option for gardeners with limited space. Choose a container that is at least 12 inches deep and wide. Use a well-draining potting mix and follow the same planting and care instructions as for growing turnips in the ground. Be sure to water the containers regularly, as they tend to dry out more quickly than garden beds.

Leave a Comment