
Remove Rust from Tools? Don’t let rust turn your trusty gardening companions into useless scrap metal! I know the frustration of reaching for your favorite trowel, only to find it coated in a layer of orange decay. It’s not just unsightly; rust weakens the metal, making your tools less effective and shortening their lifespan. But fear not, fellow gardeners! This isn’t a death sentence for your beloved implements.
For generations, gardeners have battled the relentless advance of rust. From ancient Roman farmers meticulously cleaning their scythes to modern-day enthusiasts preserving heirloom tools, the fight against corrosion is a timeless tradition. In fact, some cultures even developed specialized oils and techniques, passed down through families, to protect their valuable gardening equipment.
Why is it so important to remove rust from tools? Well, beyond the obvious aesthetic reasons, a rusty tool is a less efficient tool. It requires more effort to use, can damage plants, and even spread diseases. Plus, replacing tools constantly can get expensive! This DIY guide will provide you with simple, effective, and budget-friendly methods to banish rust and restore your tools to their former glory. I’ll walk you through each step, ensuring you can confidently tackle this common gardening challenge and keep your tools in tip-top shape for years to come. Let’s get started and reclaim those rusty relics!
DIY Rust Removal: Revive Your Tools Like a Pro!
Hey there, fellow DIY enthusiasts! Are your trusty tools looking a little worse for wear, covered in unsightly rust? Don’t despair! Before you think about replacing them, I’m going to show you some fantastic and effective DIY methods to banish that rust and bring your tools back to life. Trust me, it’s easier than you think, and you’ll feel a great sense of accomplishment seeing your tools shine again.
Understanding Rust and Why It’s a Problem
Rust, scientifically known as iron oxide, forms when iron or an iron alloy like steel is exposed to oxygen and moisture. This electrochemical process weakens the metal, making it brittle and prone to further corrosion. Not only does rust look bad, but it can also compromise the functionality and lifespan of your tools. A rusty wrench might slip, a rusty saw might bind, and a rusty screwdriver might strip screw heads. So, getting rid of rust is not just about aesthetics; it’s about safety and performance!
Choosing Your Rust Removal Method: A Quick Guide
Before we dive into the nitty-gritty, let’s take a quick look at the different methods we’ll be covering. This will help you choose the best approach based on the severity of the rust and the tools you have on hand.
* Vinegar Soak: A gentle and effective method for light to moderate rust. It’s readily available and environmentally friendly.
* Baking Soda Paste: A mild abrasive that works wonders on surface rust. It’s also great for polishing.
* Citric Acid Bath: A more potent acid that’s excellent for removing heavier rust. It’s a bit stronger than vinegar but still relatively safe.
* Electrolytic Rust Removal: A fascinating process that uses electricity to reverse the rusting process. It’s ideal for heavily rusted items and can reach intricate areas.
* Mechanical Removal (Wire Brush/Sandpaper): A hands-on approach for stubborn rust or when you need immediate results.
Method 1: The Vinegar Soak – A Gentle Giant
Vinegar, specifically white vinegar, contains acetic acid, which reacts with rust to dissolve it. This method is best for tools with light to moderate rust.
What You’ll Need:
* White vinegar
* A container large enough to submerge your tools
* Wire brush or scouring pad
* Clean water
* Baking soda (optional, for neutralizing the acid)
* Rust preventative (oil, WD-40, etc.)
* Gloves
Step-by-Step Instructions:
1. Prepare the Vinegar Bath: Pour enough white vinegar into your container to completely submerge the rusty tools.
2. Submerge the Tools: Place the tools in the vinegar, ensuring they are fully covered.
3. Soak Time: Let the tools soak for at least 12 hours, or even up to 24 hours for heavily rusted items. Check on them periodically. You’ll start to see the vinegar turning a brownish color as it dissolves the rust.
4. Scrub Away the Rust: After soaking, remove the tools from the vinegar. Use a wire brush or scouring pad to scrub away the loosened rust. You’ll be surprised how easily it comes off!
5. Rinse and Neutralize: Rinse the tools thoroughly with clean water. If you want to neutralize any remaining acid, you can make a baking soda solution (a tablespoon of baking soda per cup of water) and rinse the tools with that.
6. Dry Thoroughly: This is crucial! Rust loves moisture, so make sure the tools are completely dry. You can use a clean cloth or even a hairdryer on a low setting.
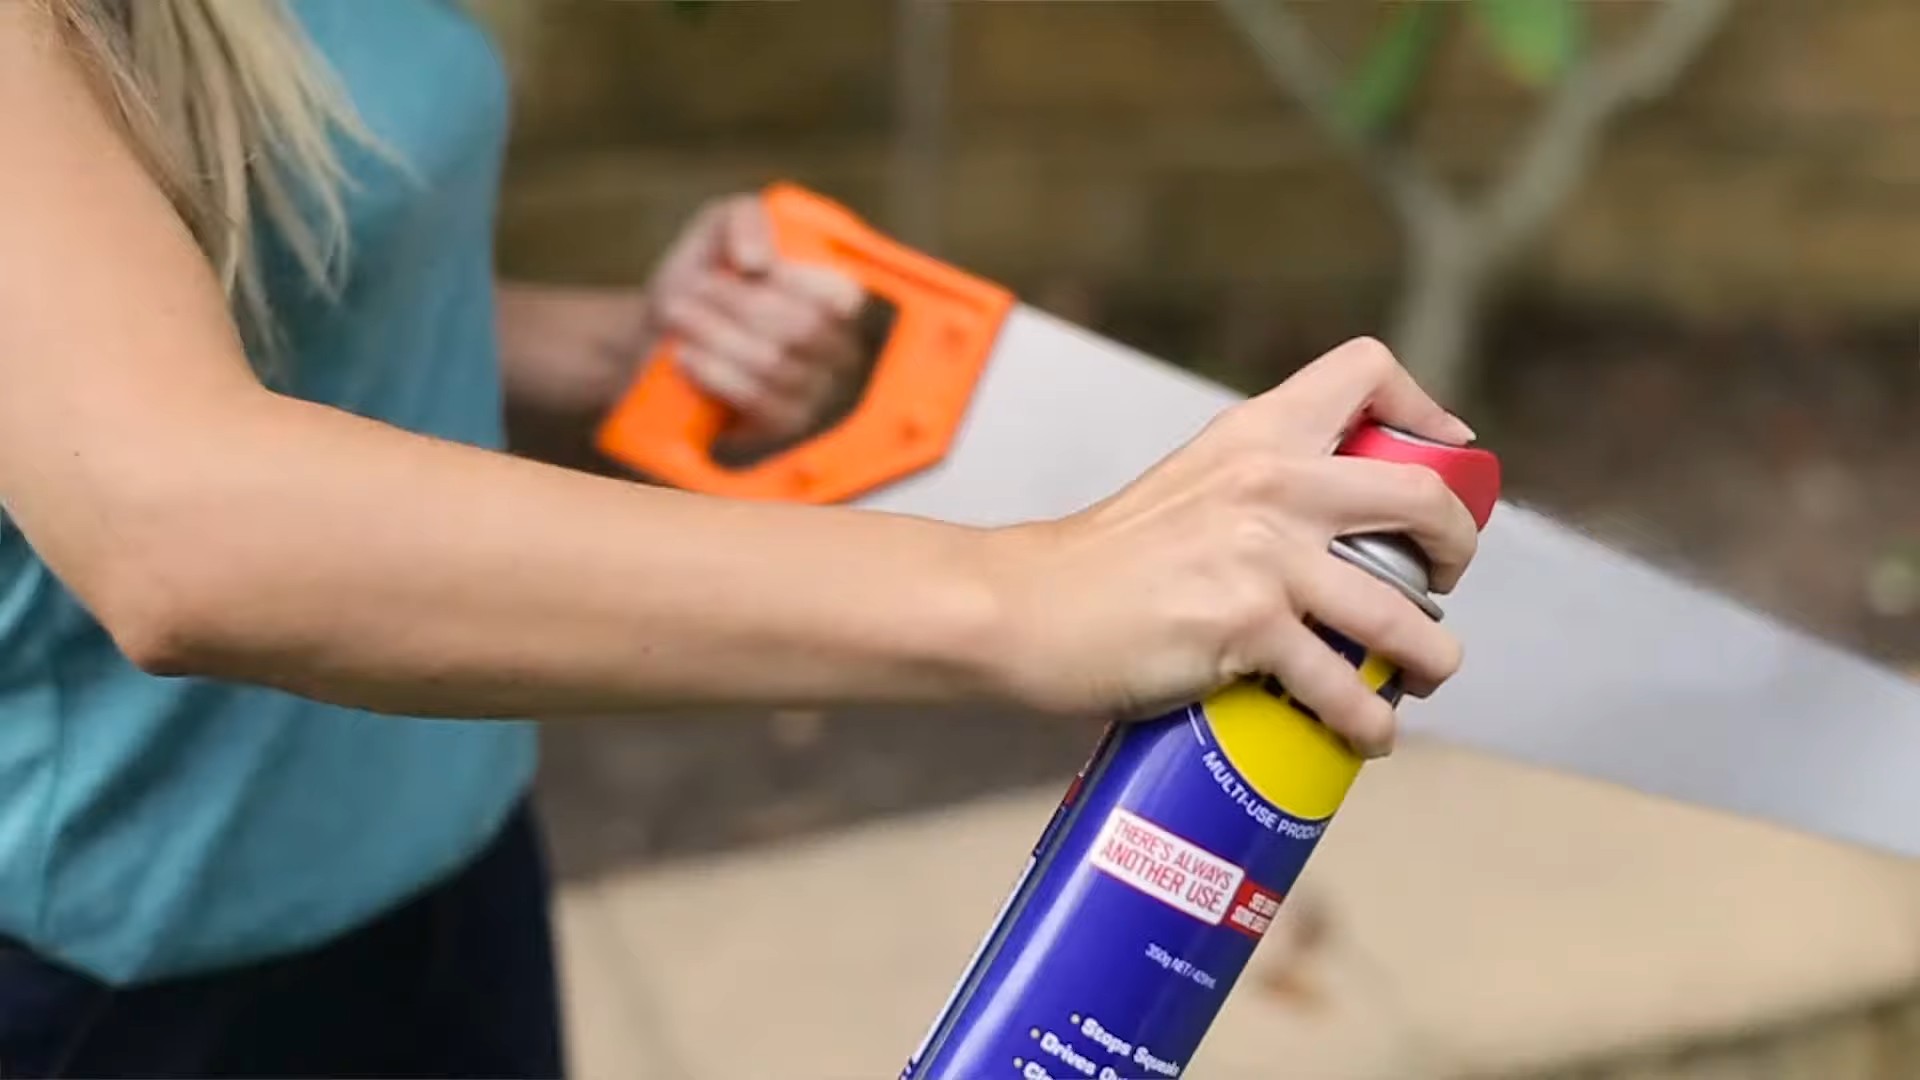
7. Apply Rust Preventative: To prevent future rust, apply a thin coat of rust preventative, such as oil (like 3-in-1 oil), WD-40, or a specialized rust inhibitor. This will create a protective barrier against moisture.
Method 2: Baking Soda Paste – A Mild Abrasive Marvel
Baking soda is a mild alkali and a gentle abrasive. It’s perfect for removing surface rust and polishing your tools.
What You’ll Need:
* Baking soda
* Water
* A container for mixing
* Sponge or cloth
* Wire brush (for stubborn spots)
* Clean water
* Rust preventative (oil, WD-40, etc.)
* Gloves
Step-by-Step Instructions:
1. Make the Paste: Mix baking soda with water to form a thick paste. The consistency should be similar to toothpaste.
2. Apply the Paste: Apply the baking soda paste generously to the rusted areas of your tools.
3. Let It Sit: Allow the paste to sit for about 30 minutes to an hour. This gives the baking soda time to loosen the rust.
4. Scrub Away the Rust: Use a sponge, cloth, or wire brush to scrub the rusted areas. Apply some elbow grease! You’ll see the rust lifting as you scrub.
5. Rinse Thoroughly: Rinse the tools thoroughly with clean water to remove all traces of baking soda.
6. Dry Completely: As with the vinegar method, make sure the tools are completely dry to prevent new rust from forming.
7. Apply Rust Preventative: Apply a thin coat of rust preventative to protect your tools.
Method 3: Citric Acid Bath – The Heavy Hitter
Citric acid is a stronger acid than vinegar and is excellent for removing heavier rust. You can find citric acid powder at most health food stores or online.
What You’ll Need:
* Citric acid powder
* Hot water
* A container large enough to submerge your tools
* Wire brush or scouring pad
* Clean water
* Baking soda (optional, for neutralizing the acid)
* Rust preventative (oil, WD-40, etc.)
* Gloves
Step-by-Step Instructions:
1. Prepare the Citric Acid Solution: Dissolve citric acid powder in hot water. A good ratio is about 1 tablespoon of citric acid per cup of water.
2. Submerge the Tools: Place the rusty tools in the citric acid solution, ensuring they are fully covered.
3. Soak Time: Let the tools soak for several hours, or even overnight for heavily rusted items. Check on them periodically.
4. Scrub Away the Rust: After soaking, remove the tools from the solution. Use a wire brush or scouring pad to scrub away the loosened rust.
5. Rinse and Neutralize: Rinse the tools thoroughly with clean water. You can neutralize any remaining acid with a baking soda solution if desired.
6. Dry Thoroughly: Make sure the tools are completely dry.
7. Apply Rust Preventative: Apply a thin coat of rust preventative to protect your tools.
Method 4: Electrolytic Rust Removal – The Science Project
Electrolytic rust removal, also known as electrolysis, is a fascinating process that uses electricity to reverse the rusting process. It’s a bit more involved than the other methods, but it’s incredibly effective, especially for heavily rusted items and those with intricate details.
What You’ll Need:
* A plastic container (non-conductive)
* Washing soda (sodium carbonate) – NOT baking soda
* Water
* A battery charger (12-volt)
* A sacrificial anode (a piece of scrap steel or iron)
* Wire
* Gloves
* Safety glasses
* Wire brush
* Clean water
* Rust preventative (oil, WD-40, etc.)
Important Safety Notes:
* Electrolysis produces hydrogen gas, which is flammable. Work in a well-ventilated area and avoid open flames.
* Wear gloves and safety glasses to protect yourself from the electrolyte solution.
* Never use stainless steel as the anode, as it can produce harmful chromium compounds.
Step-by-Step Instructions:
1. Prepare the Electrolyte Solution: Dissolve washing soda in water. A good ratio is about 1 tablespoon of washing soda per gallon of water.
2. Set Up the Electrolysis Cell: Place the electrolyte solution in the plastic container. Suspend the rusty tool in the solution, making sure it doesn’t touch the bottom or sides of the container.
3. Connect the Anode: Place the sacrificial anode (scrap steel) in the solution, also making sure it doesn’t touch the tool.
4. Connect the Battery Charger: Connect the positive (+) terminal of the battery charger to the anode and the negative (-) terminal to the rusty tool.
5. Start the Electrolysis: Turn on the battery charger. You should see bubbles forming on the surface of the tool and the anode. This is the electrolysis process in action!

Conclusion
So, there you have it! Removing rust from your tools doesn’t have to involve harsh chemicals, expensive equipment, or hours of back-breaking scrubbing. This simple, DIY trick, using ingredients you likely already have in your pantry, is a game-changer for anyone who values their tools and wants to keep them in tip-top shape.
Why is this a must-try? Because it’s effective, affordable, and environmentally friendly. Think about it: no more breathing in toxic fumes, no more shelling out cash for specialized rust removers, and no more contributing to chemical waste. This method is gentle on your tools, preserving their integrity while banishing that unsightly and damaging rust.
But the benefits don’t stop there. This DIY rust removal technique is also incredibly versatile. While we’ve focused on tools, you can adapt it for other rusty metal objects around your home and garden. Got a rusty garden gate hinge? A rusty bicycle chain? A rusty old wrench? This method can tackle them all.
Looking for variations? Consider adding a bit of lemon juice to the vinegar solution for an extra boost of acidity. For heavily rusted items, you might need to extend the soaking time or use a slightly more abrasive scrubbing pad (steel wool, used gently, can work wonders). You can also experiment with different types of vinegar, such as apple cider vinegar, although white vinegar is generally the most effective and readily available. Another variation is to create a paste of baking soda and water and apply it to the rusted areas, letting it sit for a few hours before scrubbing. This is particularly useful for vertical surfaces where the vinegar solution might run off.
The key is to experiment and find what works best for you and the specific type of rust you’re dealing with. Remember to always wear gloves to protect your hands and eye protection if you’re using any abrasive scrubbing methods. And most importantly, always thoroughly dry your tools after treatment to prevent new rust from forming. Applying a light coat of oil, such as WD-40 or mineral oil, after drying will provide an extra layer of protection.
We are confident that once you try this DIY rust removal method, you’ll be amazed by the results. It’s a simple, effective, and satisfying way to restore your tools to their former glory and extend their lifespan.
Now it’s your turn! We encourage you to give this DIY trick a try and see the difference it can make. Don’t just take our word for it – experience the satisfaction of transforming rusty, neglected tools into gleaming, functional ones. And most importantly, share your experience with us! Let us know in the comments below how this method worked for you, what variations you tried, and any tips or tricks you discovered along the way. Your feedback will help other readers and contribute to a community of DIY enthusiasts who are passionate about keeping their tools in top condition. We can’t wait to hear your success stories!
Frequently Asked Questions (FAQs)
What kind of vinegar is best for removing rust?
White vinegar is generally considered the most effective and readily available type of vinegar for removing rust. Its acidity is well-suited for breaking down rust without being overly harsh on the metal. However, you can experiment with other types of vinegar, such as apple cider vinegar, if you prefer. The key is to ensure the vinegar has a sufficient acidity level to dissolve the rust.
How long should I soak my tools in vinegar to remove rust?
The soaking time depends on the severity of the rust. For light rust, a 30-minute soak might be sufficient. For more heavily rusted tools, you may need to soak them for several hours, or even overnight. Check the tools periodically to monitor the progress. If the rust is still stubborn after several hours, you can try scrubbing the tools with a brush or steel wool while they are still submerged in the vinegar.
Will vinegar damage my tools?
Vinegar is generally safe for most metal tools, but prolonged exposure to highly acidic solutions can potentially cause some etching or discoloration. It’s important to monitor the tools during the soaking process and remove them as soon as the rust is sufficiently loosened. After removing the tools from the vinegar, thoroughly rinse them with water and dry them completely to prevent further corrosion. Applying a light coat of oil after drying will provide an extra layer of protection.
Can I use this method on all types of metal tools?
This method is generally safe for most common types of metal tools, such as steel, iron, and stainless steel. However, it’s always a good idea to test a small, inconspicuous area first to ensure that the vinegar doesn’t damage the finish or cause any adverse reactions. Avoid using this method on delicate or antique tools without consulting a professional, as the vinegar could potentially damage their value or integrity.
What if the rust is really stubborn and doesn’t come off with vinegar alone?
For stubborn rust, you can try a few different approaches. First, extend the soaking time in the vinegar. Second, use a more abrasive scrubbing pad, such as steel wool or a wire brush, to scrub the rusted areas while the tools are still submerged in the vinegar. Be careful not to scratch the metal excessively. Third, you can try creating a paste of baking soda and water and applying it to the rusted areas, letting it sit for a few hours before scrubbing. The baking soda acts as a mild abrasive and can help to loosen the rust. Finally, for extremely stubborn rust, you may need to consider using a commercial rust remover, but be sure to follow the manufacturer’s instructions carefully and wear appropriate safety gear.
How can I prevent my tools from rusting in the future?
Prevention is key to keeping your tools rust-free. Here are a few tips:
* Store your tools in a dry place: Moisture is the enemy of metal. Store your tools in a dry environment, such as a toolbox or shed, to prevent them from rusting.
* Clean your tools after each use: Wipe down your tools with a clean cloth after each use to remove any dirt, moisture, or debris that could contribute to rust formation.
* Apply a protective coating: After cleaning your tools, apply a light coat of oil, such as WD-40 or mineral oil, to protect them from moisture and prevent rust.
* Use desiccant packs: Place desiccant packs (silica gel) in your toolbox to absorb moisture and keep your tools dry.
* Consider a rust inhibitor: If you live in a humid climate or store your tools in a damp environment, consider using a rust inhibitor spray or coating to provide extra protection.
Is baking soda better than vinegar for removing rust?
Baking soda and vinegar work differently to remove rust, and one isn’t necessarily “better” than the other – it depends on the situation. Vinegar, being an acid, directly dissolves the rust. Baking soda, on the other hand, is a mild abrasive. It helps to physically scrub away the loosened rust. For light rust, vinegar might be sufficient. For heavier rust, a combination of soaking in vinegar followed by scrubbing with a baking soda paste can be very effective. Some people also prefer baking soda because it’s less acidic and perceived as gentler on the metal.
Can I use Coca-Cola to remove rust?
Yes, Coca-Cola can be used to remove rust due to its phosphoric acid content. The acid helps to break down the rust. To use Coca-Cola, simply soak the rusty item in the soda for several hours or overnight. Then, scrub the item with a brush or steel wool to remove the loosened rust. Rinse the item thoroughly with water and dry it completely. While Coca-Cola can be effective, it may not be as potent as vinegar, especially for heavily rusted items.
What safety precautions should I take when removing rust?
When removing rust, it’s important to take the following safety precautions:
* Wear gloves: Protect your hands from the vinegar, rust, and any abrasive scrubbing materials.
* Wear eye protection: Prevent rust particles or cleaning solutions from getting into your eyes.
* Work in a well-ventilated area: If you’re using any chemicals or strong cleaning solutions, work in a well-ventilated area to avoid inhaling harmful fumes.
* Dispose of waste properly: Dispose of any used cleaning solutions or materials according to local regulations.
* Wash your hands thoroughly: After completing the rust removal process, wash your hands thoroughly with soap and water.


Leave a Comment