
Oven cleaning with Mr Muscle – sounds like a superhero team-up, doesn’t it? But trust me, it’s a partnership that can save you from the dreaded baked-on grime that haunts every kitchen. For generations, the oven has been the heart of the home, a place where culinary magic happens, from grandma’s famous apple pie to that experimental sourdough you’ve been perfecting. But with all that deliciousness comes the inevitable mess.
Let’s be honest, nobody *enjoys* cleaning the oven. It’s a chore we all put off, until it becomes a Herculean task. But what if I told you that oven cleaning with Mr Muscle could be easier, faster, and less…icky? That’s where this DIY guide comes in! I’m going to share my tried-and-true tricks for tackling even the most stubborn oven messes, using the power of Mr Muscle and a few clever techniques.
Why do you need this? Because a clean oven isn’t just about aesthetics. It’s about efficiency (a grimy oven takes longer to heat up), safety (built-up grease can be a fire hazard), and even the taste of your food (burnt residue can affect the flavor). So, ditch the rubber gloves and the dread – let’s get that oven sparkling!
DIY Oven Cleaning Hack: Sparkling Clean with Mr. Muscle (and a Little Elbow Grease!)
Okay, let’s be honest, cleaning the oven is nobody’s favorite chore. It’s messy, it’s grimy, and it always seems to take way longer than you expect. But fear not! I’m going to walk you through a super effective DIY oven cleaning hack using Mr. Muscle oven cleaner. This method will get your oven looking almost brand new, without breaking the bank or spending hours scrubbing.
What You’ll Need
Before we dive in, let’s gather our supplies. Having everything ready beforehand will make the whole process much smoother.
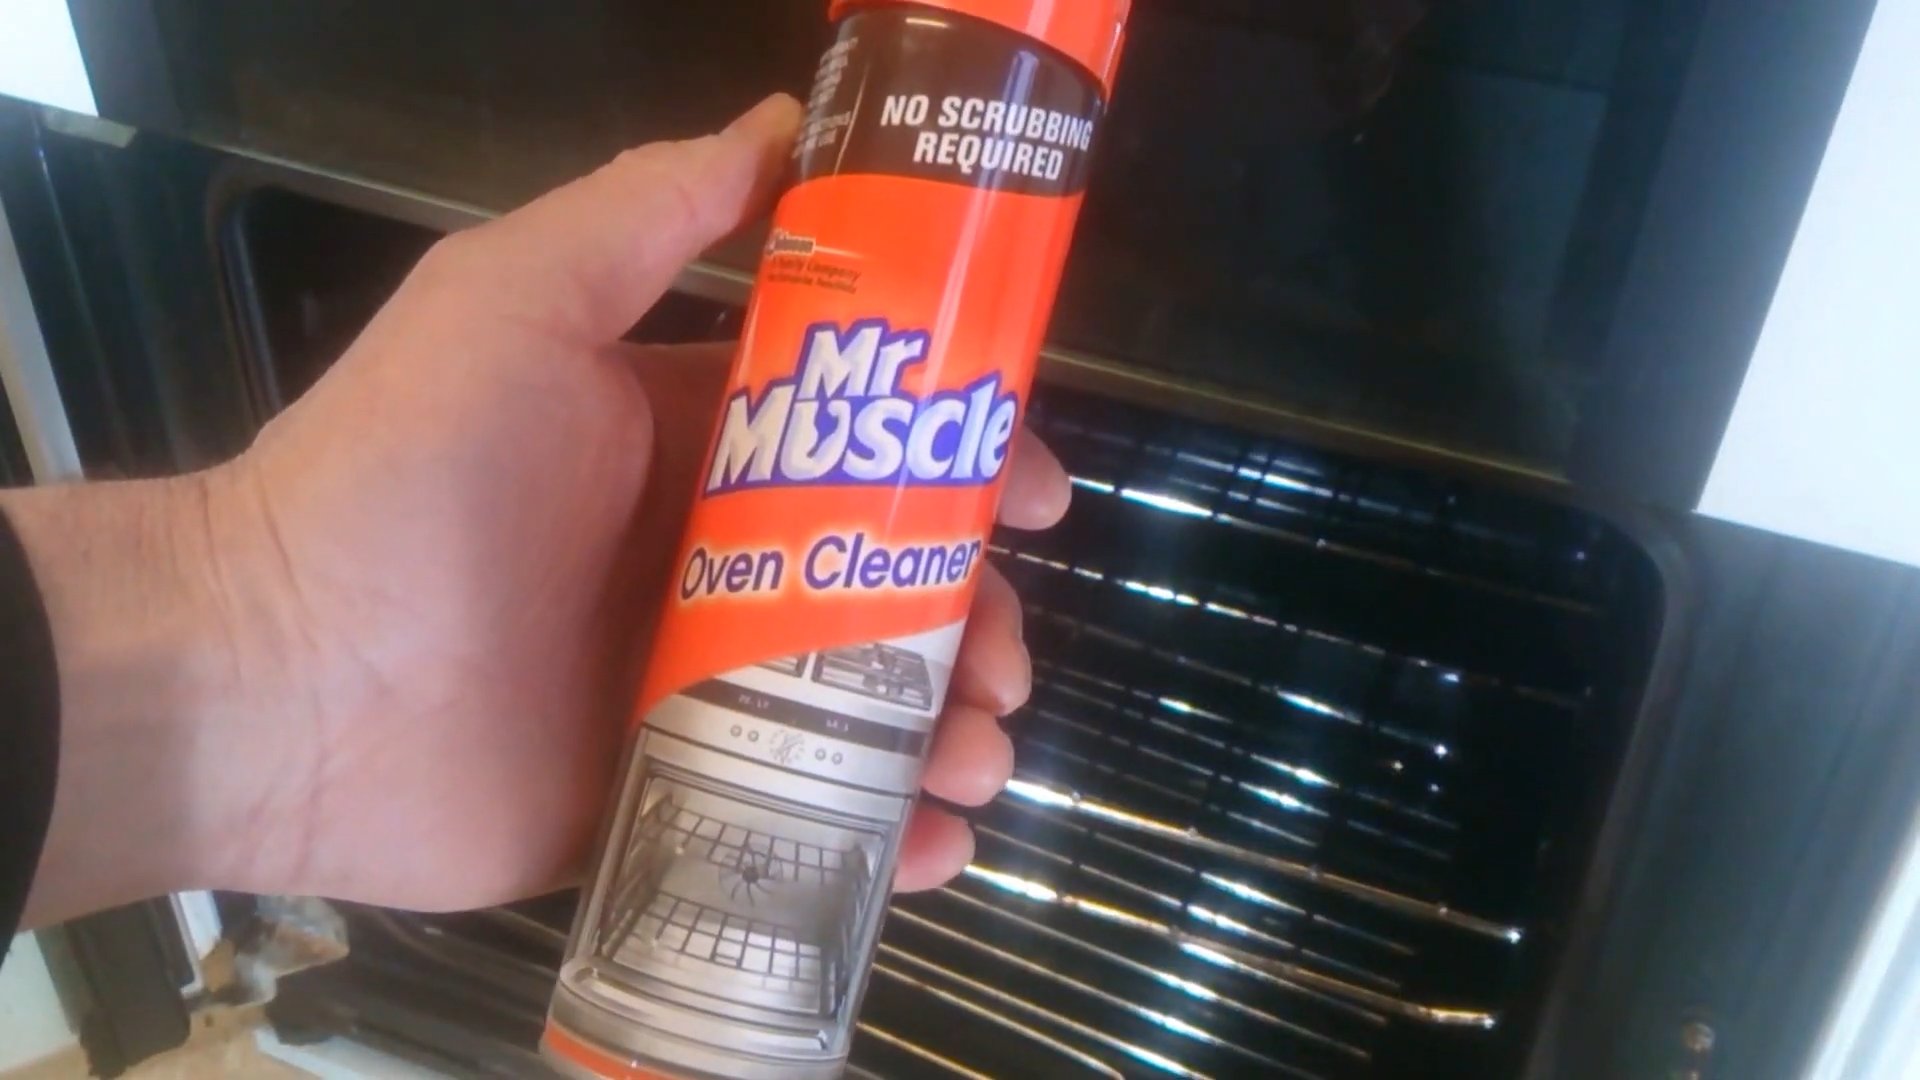
* Mr. Muscle Oven Cleaner (the foaming kind is my personal preference!)
* Rubber gloves (trust me, you’ll want these)
* Safety glasses or goggles (protect those peepers!)
* Old newspapers or a drop cloth (for protecting your kitchen floor)
* Sponge or scrub brush (I like using a non-scratch scrub brush)
* Paper towels or a clean cloth
* Warm water
* Trash bags (for disposing of the dirty newspapers and gunk)
* Optional: Baking soda and vinegar (for extra stubborn spots)
* Optional: Putty knife or scraper (for really baked-on messes)
Safety First!
Safety is paramount when working with oven cleaner. Mr. Muscle is a powerful chemical, so we need to take precautions.
* Ventilation is key: Open windows and doors to ensure good airflow. If possible, turn on a kitchen fan.
* Protect your skin and eyes: Always wear rubber gloves and safety glasses.
* Keep children and pets away: Make sure they are out of the kitchen while you’re cleaning.
* Read the instructions: Carefully read and follow the instructions on the Mr. Muscle can.
Preparing Your Oven
Before we unleash the cleaning power of Mr. Muscle, we need to prep the oven.
* Remove oven racks and accessories: Take out all the racks, baking stones, thermometers, and anything else that’s inside the oven.
* Protect your floor: Lay down old newspapers or a drop cloth around the oven to catch any drips or spills. This will save you from having to clean your floor later.
* Wipe up loose debris: Use a damp cloth or paper towels to wipe up any loose crumbs or food particles from the bottom of the oven. This will help the Mr. Muscle work more effectively.
Cleaning the Oven Racks
While the Mr. Muscle is working its magic inside the oven, let’s tackle those grimy racks.
1. Choose your cleaning method: There are a few ways to clean oven racks. I usually go for the easiest option, which involves soaking them.
2. Soaking in the bathtub (my preferred method):
* Line your bathtub with old towels to protect the enamel.
* Place the oven racks in the bathtub.
* Fill the tub with hot water, enough to completely submerge the racks.
* Add about 1/2 cup of dish soap and 1 cup of laundry detergent to the water.
* Let the racks soak for at least 4 hours, or even overnight for really stubborn grime.
* Drain the tub and scrub the racks with a scrub brush. The grime should come off easily.
* Rinse the racks thoroughly with clean water and let them dry completely before putting them back in the oven.
3. Soaking in a large trash bag:
* Place the oven racks inside a large, heavy-duty trash bag.
* Spray the racks generously with Mr. Muscle oven cleaner.
* Seal the bag tightly and let it sit for the recommended time on the Mr. Muscle can (usually a few hours).
* Open the bag carefully (remember to wear gloves and safety glasses!) and remove the racks.
* Scrub the racks with a scrub brush and rinse them thoroughly with clean water.
* Let the racks dry completely before putting them back in the oven.
4. Cleaning with baking soda paste:
* Make a paste of baking soda and water (about 1/2 cup baking soda and a few tablespoons of water).
* Apply the paste to the oven racks and let it sit for several hours or overnight.
* Scrub the racks with a scrub brush and rinse them thoroughly with clean water.
* Let the racks dry completely before putting them back in the oven.
Applying the Mr. Muscle
Now for the main event! Let’s get that oven sparkling.
1. Shake the can well: Give the Mr. Muscle can a good shake before you start spraying. This will ensure that the product is properly mixed.
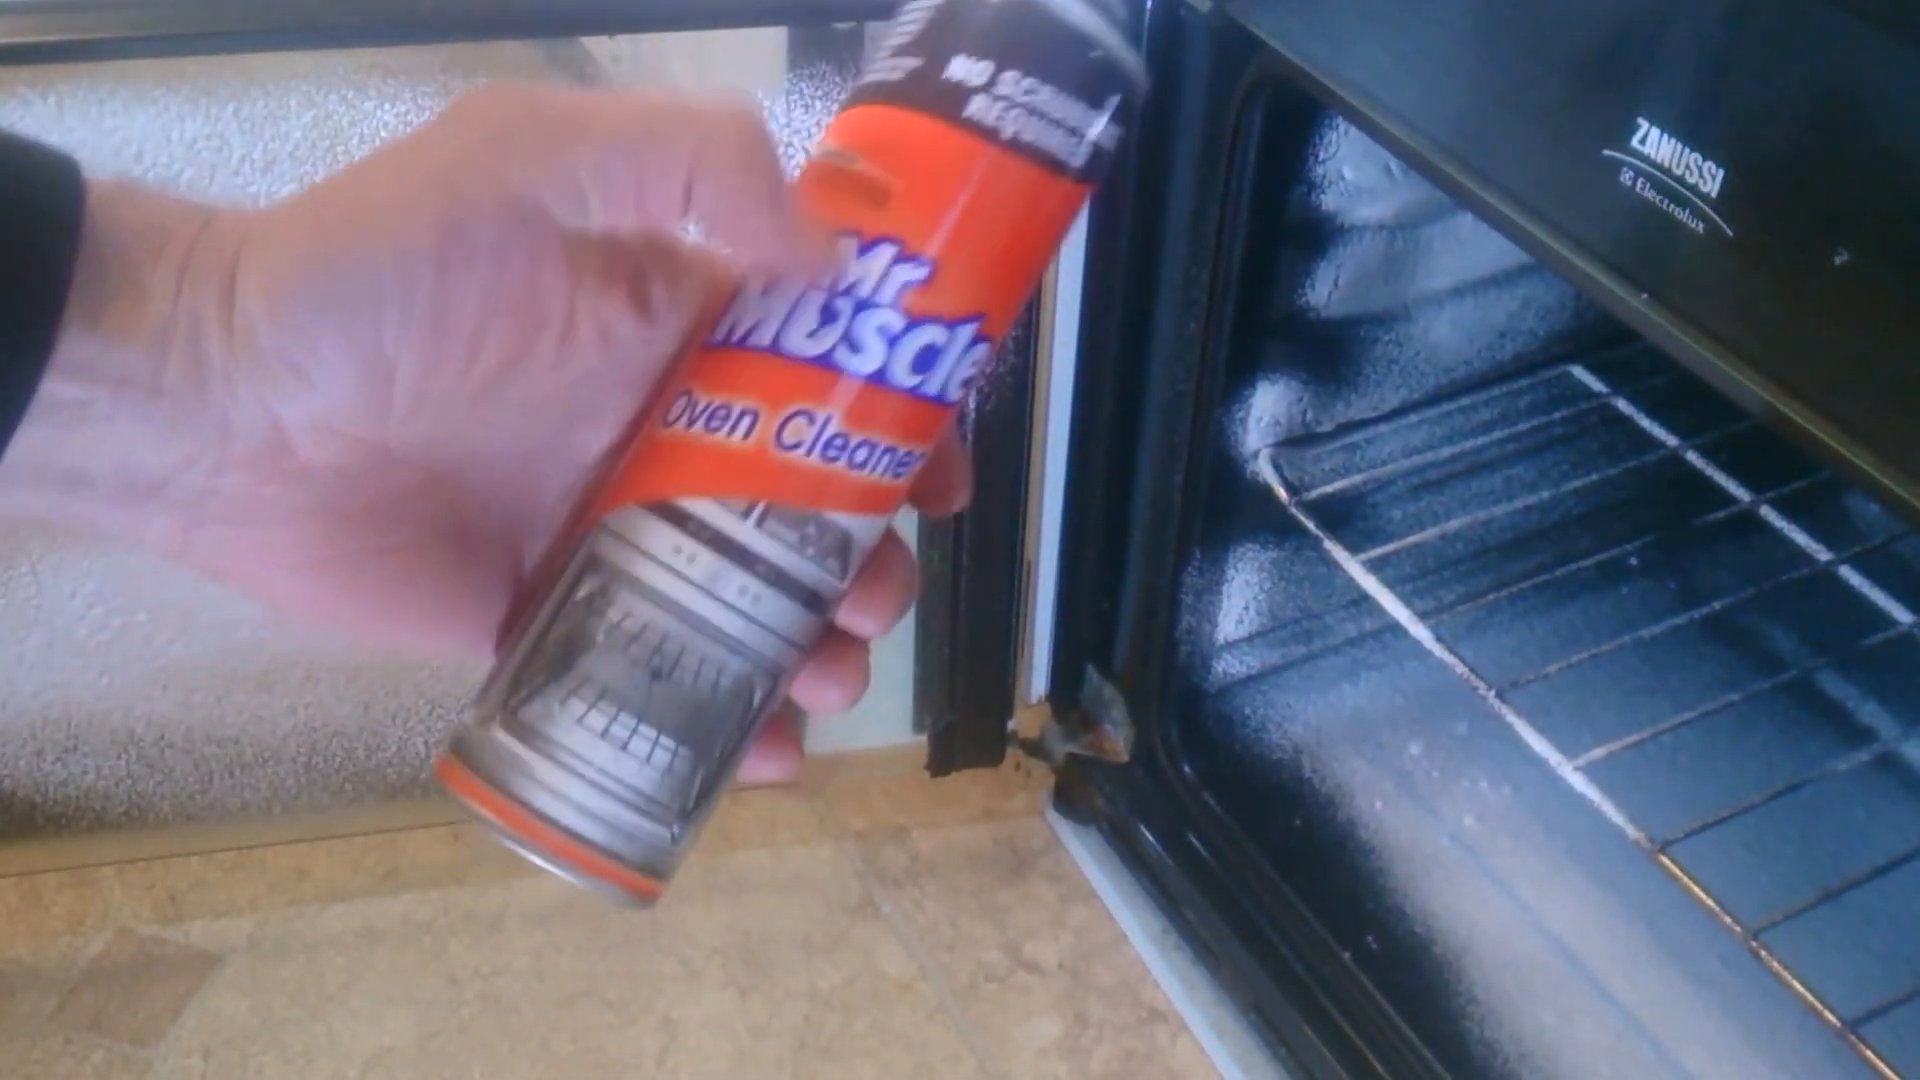
2. Spray the oven interior: Hold the can about 6-8 inches away from the oven walls and spray the entire interior, including the top, bottom, sides, and door. Make sure to cover all the surfaces with a thick, even layer of foam. Avoid spraying the heating elements directly.
3. Close the oven door: Once you’ve sprayed the oven, close the door and let the Mr. Muscle work its magic.
4. Wait the recommended time: Check the Mr. Muscle can for the recommended waiting time. This is usually a few hours, or even overnight for heavily soiled ovens. I usually let it sit overnight for the best results.
Cleaning Up the Mess
Okay, the waiting is over! Now it’s time to clean up the mess.
1. Ventilate the kitchen: Open the windows and doors again to ensure good ventilation.
2. Wipe down the oven interior: Put on your rubber gloves and safety glasses. Use a damp sponge or scrub brush to wipe down the entire oven interior. You’ll notice that the grime is now much easier to remove. Rinse the sponge or brush frequently with warm water.
3. Rinse thoroughly: It’s crucial to rinse the oven thoroughly to remove all traces of the Mr. Muscle. Use a clean, damp cloth or paper towels to wipe down the interior several times. Change the water frequently to ensure you’re removing all the residue.
4. Tackle stubborn spots: If you encounter any stubborn spots that are still clinging on, try using a baking soda paste or a putty knife to gently scrape them away.
5. Clean the oven door: Don’t forget to clean the oven door, both inside and out. Use a glass cleaner to remove any streaks or smudges from the glass.
6. Dry the oven: Once you’ve rinsed the oven thoroughly, use a clean, dry cloth or paper towels to dry the interior.
Dealing with Lingering Odors
Sometimes, even after cleaning, there might be a slight chemical odor lingering in the oven. Here’s how to get rid of it:
1. Vinegar and water: Fill a baking dish with equal parts vinegar and water. Place the dish in the oven and bake at 350°F (175°C) for about an hour. The vinegar will help to absorb any lingering odors.
2. Baking soda: Sprinkle a thin layer of baking soda on the bottom of the oven and let it sit overnight. The baking soda will absorb any remaining odors. In the morning, vacuum up the baking soda.
3. Lemon juice: Squeeze the juice of a lemon into a bowl of water. Place the bowl in the oven and bake at 350°F (175°C) for about an hour. The lemon juice will help to freshen the oven and remove any lingering odors.
Putting It All Back Together
Almost there! Now it’s time to put everything back in its place.
1. Replace the oven racks: Once the oven racks are completely dry, carefully place them back in the oven.
2. Replace any other accessories: Put back any baking stones, thermometers, or other accessories that you removed earlier.
3. Run a self-cleaning cycle (optional): If your oven has a self-cleaning cycle, you can run it for a short period to ensure that all traces of the Mr. Muscle are completely removed. Be sure to follow the manufacturer’s instructions for using the self-cleaning cycle.
Final Touches
Give your oven a final once-over to make sure everything is clean and sparkling. Wipe down the exterior of the oven with a damp cloth to remove any fingerprints or smudges.
Tips and Tricks for Future Oven Cleaning
* Clean regularly: The more often you clean your oven, the easier it will be to keep it clean. Try to wipe up spills and splatters as soon as they happen.
* Use oven liners: Oven liners can help to protect the bottom of your oven from spills and splatters.
* Consider a self-cleaning oven: If you hate cleaning your oven, consider buying a self-cleaning oven. These ovens use high heat to burn off
Conclusion
So, there you have it! Ditching the harsh chemicals and embracing this simple, yet incredibly effective, DIY oven cleaning method using the power of Mr Muscle is a game-changer for anyone who values a sparkling clean oven without the lingering fumes and potential health concerns. We’ve shown you how to achieve professional-level results with minimal effort and maximum impact.
Why is this a must-try? Because it’s not just about cleaning; it’s about creating a healthier, more pleasant cooking environment. It’s about saving money on expensive, specialized oven cleaners. And it’s about taking control of the products you use in your home. This method is particularly beneficial for those with sensitivities to strong chemical odors or families with young children and pets. The reduced exposure to harsh chemicals makes it a safer and more responsible choice.
But the beauty of this DIY approach lies in its adaptability. Feel free to experiment with variations to suit your specific needs and preferences. For instance, if you have particularly stubborn baked-on grime, consider letting the Mr Muscle solution sit for a longer period, perhaps even overnight. You could also add a tablespoon of baking soda to the Mr Muscle solution for an extra boost of cleaning power. For a pleasant scent, a few drops of your favorite essential oil (like lemon or orange) can be added to the water used for wiping down the oven after cleaning. Remember to always test any variations on a small, inconspicuous area first to ensure compatibility with your oven’s surface.
This DIY oven cleaning method is a true win-win: effective cleaning with less harsh chemicals.
We are confident that once you try this method, you’ll be amazed by the results. The combination of Mr Muscle’s grease-cutting power and the simplicity of the application process makes oven cleaning less of a chore and more of an achievable task. No more dreading the weekend oven scrub!
Now, it’s your turn! We wholeheartedly encourage you to give this DIY oven cleaning trick a try. We’ve laid out all the steps, provided helpful tips, and even offered variations to customize the process to your liking. Don’t be afraid to experiment and find what works best for you and your oven.
More importantly, we want to hear about your experience! Did this method work wonders for your oven? Did you discover any helpful tweaks or variations of your own? Share your thoughts, tips, and photos in the comments section below. Let’s create a community of clean oven enthusiasts and learn from each other’s experiences. Your feedback is invaluable and will help others discover the joy of a sparkling clean oven, achieved safely and effectively. Let us know if you found this method of oven cleaning with Mr Muscle helpful!
Frequently Asked Questions (FAQ)
Q: Is it safe to use Mr Muscle inside my oven?
A: While Mr Muscle is a powerful cleaning agent, it’s crucial to use it responsibly and follow the instructions outlined in this guide. We recommend using the diluted solution as described, ensuring proper ventilation during application, and thoroughly wiping down the oven with clean water afterward to remove any residue. Always refer to the Mr Muscle product label for specific safety precautions and warnings. If you have any concerns about the compatibility of Mr Muscle with your oven’s surface, test it on a small, inconspicuous area first. If you are still concerned, consider using a product specifically designed for oven cleaning.
Q: What type of Mr Muscle product is best for this DIY oven cleaning method?
A: We recommend using Mr Muscle Kitchen Cleaner or Mr Muscle All-Purpose Cleaner for this method. These products are formulated to cut through grease and grime effectively. Avoid using Mr Muscle products that are specifically designed for other surfaces, such as glass or wood, as they may not be as effective for oven cleaning. Always read the product label to ensure it’s suitable for use on the interior surfaces of your oven.
Q: How often should I clean my oven using this method?
A: The frequency of oven cleaning depends on how often you use your oven and how much food splatters occur. As a general guideline, cleaning your oven every 3-6 months is a good practice. However, if you notice excessive grease buildup or food spills, you may need to clean it more frequently. Regular cleaning will prevent stubborn stains and make the cleaning process easier in the long run.
Q: Can I use this method on a self-cleaning oven?
A: While this method can be used on self-cleaning ovens, it’s important to note that it’s not a replacement for the self-cleaning cycle. The self-cleaning cycle uses extremely high temperatures to burn off food residue, while this DIY method is a gentler approach for regular maintenance. If your oven has a self-cleaning function, you can use it periodically according to the manufacturer’s instructions. However, for in-between cleanings or to address specific spills, this DIY method can be a helpful alternative. Always consult your oven’s manual for specific cleaning recommendations.
Q: What if I have a particularly stubborn stain that won’t come off?
A: For stubborn stains, you can try a few different approaches. First, allow the Mr Muscle solution to sit on the stain for a longer period, perhaps even overnight. You can also create a paste of baking soda and water and apply it to the stain, letting it sit for several hours before scrubbing. Another option is to use a specialized oven cleaning scrub pad or a non-abrasive scouring pad to gently scrub the stain. Avoid using harsh abrasives or metal scouring pads, as they can damage the oven’s surface.
Q: Is there a natural alternative to Mr Muscle that I can use?
A: Yes, if you prefer a more natural approach, you can try using a mixture of baking soda, vinegar, and water. Create a paste of baking soda and water and apply it to the oven’s interior. Then, spray the paste with vinegar. The mixture will fizz and bubble, helping to loosen the grime. Let it sit for several hours or overnight, then scrub and wipe clean. While this method is more natural, it may require more elbow grease than using Mr Muscle.
Q: How can I prevent my oven from getting so dirty in the first place?
A: Prevention is key to minimizing oven cleaning. Use oven liners or baking sheets to catch drips and spills. Clean up spills immediately after they occur to prevent them from baking onto the oven’s surface. Avoid overfilling baking dishes, as this can lead to spills. Consider using a splatter guard when cooking dishes that tend to splatter. Regular maintenance and preventative measures will make oven cleaning less of a chore.
Q: What should I do if I accidentally get Mr Muscle in my eyes or on my skin?
A: If Mr Muscle comes into contact with your eyes or skin, immediately rinse the affected area with plenty of water for at least 15 minutes. If irritation persists, seek medical attention. It’s always a good idea to wear gloves and eye protection when using any cleaning product to prevent accidental exposure.
Q: Can I use this method on the oven door glass?
A: Yes, this method can be used on the oven door glass. However, be careful not to scratch the glass when scrubbing. Use a soft cloth or sponge and avoid using abrasive cleaners or scouring pads. You can also use a glass cleaner specifically designed for oven doors to remove any streaks or residue.
Q: What is the best way to remove the Mr Muscle smell after cleaning?
A: After wiping down the oven with clean water, you can further reduce any lingering Mr Muscle smell by placing a bowl of vinegar or baking soda inside the oven and leaving it overnight. These substances will help absorb any remaining odors. You can also boil a pot of water with lemon slices or orange peels to create a natural and refreshing scent. Ensure the oven is properly ventilated by opening windows and doors.


Leave a Comment