
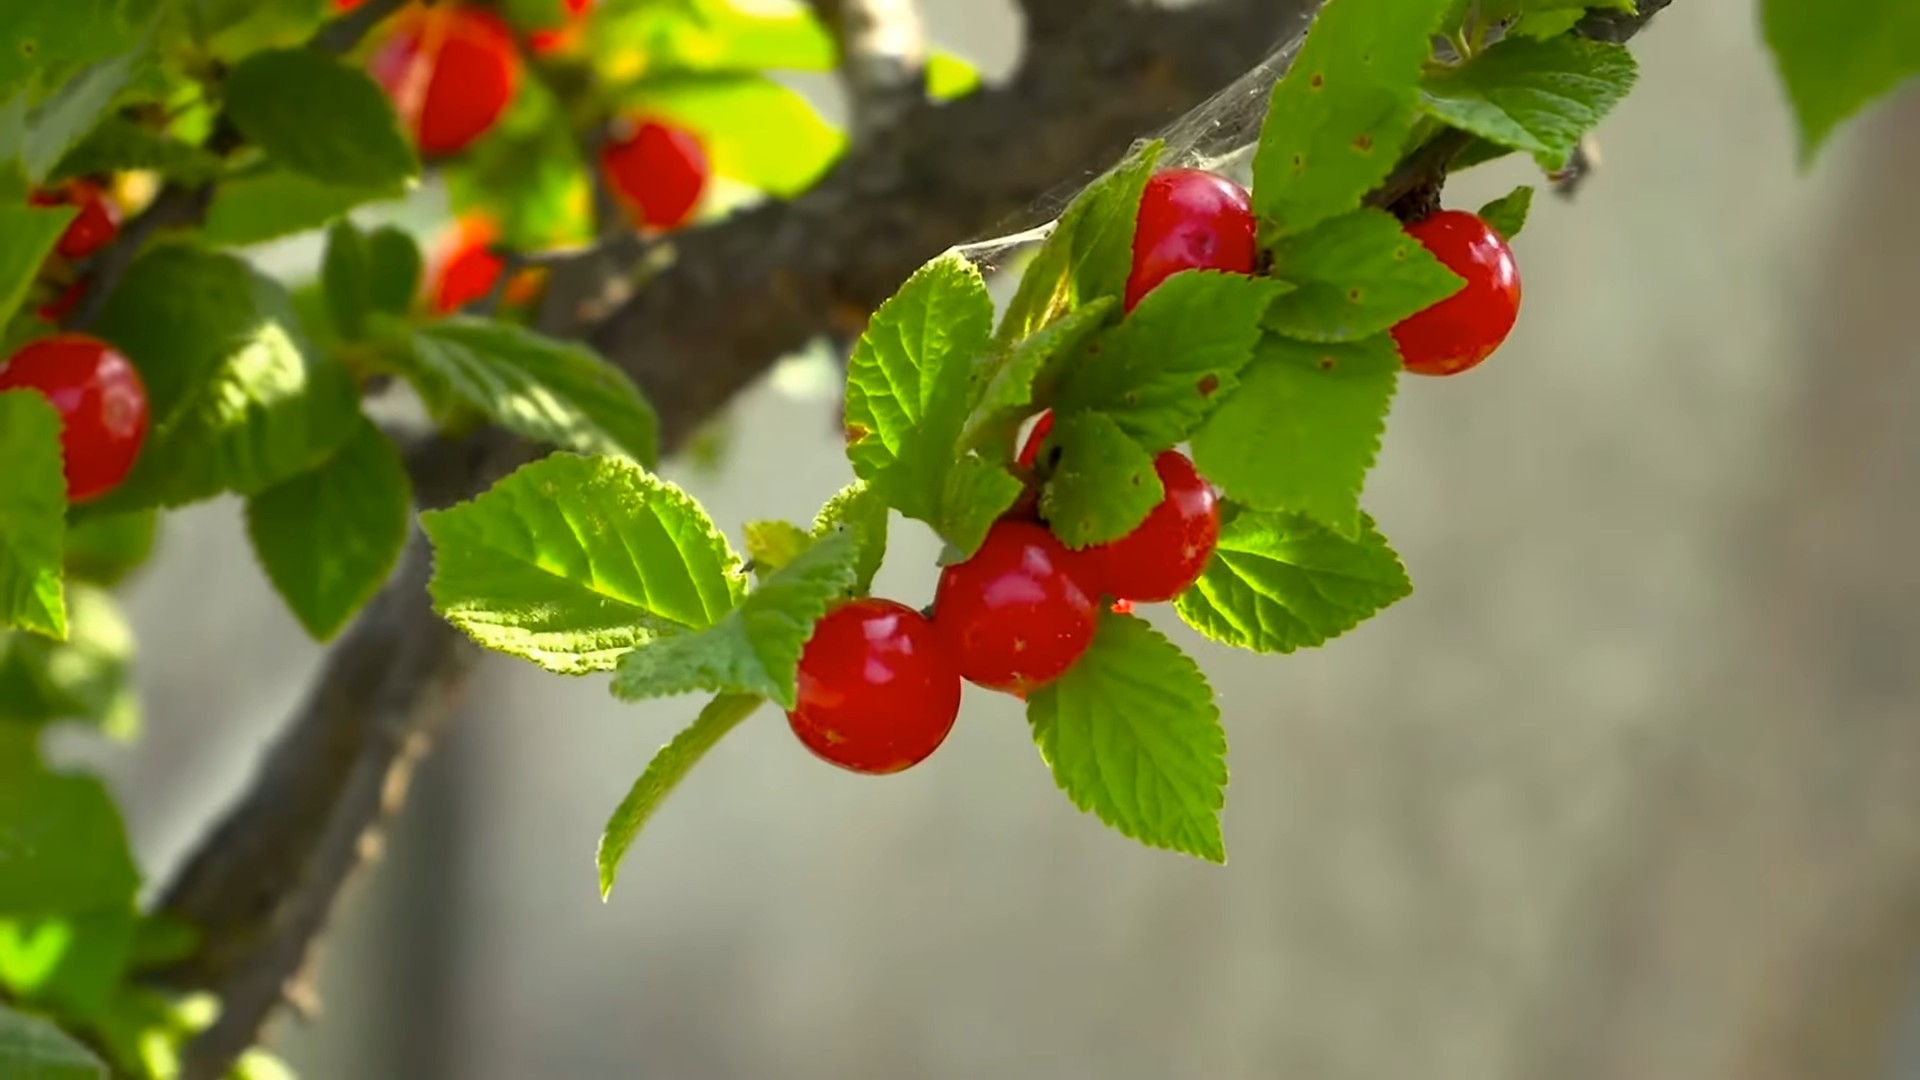
Growing Cherries at Home might seem like a distant dream reserved for sprawling orchards, but I’m here to tell you it’s absolutely achievable, even in your own backyard! Forget those expensive, often lackluster cherries from the grocery store. Imagine plucking juicy, sun-ripened cherries straight from your own tree – the taste is simply unparalleled.
For centuries, cherries have been cherished not only for their delicious flavor but also for their cultural significance. In many cultures, cherry blossoms symbolize renewal and the fleeting beauty of life. Bringing that beauty and bounty into your own space is incredibly rewarding.
But let’s be honest, the thought of growing cherries at home can be a little intimidating. Where do you even begin? That’s where this DIY guide comes in! I’ll walk you through simple yet effective tricks and hacks that will transform you from a cherry-growing novice to a confident home orchardist. We’ll cover everything from choosing the right variety for your climate to protecting your precious fruit from pesky birds. So, get ready to roll up your sleeves and embark on a delicious adventure – your very own cherry harvest awaits!
Growing Cherries at Home: A DIY Guide to Sweet Success
Okay, so you want to grow cherries at home? Awesome! It’s totally doable, and the reward of plucking your own juicy cherries right off the tree is seriously satisfying. It might seem a little daunting at first, but trust me, with a little planning and effort, you can be enjoying homegrown cherries before you know it. This guide will walk you through everything you need to know, from choosing the right variety to protecting your precious harvest.
Choosing the Right Cherry Tree
This is probably the most important decision you’ll make. Not all cherry trees are created equal, and some are much better suited for home gardens than others. Here’s what to consider:
* Sweet vs. Sour: Sweet cherries are the ones you typically eat fresh. Sour cherries (also called tart cherries) are better for pies, jams, and preserves.
* Self-Pollinating vs. Cross-Pollinating: Some cherry trees are self-pollinating, meaning they can produce fruit with their own pollen. Others require cross-pollination, meaning you need to plant two different varieties nearby for them to produce fruit. If you only have space for one tree, definitely go for a self-pollinating variety.
* Climate: Cherries need a certain number of “chill hours” (hours below 45°F) to properly set fruit. Make sure the variety you choose is suitable for your climate. Your local nursery can be a great resource for this!
* Size: Cherry trees can get pretty big! Consider dwarf or semi-dwarf varieties if you have a smaller yard. These are often grafted onto rootstock that controls their size.
* Disease Resistance: Look for varieties that are resistant to common cherry tree diseases like leaf spot and brown rot.
Some popular self-pollinating sweet cherry varieties include ‘Stella’, ‘Lapins’, and ‘Compact Stella’. For sour cherries, ‘Montmorency’ is a classic and reliable choice.
Preparing the Planting Site
Okay, you’ve got your tree! Now it’s time to get the planting site ready. This is crucial for giving your cherry tree the best possible start.
* Sunlight: Cherry trees need at least 6-8 hours of direct sunlight per day. Choose a spot that gets plenty of sun.
* Soil: Cherries prefer well-drained soil that is slightly acidic (pH 6.0-7.0). If your soil is heavy clay, amend it with plenty of compost and other organic matter to improve drainage.
* Drainage: This is super important! Cherry trees hate having wet feet. Make sure the soil drains well. You can test this by digging a hole and filling it with water. If the water doesn’t drain within a few hours, you’ll need to improve the drainage before planting.
* Space: Give your cherry tree plenty of space to grow. Check the mature size of the variety you’ve chosen and make sure you have enough room. Remember to consider the spread of the branches as well as the height.
Planting Your Cherry Tree: Step-by-Step
Alright, let’s get that tree in the ground!
1. Dig the Hole: Dig a hole that is twice as wide as the root ball and just as deep. This gives the roots plenty of room to spread out.
2. Amend the Soil: Mix some compost or other organic matter into the soil you removed from the hole. This will help improve drainage and provide nutrients.
3. Remove the Tree from the Container: Gently remove the tree from its container. If the roots are circling around the pot, gently loosen them up with your fingers. You can even make a few vertical cuts in the root ball to encourage them to grow outward.
4. Place the Tree in the Hole: Place the tree in the hole, making sure the top of the root ball is level with the surrounding soil. If it’s a grafted tree, make sure the graft union (the swollen area where the two parts of the tree are joined) is a few inches above the soil line.
5. Backfill the Hole: Backfill the hole with the amended soil, gently tamping it down as you go.
6. Water Thoroughly: Water the tree thoroughly after planting. This will help settle the soil and get the roots off to a good start.
7. Mulch: Apply a layer of mulch around the base of the tree, keeping it a few inches away from the trunk. Mulch helps retain moisture, suppress weeds, and regulate soil temperature. Wood chips, straw, or shredded bark are all good choices.
8. Stake (Optional): If your tree is young and the trunk is weak, you may want to stake it for the first year or two. This will help protect it from wind damage.
Caring for Your Cherry Tree
Okay, the tree is planted! Now comes the ongoing care to keep it healthy and productive.
* Watering: Water your cherry tree regularly, especially during dry periods. Young trees need more frequent watering than established trees. Aim to keep the soil consistently moist, but not soggy.
* Fertilizing: Fertilize your cherry tree in the spring with a balanced fertilizer. Follow the instructions on the fertilizer package. Avoid over-fertilizing, as this can lead to excessive growth and reduced fruit production.
* Pruning: Prune your cherry tree annually to maintain its shape, remove dead or diseased branches, and improve air circulation. The best time to prune is in late winter or early spring, before the tree starts to grow.
* Pest and Disease Control: Keep an eye out for pests and diseases. Common cherry tree pests include aphids, cherry fruit flies, and Japanese beetles. Common diseases include leaf spot, brown rot, and powdery mildew. Treat any problems promptly with appropriate insecticides or fungicides. Organic options are available!
* Protecting from Birds: Birds love cherries just as much as we do! If you want to protect your harvest, you’ll need to take steps to keep them away. Netting is the most effective method. You can also try using bird repellents or scare devices.
Pruning Your Cherry Tree: A Deeper Dive
Pruning can seem intimidating, but it’s essential for a healthy and productive cherry tree. Here’s a more detailed look:
* Young Trees (First 3-4 Years): Focus on developing a strong central leader (the main trunk) and well-spaced branches. Remove any branches that are crossing, rubbing, or growing inward.
* Mature Trees: Continue to remove dead, diseased, or damaged branches. Thin out the canopy to improve air circulation and sunlight penetration. This will help prevent disease and improve fruit quality.
* Sweet Cherries: Sweet cherries bear fruit on spurs (short, stubby branches that produce fruit for several years). Prune lightly to avoid removing too many spurs.
* Sour Cherries: Sour cherries bear fruit on new growth. Prune more heavily to encourage new growth.
* Tools: Use sharp, clean pruning shears or loppers. Make clean cuts at a 45-degree angle, just above a bud or branch.
Dealing with Common Cherry Tree Problems
Even with the best care, your cherry tree may encounter some problems. Here’s how to deal with some common issues:
* Aphids: These tiny insects suck sap from leaves and stems. They can be controlled with insecticidal soap or a strong blast of water from the hose.
* Cherry Fruit Flies: These flies lay their eggs in the cherries, causing them to become wormy. Hang yellow sticky traps to catch the flies. You can also use an insecticide specifically designed for cherry fruit flies.
* Japanese Beetles: These beetles can defoliate cherry trees. Handpick them off the tree or use an insecticide.
* Leaf Spot: This fungal disease causes brown spots on the leaves. Improve air circulation by pruning the tree. You can also use a fungicide.
* Brown Rot: This fungal disease causes the fruit to rot on the tree. Remove any infected fruit and branches. You can also use a fungicide.
* Powdery Mildew: This fungal disease causes a white, powdery coating on the leaves. Improve air circulation by pruning the tree. You can also use a fungicide.
Harvesting Your Cherries
Finally, the moment you’ve been waiting for! Harvesting your cherries is the most rewarding part of growing them.
* Timing: Cherries are typically ready to harvest in late spring or early summer, depending on the variety and your climate. The cherries should be fully colored and slightly soft to the touch.
* How to Harvest: Gently twist the cherries off the tree, leaving the stem attached. This will help prevent the cherries from rotting.
* Storage: Store your cherries in the refrigerator. They will keep for several days. You can also freeze them for longer storage.
Enjoying Your Homegrown Cherries
Congratulations! You’ve successfully grown cherries at home. Now it’s time to enjoy the fruits of your
Conclusion
So, there you have it! Growing cherries at home might seem daunting at first, but with the right knowledge and a little patience, you can transform your backyard into a cherry-producing haven. This DIY approach isn’t just about saving money; it’s about connecting with nature, understanding the growing process, and enjoying the unparalleled satisfaction of harvesting your own delicious, sun-ripened fruit. Forget the bland, mass-produced cherries from the grocery store – imagine biting into a juicy, flavorful cherry that you nurtured from the very beginning. The taste difference is truly remarkable.
This method is a must-try for anyone who appreciates fresh, homegrown produce and enjoys a rewarding gardening experience. Think of the possibilities! You can use your homegrown cherries in pies, jams, smoothies, or simply enjoy them fresh off the tree. You can even experiment with different cherry varieties to find your absolute favorite. Consider planting a dwarf variety if space is limited, or try a self-pollinating type for easier fruit production. Don’t be afraid to experiment with different soil amendments and fertilizers to optimize your cherry tree’s growth and yield.
Growing cherries at home offers a unique opportunity to control the quality and freshness of your fruit. You’ll know exactly what went into growing them, avoiding harmful pesticides and ensuring the best possible flavor.
We encourage you to take the plunge and give this DIY trick a try. Start small, do your research, and don’t be afraid to ask for help along the way. The rewards are well worth the effort. Once you’ve harvested your first batch of homegrown cherries, we’d love to hear about your experience! Share your tips, tricks, and photos in the comments below. Let’s build a community of cherry-growing enthusiasts and help each other succeed. Happy gardening!
Frequently Asked Questions (FAQs)
Q: What cherry variety is best for growing at home?
A: The best cherry variety for you depends on your climate, space, and taste preferences. Sweet cherries like Bing, Rainier, and Stella are popular choices, but they often require cross-pollination. Stella is self-pollinating, making it a good option for smaller gardens. Sour cherries, like Montmorency, are generally more cold-hardy and self-pollinating, making them easier to grow in some regions. Dwarf varieties are also available, which are ideal for container gardening or small yards. Research which varieties thrive in your specific USDA hardiness zone and consider factors like disease resistance and fruit flavor. Local nurseries can provide valuable advice on the best choices for your area.
Q: How much space do I need to grow a cherry tree?
A: Standard-sized cherry trees can grow quite large, requiring at least 20-30 feet of space between trees. Dwarf varieties, on the other hand, can be grown in containers or planted closer together, requiring as little as 8-10 feet of space. Consider the mature size of the tree when planning your planting location to ensure it has enough room to grow without overcrowding other plants or structures. If space is limited, espalier techniques can also be used to train cherry trees to grow flat against a wall or fence.
Q: How often should I water my cherry tree?
A: Cherry trees need consistent watering, especially during the first few years after planting and during periods of drought. Water deeply and regularly, ensuring the soil is moist but not waterlogged. The frequency of watering will depend on your climate, soil type, and the age of the tree. Young trees typically need more frequent watering than established trees. Check the soil moisture regularly by sticking your finger a few inches into the soil. If the soil feels dry, it’s time to water. Mulching around the base of the tree can help retain moisture and reduce the need for frequent watering.
Q: What kind of fertilizer should I use for my cherry tree?
A: Cherry trees benefit from regular fertilization, especially in the spring. Use a balanced fertilizer specifically formulated for fruit trees, following the instructions on the package. Avoid over-fertilizing, as this can lead to excessive vegetative growth at the expense of fruit production. Soil testing can help determine the specific nutrient needs of your tree and guide your fertilization strategy. Organic fertilizers, such as compost and manure, can also be used to improve soil fertility and provide essential nutrients.
Q: How do I protect my cherry tree from pests and diseases?
A: Cherry trees are susceptible to various pests and diseases, including aphids, cherry fruit flies, brown rot, and powdery mildew. Regular monitoring and preventative measures are essential for protecting your tree. Inspect your tree regularly for signs of pests or diseases, such as leaf damage, fruit blemishes, or unusual growth. Use organic pest control methods, such as insecticidal soap or neem oil, to control aphids and other pests. Prune your tree regularly to improve air circulation and reduce the risk of fungal diseases. Consider using netting to protect your fruit from birds. Consult with your local extension office or nursery for specific recommendations on pest and disease control in your area.
Q: When is the best time to harvest cherries?
A: The best time to harvest cherries depends on the variety and your climate. Cherries are typically ready to harvest in late spring or early summer, when they are fully colored and slightly soft to the touch. Taste a few cherries to determine if they are ripe. Ripe cherries should be sweet and juicy. Harvest cherries carefully to avoid bruising the fruit. Use pruning shears to cut the stems close to the fruit. Store harvested cherries in the refrigerator for up to a week.
Q: My cherry tree is not producing fruit. What could be the problem?
A: There are several reasons why your cherry tree might not be producing fruit. It could be due to a lack of pollination, improper pruning, nutrient deficiencies, or pest and disease problems. Ensure your tree is properly pollinated by planting a compatible pollinator variety nearby or by hand-pollinating the flowers. Avoid pruning your tree too heavily, as this can remove the fruiting buds. Fertilize your tree regularly with a balanced fertilizer to provide essential nutrients. Inspect your tree for signs of pests or diseases and take appropriate action to control them. It can also take several years for a newly planted cherry tree to begin producing fruit, so be patient.
Q: Can I grow a cherry tree in a container?
A: Yes, you can grow a cherry tree in a container, especially if you choose a dwarf variety. Use a large container with good drainage and fill it with a well-draining potting mix. Water regularly and fertilize as needed. Container-grown cherry trees may need to be protected from extreme temperatures in the winter. Choose a sunny location for your container-grown cherry tree.
Q: How do I prune my cherry tree?
A: Pruning is essential for maintaining the health and productivity of your cherry tree. Prune your tree in late winter or early spring, before new growth begins. Remove any dead, damaged, or diseased branches. Thin out the canopy to improve air circulation and sunlight penetration. Prune to maintain a strong central leader and encourage lateral branching. Avoid pruning too heavily, as this can reduce fruit production. Consult with a local arborist or gardening expert for specific pruning recommendations for your cherry variety.
Leave a Comment