
Grow Chili Peppers Anywhere, even if you think you don’t have the space or the green thumb! Have you ever dreamed of adding a fiery kick to your meals with homegrown chili peppers, but felt limited by a small apartment balcony or a shady backyard? Well, dream no more! This article is your ultimate guide to unlocking the secrets of cultivating these vibrant and flavorful fruits, regardless of your living situation.
Chili peppers have a rich history, dating back thousands of years in the Americas, where they were not only a staple food but also held cultural and medicinal significance. From the ancient Aztecs to modern-day foodies, the love for chili peppers has only grown stronger. I believe everyone should experience the joy of harvesting their own peppers, and that’s why I’m so excited to share these simple yet effective DIY tricks with you.
In today’s fast-paced world, many of us are disconnected from the source of our food. Learning to grow chili peppers anywhere, even in a small container on a windowsill, is a fantastic way to reconnect with nature, reduce your reliance on store-bought produce, and add a burst of fresh flavor to your cooking. Plus, it’s incredibly rewarding to watch those tiny seedlings transform into vibrant, pepper-laden plants. So, let’s dive in and discover how you can start your own chili pepper adventure today!
Growing Chili Peppers Anywhere: A DIY Guide
Okay, chili pepper enthusiasts, gather ’round! I’m going to walk you through a super fun and rewarding DIY project: growing chili peppers practically anywhere. Whether you have a sprawling garden, a tiny balcony, or just a sunny windowsill, you can cultivate these fiery little gems. I’ve done this for years, and trust me, the satisfaction of harvesting your own homegrown chilies is unmatched.
Choosing Your Chili Pepper Variety
First things first, let’s talk peppers! The world of chili peppers is vast and exciting. From the mild bell peppers (yes, they’re technically chilies!) to the scorching hot ghost peppers, there’s a pepper out there for everyone.
* Consider your heat tolerance: Be honest with yourself! If you’re new to the chili game, start with milder varieties like jalapeños, poblanos, or Anaheim peppers. You can always work your way up to the hotter stuff later.
* Think about your space: Some chili pepper plants grow quite large, while others stay relatively compact. If you’re growing in containers, opt for bushier varieties like Thai chilies, habaneros, or even some ornamental peppers.
* Research your climate: Chili peppers thrive in warm, sunny conditions. If you live in a cooler climate, you might want to choose varieties that mature quickly or consider growing them indoors.
* Popular Choices: Jalapeno, Serrano, Cayenne, Habanero, Thai Chili, Poblano.
Getting Started: Seeds vs. Seedlings
You have two main options for starting your chili pepper plants: from seed or from seedlings (small starter plants).
* Starting from Seed: This is the more economical option, and it gives you a wider variety of choices. However, it requires a bit more patience and effort.
* Buying Seedlings: This is the easier and faster option, especially if you’re a beginner. You can usually find seedlings at your local garden center or nursery.
I personally love starting from seed because I get to choose from a wider selection of peppers, and it’s just so rewarding to watch them sprout and grow.
Section 1: Starting Chili Peppers from Seed
If you’re going the seed route, here’s what you’ll need:
* Chili pepper seeds
* Seed starting trays or small pots
* Seed starting mix (a light, well-draining soil mix)
* A spray bottle
* A heat mat (optional, but recommended)
* A grow light (optional, but helpful)
Step-by-Step Instructions:
1. Sow the Seeds: Fill your seed starting trays or pots with seed starting mix. Moisten the soil with a spray bottle. Sow the chili pepper seeds about ¼ inch deep, placing 2-3 seeds per cell or pot. Gently cover the seeds with soil and mist again.
2. Provide Warmth: Chili pepper seeds need warmth to germinate. Place the seed starting trays on a heat mat, if you have one. This will help maintain a consistent temperature of around 80-85°F (27-29°C). If you don’t have a heat mat, place the trays in a warm spot in your house.
3. Maintain Moisture: Keep the soil consistently moist, but not soggy. Mist the soil regularly with a spray bottle. Avoid overwatering, as this can lead to fungal diseases.
4. Provide Light: Once the seedlings emerge (usually within 7-14 days), they’ll need plenty of light. Place the trays under a grow light or in a sunny windowsill. If using a windowsill, rotate the trays regularly to ensure that the seedlings receive even light.
5. Thin the Seedlings: Once the seedlings have developed their first true leaves (the second set of leaves after the initial seed leaves), thin them out to one seedling per cell or pot. Choose the strongest, healthiest-looking seedling and snip off the others at the soil line.
6. Harden Off the Seedlings: Before transplanting the seedlings outdoors, you’ll need to “harden them off.” This means gradually exposing them to outdoor conditions over a period of 7-10 days. Start by placing the seedlings in a sheltered spot outdoors for an hour or two each day, gradually increasing the amount of time they spend outside. This will help them acclimate to the sun, wind, and temperature changes.
Section 2: Growing Chili Peppers in Containers
Growing chili peppers in containers is a fantastic option for those with limited space. Here’s what you’ll need:
* Chili pepper seedlings (either started from seed or purchased)
* Containers (at least 5 gallons in size)
* Potting mix (a well-draining mix specifically formulated for containers)
* Fertilizer (a balanced fertilizer or one specifically formulated for peppers)
* Watering can or hose
* Stakes or cages (optional, but recommended for taller varieties)
Step-by-Step Instructions:
1. Choose the Right Container: Select a container that is at least 5 gallons in size. The larger the container, the more room the roots will have to grow, and the more productive your plant will be. Make sure the container has drainage holes to prevent waterlogging.
2. Prepare the Potting Mix: Fill the container with potting mix, leaving a few inches of space at the top.
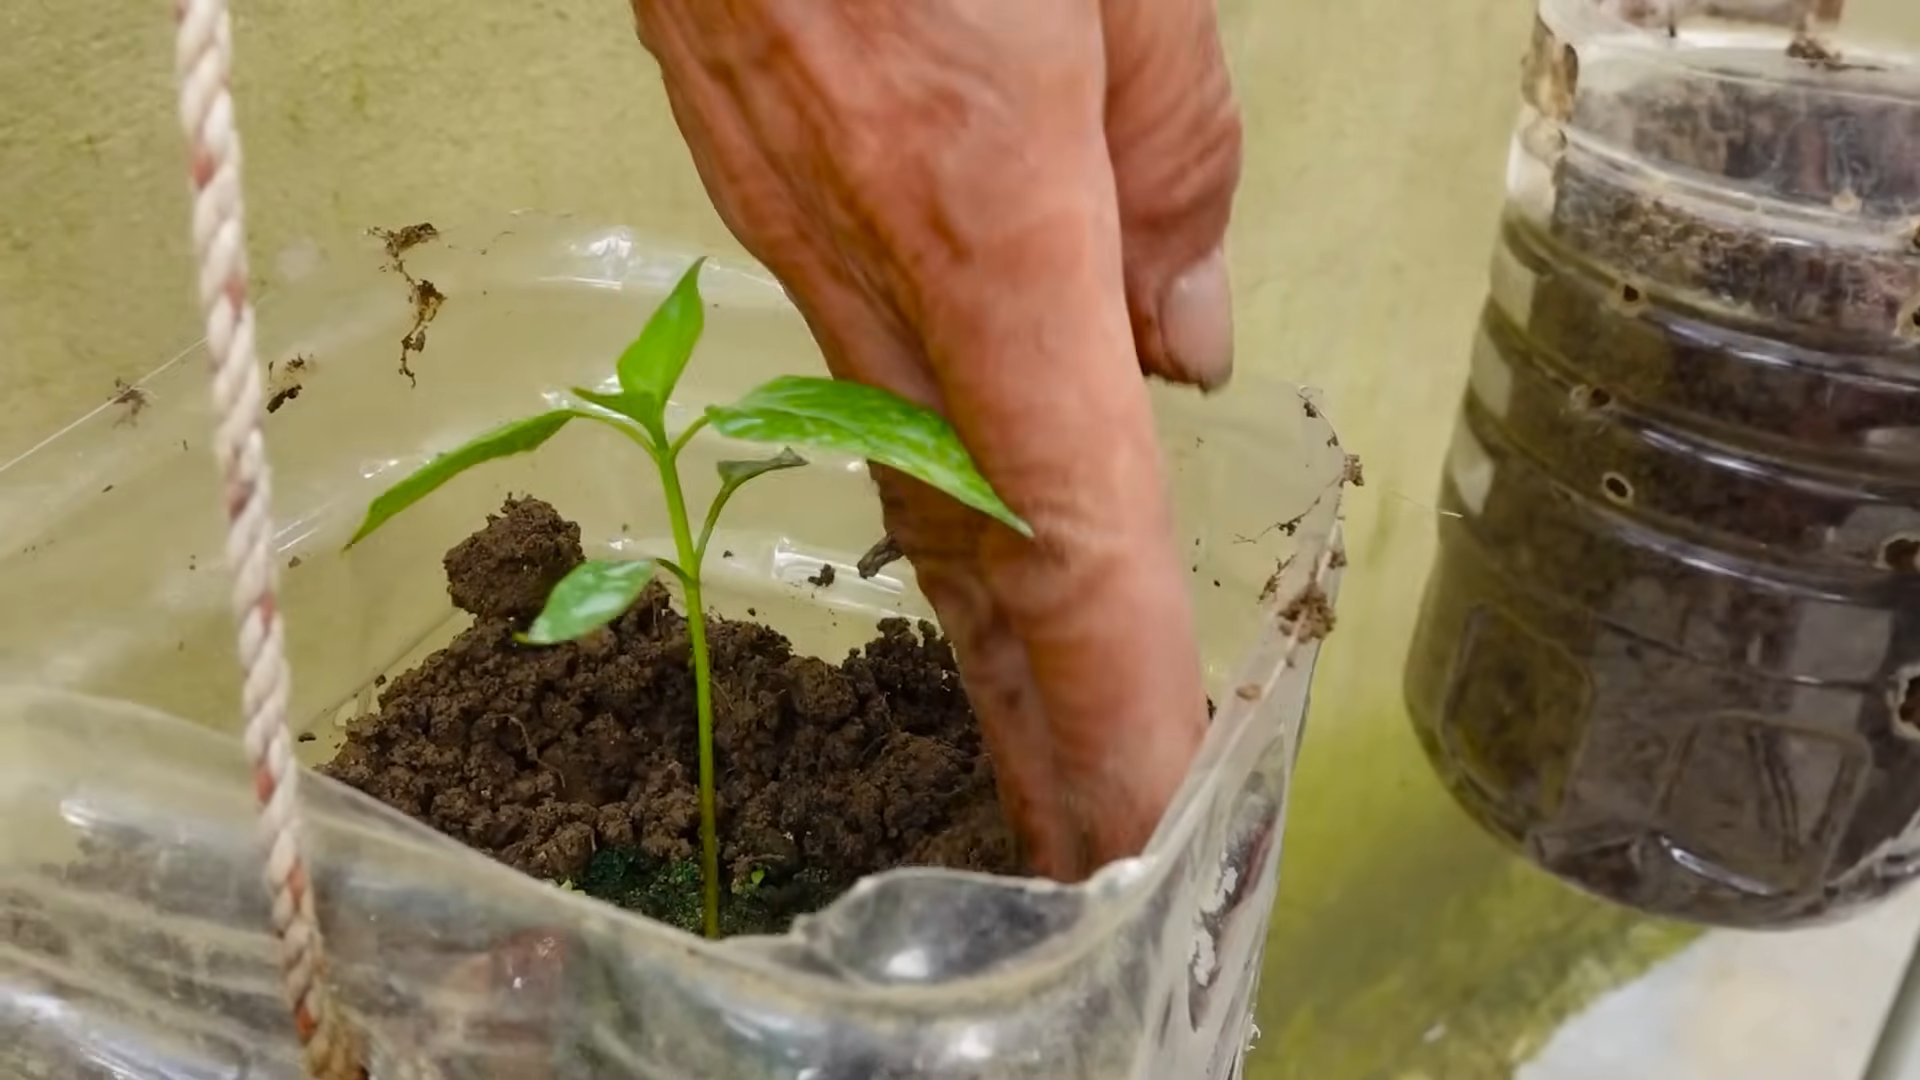
3. Transplant the Seedlings: Gently remove the seedlings from their seed starting trays or pots. Loosen the roots slightly and plant the seedlings in the containers, burying them to the same depth they were growing in before.
4. Water Thoroughly: Water the seedlings thoroughly after transplanting.
5. Fertilize Regularly: Chili peppers are heavy feeders, so they need regular fertilization. Use a balanced fertilizer or one specifically formulated for peppers, following the instructions on the label. I like to use a liquid fertilizer every 2-3 weeks.
6. Provide Support: As the plants grow, they may need support to prevent them from toppling over. Use stakes or cages to support the stems.
7. Water Consistently: Water the plants regularly, especially during hot, dry weather. Check the soil moisture regularly and water when the top inch of soil feels dry. Avoid overwatering, as this can lead to root rot.
8. Provide Sunlight: Chili peppers need at least 6-8 hours of sunlight per day. Place the containers in a sunny location.
9. Pest and Disease Control: Keep an eye out for pests and diseases. Common pests include aphids, spider mites, and whiteflies. Common diseases include fungal diseases like powdery mildew and blossom end rot. Treat any problems promptly with appropriate organic or chemical controls.
Section 3: Growing Chili Peppers Indoors
Growing chili peppers indoors is a great way to enjoy fresh chilies year-round, especially if you live in a colder climate. Here’s what you’ll need:
* Chili pepper seedlings (either started from seed or purchased)
* Containers (at least 5 gallons in size)
* Potting mix (a well-draining mix specifically formulated for containers)
* Grow lights (LED grow lights are recommended)
* Fertilizer (a balanced fertilizer or one specifically formulated for peppers)
* Watering can or hose
* Humidifier (optional, but helpful)
Step-by-Step Instructions:
1. Choose the Right Location: Select a location that receives plenty of light. A south-facing window is ideal, but you’ll likely need to supplement with grow lights.
2. Provide Grow Lights: Chili peppers need at least 12-14 hours of light per day to thrive indoors. Use LED grow lights to provide supplemental light. Position the lights about 6-12 inches above the plants.
3. Maintain Temperature and Humidity: Chili peppers prefer warm temperatures (70-80°F or 21-27°C) and moderate humidity. Use a humidifier to increase the humidity if necessary.
4. Pollination: Indoors, you’ll need to hand-pollinate the flowers to ensure fruit production. Use a small paintbrush or cotton swab to transfer pollen from one flower to another. Gently brush the pollen from the stamen (the male part of the flower) onto the pistil (the female part of the flower).
5. Follow Container Growing Steps: Follow steps 1-7 from the “Growing Chili Peppers in Containers” section above.
Harvesting Your Chili Peppers
The moment you’ve been waiting for! Harvesting your chili peppers is the most rewarding part of the process.
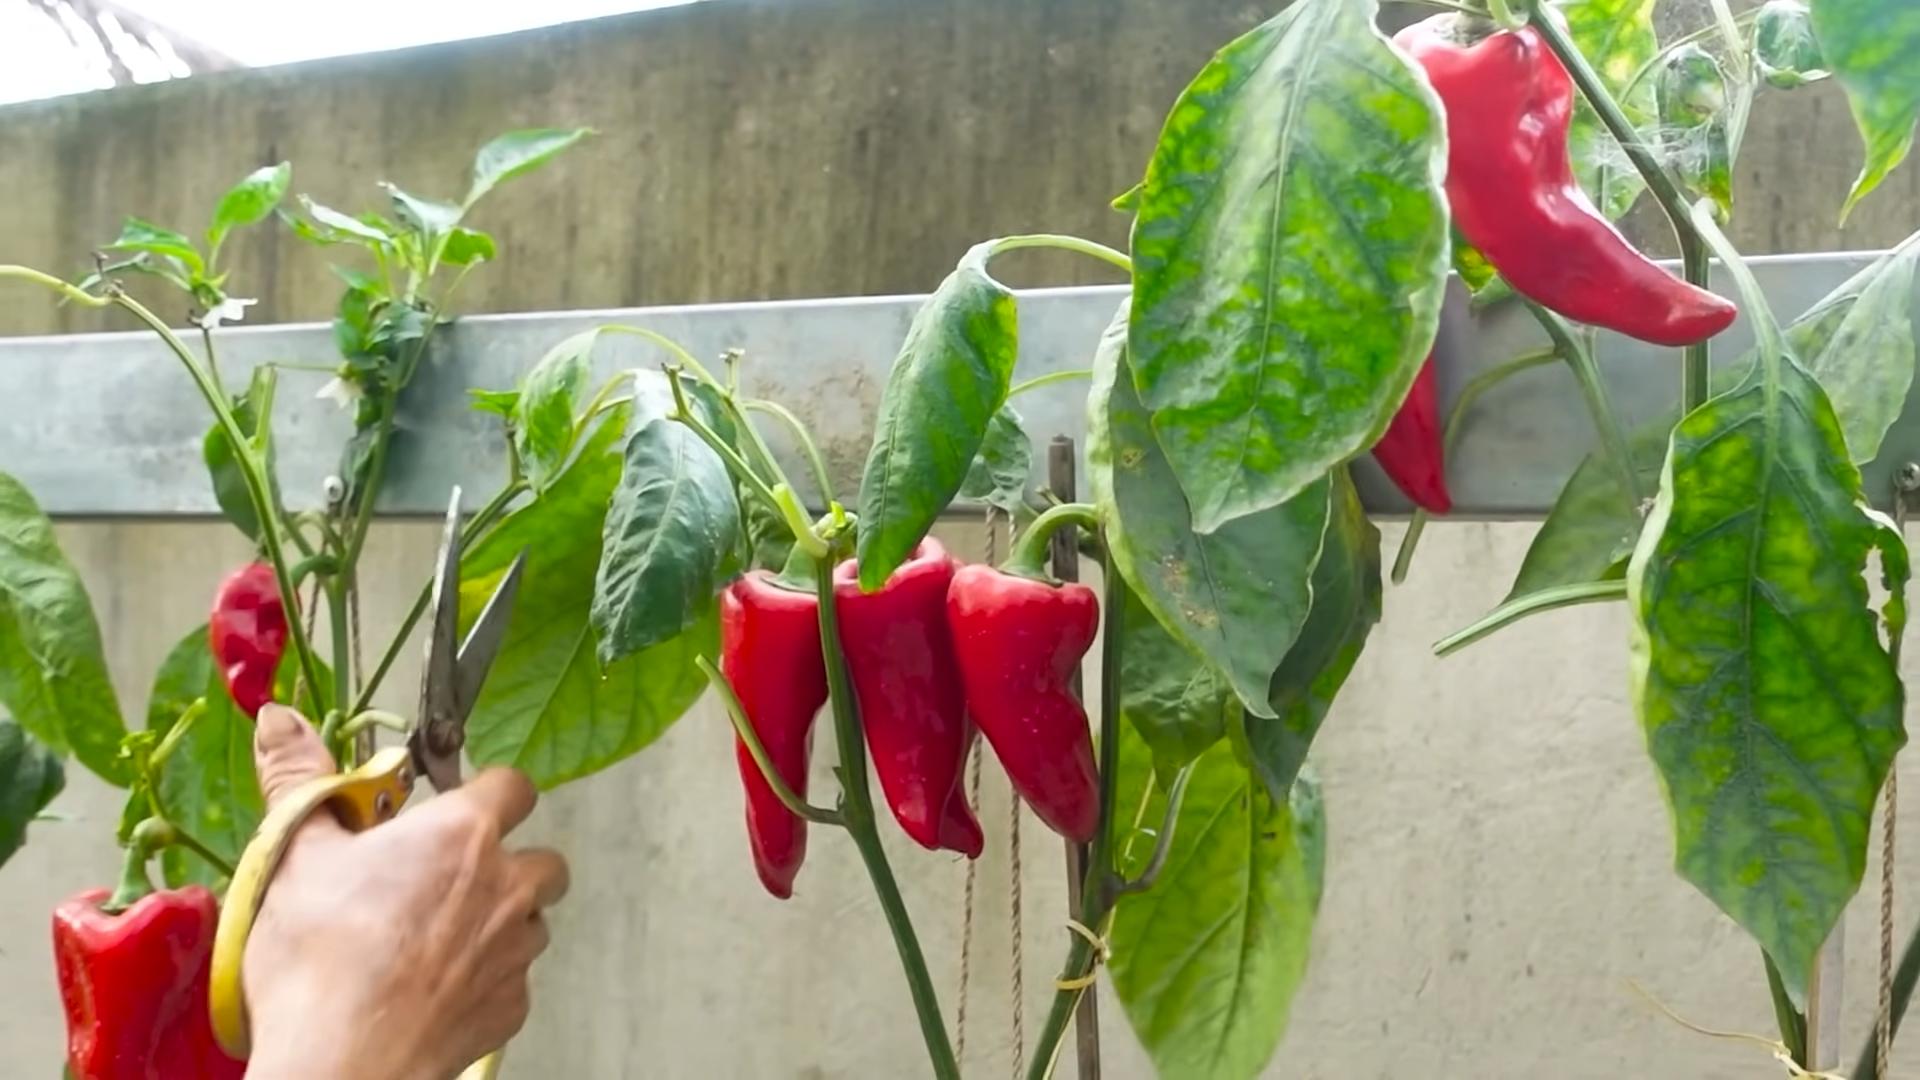
* Harvest Time: The time it takes for chili peppers to mature varies depending on the variety. Generally, they’re ready to harvest when they’ve reached their mature size and color.
* How to Harvest: Use pruning shears or scissors to cut the peppers from the plant. Be careful not to damage the plant.
* Enjoy Your Harvest: Use
Conclusion
So, there you have it! Growing chili peppers anywhere, regardless of your space constraints or perceived lack of a green thumb, is entirely within your reach. This DIY method, focusing on maximizing yield and minimizing effort, is a game-changer for spice enthusiasts and gardening novices alike. We’ve walked you through the simple steps, from seed selection to harvesting your fiery bounty.
But why is this DIY trick a must-try? It’s more than just about saving money on store-bought chili peppers. It’s about the satisfaction of nurturing life, the joy of watching your plants thrive, and the unparalleled flavor of homegrown produce. Imagine the vibrant colors of your chili peppers adorning your balcony, patio, or even a sunny windowsill. Think of the fresh, intense heat they’ll bring to your culinary creations. This isn’t just gardening; it’s an experience.
Beyond the basic method, there’s plenty of room for experimentation. Want to add a touch of elegance? Consider using decorative pots or planters to showcase your chili pepper plants. Feeling adventurous? Try different varieties of chili peppers, from the mild jalapeño to the scorching habanero, to create a diverse and exciting harvest. You can even experiment with companion planting, adding herbs like basil or oregano to enhance the flavor and deter pests. For those with limited sunlight, grow lights can be a lifesaver, ensuring your plants receive the necessary energy to flourish. Remember to adjust your watering schedule based on your climate and the specific needs of your chili pepper variety. Some thrive with more frequent watering, while others prefer drier conditions.
Don’t be afraid to get creative and personalize your chili pepper growing journey. The beauty of this DIY approach is its adaptability. It’s designed to fit your lifestyle, your space, and your preferences.
We wholeheartedly encourage you to give this DIY trick a try. Start small, perhaps with just a few plants, and gradually expand your chili pepper empire as you gain confidence and experience. The rewards are well worth the effort.
And most importantly, we want to hear about your experiences! Share your photos, tips, and challenges in the comments section below. Let’s create a community of chili pepper enthusiasts, supporting each other and celebrating our successes. What varieties did you choose? What challenges did you face, and how did you overcome them? What delicious dishes did you create with your homegrown chili peppers? Your insights will be invaluable to other readers who are just starting their own chili pepper growing adventures.
So, grab your seeds, your pots, and your enthusiasm, and get ready to grow chili peppers anywhere! The world of homegrown spice awaits.
Frequently Asked Questions (FAQ)
What type of chili peppers are easiest to grow for beginners?
Jalapeños are generally considered one of the easiest chili peppers to grow for beginners. They are relatively tolerant of different conditions and produce a good yield. Other good options for beginners include Anaheim peppers, poblano peppers, and serrano peppers. These varieties are also relatively mild in terms of heat, making them a good starting point for those who are new to chili peppers. Research the specific needs of each variety to ensure optimal growth.
How much sunlight do chili pepper plants need?
Chili pepper plants need at least 6-8 hours of direct sunlight per day to thrive. If you don’t have enough natural sunlight, you can supplement with grow lights. Position the grow lights close to the plants, but not so close that they burn the leaves. LED grow lights are a good option because they are energy-efficient and produce less heat.
What kind of soil is best for growing chili peppers?
Chili pepper plants prefer well-draining soil that is rich in organic matter. A good potting mix for chili peppers should contain a combination of peat moss, perlite, and vermiculite. You can also amend your soil with compost or aged manure to improve its fertility. Avoid using heavy clay soil, as it can retain too much water and lead to root rot.
How often should I water my chili pepper plants?
Water your chili pepper plants when the top inch of soil feels dry to the touch. Avoid overwatering, as this can lead to root rot. The frequency of watering will depend on the climate, the type of soil, and the size of the pot. In hot, dry weather, you may need to water your plants daily. In cooler weather, you may only need to water them every few days.
How do I fertilize my chili pepper plants?
Fertilize your chili pepper plants every 2-3 weeks with a balanced fertilizer. A fertilizer with an NPK ratio of 5-10-5 is a good option. You can also use a fertilizer specifically formulated for tomatoes or peppers. Follow the instructions on the fertilizer label carefully. Avoid over-fertilizing, as this can burn the roots of your plants.
How do I protect my chili pepper plants from pests and diseases?
Inspect your chili pepper plants regularly for pests and diseases. Common pests of chili pepper plants include aphids, spider mites, and whiteflies. You can control these pests with insecticidal soap or neem oil. Common diseases of chili pepper plants include powdery mildew and blossom end rot. You can prevent these diseases by providing good air circulation and avoiding overwatering. If you notice any signs of pests or diseases, treat your plants promptly.
When can I harvest my chili peppers?
You can harvest your chili peppers when they have reached their mature size and color. The exact time will depend on the variety of chili pepper. Jalapeños, for example, are typically harvested when they are green and about 3-4 inches long. Habaneros are typically harvested when they are orange or red. Use a sharp knife or scissors to cut the chili peppers from the plant.
Can I grow chili peppers indoors during the winter?
Yes, you can grow chili peppers indoors during the winter. To do so, you will need to provide them with adequate light, warmth, and humidity. Place your chili pepper plants in a sunny window or under grow lights. Keep the temperature between 65-75 degrees Fahrenheit. Increase the humidity by misting your plants regularly or placing them on a tray of pebbles filled with water.
What are some common problems when growing chili peppers and how can I fix them?
Some common problems include:
* **Blossom end rot:** This is caused by a calcium deficiency. Ensure consistent watering and add calcium to the soil.
* **Aphids:** These small insects can suck the sap from your plants. Use insecticidal soap or neem oil.
* **Lack of fruit:** This can be due to insufficient pollination. Hand-pollinate the flowers with a small brush.
* **Yellowing leaves:** This can be caused by overwatering, underwatering, or nutrient deficiencies. Adjust your watering schedule and fertilize your plants as needed.
Can I save seeds from my homegrown chili peppers to plant next year?
Yes, you can save seeds from your homegrown chili peppers to plant next year. However, keep in mind that if you grew hybrid varieties, the seeds may not produce plants that are true to type. To save seeds, allow the chili peppers to fully ripen on the plant. Then, carefully remove the seeds and dry them completely. Store the dried seeds in an airtight container in a cool, dark place.

Leave a Comment