
Grow Artichokes at Home? Absolutely! Imagine stepping into your garden and harvesting your very own spiky, delicious artichokes. It sounds like a gourmet dream, right? Well, it’s more achievable than you might think, and I’m here to show you how with some easy DIY tricks and tips.
Artichokes, with their architectural beauty and unique flavor, have been prized for centuries. Originating in the Mediterranean, they were enjoyed by the ancient Greeks and Romans, who considered them a delicacy. Today, they’re a staple in many cuisines, but often seen as a challenging vegetable to cultivate. That’s where this guide comes in!
Let’s be honest, buying artichokes at the grocery store can be expensive. Plus, there’s nothing quite like the satisfaction of growing your own food. This DIY guide will empower you to grow artichokes at home, even if you have limited space or gardening experience. I’ll share simple hacks to overcome common challenges, from choosing the right variety to protecting your plants from pests. Get ready to enjoy fresh, homegrown artichokes straight from your garden to your table!

Growing Artichokes: A DIY Guide to Bountiful Blooms and Delicious Hearts
Okay, artichoke lovers, gather ’round! I’m going to walk you through everything you need to know to grow your own gorgeous artichokes right at home. It might seem intimidating, but trust me, with a little patience and the right know-how, you’ll be harvesting these beauties in no time. We’ll cover everything from choosing the right variety to dealing with pesky pests. Let’s get started!
Choosing Your Artichoke Variety
First things first, you need to decide which artichoke variety is right for you. Different varieties have different characteristics, so consider your climate and preferences. Here are a few popular options:
* Green Globe: This is the classic artichoke, known for its large, round heads and excellent flavor. It’s a reliable choice for many climates.
* Violetta: A beautiful Italian heirloom variety with purple-tinged leaves and a slightly sweeter flavor. It’s a bit more heat-tolerant than Green Globe.
* Imperial Star: A relatively early-maturing variety, perfect if you live in a region with a shorter growing season.
* Big Heart: As the name suggests, this variety produces large, meaty hearts with fewer prickly chokes.
Once you’ve chosen your variety, you can either start from seed or purchase established plants. Starting from seed takes longer, but it’s more economical. Buying plants gives you a head start. I personally prefer starting with plants, especially if it’s your first time.
Preparing Your Artichoke Bed
Artichokes are hungry plants, so preparing the soil is crucial. They need well-draining soil that’s rich in organic matter. Here’s how I prepare my artichoke bed:
* Sunlight: Artichokes need at least 6-8 hours of sunlight per day. Choose a sunny spot in your garden.
* Soil Testing: Test your soil’s pH. Artichokes prefer a slightly acidic to neutral pH (around 6.0-7.0). You can buy a soil testing kit at most garden centers.
* Amending the Soil: Dig in plenty of compost, aged manure, or other organic matter to improve drainage and fertility. I usually add a good 4-6 inches of compost.
* Drainage: Make sure the soil drains well. Artichokes don’t like soggy roots. If your soil is heavy clay, consider adding sand or perlite to improve drainage.
* Fertilizing: Incorporate a slow-release fertilizer into the soil before planting. Look for a fertilizer that’s high in phosphorus and potassium.
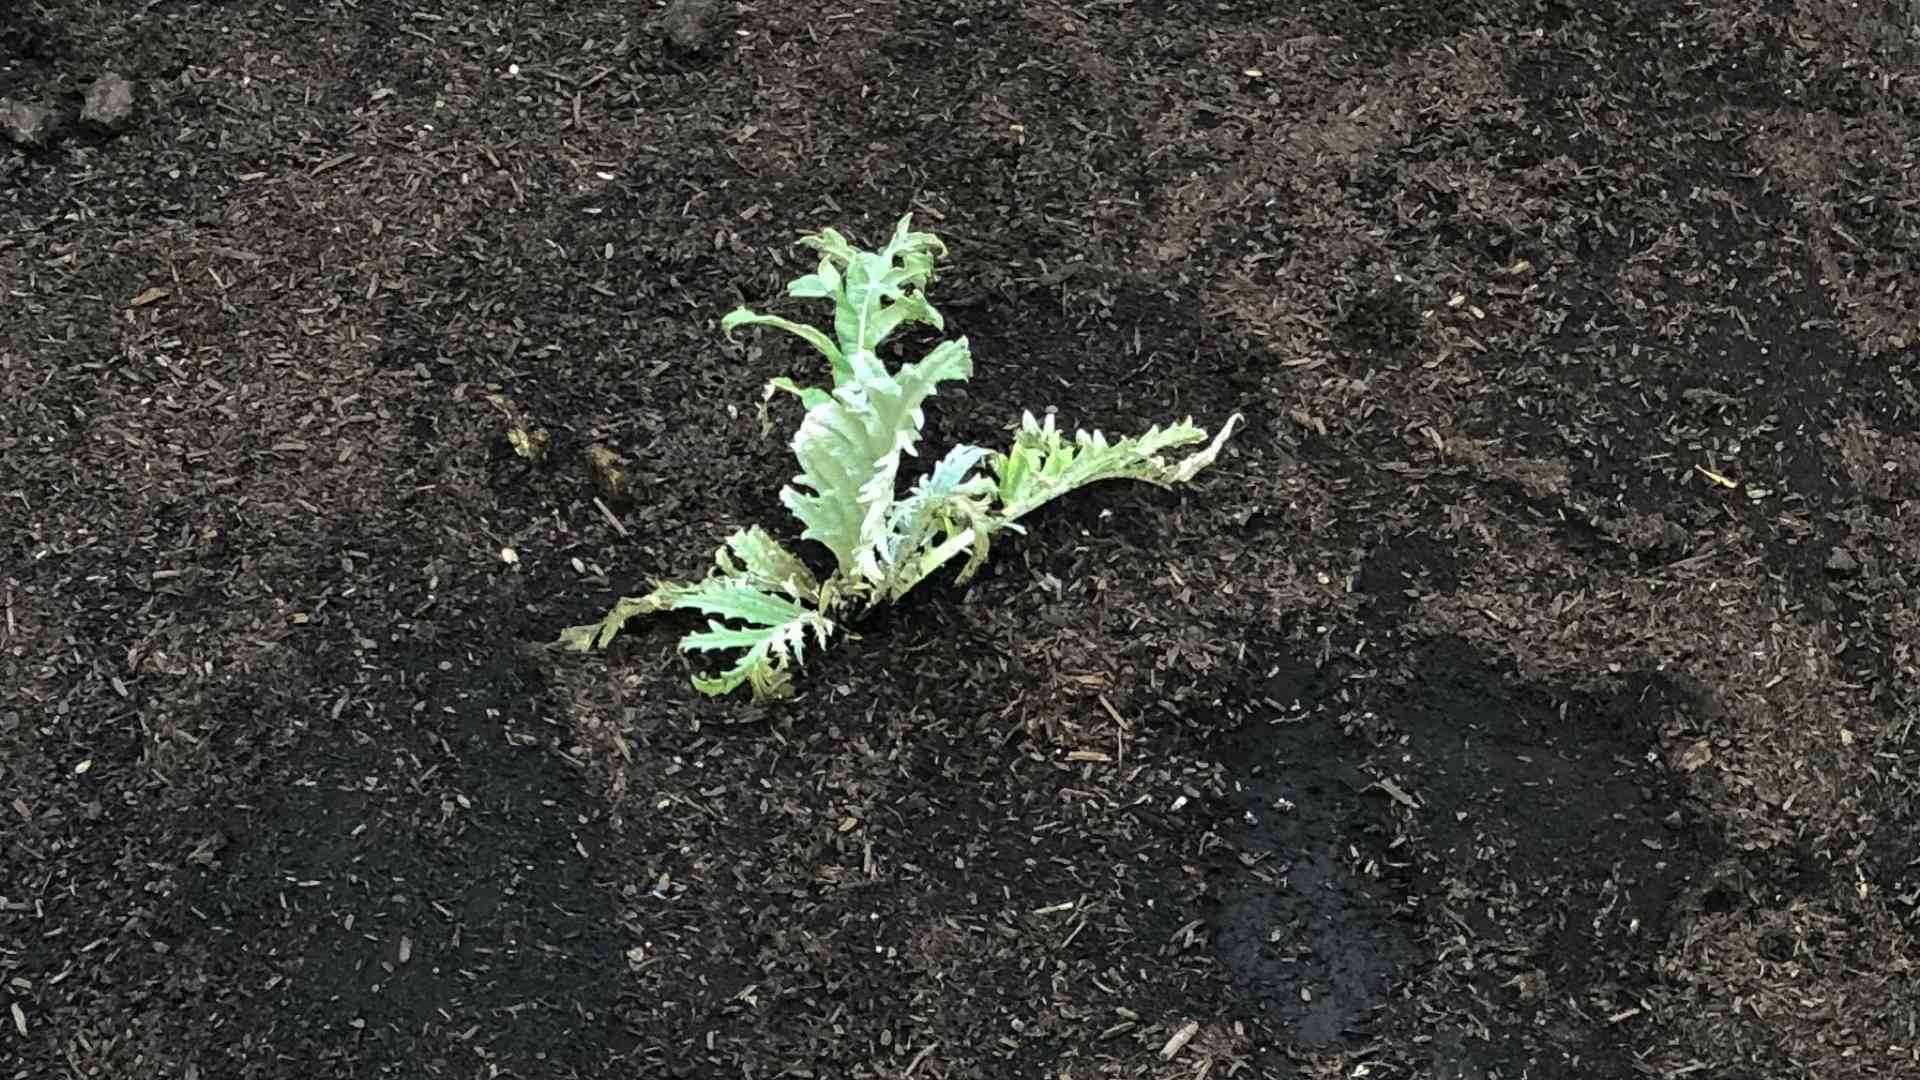
Planting Your Artichokes
Now for the fun part – planting! Whether you’re starting from seed or planting established plants, here’s what you need to do:
Planting from Seed (Longer Process)
1. Start Seeds Indoors: Start your seeds indoors 8-10 weeks before the last expected frost. Sow the seeds about 1/2 inch deep in seed-starting mix.
2. Provide Warmth and Light: Keep the soil moist and provide warmth (around 70-75°F). Use a heat mat if needed. Once the seedlings emerge, provide plenty of light. A grow light is ideal.
3. Transplant Seedlings: Once the seedlings have several sets of true leaves and the weather has warmed up, gradually acclimate them to outdoor conditions (harden them off) over a week or two.
4. Plant in the Garden: Plant the seedlings in the prepared artichoke bed, spacing them about 3-4 feet apart.
Planting Established Plants (Easier Process)
1. Dig Holes: Dig holes that are slightly larger than the root balls of your artichoke plants.
2. Remove Plants from Containers: Gently remove the plants from their containers, being careful not to damage the roots.
3. Plant the Artichokes: Place the plants in the holes, making sure the top of the root ball is level with the surrounding soil.
4. Backfill and Water: Backfill the holes with soil and water thoroughly.
5. Mulch: Apply a layer of mulch around the plants to help retain moisture and suppress weeds. I like to use straw or wood chips.
Caring for Your Artichokes
Once your artichokes are planted, it’s important to provide them with the care they need to thrive. Here’s what you need to do:
* Watering: Artichokes need consistent moisture, especially during hot, dry weather. Water deeply whenever the top inch of soil feels dry. Avoid overwatering, as this can lead to root rot.
* Fertilizing: Fertilize your artichokes every few weeks with a balanced fertilizer. You can also side-dress them with compost or aged manure.
* Weeding: Keep the area around your artichokes free of weeds. Weeds compete with the artichokes for nutrients and water.
* Pest Control: Artichokes can be susceptible to certain pests, such as aphids, snails, and slugs. Inspect your plants regularly and take action if you see any signs of infestation. I’ll talk more about pest control in the next section.
* Pruning: After the artichokes have finished producing, cut the plants back to the ground. In mild climates, they will regrow in the spring. In colder climates, you may need to protect them from frost.
Dealing with Pests and Diseases
Unfortunately, artichokes can attract a few unwanted visitors. Here’s how to deal with common pests and diseases:
* Aphids: These tiny insects suck sap from the leaves and stems of artichokes. You can control aphids by spraying them with a strong stream of water, using insecticidal soap, or introducing beneficial insects like ladybugs.
* Snails and Slugs: These slimy creatures can munch on artichoke leaves and buds. You can control snails and slugs by handpicking them, using beer traps, or applying diatomaceous earth around the plants.
* Artichoke Plume Moth: The larvae of this moth bore into the artichoke buds, causing damage. You can control artichoke plume moth by using pheromone traps to attract and kill the adult moths, or by applying Bacillus thuringiensis (Bt) to the buds.
* Root Rot: This fungal disease can occur in poorly drained soil. Prevent root rot by planting artichokes in well-draining soil and avoiding overwatering. If you suspect root rot, you can try treating the soil with a fungicide.
Harvesting Your Artichokes
The moment you’ve been waiting for! Knowing when to harvest your artichokes is key to enjoying their delicious flavor.
* Timing: Harvest artichokes when the buds are still tight and firm, but before the bracts (the outer leaves) start to spread open. The size of the artichoke will depend on the variety, but generally, you should harvest them when they are about 3-4 inches in diameter.
* Cutting: Use a sharp knife to cut the artichoke stem about 2-3 inches below the bud.
* Storage: Artichokes can be stored in the refrigerator for up to a week. To keep them fresh, wrap them in a damp paper towel and place them in a plastic bag.
Overwintering Artichokes
If you live in a region with cold winters, you’ll need to take steps to protect your artichokes from frost. Here are a few options:
* Mulching: Apply a thick layer of mulch around the base of the plants to insulate the roots.
* Covering: Cover the plants with burlap sacks or frost blankets when temperatures are expected to drop below freezing.
* Digging Up and Storing: In very cold climates, you can dig up the plants and store them in a cool, dark place over the winter. Replant them in the spring after the last frost.
Enjoying Your Homegrown Artichokes
Now that you’ve harvested your artichokes, it’s time to enjoy them! There are countless ways to prepare and eat artichokes. Here are a few of my favorites:
* Steamed Artichokes: This is the classic way to enjoy artichokes. Simply steam them until the bracts are tender and the heart is easily pierced with a fork. Serve with melted butter or your favorite dipping sauce.
* Grilled Artichokes: Grilling artichokes gives them a smoky flavor. Cut them in half, brush them with olive oil, and grill them until tender.
* Artichoke Hearts: Artichoke hearts are delicious in salads, pasta dishes, and dips. You can buy canned or jarred artichoke hearts, but they’re even better when you make them yourself.
* Artichoke Dip: A crowd-pleasing appetizer that’s perfect for parties. Combine artichoke hearts with cream cheese, mayonnaise, Parmesan cheese, and garlic, then bake until bubbly.
Growing
Conclusion
So, there you have it! Growing artichokes at home might seem daunting at first, but with a little patience and the right approach, you can cultivate these delicious and impressive vegetables right in your own backyard. This DIY method, focusing on [mention a specific technique from the article, e.g., starting from seed indoors or using root divisions], offers a cost-effective and deeply rewarding way to enjoy fresh, homegrown artichokes.
Why is this a must-try? Because nothing beats the flavor of a freshly harvested artichoke, especially one you’ve nurtured from seedling to maturity. Beyond the taste, you’ll gain a profound appreciation for the growing process and the satisfaction of providing your family with healthy, organic produce. Plus, artichoke plants are stunning additions to any garden, adding a touch of Mediterranean elegance with their silvery-green foliage and striking purple flower buds.
Don’t be afraid to experiment! Consider these variations to tailor the process to your specific needs and climate. For instance, if you live in a colder region, you might want to focus on varieties that are more cold-hardy or invest in row covers to protect your plants during the winter months. You can also try different soil amendments to optimize drainage and nutrient availability. Some gardeners swear by adding bone meal to the planting hole to encourage strong root development. Another variation is to try growing artichokes in containers, which allows you to move them indoors during harsh weather.
The key to successful artichoke cultivation is consistent care and attention. Regular watering, fertilization, and pest control are essential for healthy growth and abundant harvests. Remember to monitor your plants closely for any signs of disease or infestation and take prompt action to address any issues.
We wholeheartedly encourage you to give this DIY artichoke growing method a try. It’s a fantastic project for both beginner and experienced gardeners alike. The rewards – both in terms of delicious artichokes and personal satisfaction – are well worth the effort.
Once you’ve harvested your first crop, we’d love to hear about your experience! Share your tips, tricks, and photos in the comments below. Let’s build a community of artichoke enthusiasts and learn from each other’s successes and challenges. Happy gardening!
Frequently Asked Questions (FAQs)
What is the best time to plant artichokes?
The ideal time to plant artichokes depends on your climate. In regions with mild winters, you can plant them in the fall for a spring harvest. In colder climates, it’s best to start seeds indoors in late winter or early spring and transplant them outdoors after the last frost. This gives the plants a head start and allows them to establish themselves before the onset of winter. If you are using root divisions, plant them in early spring after the threat of frost has passed.
How much space do artichoke plants need?
Artichoke plants can grow quite large, so they need plenty of space to thrive. As a general rule, allow at least 3 to 4 feet between plants and 4 to 6 feet between rows. This will ensure that each plant has enough room to spread out and receive adequate sunlight and air circulation. If you are growing artichokes in containers, choose a pot that is at least 24 inches in diameter.
What kind of soil is best for growing artichokes?
Artichokes prefer well-drained soil that is rich in organic matter. Amend your soil with compost or well-rotted manure before planting to improve its fertility and drainage. The ideal soil pH for artichokes is between 6.0 and 7.0. You can test your soil pH using a home testing kit or by sending a sample to a local agricultural extension office.
How often should I water artichoke plants?
Artichokes need consistent moisture, especially during hot, dry weather. Water deeply and regularly, aiming to keep the soil consistently moist but not waterlogged. Avoid overhead watering, as this can increase the risk of fungal diseases. A good rule of thumb is to water when the top inch of soil feels dry to the touch. Mulching around the plants can help to retain moisture and suppress weeds.
What kind of fertilizer should I use for artichokes?
Artichokes are heavy feeders and benefit from regular fertilization. Use a balanced fertilizer with a ratio of 10-10-10 or 14-14-14, following the instructions on the package. You can also supplement with organic fertilizers such as compost tea or fish emulsion. Fertilize every 4 to 6 weeks during the growing season.
How do I protect artichokes from pests and diseases?
Artichokes can be susceptible to various pests and diseases, including aphids, snails, slugs, and powdery mildew. Regularly inspect your plants for any signs of infestation or disease and take prompt action to address any issues. You can use organic pest control methods such as insecticidal soap or neem oil to control aphids and other pests. To prevent powdery mildew, ensure good air circulation around the plants and avoid overhead watering.
When are artichokes ready to harvest?
Artichokes are typically ready to harvest in the spring or early summer, depending on your climate and the variety you are growing. The buds are ready to harvest when they are firm and plump, and the bracts (the outer leaves) are still tightly closed. Use a sharp knife to cut the artichoke stem about 2 to 3 inches below the bud.
Can I grow artichokes in containers?
Yes, you can grow artichokes in containers, but you will need to choose a large pot (at least 24 inches in diameter) and provide adequate drainage. Use a high-quality potting mix and fertilize regularly. Container-grown artichokes may need more frequent watering than those grown in the ground.
Are artichokes perennial plants?
In mild climates, artichokes are perennial plants and can live for several years. In colder climates, they are often grown as annuals, as they may not survive the winter. You can try to overwinter artichokes in colder climates by cutting back the foliage and mulching heavily around the base of the plant.
How do I store harvested artichokes?
Freshly harvested artichokes can be stored in the refrigerator for up to a week. To store them, wrap them loosely in a plastic bag and place them in the crisper drawer. Avoid washing the artichokes before storing them, as this can promote spoilage.
Leave a Comment