
Grow Onions At Home – imagine stepping into your garden and plucking fresh, vibrant onions, ready to add a burst of flavor to your favorite dishes. Sounds dreamy, right? Well, it doesn’t have to be just a dream! For centuries, cultivating onions has been a cornerstone of cuisines worldwide, dating back to ancient civilizations who valued them not only for their taste but also for their medicinal properties. From the Egyptians who revered them to the Romans who carried them on their conquests, onions have a rich and fascinating history.
But let’s be honest, heading to the grocery store every time you need an onion can be a drag. Plus, store-bought onions often lack that fresh, robust flavor that homegrown ones possess. That’s where this DIY guide comes in! I’m going to share some simple yet effective tricks and hacks that will empower you to grow onions at home, regardless of your gardening experience or the size of your space.
Whether you’re a seasoned gardener or a complete newbie, these tips will help you cultivate a thriving onion patch right in your backyard (or even on your balcony!). Get ready to unlock the secrets to successful onion growing and enjoy the satisfaction of harvesting your own delicious, homegrown onions. Let’s get started!
Growing Onions at Home: A Beginner’s Guide
Hey there, fellow gardening enthusiasts! I’m so excited to share my experience with growing onions at home. It’s surprisingly easy and rewarding, and nothing beats the taste of freshly harvested onions from your own garden. This guide will walk you through everything you need to know, from choosing the right variety to harvesting your bounty. Let’s get started!
Choosing Your Onion Type
First things first, you need to decide what kind of onions you want to grow. There are three main types:
* Short-day onions: These are best for southern climates (zones 7-10) because they need about 10-12 hours of daylight to form bulbs.
* Long-day onions: These thrive in northern climates (zones 4-6) and require 14-16 hours of daylight.
* Intermediate-day onions: These are more versatile and can grow in a wider range of climates (zones 5-8), needing about 12-14 hours of daylight.
Consider your location and the amount of sunlight your garden receives when making your choice. Some popular varieties include:
* Short-day: Granex, Vidalia, Texas Sweet White
* Long-day: Walla Walla Sweet, Yellow Spanish, Redwing
* Intermediate-day: Candy, Superstar, Red Candy Apple
Starting from Seeds, Sets, or Transplants
You have three options for starting your onion journey: seeds, sets, or transplants. Each has its pros and cons:
* Seeds: This is the most economical option, but it requires the most time and effort. You’ll need to start the seeds indoors 8-10 weeks before the last expected frost.
* Sets: These are small, immature onion bulbs that are easier to plant than seeds. They mature faster but may be more prone to bolting (going to seed).
* Transplants: These are young onion plants that are already started for you. They’re the most convenient option, but also the most expensive.
I personally prefer starting from seeds because I enjoy the process and have more control over the varieties I grow. However, sets and transplants are great options for beginners or those who want a quicker harvest.
Preparing Your Garden Bed
Onions need well-drained, fertile soil with a pH between 6.0 and 7.0. Here’s how to prepare your garden bed:
1. Choose a sunny location: Onions need at least 6-8 hours of direct sunlight per day.
2. Clear the area: Remove any weeds, rocks, or debris from the garden bed.
3. Amend the soil: Add plenty of compost or well-rotted manure to improve drainage and fertility. I usually add a generous layer of compost, about 2-3 inches thick.
4. Till or dig the soil: Loosen the soil to a depth of at least 12 inches. This will allow the onion roots to grow easily.
5. Smooth the surface: Rake the soil to create a smooth, even surface.
Planting Your Onions
Now comes the fun part – planting! Here’s how to plant onions from seeds, sets, and transplants:
Planting from Seeds
1. Start indoors: Sow the seeds indoors 8-10 weeks before the last expected frost. Use a seed-starting mix and sow the seeds about ¼ inch deep and ½ inch apart.
2. Provide light: Place the seed trays under grow lights or in a sunny window. Keep the soil moist but not soggy.
3. Harden off: Gradually acclimate the seedlings to outdoor conditions by exposing them to increasing amounts of sunlight and fresh air over a week or two.
4. Transplant outdoors: Once the seedlings are about 4-6 inches tall and the danger of frost has passed, transplant them into the garden bed. Space them about 4-6 inches apart in rows that are 12-18 inches apart.
Planting from Sets
1. Prepare the sets: Before planting, soak the sets in water for a few hours to rehydrate them.
2. Plant the sets: Plant the sets about 1 inch deep and 4-6 inches apart in rows that are 12-18 inches apart. Make sure the pointed end is facing up.
3. Water well: Water the sets thoroughly after planting.
Planting from Transplants
1. Prepare the transplants: Gently remove the transplants from their containers.
2. Plant the transplants: Plant the transplants at the same depth they were growing in their containers. Space them about 4-6 inches apart in rows that are 12-18 inches apart.
3. Water well: Water the transplants thoroughly after planting.
Caring for Your Onions
Onions need consistent care to thrive. Here’s what you need to do:
1. Watering: Water your onions regularly, especially during dry periods. They need about 1 inch of water per week. Avoid overwatering, as this can lead to rot. I usually check the soil moisture and water when the top inch feels dry.
2. Weeding: Keep the garden bed free of weeds, as they can compete with the onions for nutrients and water. Hand-pull weeds carefully to avoid disturbing the onion roots. Mulching can also help suppress weeds.
3. Fertilizing: Onions are heavy feeders, so fertilize them regularly with a balanced fertilizer. I like to use a fertilizer with a ratio of 10-10-10. Apply the fertilizer according to the package directions. You can also side-dress with compost or well-rotted manure.
4. Pest and disease control: Keep an eye out for pests and diseases. Common onion pests include onion maggots, thrips, and aphids. Common diseases include onion rot and downy mildew. Use organic pest control methods, such as insecticidal soap or neem oil, to control pests. Ensure good air circulation to prevent fungal diseases.
5. Bolting Prevention: Bolting, or premature flowering, can occur when onions experience stress, such as temperature fluctuations. Remove any flower stalks that appear to redirect the plant’s energy back into bulb development. Consistent watering and proper fertilization can also help prevent bolting.
Harvesting Your Onions
Harvest time is the most exciting part! Here’s how to know when your onions are ready to harvest:
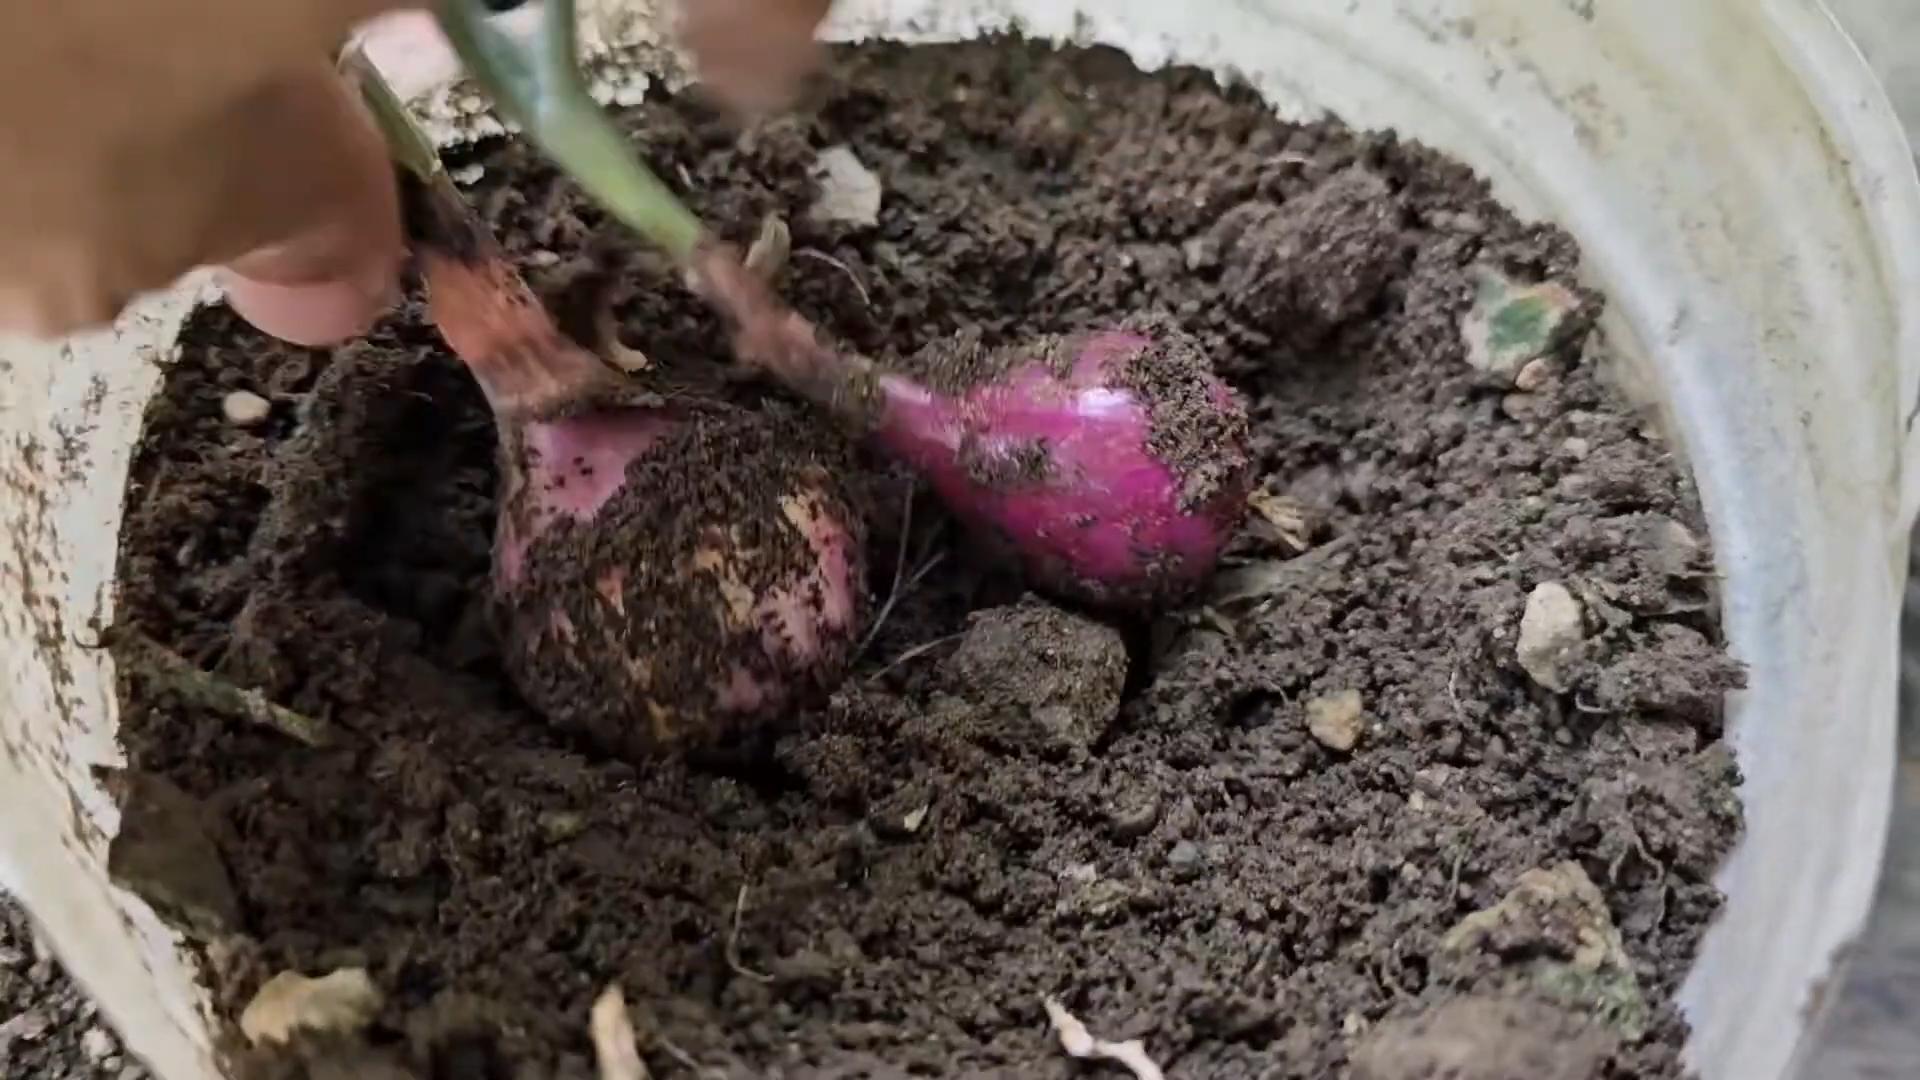
1. Check the tops: The tops of the onions will start to turn yellow and fall over. This is a sign that the bulbs are mature.
2. Loosen the soil: Gently loosen the soil around the onions with a garden fork.
3. Pull the onions: Carefully pull the onions from the ground.
4. Cure the onions: Cure the onions by laying them out in a single layer in a warm, dry, well-ventilated place for 1-2 weeks. This will allow the outer layers to dry and toughen up, which will help them store longer. I usually cure my onions in my garage.
5. Store the onions: Once the onions are cured, store them in a cool, dry, dark place. You can braid the tops together and hang them, or store them in mesh bags. Properly cured and stored onions can last for several months.
Troubleshooting Common Problems
Even with the best care, you might encounter some problems while growing onions. Here are some common issues and how to address them:
* Small bulbs: This can be caused by insufficient sunlight, poor soil, or overcrowding. Make sure your onions are getting enough sunlight, amend the soil with compost, and thin out the plants if they are too close together.
* Bolting: As mentioned earlier, bolting can be caused by stress. Remove any flower stalks and ensure consistent watering and fertilization.
* Pests and diseases: Regularly inspect your plants for pests and diseases. Use organic pest control methods and ensure good air circulation.
Enjoying Your Homegrown Onions
Congratulations! You’ve successfully grown your own onions. Now it’s time to enjoy the fruits (or rather, vegetables) of your labor. Use your homegrown onions in your favorite recipes, from soups and stews to salads and stir-fries. The possibilities are endless!
Growing onions at home is a rewarding experience that anyone can enjoy. With a little bit of planning and effort, you can have a bountiful harvest of delicious, homegrown onions. Happy gardening!
Conclusion
So, there you have it! Growing onions at home, whether you’re a seasoned gardener or a complete beginner, is not only achievable but incredibly rewarding. This DIY trick transforms humble onion scraps into a continuous supply of fresh, flavorful onions, right at your fingertips. Forget those last-minute grocery store runs when you realize you’re out of this essential ingredient. Imagine the satisfaction of snipping fresh green onions for your salad, stir-fry, or tacos, knowing you nurtured them from discarded ends.
But why is this DIY method a must-try? Beyond the convenience and cost savings, it’s about connecting with your food source. It’s about reducing food waste and embracing a more sustainable lifestyle. It’s about witnessing the magic of regeneration and understanding the life cycle of a plant. Plus, let’s be honest, it’s just plain fun! There’s something deeply satisfying about watching those little green shoots emerge and knowing you played a part in bringing them to life.
Variations and Suggestions:
Don’t limit yourself to just green onions! While this method is particularly effective for scallions and bunching onions, you can also experiment with other onion varieties. Try planting the root ends of red onions, yellow onions, or even shallots. The results may vary, but the experience is always worthwhile.
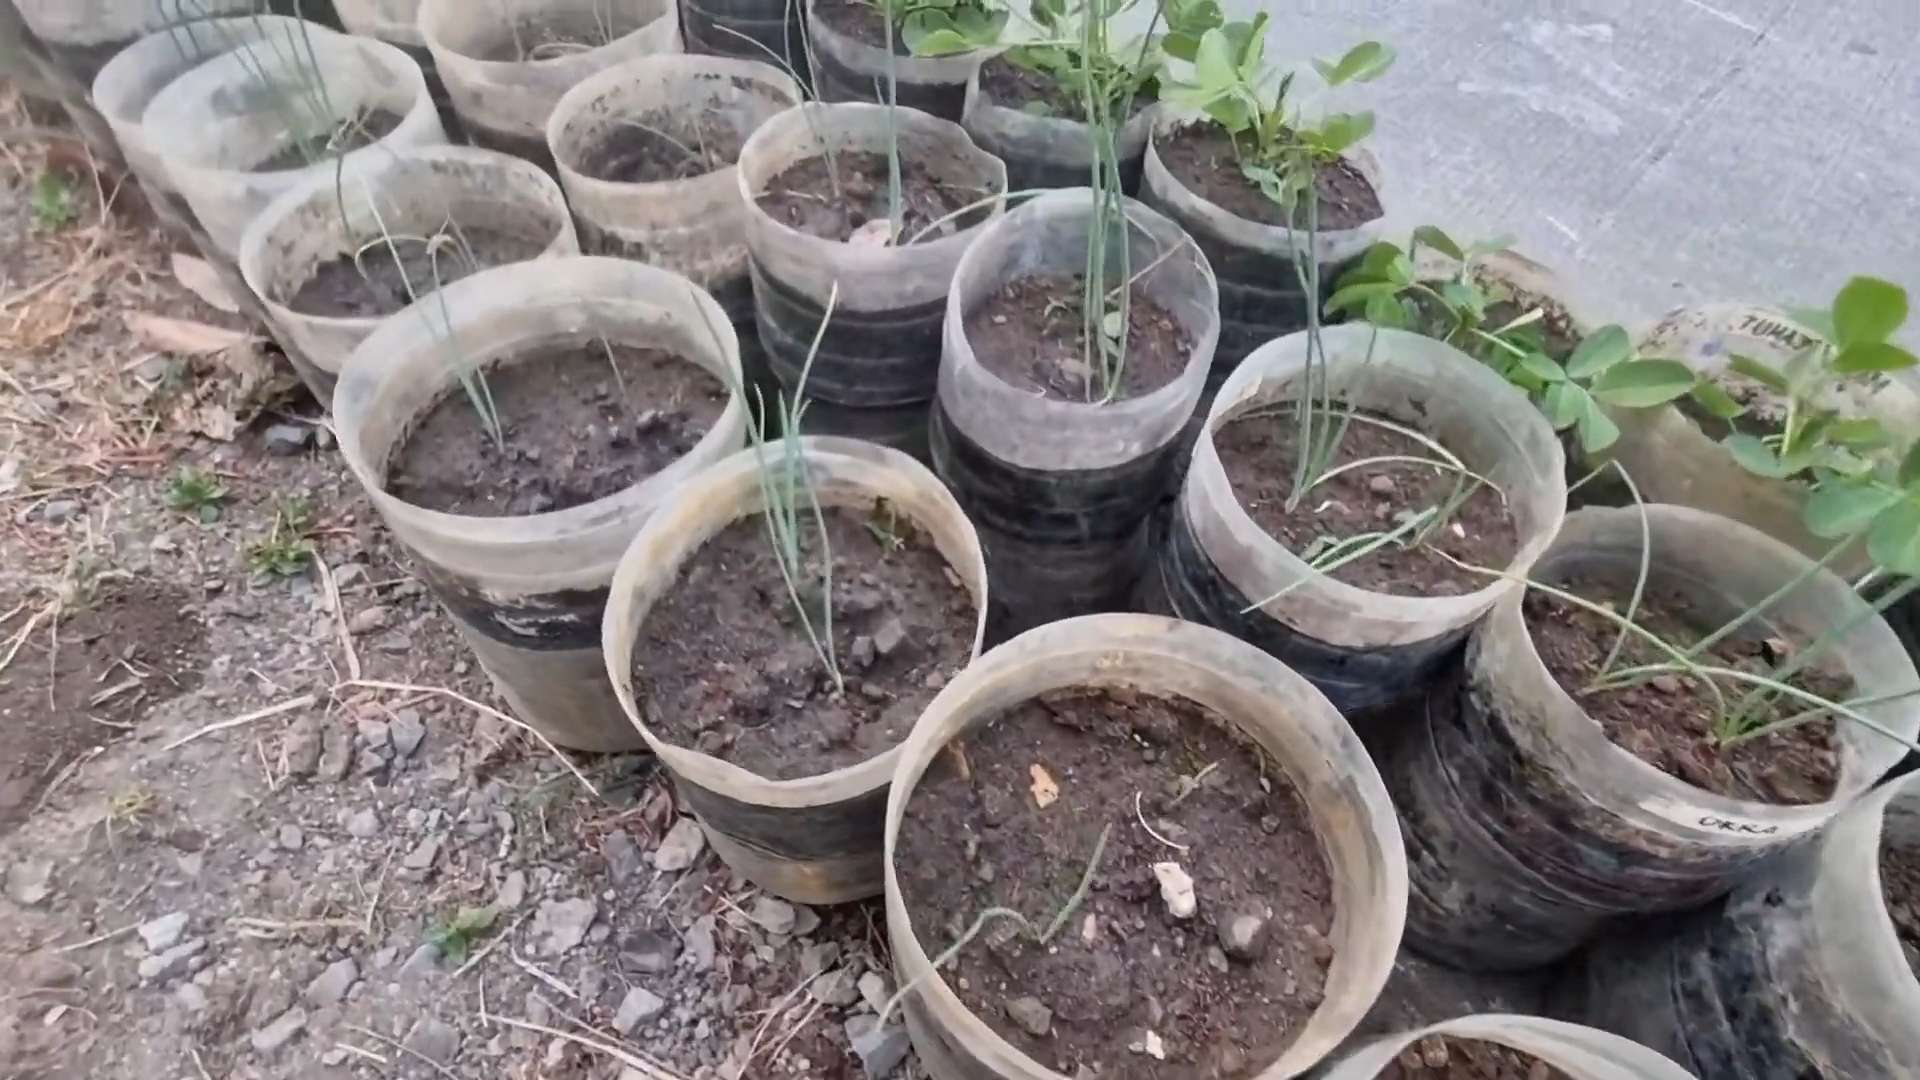
Consider planting your onions in different containers. While a simple glass of water works well for initial sprouting, you can transfer them to pots filled with soil for more robust growth. Experiment with different soil types and fertilizers to see what works best for your onions.
For an extra boost, try adding a diluted liquid fertilizer to the water or soil every few weeks. This will provide your onions with the nutrients they need to thrive.
If you live in a colder climate, you can grow your onions indoors year-round. Just make sure they get plenty of sunlight or supplement with a grow light.
Share Your Experience!
We’re confident that you’ll love this simple yet effective DIY trick for growing onions at home. But don’t just take our word for it – give it a try yourself! We encourage you to experiment, adapt the method to your own needs and preferences, and most importantly, share your experience with us. Post photos of your growing onions on social media using #GrowOnionsAtHome and let us know what worked (or didn’t work) for you. Your insights could help other aspiring onion growers and inspire them to embark on their own gardening adventures.
This is more than just a recipe; it’s a journey into sustainable living and a celebration of the simple joys of gardening. So, grab those onion scraps, get your hands dirty, and start growing your own delicious onions today! You’ll be amazed at how easy and rewarding it is to cultivate your own fresh produce, one onion at a time. This simple DIY trick for growing onions at home is a game-changer for any home cook or gardening enthusiast.
Frequently Asked Questions (FAQ)
Q: What kind of onions can I regrow using this method?
A: This method works best with green onions (scallions) and bunching onions. These varieties readily regrow from their root ends. You can also try it with other types of onions like red onions, yellow onions, and shallots, but the success rate may vary. The key is to ensure the root end is intact and healthy.
Q: How long does it take for the onions to start regrowing?
A: You should start seeing new green shoots emerge within a few days, typically 3-7 days, depending on the temperature and humidity. Keep the root end consistently moist, and provide adequate sunlight for optimal growth.
Q: Can I grow onions indoors using this method?
A: Absolutely! Growing onions indoors is a great way to have a continuous supply of fresh onions, especially if you live in a colder climate. Place your onions near a sunny window or use a grow light to provide them with sufficient light.
Q: How often should I change the water if I’m growing them in water?
A: Change the water every 1-2 days to prevent bacterial growth and keep the water fresh. This will ensure that your onions have a clean and healthy environment to grow in.
Q: When should I transfer the onions from water to soil?
A: Once the onions have developed a good root system (about 1-2 inches long) and have several inches of green growth, you can transfer them to a pot filled with soil. This will provide them with more nutrients and support for continued growth.
Q: What kind of soil should I use for growing onions?
A: Use a well-draining potting mix that is rich in organic matter. You can also add compost or other organic amendments to improve the soil’s fertility.
Q: How often should I water the onions if they are planted in soil?
A: Water the onions regularly, keeping the soil consistently moist but not waterlogged. Check the soil moisture level regularly and water when the top inch of soil feels dry.
Q: Can I use fertilizer to help the onions grow?
A: Yes, you can use a diluted liquid fertilizer to provide your onions with extra nutrients. Apply the fertilizer every few weeks, following the instructions on the fertilizer package.
Q: How long will the onions continue to regrow?
A: With proper care, your onions can continue to regrow for several weeks or even months. However, the growth may slow down over time. You can harvest the green shoots as needed, and the onions will continue to produce new growth. Eventually, the root end may become exhausted, and you’ll need to start with a new onion.
Q: Can I grow full-sized onions using this method?
A: While you can regrow green onions and bunching onions from scraps, it’s unlikely that you’ll be able to grow full-sized bulb onions using this method. Bulb onions require a longer growing season and specific conditions to develop properly. However, you can still enjoy a continuous supply of fresh green onions from your regrown scraps.
Q: What if my onions start to turn yellow or brown?
A: Yellowing or browning leaves can indicate several issues, such as overwatering, underwatering, or nutrient deficiencies. Check the soil moisture level and adjust your watering accordingly. If the problem persists, try adding a diluted liquid fertilizer to provide your onions with the nutrients they need. Also, ensure that the onions are receiving adequate sunlight.
Q: Are there any pests or diseases that can affect my regrowing onions?
A: Onions can be susceptible to pests like aphids and thrips, as well as diseases like onion rot. Inspect your onions regularly for any signs of pests or diseases. If you find any, treat them with an appropriate organic pesticide or fungicide. Good air circulation and proper watering can also help prevent these problems.
Q: Can I plant the regrown onions directly in the garden?
A: Yes, you can transplant the regrown onions into your garden. Choose a sunny spot with well-draining soil. Plant the onions about 4-6 inches apart and water them regularly.
Q: What are some creative ways to use my homegrown onions?
A: The possibilities are endless! Use your homegrown onions in salads, soups, stir-fries, tacos, omelets, and countless other dishes. You can also use them as a garnish or to add flavor to sauces and dips. Get creative and experiment with different ways to incorporate your fresh onions into your cooking.

Leave a Comment