
Sponge cleaning hacks – who knew such simple household items could be the key to unlocking a sparkling clean home with minimal effort? I’m always on the lookout for clever ways to streamline my cleaning routine, and let me tell you, I’ve stumbled upon some game-changing sponge tricks that I just have to share with you!
Sponges have been around for centuries, initially harvested from the sea and used for everything from bathing to painting. While we’ve largely moved on to synthetic versions, their absorbent nature remains invaluable. But beyond just wiping down counters, sponges possess hidden potential.
Let’s face it, cleaning can be a drag. We’re all busy, and spending hours scrubbing just isn’t realistic. That’s where these sponge cleaning hacks come in. Imagine tackling tough grime, eliminating odors, and even reviving tired furniture – all with the help of your trusty sponge! I’m going to show you how to maximize the cleaning power of these humble tools, saving you time, money, and a whole lot of elbow grease. Get ready to transform your cleaning game with these simple, yet effective, DIY tricks!
DIY Sponge Cleaning Hacks: Extend the Life of Your Scrubbers!
Hey everyone! I’m always looking for ways to save money and be more eco-friendly, and one area where I’ve found some amazing hacks is with cleaning sponges. We all know how quickly those little guys can get gross, smelly, and just plain unusable. But before you toss them in the trash, try these DIY cleaning methods to extend their lifespan and keep your kitchen (and wallet!) happy.
Why Clean Your Sponges?
Let’s be honest, sponges are bacteria magnets. They’re damp, full of food particles, and provide the perfect breeding ground for all sorts of nasties. Regularly cleaning your sponges not only keeps them smelling fresh but also prevents the spread of germs in your kitchen. Plus, it saves you from having to buy new sponges every week!
Hack 1: The Microwave Method (Quick & Easy)
This is probably the quickest and easiest way to disinfect your sponges. It’s super effective at killing bacteria, but make sure your sponge is completely wet before microwaving it! A dry sponge in the microwave is a fire hazard.
What you’ll need:
* Your dirty sponge
* Microwave oven
* Water
Step-by-step instructions:
1. Thoroughly Wet the Sponge: This is crucial! Make sure your sponge is completely saturated with water. You want it dripping wet.
2. Microwave for 2 Minutes: Place the wet sponge in the microwave. Set the timer for 2 minutes on high power.
3. Let it Cool: Carefully remove the sponge from the microwave. It will be extremely hot! Let it cool down for a few minutes before handling it. I usually use tongs to grab it.
4. Squeeze Out Excess Water: Once it’s cool enough to handle, squeeze out the excess water. Your sponge should now be much cleaner and disinfected.
Important Notes:
* Never microwave a dry sponge!
* Make sure your sponge doesn’t have any metal parts.
* The microwave method is best for sponges that are only mildly dirty. If your sponge is heavily soiled or greasy, try one of the other methods below.
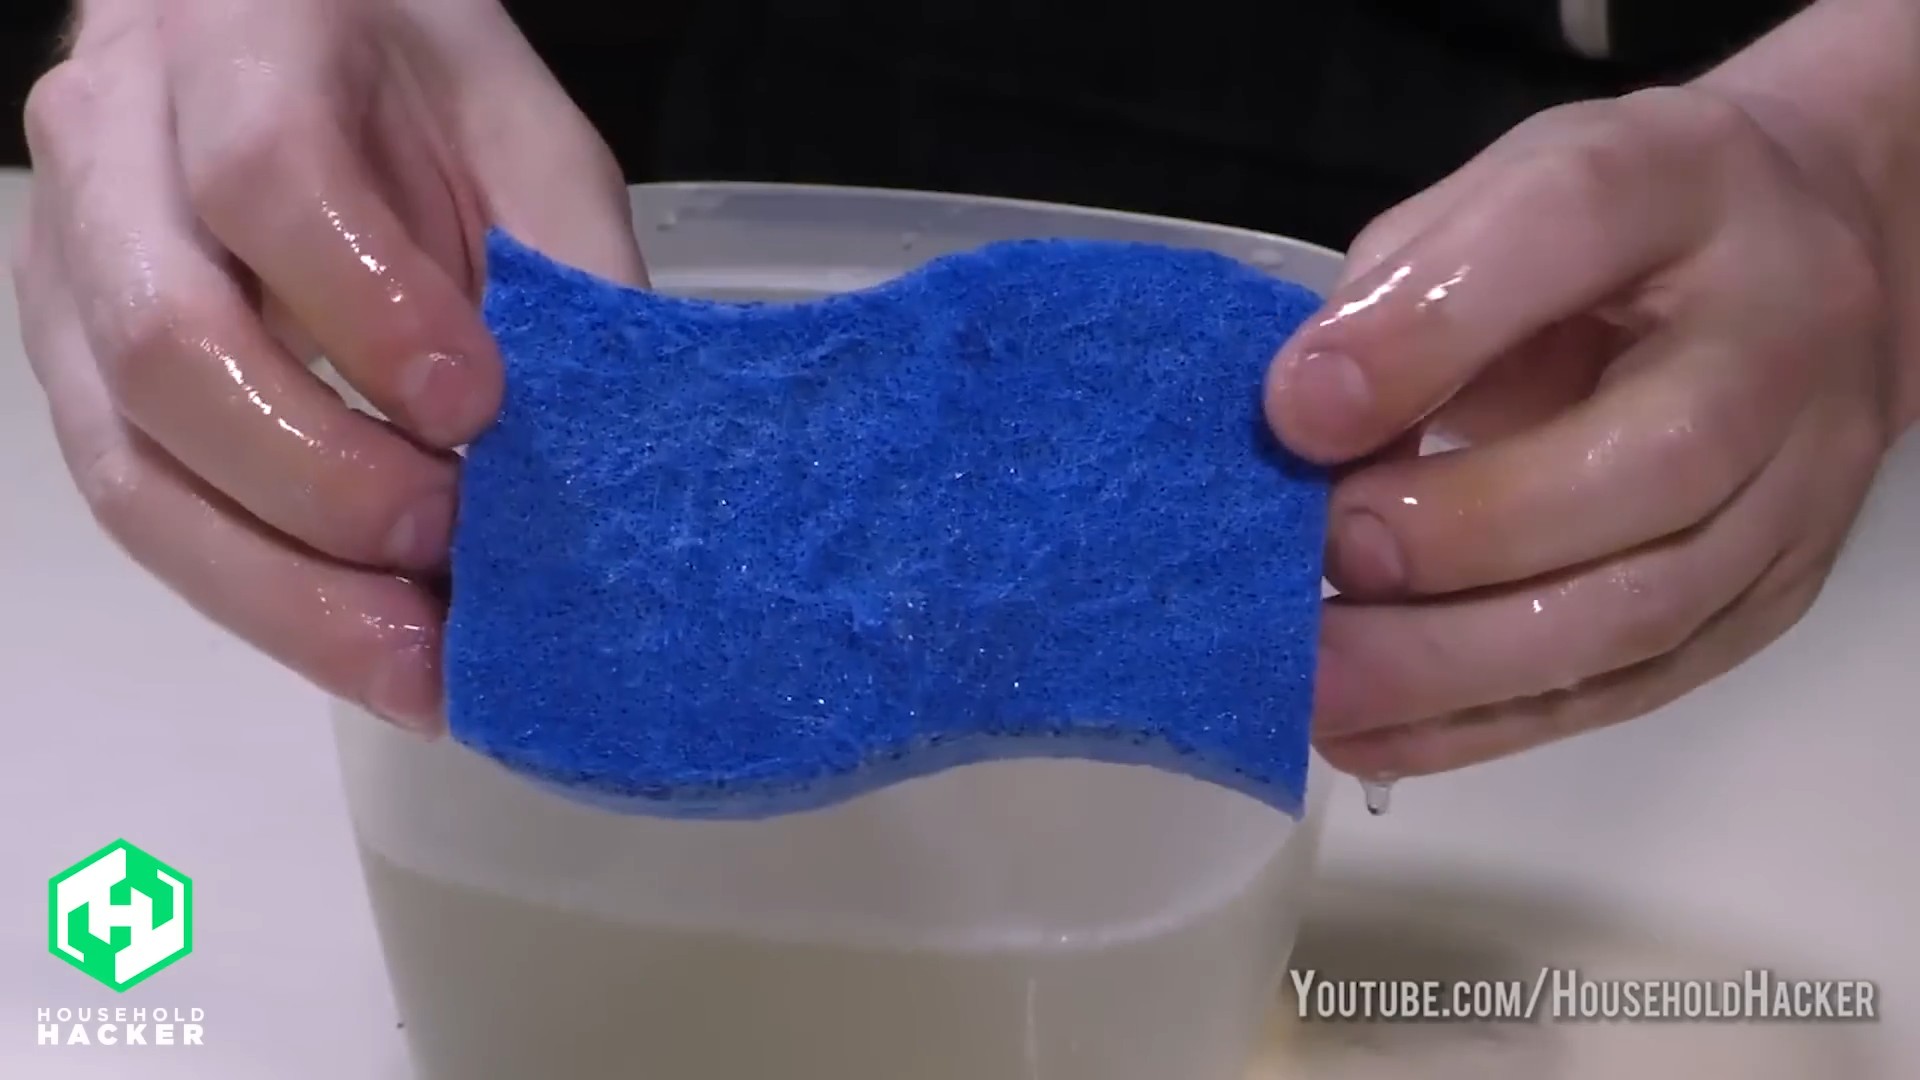
Hack 2: The Bleach Soak (For Heavily Soiled Sponges)
When your sponge is really grimy and needs a deep clean, a bleach soak is the way to go. Bleach is a powerful disinfectant that will kill bacteria and remove stubborn stains.
What you’ll need:
* Your dirty sponge
* Bleach
* Water
* A bowl or sink
Step-by-step instructions:
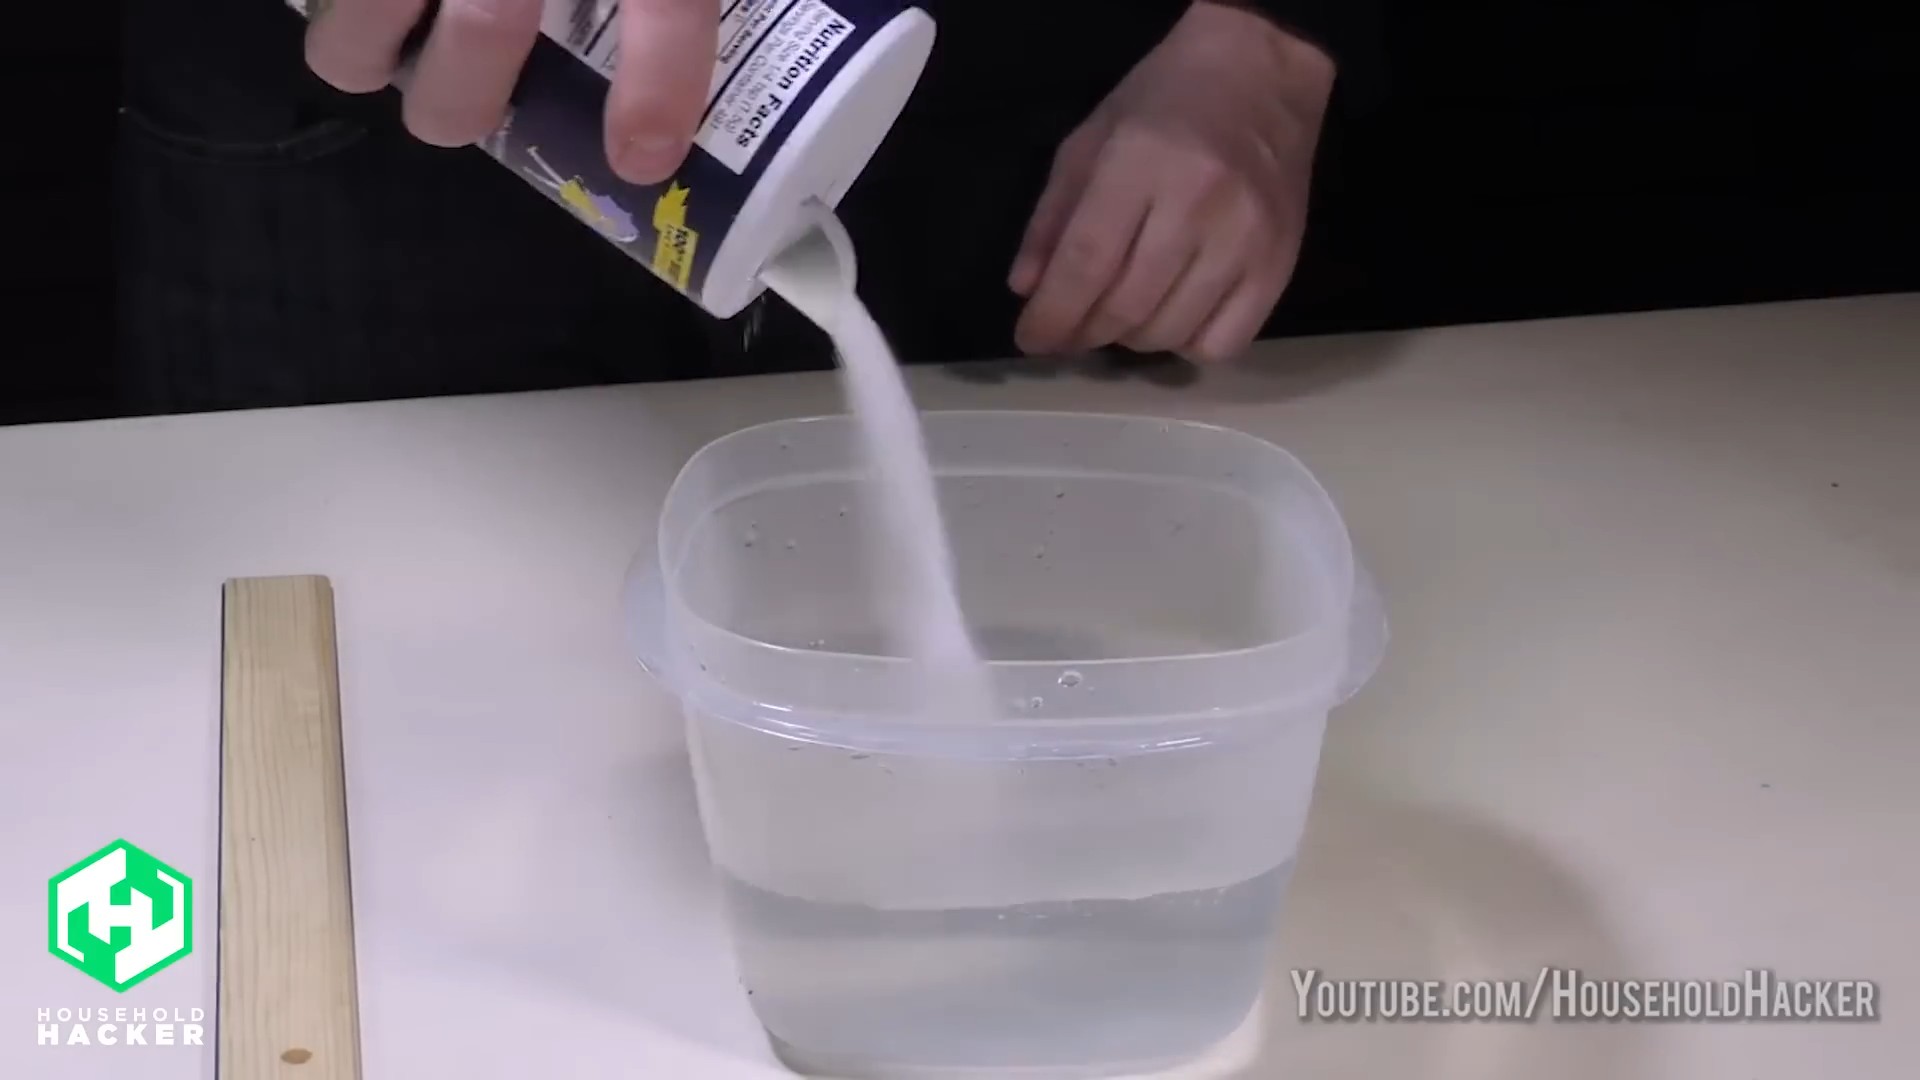
1. Prepare the Bleach Solution: In a bowl or sink, mix 3/4 cup of bleach with one gallon of water. Always add bleach to water, never the other way around.
2. Soak the Sponge: Submerge the sponge in the bleach solution. Make sure it’s completely covered.
3. Let it Soak for 5 Minutes: Allow the sponge to soak for at least 5 minutes to effectively kill bacteria.
4. Rinse Thoroughly: Remove the sponge from the bleach solution and rinse it thoroughly under running water. Make sure all traces of bleach are gone.
5. Squeeze Out Excess Water: Squeeze out the excess water. Your sponge should now be clean and disinfected.
Important Notes:
* Always wear gloves when working with bleach.
* Make sure to rinse the sponge thoroughly to remove all traces of bleach.
* Do not use this method on colored sponges, as bleach can cause discoloration.
* Ventilate the area well when using bleach.
Hack 3: The Vinegar Soak (A Natural Alternative)
If you’re looking for a more natural way to clean your sponges, vinegar is a great option. Vinegar is a natural disinfectant and deodorizer that can help kill bacteria and remove odors.
What you’ll need:
* Your dirty sponge
* White vinegar
* Water
* A bowl or sink
Step-by-step instructions:
1. Prepare the Vinegar Solution: In a bowl or sink, mix equal parts white vinegar and water.
2. Soak the Sponge: Submerge the sponge in the vinegar solution. Make sure it’s completely covered.
3. Let it Soak for at Least 1 Hour: Allow the sponge to soak for at least 1 hour, or even overnight, for best results.
4. Rinse Thoroughly: Remove the sponge from the vinegar solution and rinse it thoroughly under running water.
5. Squeeze Out Excess Water: Squeeze out the excess water. Your sponge should now be cleaner and fresher.
Important Notes:
* Vinegar may have a strong odor, but it will dissipate as the sponge dries.
* For extra cleaning power, you can add a few drops of essential oil to the vinegar solution. Lemon, tea tree, and eucalyptus oils are all great choices.
Hack 4: The Dishwasher Method (Convenient & Effective)
If you have a dishwasher, you can easily clean your sponges along with your dishes. The hot water and detergent will help kill bacteria and remove food particles.
What you’ll need:
* Your dirty sponge
* Dishwasher
Step-by-step instructions:
1. Place the Sponge in the Dishwasher: Place the sponge in the top rack of your dishwasher. Make sure it’s not blocking any spray arms.
2. Run a Normal Dishwashing Cycle: Run a normal dishwashing cycle with detergent.
3. Let the Sponge Dry: Once the cycle is complete, let the sponge dry completely before using it again.
Important Notes:
* Make sure your sponge doesn’t have any metal parts.
* Avoid washing sponges with delicate items, as the high heat can damage them.
* This method is best for sponges that are only mildly dirty.
Hack 5: The Baking Soda Paste (For Stubborn Stains)
For those really stubborn stains that just won’t budge, a baking soda paste can work wonders. Baking soda is a mild abrasive that can help scrub away dirt and grime.
What you’ll need:
* Your dirty sponge
* Baking soda
* Water
Step-by-step instructions:
1. Make a Baking Soda Paste: Mix baking soda with a small amount of water to form a thick paste.
2. Apply the Paste to the Sponge: Apply the baking soda paste to the stained areas of the sponge.
3. Scrub Gently: Gently scrub the stained areas with the paste.
4. Rinse Thoroughly: Rinse the sponge thoroughly under running water.
5. Squeeze Out Excess Water: Squeeze out the excess water. Your sponge should now be cleaner and brighter.
Important Notes:
* Baking soda is a mild abrasive, so be careful not to scrub too hard, as this can damage the sponge.
* This method is best for removing surface stains.
Bonus Tip: Preventative Measures
The best way to keep your sponges clean is to prevent them from getting too dirty in the first place! Here are a few tips:
* Rinse your sponge thoroughly after each use.
* Squeeze out excess water after each use.
* Store your sponge in a well-ventilated area to allow it to dry completely. I use a little sponge holder that suctions to the side of my sink.
* Replace your sponge regularly, even if you’re cleaning it. A good rule of thumb is to replace your sponge every 1-2 weeks, or sooner if it starts to smell or look worn out.
Choosing the Right Sponge
Not all sponges are created equal! Some are better at resisting bacteria and odors than others. Here are a few things to look for when choosing a sponge:
* Antimicrobial sponges: These sponges are treated with antimicrobial agents that help prevent the growth of bacteria.
* Sponges with a textured surface: These sponges are better at scrubbing away dirt and grime.
* Sponges made from natural materials: These sponges are often more absorbent and durable than synthetic sponges. I personally like cellulose sponges.
When to Say Goodbye
Even with regular cleaning, sponges eventually wear out and need to be replaced. Here are a few signs that it’s time to toss your sponge:
* It smells bad, even after cleaning.
* It’s falling apart.
* It’s heavily stained and discolored.
* It’s been used for more than 2 weeks.
So there you have it! My favorite DIY sponge cleaning hacks. I hope these tips help you extend the life of your sponges and keep your kitchen clean and germ-free. Happy cleaning!
Conclusion
So, there you have it! These sponge cleaning hacks are more than just a way to save a few bucks; they’re a gateway to a cleaner, healthier home and a more sustainable lifestyle. We’ve explored methods to sanitize, deodorize, and even extend the life of your humble kitchen sponge. From the microwave trick to the vinegar soak, each technique offers a simple yet powerful way to combat the bacteria and grime that inevitably accumulate within these porous cleaning tools.
Why is this a must-try? Because let’s face it, sponges are breeding grounds for germs. Regularly cleaning them isn’t just about aesthetics; it’s about protecting yourself and your family from potential illness. Think about it: you use your sponge to wipe down countertops, clean dishes, and scrub surfaces. If that sponge is teeming with bacteria, you’re essentially spreading those germs around instead of eliminating them. These hacks offer a quick, effective, and inexpensive way to break that cycle.
But the benefits extend beyond hygiene. By extending the lifespan of your sponges, you’re reducing waste and saving money. Instead of tossing out a sponge every week, you can keep it fresh and functional for longer, contributing to a more eco-friendly household. It’s a small change that can make a big difference.
Looking for variations? Absolutely! For an extra boost of cleaning power, try adding a few drops of tea tree oil or lemon essential oil to your vinegar soak. These oils have natural antibacterial and antifungal properties, further enhancing the sanitizing effect. You can also experiment with different cleaning solutions, such as a diluted bleach solution (use with caution and always rinse thoroughly) or a baking soda paste for stubborn stains. If you find your sponge is particularly greasy, a pre-soak in hot, soapy water can help loosen the grime before you sanitize it.
Don’t be afraid to get creative and adapt these techniques to your specific needs and preferences. The key is to find a routine that works for you and stick with it. Whether you prefer the speed of the microwave or the deep clean of the vinegar soak, incorporating these sponge cleaning hacks into your regular cleaning routine will undoubtedly improve the hygiene of your kitchen and bathroom.
We wholeheartedly encourage you to try these DIY tricks and see the difference for yourself. You’ll be amazed at how much cleaner and fresher your sponges can be. And most importantly, we want to hear about your experience! Share your results, tips, and variations in the comments below. Let’s build a community of clean sponge enthusiasts and help each other create healthier homes. What are you waiting for? Grab your sponge and get cleaning! Let us know which of these **sponge cleaning hacks** worked best for you!
Frequently Asked Questions (FAQ)
How often should I clean my kitchen sponge?
Ideally, you should clean your kitchen sponge every day, or at least every other day. The more frequently you use it, the more often it needs cleaning. Daily cleaning helps prevent the buildup of bacteria and keeps your sponge smelling fresh. A quick zap in the microwave or a soak in vinegar can make a significant difference.
What’s the best way to clean a really smelly sponge?
A particularly smelly sponge indicates a high concentration of bacteria. For this, a multi-pronged approach is best. First, rinse the sponge thoroughly under hot water to remove any loose debris. Then, soak it in a solution of equal parts white vinegar and water for at least an hour, or even overnight. After soaking, rinse the sponge again and microwave it for two minutes (make sure it’s damp!). Finally, let it air dry completely. If the smell persists, it’s probably time to replace the sponge.
Is it safe to microwave a sponge?
Yes, it is generally safe to microwave a sponge, but there are a few precautions to take. First, make sure the sponge is thoroughly wet. A dry sponge can catch fire in the microwave. Second, don’t microwave the sponge for more than two minutes. Overheating can damage the sponge and potentially release harmful chemicals. Third, let the sponge cool down before handling it, as it will be very hot. Finally, be aware that some sponges with metallic scrubbers may not be microwave-safe.
Can I use bleach to clean my sponge?
Yes, you can use bleach to clean your sponge, but it’s important to use it safely and correctly. Dilute the bleach properly – a common recommendation is ¾ cup of bleach per gallon of water. Soak the sponge in the bleach solution for about five minutes, then rinse it thoroughly under running water until all traces of bleach are gone. Be sure to wear gloves when handling bleach and avoid getting it on your skin or clothes. Also, never mix bleach with other cleaning products, as this can create dangerous fumes.
How long should a kitchen sponge last?
Even with regular cleaning, kitchen sponges eventually wear out and need to be replaced. A good rule of thumb is to replace your sponge every one to two weeks, depending on how frequently you use it. If the sponge starts to fall apart, develop a persistent odor, or become discolored, it’s definitely time for a new one.
Are there any eco-friendly alternatives to traditional sponges?
Yes, there are several eco-friendly alternatives to traditional sponges. These include cellulose sponges (made from wood pulp), natural sea sponges, and reusable cloths made from bamboo or cotton. These alternatives are often biodegradable and can be composted at the end of their lifespan. You can also find sponges made from recycled materials.
Can I clean my sponge in the dishwasher?
Yes, you can clean your sponge in the dishwasher. Place the sponge on the top rack of the dishwasher and run a normal cycle with detergent. The hot water and detergent will help to sanitize the sponge. However, keep in mind that dishwashing may not be as effective as microwaving or soaking in vinegar for killing all bacteria.
What if my sponge has food particles stuck in it?
Before sanitizing your sponge, it’s important to remove any food particles. Rinse the sponge thoroughly under hot running water, squeezing it to dislodge any trapped debris. You can also use a scrub brush to help remove stubborn particles. For particularly difficult messes, try soaking the sponge in hot, soapy water before rinsing.
Does the type of sponge material affect the cleaning method?
Yes, the type of sponge material can affect the cleaning method. For example, natural sea sponges are more delicate than synthetic sponges and may not withstand microwaving. Cellulose sponges can be cleaned using any of the methods described above. Always check the manufacturer’s instructions for specific cleaning recommendations.
What are the signs that my sponge is beyond saving and needs to be replaced?
Several signs indicate that your sponge is beyond saving and needs to be replaced. These include: a persistent foul odor that doesn’t go away after cleaning, visible mold or mildew growth, the sponge falling apart or disintegrating, and a change in texture or color that indicates significant wear and tear. If you notice any of these signs, it’s best to err on the side of caution and replace the sponge.
Leave a Comment