
Grow Cape Gooseberries Backyard – sounds like a dream, right? Imagine stepping outside your back door and plucking sweet, tangy golden berries straight from the vine. It’s not just a dream; it’s an achievable reality with a little know-how! For centuries, these delightful fruits, also known as Physalis peruviana, have been enjoyed around the globe, from their origins in the Andes to becoming a beloved treat in South Africa and beyond. They’re not just delicious; they’re packed with vitamins and antioxidants, making them a healthy and rewarding addition to any garden.
But why should you bother learning how to grow Cape Gooseberries backyard? Well, store-bought Cape Gooseberries can be expensive and often lack the fresh, vibrant flavor of homegrown ones. Plus, there’s something incredibly satisfying about nurturing a plant from seed to harvest. This DIY guide will walk you through every step, from choosing the right spot to troubleshooting common problems. I’ll share my favorite tips and tricks to ensure you have a bountiful harvest of these golden gems. So, grab your gardening gloves, and let’s get started on this exciting adventure!
Growing Cape Gooseberries: A DIY Guide to Golden Goodness in Your Backyard
Okay, so you want to grow Cape Gooseberries (also known as Golden Berries, Physalis peruviana, or simply, those little orange guys in papery husks) in your backyard? Awesome! They’re surprisingly easy to grow, incredibly rewarding, and add a unique touch to your garden and your plate. I’ve been growing them for years, and I’m excited to share my secrets with you. Let’s get started!
What You’ll Need:
Before we dive into the nitty-gritty, let’s gather our supplies. This will make the whole process smoother and less stressful. Trust me, nothing’s worse than realizing you’re missing something halfway through!
* Cape Gooseberry Seeds or Seedlings: You can find seeds online or at your local garden center. Seedlings will give you a head start, but starting from seed is totally doable (and cheaper!).
* Seed Starting Trays or Small Pots (if starting from seed): These are essential for getting your seeds germinated indoors.
* Seed Starting Mix: This is a light, airy soil mix specifically designed for seedlings.
* Potting Soil: Once your seedlings are big enough, you’ll need potting soil for transplanting them into larger containers or directly into the ground.
* Gardening Gloves: Protect those hands!
* Trowel or Small Shovel: For digging and transplanting.
* Watering Can or Hose: For keeping your plants hydrated.
* Fertilizer (Optional): A balanced fertilizer can help boost growth and fruit production. I prefer an organic option.
* Stakes or Tomato Cages (Optional): Cape Gooseberries can get a bit leggy, so support might be needed.
* Mulch (Optional): Mulch helps retain moisture, suppress weeds, and regulate soil temperature.
Starting from Seed (The Patient Gardener’s Route)
If you’re starting from seed, you’ll need to begin the process indoors about 6-8 weeks before the last expected frost in your area. This gives the seedlings enough time to develop before being transplanted outside.
1. Sowing the Seeds: Fill your seed starting trays or small pots with seed starting mix. Moisten the mix gently with water. Sow the Cape Gooseberry seeds about ¼ inch deep, placing 2-3 seeds per cell or pot. Lightly cover the seeds with more seed starting mix.
2. Creating a Greenhouse Effect: Cover the trays or pots with a clear plastic lid or plastic wrap to create a humid environment. This helps with germination. Place the trays in a warm location (around 70-75°F or 21-24°C). A heat mat can be helpful if your house is cool.
3. Germination Time: Keep the seed starting mix consistently moist, but not soggy. Germination usually takes about 1-3 weeks. Once the seedlings emerge, remove the plastic covering.
4. Providing Light: Place the seedlings under grow lights or in a very sunny window. They need plenty of light to prevent them from becoming leggy. If using a window, rotate the trays regularly to ensure even light exposure.
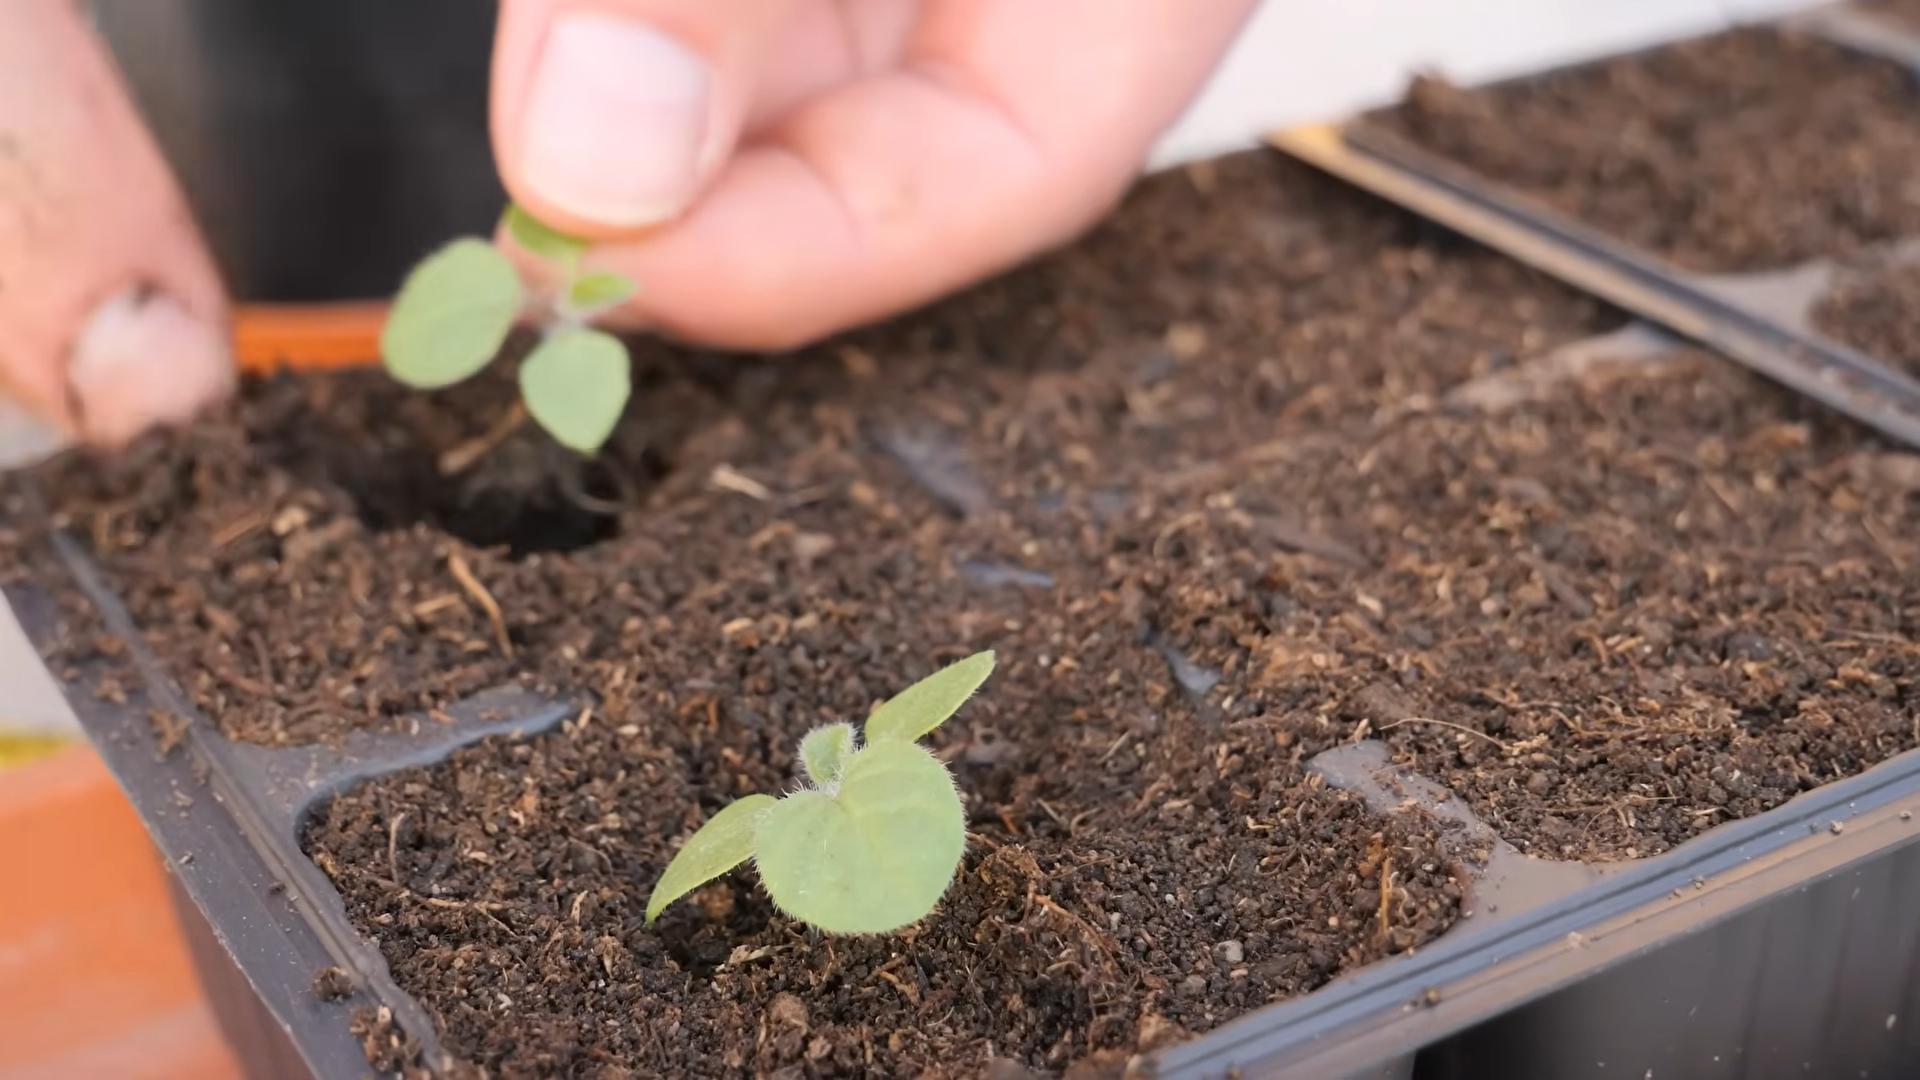
5. Thinning the Seedlings: Once the seedlings have their first true leaves (the second set of leaves that appear after the initial seed leaves), thin them to one seedling per cell or pot. Choose the strongest, healthiest-looking seedling and snip off the others at the soil line.
6. Hardening Off: About a week before you plan to transplant the seedlings outdoors, you’ll need to “harden them off.” This process gradually acclimates the seedlings to outdoor conditions. Start by placing them outside in a sheltered location for an hour or two each day, gradually increasing the amount of time they spend outdoors. Protect them from direct sunlight and strong winds at first.
Transplanting Your Cape Gooseberries
Whether you started from seed or purchased seedlings, transplanting is a crucial step.
1. Choosing the Right Location: Cape Gooseberries thrive in full sun (at least 6-8 hours of direct sunlight per day) and well-drained soil. Choose a spot in your garden that meets these requirements.
2. Preparing the Soil: Before transplanting, amend the soil with compost or other organic matter to improve drainage and fertility. Cape Gooseberries prefer slightly acidic soil (pH 6.0-6.8).
3. Digging the Holes: Dig holes that are slightly larger than the root balls of your seedlings. Space the holes about 2-3 feet apart. This gives the plants plenty of room to grow.
4. Carefully Removing the Seedlings: Gently remove the seedlings from their pots or trays. Be careful not to damage the roots. If the roots are tightly bound, gently loosen them before planting.
5. Planting the Seedlings: Place the seedlings in the holes, making sure the top of the root ball is level with the surrounding soil. Backfill the holes with soil and gently firm the soil around the base of the plants.
6. Watering Thoroughly: Water the newly transplanted seedlings thoroughly to help them settle in.
7. Adding Mulch (Optional): Apply a layer of mulch around the base of the plants to help retain moisture, suppress weeds, and regulate soil temperature.
Caring for Your Cape Gooseberry Plants
Once your Cape Gooseberries are in the ground, it’s time to provide them with the care they need to thrive.
1. Watering: Water regularly, especially during dry periods. Cape Gooseberries need consistent moisture, but avoid overwatering, which can lead to root rot. Check the soil moisture by sticking your finger into the soil. If the top inch or two feels dry, it’s time to water.
2. Fertilizing (Optional): Fertilize your Cape Gooseberry plants every few weeks with a balanced fertilizer. Follow the instructions on the fertilizer package. I like to use an organic fertilizer like compost tea or fish emulsion.
3. Pruning: Cape Gooseberries don’t require a lot of pruning, but you can prune them to remove any dead or damaged branches. You can also prune them to encourage bushier growth.
4. Supporting the Plants (Optional): Cape Gooseberries can get a bit leggy and may need support, especially when they’re loaded with fruit. Use stakes or tomato cages to provide support.
5. Pest and Disease Control: Cape Gooseberries are generally resistant to pests and diseases, but keep an eye out for common garden pests like aphids and whiteflies. If you notice any pests, treat them with an insecticidal soap or neem oil. Preventative measures, like good air circulation and proper watering, can help prevent diseases.
Harvesting Your Golden Bounty
This is the best part! Harvesting your own Cape Gooseberries is so satisfying.
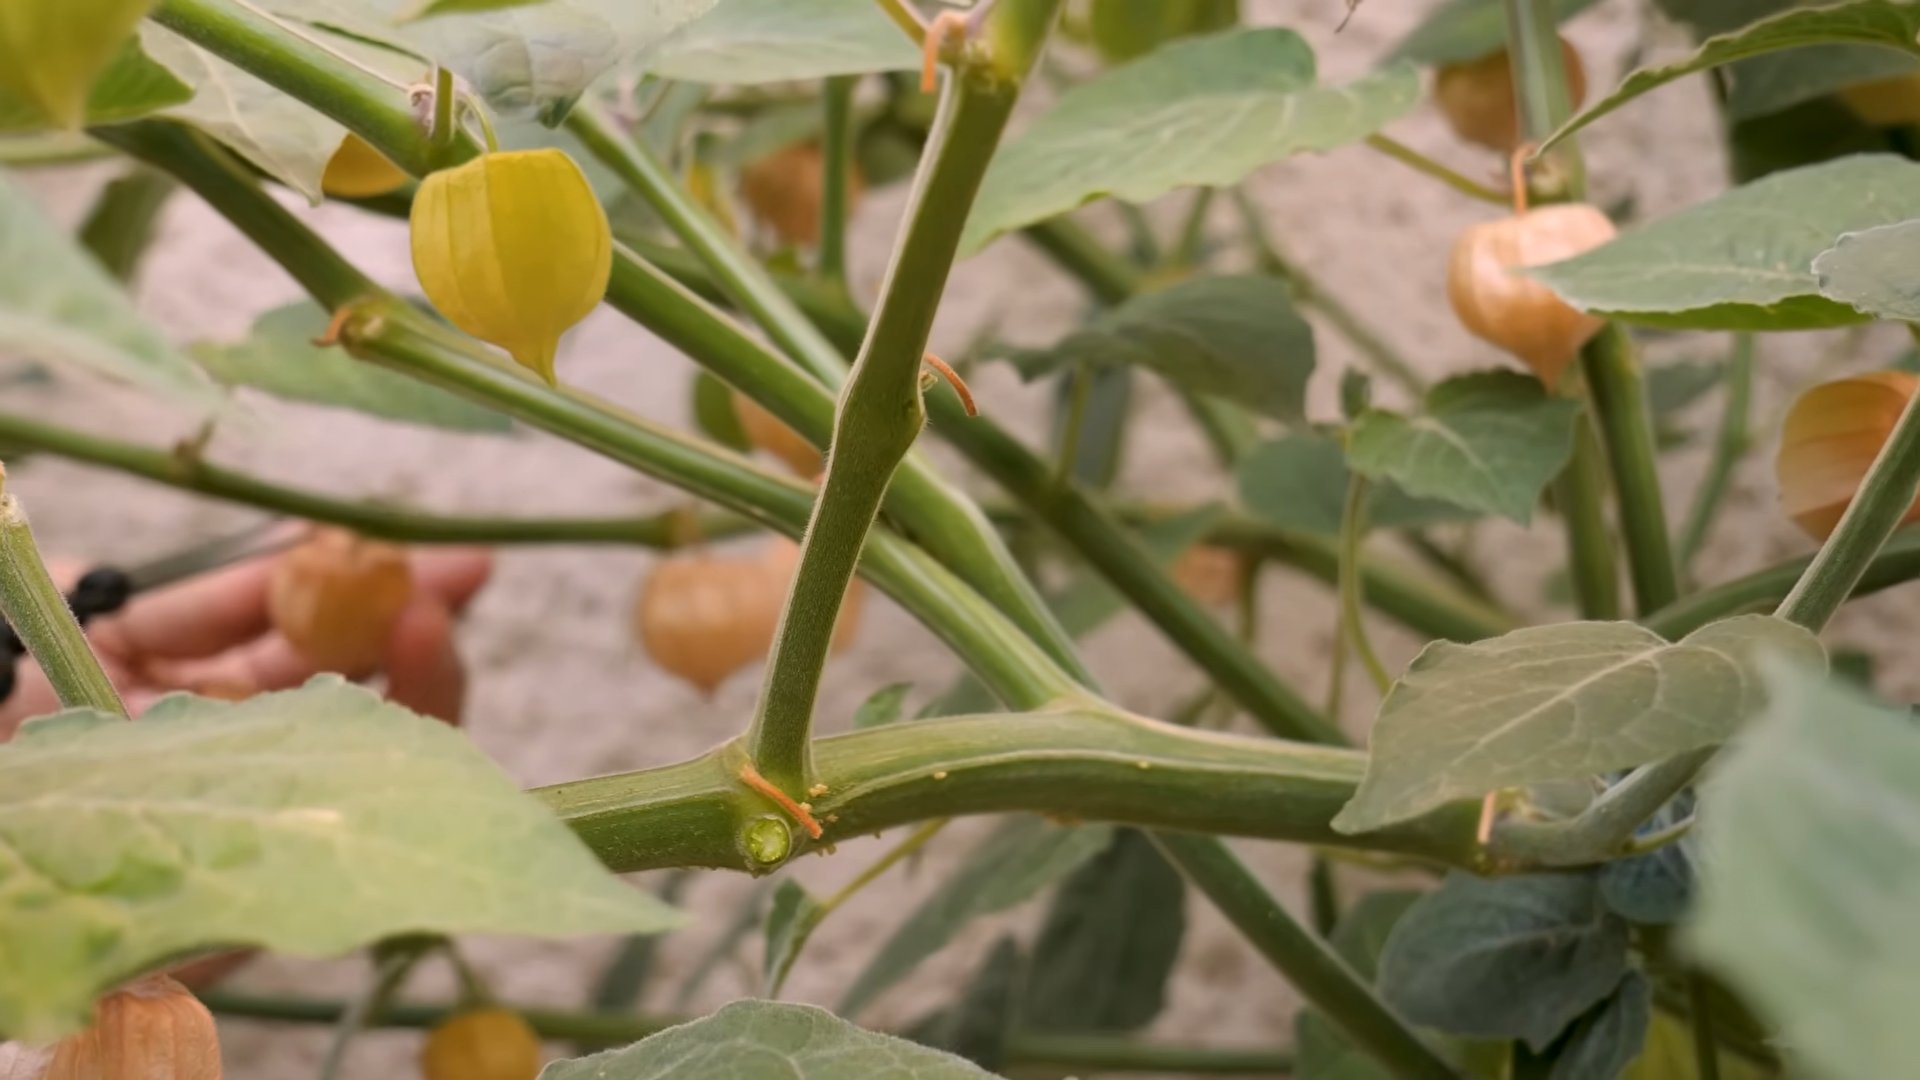
1. Knowing When to Harvest: Cape Gooseberries are ready to harvest when the papery husk turns brown and dry and the fruit inside turns a golden-orange color. The husk will often drop to the ground when the fruit is ripe.
2. Harvesting the Fruit: Gently pick the ripe Cape Gooseberries from the plant. You can also collect the ones that have fallen to the ground.
3. Storing the Fruit: Cape Gooseberries can be stored in their husks at room temperature for several weeks. For longer storage, you can refrigerate them in their husks for up to a few months.
Enjoying Your Cape Gooseberries
Now that you’ve harvested your Cape Gooseberries, it’s time to enjoy them!
* Eat them fresh: Just peel back the husk and pop them in your mouth! They have a sweet and slightly tart flavor.
* Make jam or preserves: Cape Gooseberry jam is delicious!
* Add them to salads: They add a unique flavor and texture to salads.
* Use them in desserts: They’re great in pies, tarts, and other desserts.
* Garnish cocktails: They make a beautiful and edible garnish for cocktails.
Troubleshooting Common Problems
Even with the best care, you might encounter a few problems along the way. Here are some common issues and how to address them:
* Seedlings are Leggy: This usually means they’re not getting enough light. Move them to a sunnier location or use grow lights.
* Leaves are Turning Yellow: This could be a sign of overwatering or nutrient deficiency. Check the soil moisture and adjust your watering accordingly. Fertilize with a balanced fertilizer.
* No Fruit Production: This could be due to a lack of sunlight, poor soil, or insufficient pollination. Make sure your plants are getting enough sunlight and that the soil is well-drained and fertile. You can also try hand-pollinating the flowers.
* Pests: Inspect your plants regularly for pests and treat them promptly with an appropriate insecticide.
Final Thoughts
Growing Cape Gooseberries is a
Conclusion
So, there you have it! Growing Cape Gooseberries in your backyard is not only achievable but also incredibly rewarding. From the vibrant, lantern-like husks to the sweet and tangy fruit nestled within, these little golden gems offer a unique and delightful addition to your garden and your plate.
Why is this DIY trick a must-try? Because it empowers you to cultivate a relatively uncommon and often expensive fruit right in the comfort of your own home. Imagine the satisfaction of harvesting your own Cape Gooseberries, knowing exactly where they came from and how they were grown. No more exorbitant prices at specialty stores – just fresh, organic goodness at your fingertips.
Beyond the cost savings and the joy of gardening, growing Cape Gooseberries offers a fantastic opportunity to experiment and personalize your harvest. Consider these variations:
* Container Gardening: If you’re short on space, Cape Gooseberries thrive in containers. Choose a large pot (at least 12 inches in diameter) and use a well-draining potting mix. This allows you to move the plant indoors during colder months, extending your growing season.
* Companion Planting: Enhance your Cape Gooseberry patch by planting beneficial companions like basil, marigolds, or nasturtiums. These plants can help deter pests and attract pollinators, leading to a healthier and more productive harvest.
* Flavor Infusions: Experiment with different soil amendments to subtly alter the flavor profile of your Cape Gooseberries. Adding a small amount of citrus peel to the soil can impart a hint of citrusy zest to the fruit.
* Preserving Your Harvest: Don’t let your bounty go to waste! Cape Gooseberries are excellent for making jams, jellies, chutneys, and even desserts. Their unique flavor adds a special touch to any culinary creation. You can also dry them for a healthy and portable snack.
We wholeheartedly encourage you to embark on this exciting gardening adventure and try growing Cape Gooseberries in your backyard. It’s a relatively low-maintenance project that yields a high return in terms of flavor, satisfaction, and the sheer joy of connecting with nature.
Once you’ve experienced the magic of homegrown Cape Gooseberries, we’d love to hear about your journey! Share your tips, tricks, and triumphs in the comments below. Let’s create a community of Cape Gooseberry enthusiasts and learn from each other’s experiences. Happy gardening!
Frequently Asked Questions (FAQs)
What are Cape Gooseberries, and what do they taste like?
Cape Gooseberries, also known as Golden Berries, Physalis peruviana, or Ground Cherries, are small, round fruits encased in a papery husk. They belong to the nightshade family, which also includes tomatoes and peppers. The taste is often described as a sweet and tangy blend of pineapple, strawberry, and tomato, with a slightly acidic aftertaste. They are delicious eaten fresh, used in jams and preserves, or added to desserts and salads.
Where is the best place to plant Cape Gooseberries in my backyard?
Cape Gooseberries thrive in a sunny location with well-drained soil. Aim for at least six to eight hours of direct sunlight per day. The soil should be fertile and slightly acidic to neutral (pH 6.0-7.0). If your soil is heavy clay, amend it with compost or other organic matter to improve drainage. Choose a spot that is sheltered from strong winds, as the plants can be somewhat fragile.
When is the best time to plant Cape Gooseberries?
The best time to plant Cape Gooseberries depends on your climate. In warmer regions with mild winters, you can start seeds indoors in late winter or early spring and transplant them outdoors after the last frost. In colder regions, it’s best to start seeds indoors 6-8 weeks before the last expected frost and transplant them outdoors once the soil has warmed up. You can also purchase seedlings from a nursery.
How do I care for Cape Gooseberry plants?
Cape Gooseberry plants are relatively easy to care for. Water them regularly, especially during dry periods, but avoid overwatering, as this can lead to root rot. Fertilize them every few weeks with a balanced fertilizer. Prune the plants to encourage bushier growth and remove any dead or diseased branches. Support the plants with stakes or cages to prevent them from falling over, especially when they are laden with fruit.
How long does it take for Cape Gooseberries to mature and produce fruit?
Cape Gooseberries typically take about 70-80 days from transplanting to start producing fruit. The fruit is ready to harvest when the papery husk turns brown and dry and the fruit inside is a golden-yellow color. The fruit will often drop to the ground when it is ripe, so check the ground around the plants regularly.
Are Cape Gooseberries susceptible to any pests or diseases?
Cape Gooseberries are generally resistant to pests and diseases, but they can be affected by aphids, whiteflies, and spider mites. These pests can be controlled with insecticidal soap or neem oil. They can also be susceptible to fungal diseases such as powdery mildew and blight. These diseases can be prevented by providing good air circulation and avoiding overhead watering.
Can I grow Cape Gooseberries in containers?
Yes, Cape Gooseberries grow well in containers. Choose a large pot (at least 12 inches in diameter) with drainage holes. Use a well-draining potting mix and water regularly. Container-grown plants may need to be fertilized more frequently than those grown in the ground. You can move the containers indoors during colder months to extend the growing season.
How do I store Cape Gooseberries?
Cape Gooseberries can be stored in their husks at room temperature for several weeks. For longer storage, you can refrigerate them in their husks for up to two months. You can also freeze them, either whole or pureed. To freeze whole berries, spread them out on a baking sheet and freeze until solid, then transfer them to a freezer bag or container.
Are Cape Gooseberries safe to eat?
Yes, the ripe fruit of Cape Gooseberries is safe to eat. However, the unripe fruit and the leaves contain solanine, a toxic alkaloid. Eating unripe fruit or leaves can cause nausea, vomiting, and diarrhea. Only eat the fruit when it is fully ripe and golden-yellow in color.
Can I save seeds from my Cape Gooseberries to plant next year?
Yes, you can save seeds from your Cape Gooseberries to plant next year. Allow the fruit to fully ripen on the plant, then remove the seeds and rinse them thoroughly. Spread the seeds out on a paper towel to dry completely. Store the dried seeds in an airtight container in a cool, dark place. The seeds should remain viable for several years.

Leave a Comment