
Clean Fridge Smartly
I love a clean, organized fridge, don’t you? It’s not just aesthetically pleasing; it’s also crucial for food safety and reducing food waste. But let’s be honest, cleaning the refrigerator can feel like a monumental task, a chore we often put off until it’s practically overflowing. That’s why I’m sharing my Clean Fridge Smartly tips and tricks – simple DIY solutions to make this dreaded chore a breeze. This isn’t just about scrubbing; it’s about creating a system that keeps your fridge sparkling and your food fresh for longer.
Historically, refrigeration was a luxury, a game-changer that revolutionized food preservation and our diets. Before electric refrigerators, people relied on iceboxes and other methods, often leading to more frequent food spoilage. Today, we take refrigeration for granted, but maintaining a clean and efficient fridge is still essential to avoid waste and ensure the safety of our food. That’s where my Clean Fridge Smartly methods come in handy.
Why You Need These DIY Hacks
Cleaning your fridge regularly isn’t just about appearances; it’s about preventing bacterial growth, extending the life of your produce, and saving money by avoiding food spoilage. These Clean Fridge Smartly techniques will help you tackle this chore efficiently, using readily available household items. You’ll learn how to easily remove stubborn stains, deodorize your fridge naturally, and organize your space for optimal freshness. Get ready to transform your fridge from a chaotic mess into a clean, organized, and efficient food storage haven!
Clean Your Fridge Smartly: A DIY Guide
I’ve always hated cleaning the fridge. It’s a big, cold, often messy job. But I’ve learned a few tricks over the years that make it much less daunting. This guide will walk you through my foolproof method for a sparkling clean fridge, even if yours is currently a disaster zone!
Phase 1: The Great Purge
- Empty the fridge completely. Yes, everything. This is the most important step. You can’t clean what you can’t see!
- Check expiration dates. Toss anything that’s past its prime. Be honest with yourself – that questionable leftover from three weeks ago needs to go.
- Discard any damaged containers. Cracked jars, leaky containers, and anything that’s not food-safe needs to be thrown away.
- Wipe down shelves and drawers before you start. This will remove loose crumbs and debris, making the deep clean easier.
- Sort items. As you empty the fridge, sort items into categories: things to keep, things to eat soon, and things to discard.
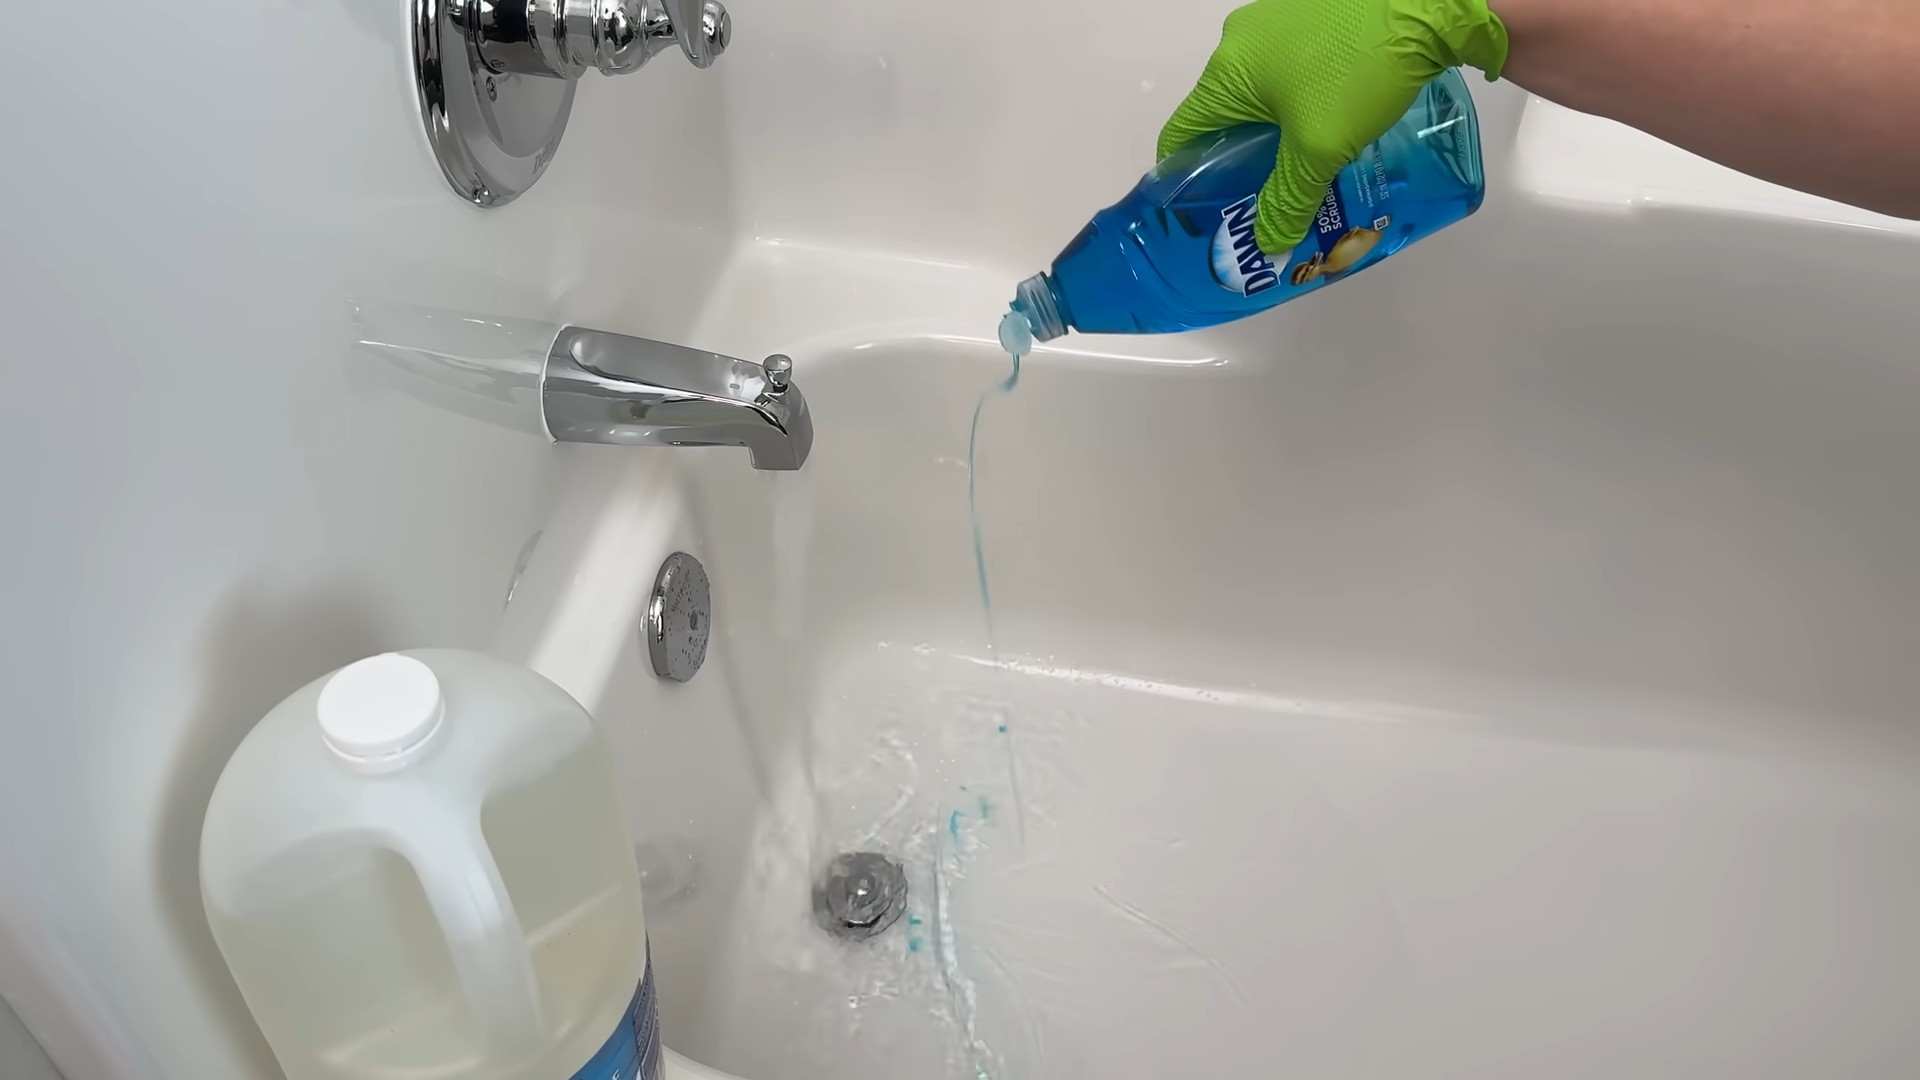
- Gather your supplies: You’ll need a large bowl of warm, soapy water, a separate bowl of clean water for rinsing, several clean cloths or sponges (one for each section of the fridge), a spray bottle filled with a gentle all-purpose cleaner (or a solution of baking soda and water – more on that later!), paper towels, and a trash bag.
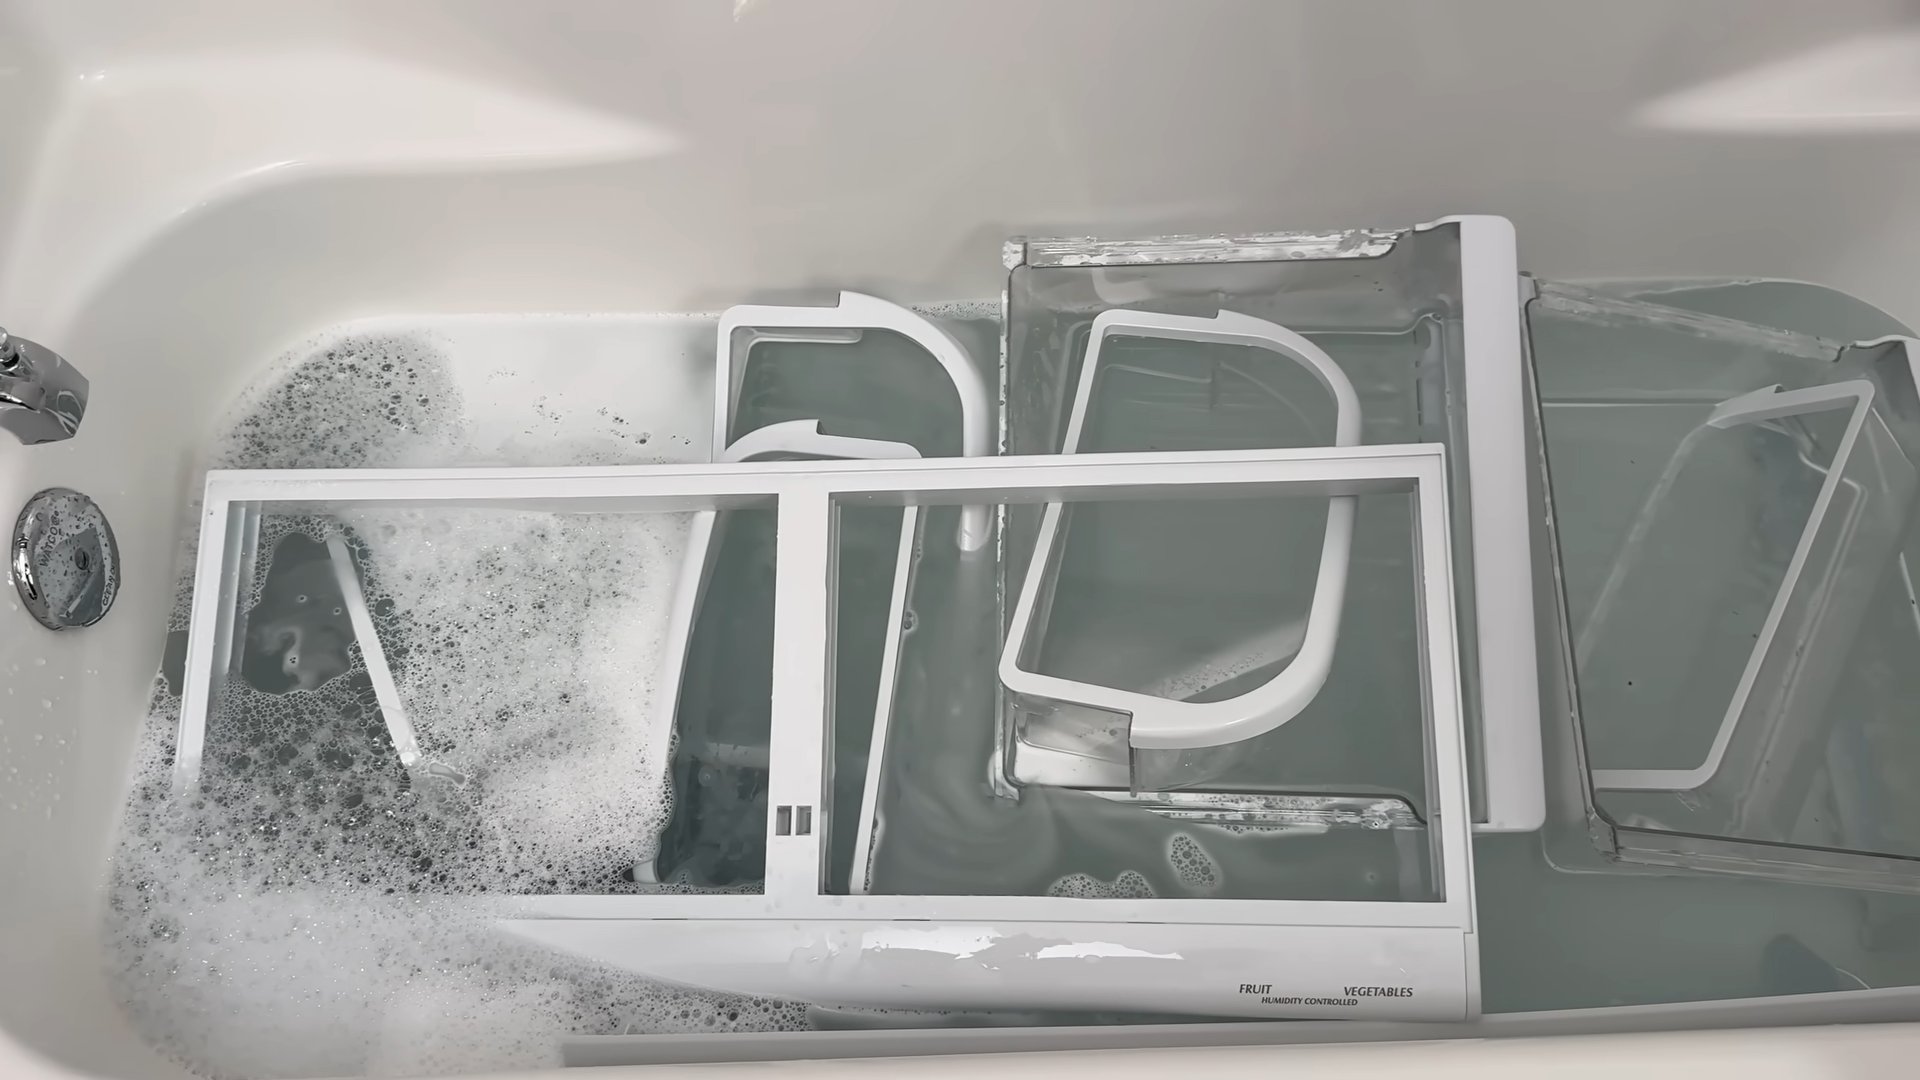
- Remove all removable parts: Take out all shelves, drawers, and bins. This allows for a thorough cleaning of every surface.
- Wash removable parts: Wash all removable parts in the warm, soapy water. Pay special attention to any sticky or stained areas. Rinse thoroughly with clean water and let them air dry completely before putting them back in the fridge.
Phase 2: Deep Cleaning the Fridge Interior
- Prepare your cleaning solution: I prefer a simple baking soda and water solution. It’s natural, effective, and won’t leave behind harsh chemical smells. Mix about 2 tablespoons of baking soda into a quart of warm water in your spray bottle. Alternatively, you can use a mild, all-purpose cleaner.
- Spray and wipe: Spray the interior walls, door, and any remaining fixed parts of the fridge with your cleaning solution. Wipe down thoroughly with a clean cloth or sponge. Pay attention to corners and crevices where spills and crumbs tend to accumulate.
- Tackle stubborn stains: For stubborn stains, let the cleaning solution sit for a few minutes before wiping. You can also use a paste of baking soda and water for extra scrubbing power. For really tough stains, a magic eraser might be necessary.
- Don’t forget the door seals: Clean the rubber seals around the fridge door with a damp cloth. This helps maintain a good seal and prevents mold growth.
- Rinse and dry: Once you’ve cleaned all surfaces, rinse them with clean water and dry thoroughly with paper towels. This prevents water spots and ensures everything is completely clean.
- Clean the fridge condenser coils (if accessible): These coils are usually located at the back or bottom of the fridge. Unplug the fridge before cleaning them. Use a vacuum cleaner with a brush attachment to remove dust and debris. This will help your fridge run more efficiently.
- Let everything air dry completely: Before putting anything back in, make sure everything is completely dry. This prevents the growth of mold and mildew.
Phase 3: Strategic Organization and Restocking
- Line shelves and drawers (optional): Consider lining your shelves and drawers with shelf liner. This makes cleaning easier in the future and can help prevent spills from soaking into the fridge surfaces.
- Organize by category: Group similar items together. For example, keep all dairy products together, all fruits and vegetables together, etc.
- Use clear containers: Store leftovers and other items in clear containers. This makes it easier to see what you have and prevents spills.
- Label everything: Label containers with the contents and date. This helps you keep track of what you have and prevents food waste.
- Place items strategically: Keep frequently used items within easy reach. Store items that need to be used soon in the front.
- Check temperatures: Make sure your fridge is set to the correct temperature (around 37-38°F or 3-4°C).
- Restock the fridge: Carefully place the items back into the fridge, keeping in mind your organization system. Make sure everything is properly sealed and stored.
- Enjoy your sparkling clean fridge! Admire your handiwork and enjoy the satisfaction of a well-organized, clean fridge. You’ve earned it!
Phase 4: Maintaining a Clean Fridge
- Wipe up spills immediately: This prevents stains and odors from setting in.
- Regularly check expiration dates: Toss out anything that’s past its prime.
- Clean up small messes daily: A quick wipe-down each day will prevent larger messes from accumulating.
- Perform a deep clean every few months: This will keep your fridge in top condition and prevent the buildup of bacteria and odors.
Pro Tip:
For a truly fresh-smelling fridge, place a small open container of baking soda inside. It will absorb odors and keep your fridge smelling clean.
Bonus Tip:
Consider using reusable containers instead of plastic wrap or aluminum foil to reduce waste and make cleaning easier.
Conclusion
So there you have it! Our guide to cleaning your fridge smartly. This isn’t just about achieving a sparkling clean appliance; it’s about creating a healthier, more organized, and ultimately more enjoyable cooking experience. By following these simple steps and embracing the power of proactive cleaning, you’ll transform your fridge from a potential breeding ground for bacteria and forgotten leftovers into a well-organized, efficient, and aesthetically pleasing space. This Clean Fridge Smartly approach saves you time, reduces food waste, and prevents those unpleasant surprises lurking in the back. It’s a small investment of time that yields significant rewards in terms of convenience, hygiene, and peace of mind. The satisfaction of a truly clean and organized fridge is unparalleled – a feeling of accomplishment that permeates your entire kitchen.
We strongly encourage you to try this method and experience the transformative power of a smartly cleaned fridge. You might be surprised at how much easier it is to maintain a clean fridge once you establish a routine. Remember, consistency is key! The initial deep clean might seem daunting, but the subsequent weekly or bi-weekly maintenance will be a breeze.
Beyond the basic steps outlined, there are numerous ways to personalize your Clean Fridge Smartly approach. For instance, consider using different natural cleaning solutions tailored to specific stains or odors. A paste of baking soda and water works wonders on stubborn spills, while white vinegar diluted with water can effectively neutralize odors. Experiment with different organizational tools to maximize space and visibility. Clear containers are your best friend for identifying contents easily. Labeling everything is also a great way to stay organized and avoid food waste. You can even color-code your containers to further enhance organization. For those with particularly large fridges, consider dividing the space into zones – a zone for dairy, a zone for produce, a zone for leftovers, etc. This will make finding things much faster and more efficient. If you have a lot of herbs, consider a dedicated herb keeper to keep them fresh longer.
Don’t be afraid to get creative and adapt the techniques to suit your specific needs and preferences. The ultimate goal is to create a system that works best for you and helps you maintain a consistently clean and organized fridge. Share your experiences, tips, and variations with us! We’d love to hear how you’ve implemented the Clean Fridge Smartly method in your own kitchen and what modifications you’ve found most effective. Post your pictures and success stories on social media using #CleanFridgeSmartly – let’s build a community of clean fridge enthusiasts!
Frequently Asked Questions
What’s the best way to deal with stubborn stains?
Stubborn stains often require a bit more elbow grease and a targeted approach. For baked-on spills or sticky residues, try making a paste of baking soda and water. Apply the paste to the stain, let it sit for a few minutes, then gently scrub with a soft sponge or cloth. For tougher stains, you can try a diluted solution of white vinegar and water. Always test any cleaning solution on a small, inconspicuous area first to ensure it doesn’t damage the fridge’s surface. If the stain persists, consider using a commercial fridge cleaner specifically designed for the material of your fridge’s interior.
How often should I deep clean my fridge?
A thorough deep clean of your fridge is recommended every 2-3 months, or more frequently if you notice any signs of spoilage or excessive buildup. However, regular weekly or bi-weekly wipe-downs are crucial for preventing the accumulation of spills and maintaining overall hygiene. This proactive approach makes the deep clean much less daunting.
What should I do with old leftovers?
Be honest with yourself about the age and condition of your leftovers. If something smells off or looks questionable, discard it immediately. Don’t risk food poisoning. For leftovers you intend to keep, clearly label them with the date and contents. Store them in airtight containers to maintain freshness and prevent odors from spreading. Consider using a first-in, first-out system to ensure older items are consumed before they expire.
Can I use harsh chemicals to clean my fridge?
While harsh chemicals might seem like a quick fix, they can leave behind residues that are harmful to your health and can affect the taste of your food. It’s best to stick to natural and gentle cleaning solutions like baking soda, white vinegar, and warm water. These are effective, safe, and readily available. If you opt for a commercial cleaner, always ensure it’s specifically designed for use on refrigerator surfaces and follow the manufacturer’s instructions carefully.
How can I prevent odors from building up in my fridge?
Odor prevention is a key aspect of maintaining a clean and fresh-smelling fridge. Regular cleaning is crucial, but you can also employ some additional strategies. An open box of baking soda placed inside the fridge can absorb odors effectively. You can also use activated charcoal filters or specialized fridge odor absorbers. Ensure that all food is properly sealed in airtight containers to prevent odors from escaping. Regularly check for and discard any spoiled food immediately.
What are some tips for organizing my fridge efficiently?
Efficient fridge organization is key to maximizing space and minimizing food waste. Start by removing everything from your fridge and giving it a thorough clean. Then, consider using clear containers to store leftovers and other items. Label everything clearly with the contents and date. Group similar items together – dairy products in one section, produce in another, etc. Utilize vertical space with stackable containers and shelves. Consider using drawer organizers to maximize space in your crisper drawers. Regularly rotate your food items, using a first-in, first-out system to prevent spoilage.


Leave a Comment