
Clean Walls Easily: Your Guide to Sparkling Surfaces
Have you ever stared at a smudged wall, overwhelmed by the thought of cleaning it? I know I have! That’s why I’m so excited to share my favorite Clean Walls Easily tricks and DIY solutions with you. This isn’t just about scrubbing; it’s about reclaiming the beauty of your home with simple, effective methods that save you time, money, and frustration. For centuries, people have sought ways to keep their homes clean and inviting, and while the tools have changed, the desire for a sparkling clean space remains constant. From ancient Roman techniques using abrasive materials to modern eco-friendly solutions, the quest for Clean Walls Easily has always been a part of home maintenance.
This article isn’t just about achieving a spotless finish; it’s about empowering you to tackle those pesky wall stains and marks with confidence. Whether you’re dealing with stubborn grease splatters in the kitchen, crayon masterpieces in the kids’ room, or mysterious scuff marks in the hallway, I’ll guide you through a range of DIY solutions, using readily available ingredients. You’ll discover how to create your own cleaning concoctions, tailored to different wall types and stains, saving you money on expensive commercial cleaners and reducing your environmental impact. Knowing how to Clean Walls Easily is a fundamental skill for every homeowner, making your life easier and your home a more pleasant place to be.
Why This Matters
Let’s face it, clean walls instantly elevate the look and feel of any room. A clean space contributes to a calmer, more organized environment, impacting your mood and overall well-being. Learning these Clean Walls Easily techniques will not only save you time and money but also give you a sense of accomplishment and pride in maintaining a beautiful home.
Clean Walls Easily: A DIY Guide
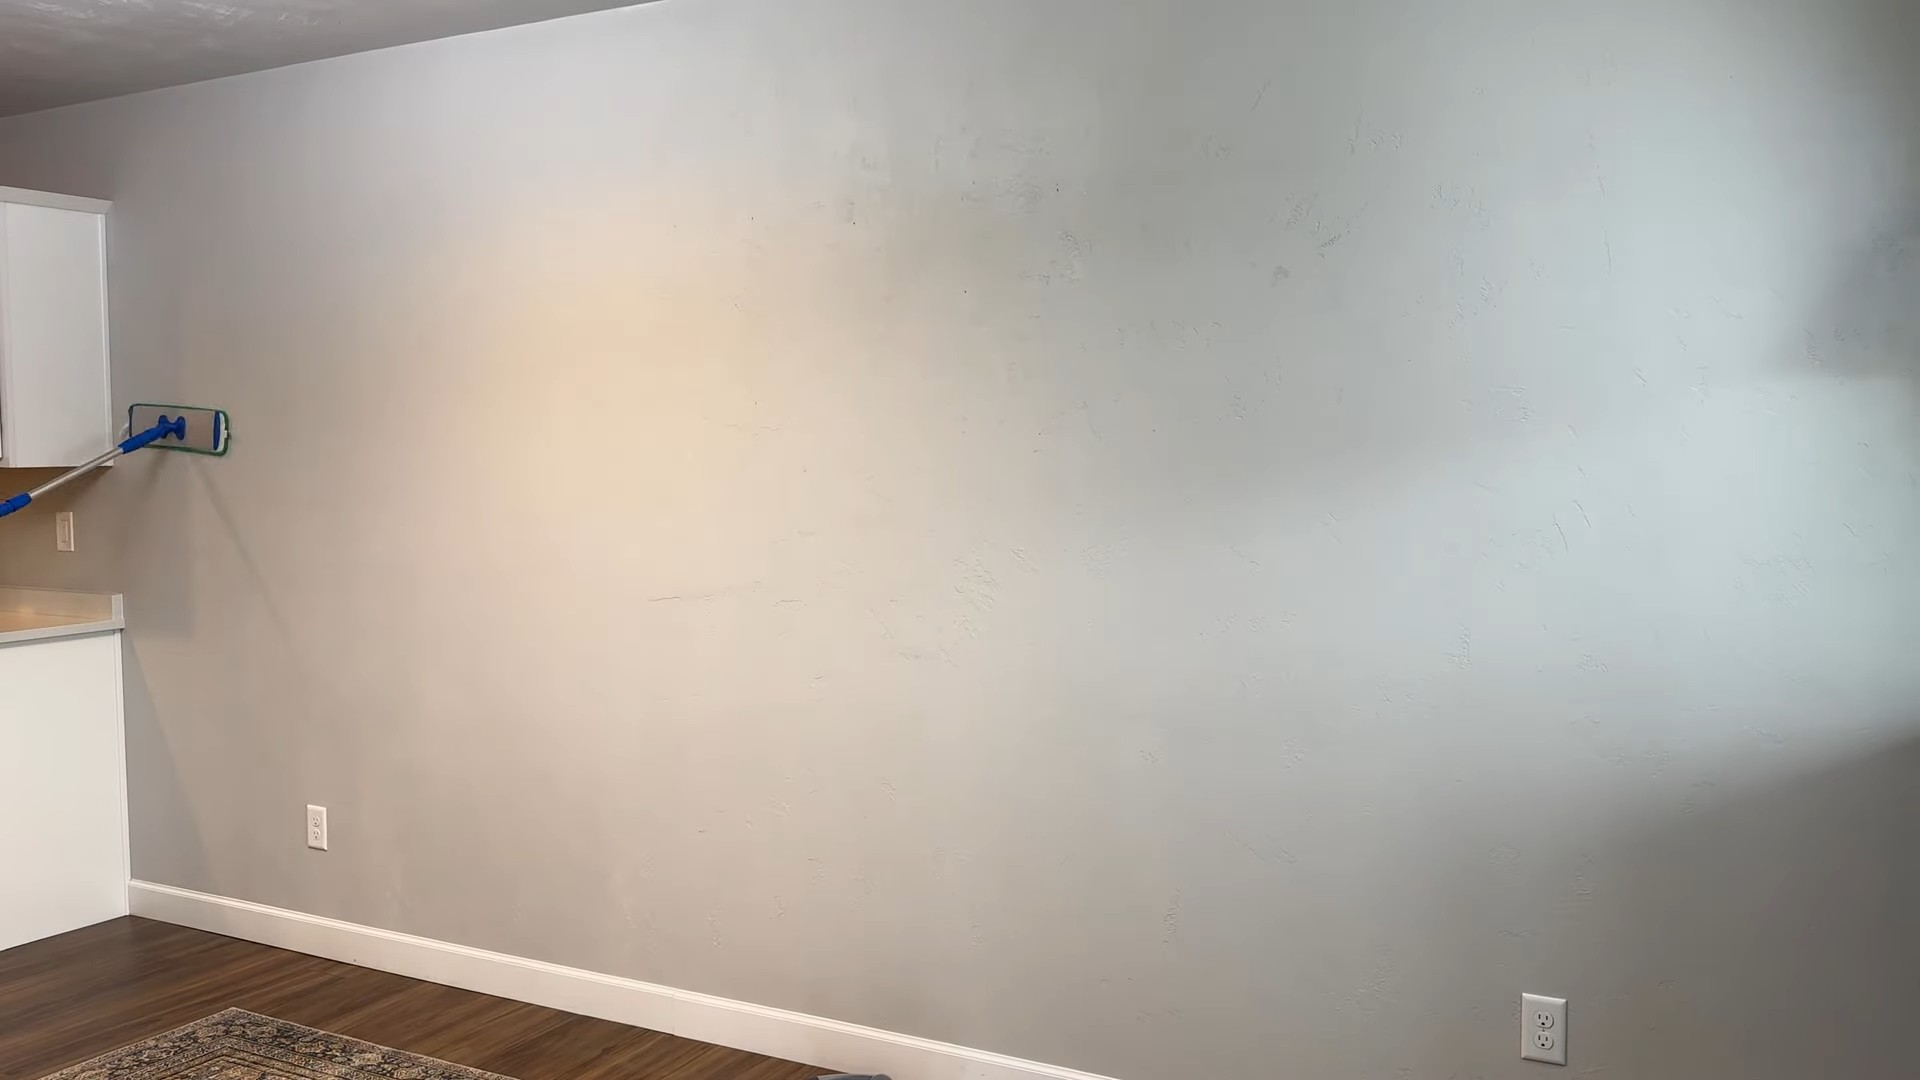
Cleaning walls can feel like a monumental task, but it doesn’t have to be! With the right tools and techniques, you can achieve sparkling clean walls without spending a fortune or breaking a sweat. I’ve developed a foolproof method that I use regularly, and I’m excited to share it with you.
Gathering Your Supplies
- Microfiber cloths: These are my absolute favorites for wall cleaning. They’re super soft, don’t leave lint behind, and are incredibly effective at picking up dust and grime.
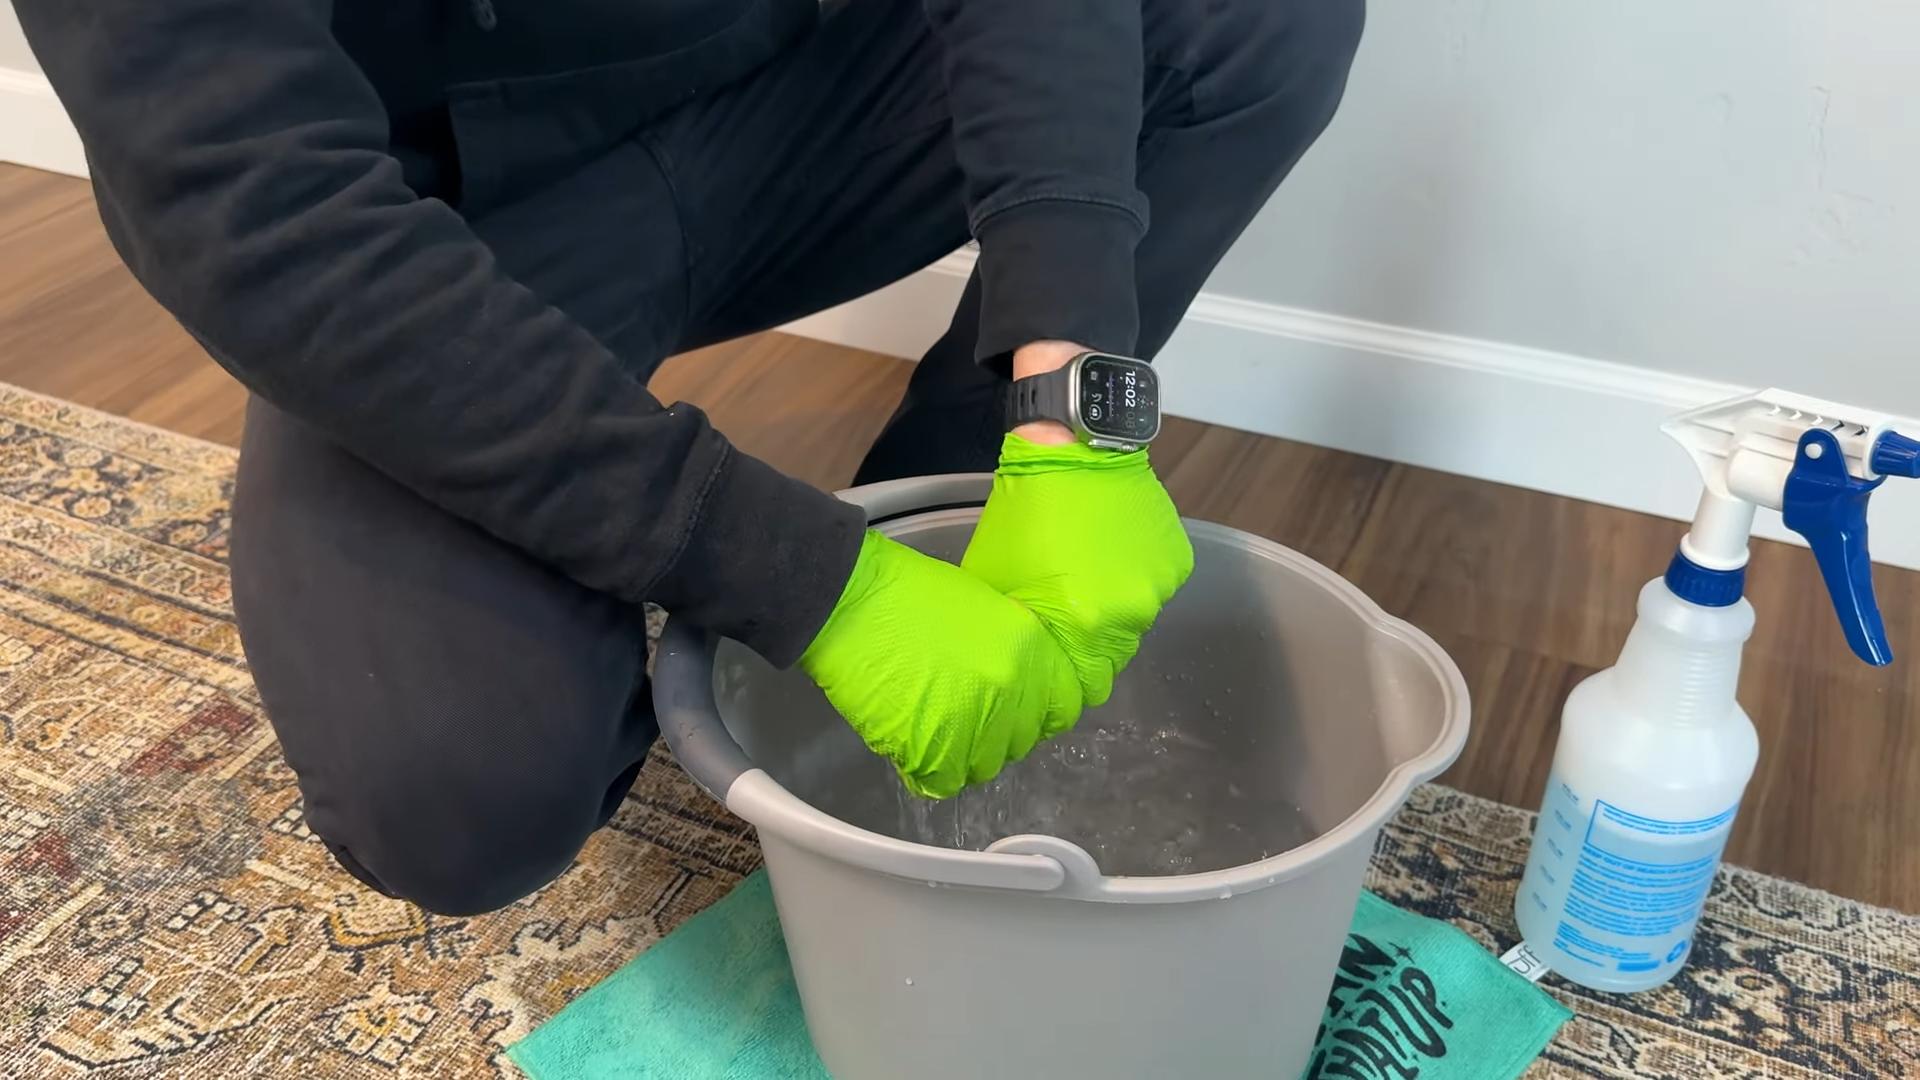
- Buckets: You’ll need at least two – one for your cleaning solution and one for rinsing your cloths.
- Warm water: This is the base of your cleaning solution. Hot water can damage some wall paints, so stick to warm.
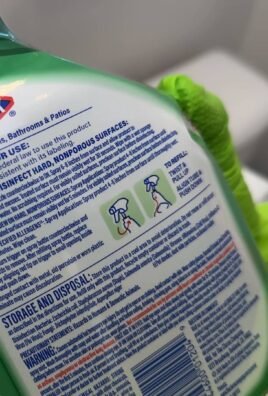
- Mild dish soap: A small squirt of dish soap is all you need to create a gentle yet effective cleaning solution. Avoid harsh chemicals, especially on delicate surfaces.
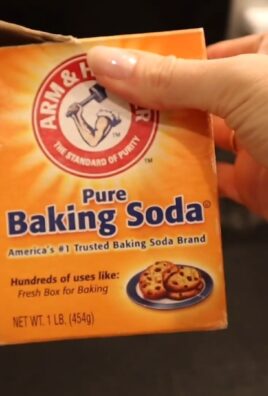
- Baking soda (optional): For tougher stains, a paste of baking soda and water can work wonders. It’s a natural cleaner and gentle abrasive.
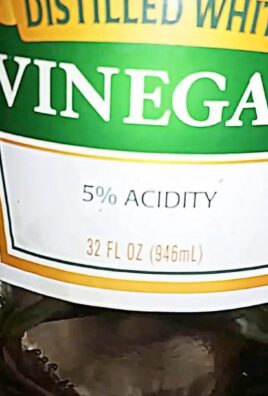
- White vinegar (optional): Vinegar is a fantastic natural cleaner and deodorizer. A solution of equal parts water and vinegar can tackle grease and mildew.
- Sponge (optional): A soft sponge can be helpful for scrubbing stubborn marks, but always test it on an inconspicuous area first.
- Ladder or step stool: Safety first! Make sure you can reach all areas of the wall comfortably and safely.
- Squeegee (optional): A squeegee can be really helpful for preventing streaks, especially on glossy surfaces.
Preparing Your Walls
1. Clear the area: Move furniture away from the walls to give yourself plenty of room to work. Remove any wall hangings, pictures, or shelves.
2. Dust first: Before you start scrubbing, use a dry microfiber cloth to dust the walls thoroughly. This removes loose dust and dirt, preventing it from getting smeared around when you wet-clean. Pay special attention to corners and crevices. I like to work from top to bottom to avoid re-dusting areas I’ve already cleaned.
3. Pre-treat stubborn stains: If you have any noticeable stains, such as scuff marks or grease splatters, pre-treat them before you begin the main cleaning. For grease, a mixture of warm water and vinegar works well. For scuff marks, a paste of baking soda and water applied gently with a soft sponge can often lift them. Allow the pre-treatment to sit for a few minutes before wiping. Always test any cleaning solution on a small, inconspicuous area first to ensure it doesn’t damage the paint.
Cleaning Your Walls
1. Prepare your cleaning solution: Fill one bucket with warm water and add a small squirt of mild dish soap. Mix gently. If you’re using vinegar, add an equal amount to the water.
2. Dip and wring: Dip a clean microfiber cloth into the cleaning solution, wringing it out thoroughly until it’s damp, not soaking wet. A dripping cloth can cause water damage to your walls.
3. Clean in sections: Work in small sections, wiping the wall in an up-and-down motion. Overlap each stroke slightly to ensure complete coverage. For larger walls, I recommend working in manageable sections, perhaps one wall at a time.
4. Rinse and repeat: Once you’ve cleaned a section, rinse your cloth in the second bucket of clean water and wring it out again. Repeat steps 2 and 3 until the entire wall is clean.
5. Use a squeegee (optional): If you’re using a squeegee, wipe it down after each section to prevent streaking. Overlap each stroke slightly.
6. Dry the walls: After cleaning, use a clean, dry microfiber cloth to wipe down the walls, removing any excess water. This helps prevent streaks and ensures a sparkling finish.
Tackling Specific Wall Types
Painted Walls
Painted walls are generally the easiest to clean. The methods described above work perfectly. However, always test any cleaning solution on a small, inconspicuous area first to ensure it doesn’t damage the paint. Avoid abrasive cleaners or scrubbing too hard, as this can damage the paint finish.
Wallpapered Walls
Wallpapered walls require a gentler approach. Avoid harsh chemicals and scrubbing. Use a damp (not wet) cloth and gently wipe the walls. If you have stubborn stains, try a very diluted solution of mild dish soap and water. Always test on a hidden area first.
Textured Walls
Textured walls can trap more dirt and grime. You may need to pay extra attention to crevices and use a soft brush to gently remove dirt from the textured surface. Again, avoid harsh chemicals and excessive scrubbing.
Post-Cleaning
1. Replace your belongings: Once the walls are completely dry, replace your furniture, pictures, and other wall hangings.
2. Admire your work: Stand back and admire your sparkling clean walls! You’ve successfully tackled a cleaning chore and saved money by doing it yourself.
Tips for Preventing Future Wall Cleaning Hassles
- Regular dusting: Dusting your walls regularly will prevent dirt and grime from building up, making future cleaning much easier.
- Wipe up spills immediately: Address spills and splatters as soon as they happen to prevent them from setting in.
- Consider using a protective sealant: For high-traffic areas, consider applying a protective sealant to your walls to make them easier to clean and more resistant to stains.
Conclusion
So there you have it! A simple, effective, and surprisingly satisfying method for achieving sparkling clean walls. This DIY cleaning trick isn’t just about saving money; it’s about reclaiming control over your home’s cleanliness and discovering a surprisingly effective solution that outperforms many commercial products. This method is a must-try for anyone looking to effortlessly banish dirt, grime, and those stubborn scuff marks from their walls, leaving them looking fresh and vibrant. The ease of preparation and application, coupled with the impressive results, makes this a true game-changer for maintaining a clean and beautiful home. You’ll be amazed at how much brighter and more inviting your rooms feel once those walls are sparkling!
Beyond the basic recipe, there are several ways to customize this cleaning solution to suit your specific needs. For particularly stubborn stains or greasy fingerprints, consider adding a tablespoon of baking soda to the mixture. This gentle abrasive will help lift away even the most persistent marks. If you have delicate wallpaper, you might want to dilute the solution slightly or test it on an inconspicuous area first. For those with sensitive skin, always wear gloves during the cleaning process. Experiment with different microfiber cloths – some are better at absorbing than others. You might even find that a slightly damp sponge works better for certain types of walls. The beauty of this DIY approach is its adaptability; feel free to tweak the recipe to find what works best for your home and your walls.
We strongly encourage you to try this simple and effective Clean Walls Easily method. Share your results with us! We’d love to hear about your experiences, any modifications you made, and the amazing transformation you achieved in your home. Post your before-and-after photos on social media using #CleanWallsEasily and tag us – we can’t wait to see the sparkling results! Remember, a clean home starts with clean walls, and this DIY trick makes achieving that goal easier and more rewarding than ever before. Don’t let dirty walls bring down the ambiance of your home any longer. Embrace the power of this simple solution and rediscover the joy of a truly clean and beautiful living space. You deserve it!
Frequently Asked Questions
What types of walls can I use this cleaning solution on?
This cleaning solution is generally safe for most painted walls, but it’s always recommended to test it on a small, inconspicuous area first, especially if you have delicate wallpaper or a unique paint finish. Avoid using this solution on unpainted surfaces like wood paneling or certain types of wallpaper that might be damaged by moisture. Always check the manufacturer’s recommendations for cleaning your specific wall type.
How often should I clean my walls using this method?
The frequency of cleaning will depend on factors like the number of people in your home, the presence of pets, and the general level of activity in your rooms. For most homes, a thorough wall cleaning every few months should suffice. However, you can spot-clean areas as needed, especially high-traffic areas prone to smudges or fingerprints. Regular dusting can also help prevent the buildup of dirt and grime, reducing the need for frequent deep cleans.
Can I use this solution on painted trim or baseboards?
Yes, this solution is generally safe for painted trim and baseboards. However, always test it on a small, inconspicuous area first to ensure it doesn’t damage the finish. Remember to rinse the area thoroughly after cleaning to prevent any residue buildup. For heavily soiled areas, you may need to repeat the cleaning process.
What if I have stubborn stains that won’t come off?
For particularly stubborn stains, you can try adding a tablespoon of baking soda to the cleaning solution. The gentle abrasive action of the baking soda can help lift away even the most persistent marks. For grease stains, you might consider using a slightly stronger solution or pre-treating the area with a degreaser before applying the cleaning solution. If the stain persists after multiple attempts, it’s best to consult a professional cleaning service.
Are there any safety precautions I should take?
Always wear gloves when cleaning to protect your hands from the cleaning solution. Ensure adequate ventilation in the room while cleaning. Avoid spraying the solution directly onto electrical outlets or switches. If you have any concerns about the safety of this cleaning solution for your specific situation, consult a professional cleaning service. Keep the solution out of reach of children and pets.
What should I do if I accidentally get the solution on my furniture or carpet?
Immediately blot up any spills with a clean cloth. Avoid rubbing, as this can spread the solution and potentially damage the surface. If the spill is significant, you may need to use a specialized cleaning product appropriate for the type of furniture or carpet. Always refer to the manufacturer’s cleaning instructions for your furniture and carpets.
Can I use this method on different types of paint?
While this method works well on most types of paint, it’s crucial to test it on an inconspicuous area first, especially if you have a high-gloss or specialized paint finish. Some paints may be more sensitive to moisture than others. Always err on the side of caution and test before applying the solution to a large area. If you’re unsure about your paint type, consult the manufacturer’s recommendations for cleaning.
Leave a Comment