
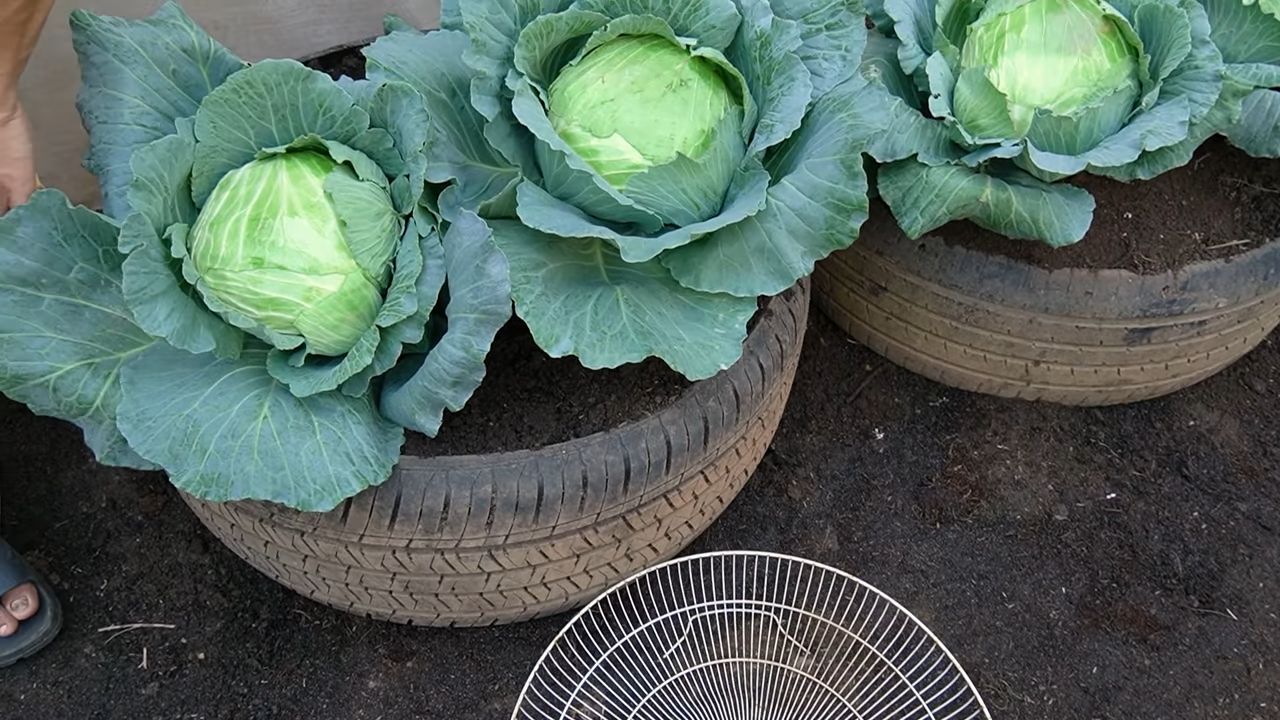
Grow cabbage quickly and enjoy fresh, homegrown goodness sooner than you ever thought possible! Have you ever dreamt of harvesting your own crisp, flavorful cabbage heads, but felt discouraged by the seemingly long growing season? Well, dream no more! This article is packed with simple, yet effective DIY tricks and hacks that will have you enjoying delicious cabbage dishes in record time.
Cabbage, a staple in cuisines around the world, boasts a rich history dating back thousands of years. From its humble beginnings as a wild leafy green, it has evolved into the diverse range of varieties we know and love today. Cultures across the globe have long valued cabbage for its nutritional benefits and versatility in cooking. Think sauerkraut in Germany, kimchi in Korea, and countless comforting cabbage soups and stews worldwide.
But let’s face it, in today’s fast-paced world, who has the patience to wait months for a single head of cabbage? That’s where these DIY tricks come in! I’m going to share my favorite secrets to help you grow cabbage quickly, even if you’re a beginner gardener. Imagine the satisfaction of harvesting your own cabbage, knowing you nurtured it from seed to table in a fraction of the usual time. These hacks will not only save you time but also empower you to enjoy fresh, healthy produce from your own backyard. So, grab your gardening gloves, and let’s get started!
DIY: Supercharge Your Cabbage Growing for a Speedy Harvest!
Okay, cabbage lovers, let’s talk about getting those leafy greens from seed to table faster than you ever thought possible! I’m going to walk you through my tried-and-true method for accelerating cabbage growth, so you can enjoy fresh, homegrown cabbage sooner rather than later. This isn’t just about planting and hoping; it’s about actively creating the perfect environment for rapid development.
Choosing the Right Cabbage Variety
First things first, not all cabbages are created equal when it comes to speed. Some varieties are naturally faster growers than others. Here’s what I look for:
* Early Varieties: Opt for varieties specifically labeled as “early” or “fast-maturing.” These are bred to reach maturity in a shorter timeframe. Some great choices include:
* ‘Golden Acre’: A classic early variety that matures in about 50-60 days.
* ‘Early Jersey Wakefield’: Another reliable early type, ready in around 60-70 days.
* ‘Copenhagen Market’: A slightly later early variety, maturing in 70-80 days, but still faster than many others.
* Hybrid Varieties: Hybrid cabbages often exhibit faster growth rates and improved disease resistance compared to heirloom varieties. Check the seed packet for information on maturity time.
* Consider Your Climate: Choose varieties that are well-suited to your local climate and growing season. This will minimize stress on the plants and promote faster growth.
Starting Cabbage Seeds Indoors (The Secret to Speed!)
This is where the magic really begins. Starting your cabbage seeds indoors gives them a head start and protects them from early-season pests and unpredictable weather.
1. Gather Your Supplies:
* Seed starting trays or small pots (I prefer trays with individual cells).
* Seed starting mix (a light, well-draining mix is crucial).
* Cabbage seeds (of course!).
* A spray bottle filled with water.
* A heat mat (optional, but highly recommended).
* A grow light (essential for strong, healthy seedlings).
* A humidity dome (optional, but helpful for maintaining moisture).
2. Sow the Seeds:
* Moisten the seed starting mix thoroughly. It should be damp, but not soggy.
* Fill the seed starting trays or pots with the moistened mix.
* Make a small indentation (about ¼ inch deep) in the center of each cell or pot.
* Place 2-3 cabbage seeds in each indentation. This increases the chances of at least one seed germinating.
* Gently cover the seeds with the seed starting mix.
* Lightly mist the surface with water.
3. Create the Ideal Germination Environment:
* Place the seed starting trays or pots on a heat mat. This will help to maintain a consistent soil temperature of around 70-75°F (21-24°C), which is ideal for cabbage seed germination.
* Cover the trays or pots with a humidity dome. This will help to retain moisture and create a humid environment that promotes germination.
* Place the trays or pots under a grow light. Position the light a few inches above the surface of the soil.
* Turn on the heat mat and grow light.
4. Maintain Consistent Moisture and Temperature:
* Check the soil moisture daily. Keep the soil consistently moist, but not waterlogged. Mist the surface with water as needed.
* Monitor the temperature of the soil. Use a soil thermometer to ensure that the temperature remains within the ideal range.
* Remove the humidity dome once the seeds have germinated.
5. Thin the Seedlings:
* Once the seedlings have emerged and have developed their first true leaves (the leaves that appear after the initial seed leaves), thin them to one seedling per cell or pot.
* Choose the strongest, healthiest-looking seedling and snip off the others at the soil line with a pair of scissors. Don’t pull them out, as this can disturb the roots of the remaining seedling.
6. Harden Off the Seedlings:
* About a week before you plan to transplant the seedlings outdoors, begin to harden them off. This process gradually acclimates the seedlings to outdoor conditions.
* Start by placing the seedlings outdoors in a sheltered location for a few hours each day. Gradually increase the amount of time they spend outdoors each day.
* Protect the seedlings from direct sunlight and strong winds during the hardening-off process.
Preparing the Garden Bed for Rapid Growth
Cabbage is a heavy feeder, meaning it needs a lot of nutrients to grow quickly. Proper soil preparation is key.
1. Choose a Sunny Location: Cabbage needs at least 6 hours of direct sunlight per day to thrive.
2. Amend the Soil:
* Test your soil pH. Cabbage prefers a slightly acidic soil with a pH of 6.0 to 7.0. Amend the soil with lime if it is too acidic.
* Add plenty of organic matter, such as compost, well-rotted manure, or leaf mold. This will improve soil drainage, aeration, and fertility. I usually add a generous layer (2-3 inches) and work it into the top 6-8 inches of soil.
* Incorporate a slow-release fertilizer specifically formulated for vegetables. Follow the instructions on the fertilizer package.
3. Ensure Good Drainage: Cabbage needs well-drained soil to prevent root rot. If your soil is heavy clay, consider adding sand or perlite to improve drainage. Raised beds are also a great option for improving drainage.
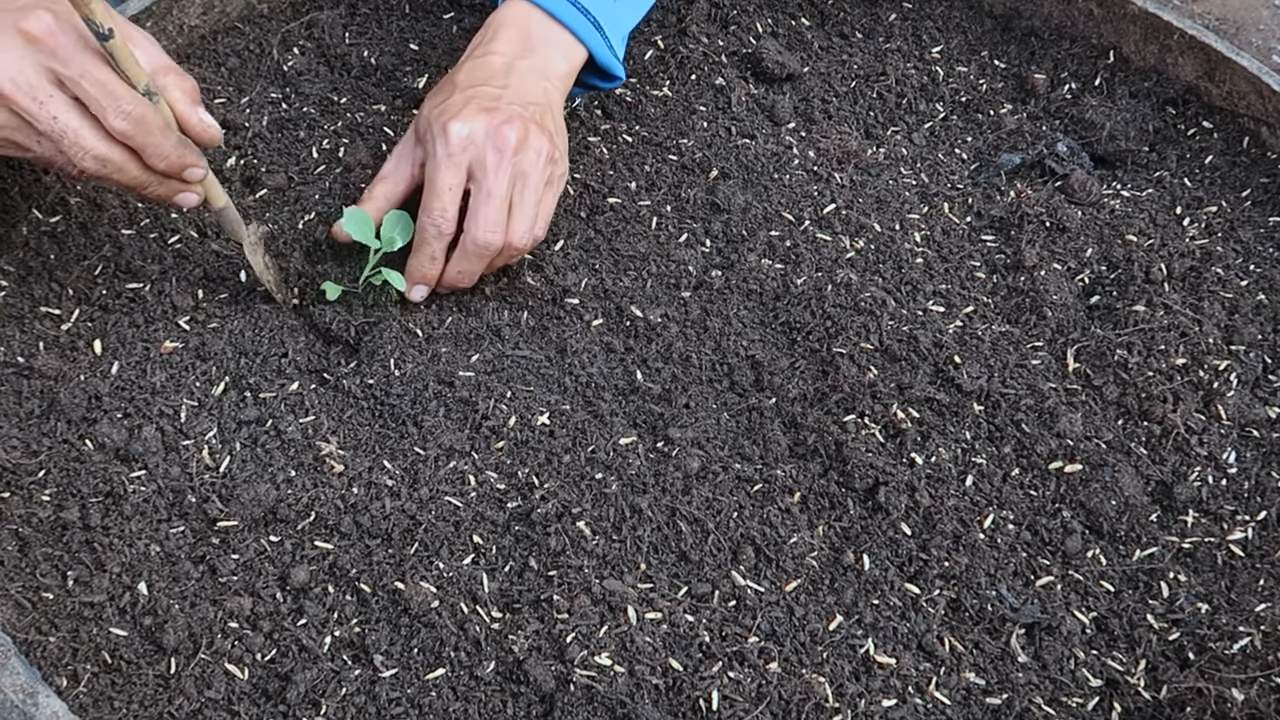
Transplanting and Spacing for Optimal Growth
Getting the transplanting process right is crucial for minimizing stress and maximizing growth.
1. Transplant at the Right Time: Transplant your cabbage seedlings outdoors after the last expected frost. The soil temperature should be at least 50°F (10°C).
2. Handle Seedlings Carefully: Gently remove the seedlings from their trays or pots, being careful not to damage the roots.
3. Planting Depth: Plant the seedlings at the same depth they were growing in their trays or pots.
4. Spacing: Space the seedlings according to the mature size of the cabbage variety you are growing. Generally, early varieties can be spaced 12-18 inches apart, while larger varieties may need 18-24 inches of space. Rows should be spaced 24-36 inches apart.
5. Water Thoroughly: After transplanting, water the seedlings thoroughly to help them settle in.
Watering and Feeding for Explosive Growth
Consistent watering and regular feeding are essential for rapid cabbage growth.
1. Watering:
* Water deeply and regularly, especially during dry periods. Cabbage needs consistent moisture to thrive. Aim for at least 1 inch of water per week.
* Water at the base of the plants to avoid wetting the foliage, which can increase the risk of disease.
* Use a soaker hose or drip irrigation system to deliver water directly to the roots.
2. Fertilizing:
* Side-dress the cabbage plants with a nitrogen-rich fertilizer every 2-3 weeks. This will provide them with the nutrients they need to grow quickly.
* Use a fertilizer specifically formulated for vegetables. Follow the instructions on the fertilizer package.
* Alternatively, you can use organic fertilizers such as fish emulsion or compost tea.
Pest and Disease Control: Protecting Your Investment
Pests and diseases can significantly slow down cabbage growth. Proactive prevention and early intervention are key.
1. Common Pests:
* Cabbage Worms: These green caterpillars can quickly defoliate cabbage plants. Handpick them off the plants or use Bacillus thuringiensis (Bt), a biological insecticide.
* Cabbage Loopers: Similar to cabbage worms, these caterpillars can also cause significant damage. Use Bt or insecticidal soap.
* Aphids: These small, sap-sucking insects can weaken cabbage plants. Spray them off with a strong stream of water or use insecticidal soap.
* Flea Beetles: These tiny beetles can create small holes in the leaves. Use row covers to protect the plants or apply diatomaceous earth.
* Root Maggots: These larvae feed on the roots of cabbage plants, causing them to wilt and die. Use row covers to prevent the adult flies from laying eggs near the plants.
2. Common Diseases:
* Clubroot: This soilborne disease causes swollen, distorted roots. Prevent clubroot by maintaining a soil pH of 7.0 or higher and by practicing crop rotation.
* Black Rot: This bacterial disease causes yellowing and browning of the leaves. Prevent black rot by using disease-free
Conclusion
So, there you have it! This simple yet effective DIY trick to grow cabbage quickly is a game-changer for any gardener, whether you’re a seasoned pro or just starting out. We’ve walked you through the process, highlighting the benefits of faster growth, healthier plants, and a more bountiful harvest. Forget waiting an eternity for your cabbages to mature; with this method, you’ll be enjoying fresh, homegrown cabbage in a fraction of the time.
But why is this a must-try? Beyond the obvious time savings, this technique promotes stronger root development, making your cabbage plants more resilient to pests and diseases. It also allows you to potentially squeeze in an extra harvest within a single growing season, maximizing your garden’s productivity. Imagine the satisfaction of serving up a delicious cabbage dish made with vegetables you nurtured from seedling to table in record time!
Don’t be afraid to experiment with variations to suit your specific needs and preferences. For instance, if you live in a particularly hot climate, consider using a shade cloth to protect your young cabbage plants from excessive sun exposure during the initial stages of growth. You can also adjust the nutrient solution based on your soil type and the specific needs of your cabbage variety. Some gardeners have found success adding a small amount of Epsom salts to the solution to provide extra magnesium, which is essential for chlorophyll production and overall plant health. Another variation is to use different types of containers for starting your seedlings. Peat pots, for example, are biodegradable and can be planted directly into the ground, minimizing transplant shock.
Remember, gardening is all about learning and adapting. This DIY trick is a fantastic starting point, but don’t hesitate to tweak it and make it your own. The key is to observe your plants closely and adjust your approach as needed.
We are confident that this method will revolutionize your cabbage-growing experience. It’s easy, cost-effective, and delivers impressive results. So, grab your seeds, gather your supplies, and get ready to witness the magic of accelerated cabbage growth!
We’re eager to hear about your experiences with this DIY trick. Did it work as well for you as it did for us? Did you try any variations? What challenges did you encounter, and how did you overcome them? Share your stories, tips, and photos in the comments below. Let’s create a community of cabbage-growing enthusiasts and learn from each other’s successes and failures. Your feedback will not only help other gardeners but also contribute to refining this technique even further. Happy gardening!
Frequently Asked Questions (FAQ)
What type of cabbage is best suited for this quick-growing method?
While this method works well for most cabbage varieties, some tend to respond more favorably than others. Early-maturing varieties like ‘Early Jersey Wakefield’ or ‘Golden Acre’ are particularly well-suited for this accelerated growth technique. These varieties naturally have a shorter growing season, so this DIY trick can significantly speed up their development. However, don’t hesitate to experiment with other varieties like ‘Red Acre’ or ‘Savoy Cabbage’ to see how they perform. Just keep in mind that later-maturing varieties may still require a slightly longer growing period, even with this method. The key is to monitor your plants closely and adjust your expectations accordingly.
How often should I change the nutrient solution?
The frequency of changing the nutrient solution depends on several factors, including the size of your container, the temperature, and the rate at which your cabbage plants are growing. As a general rule, you should change the solution every 1-2 weeks. However, if you notice that the solution is becoming cloudy or discolored, or if your plants are showing signs of nutrient deficiency, you may need to change it more frequently. It’s also a good idea to top off the solution with fresh water as needed to maintain the proper level. Regularly monitoring the pH of the solution is also crucial. Cabbage thrives in a slightly acidic environment, with a pH between 6.0 and 6.8. You can use a pH meter or test strips to check the pH and adjust it accordingly using pH up or pH down solutions.
Can I use this method for other vegetables besides cabbage?
Yes, this method can be adapted for growing other vegetables, particularly those in the Brassica family, such as broccoli, cauliflower, and kale. However, you may need to adjust the nutrient solution and growing conditions to suit the specific needs of each vegetable. For example, broccoli and cauliflower may require a slightly different nutrient ratio than cabbage. It’s always a good idea to research the specific requirements of each vegetable before attempting to grow it using this method. Additionally, leafy greens like lettuce and spinach can also benefit from this accelerated growth technique. The key is to provide the right balance of nutrients, light, and moisture to support rapid growth.
What if my cabbage plants start to bolt (flower prematurely)?
Bolting is a common problem with cabbage and other leafy vegetables, especially during hot weather. It occurs when the plant prematurely produces a flower stalk, which can make the leaves bitter and unpalatable. To prevent bolting, it’s important to keep your cabbage plants cool and well-watered. If you live in a hot climate, consider providing shade during the hottest part of the day. You can also try planting bolt-resistant varieties of cabbage. If your plants do start to bolt, you can try harvesting the leaves as soon as possible, before they become too bitter. Alternatively, you can let the plant flower and collect the seeds for future planting.
Is it necessary to use a grow light, or can I rely on natural sunlight?
While natural sunlight is ideal for growing cabbage, a grow light can be beneficial, especially if you live in an area with limited sunlight or if you’re starting your seedlings indoors during the winter months. A grow light can provide consistent and uniform light, which can promote faster and more even growth. If you’re using a grow light, make sure to choose one that provides the appropriate spectrum of light for plant growth. LED grow lights are a popular choice because they are energy-efficient and produce very little heat. Position the grow light a few inches above your cabbage seedlings and adjust the height as they grow. If you’re relying on natural sunlight, make sure to place your cabbage plants in a location that receives at least 6-8 hours of direct sunlight per day.
How do I protect my cabbage plants from pests and diseases?
Cabbage plants are susceptible to a variety of pests and diseases, including cabbage worms, aphids, and clubroot. To protect your plants, it’s important to practice good garden hygiene. Remove any dead or diseased leaves promptly and keep the area around your plants free of weeds. You can also use row covers to protect your plants from pests. If you do encounter pests, you can try using organic pest control methods, such as insecticidal soap or neem oil. For diseases, make sure to provide good air circulation and avoid overwatering. If you suspect that your plants have a disease, consult with your local agricultural extension office for advice on treatment options. Crop rotation is also an effective way to prevent soilborne diseases from building up in your garden.


Leave a Comment