
Bean Sprouts Growing Beginners, listen up! Have you ever craved that fresh, crunchy bite of bean sprouts in your salad or stir-fry, but dreaded the grocery store trip? What if I told you that you could have a constant supply of these nutritional powerhouses right in your own kitchen, with minimal effort and maximum satisfaction?
Growing your own bean sprouts is not just a modern trend; it’s a practice with roots stretching back centuries. In many Asian cultures, sprouting seeds has been a vital part of the diet, providing essential vitamins and minerals, especially during colder months when fresh produce was scarce. Think of it as a tiny, edible time capsule, packed with history and goodness!
But why should *you* bother with this DIY project? Well, for starters, store-bought bean sprouts can sometimes be a bit…questionable. You never quite know how long they’ve been sitting on the shelf, or what they’ve been exposed to. By growing your own, you have complete control over the process, ensuring freshness and safety. Plus, it’s incredibly rewarding to watch those tiny seeds transform into crunchy, delicious sprouts in just a few days! This article is your ultimate guide to bean sprouts growing beginners, offering simple, step-by-step instructions and helpful tips to ensure your success. So, ditch the store-bought sprouts and let’s get sprouting!
Growing Bean Sprouts at Home: A Beginner’s Guide
Hey there, fellow sprout enthusiasts! Ever wondered how to grow those crunchy, delicious bean sprouts you find in your favorite Asian dishes? Well, guess what? It’s surprisingly easy to do at home, and I’m here to guide you through the entire process. Forget buying them from the store; let’s make our own fresh, organic sprouts!
What You’ll Need
Before we dive in, let’s gather our supplies. The beauty of this project is that you probably already have most of these items lying around:
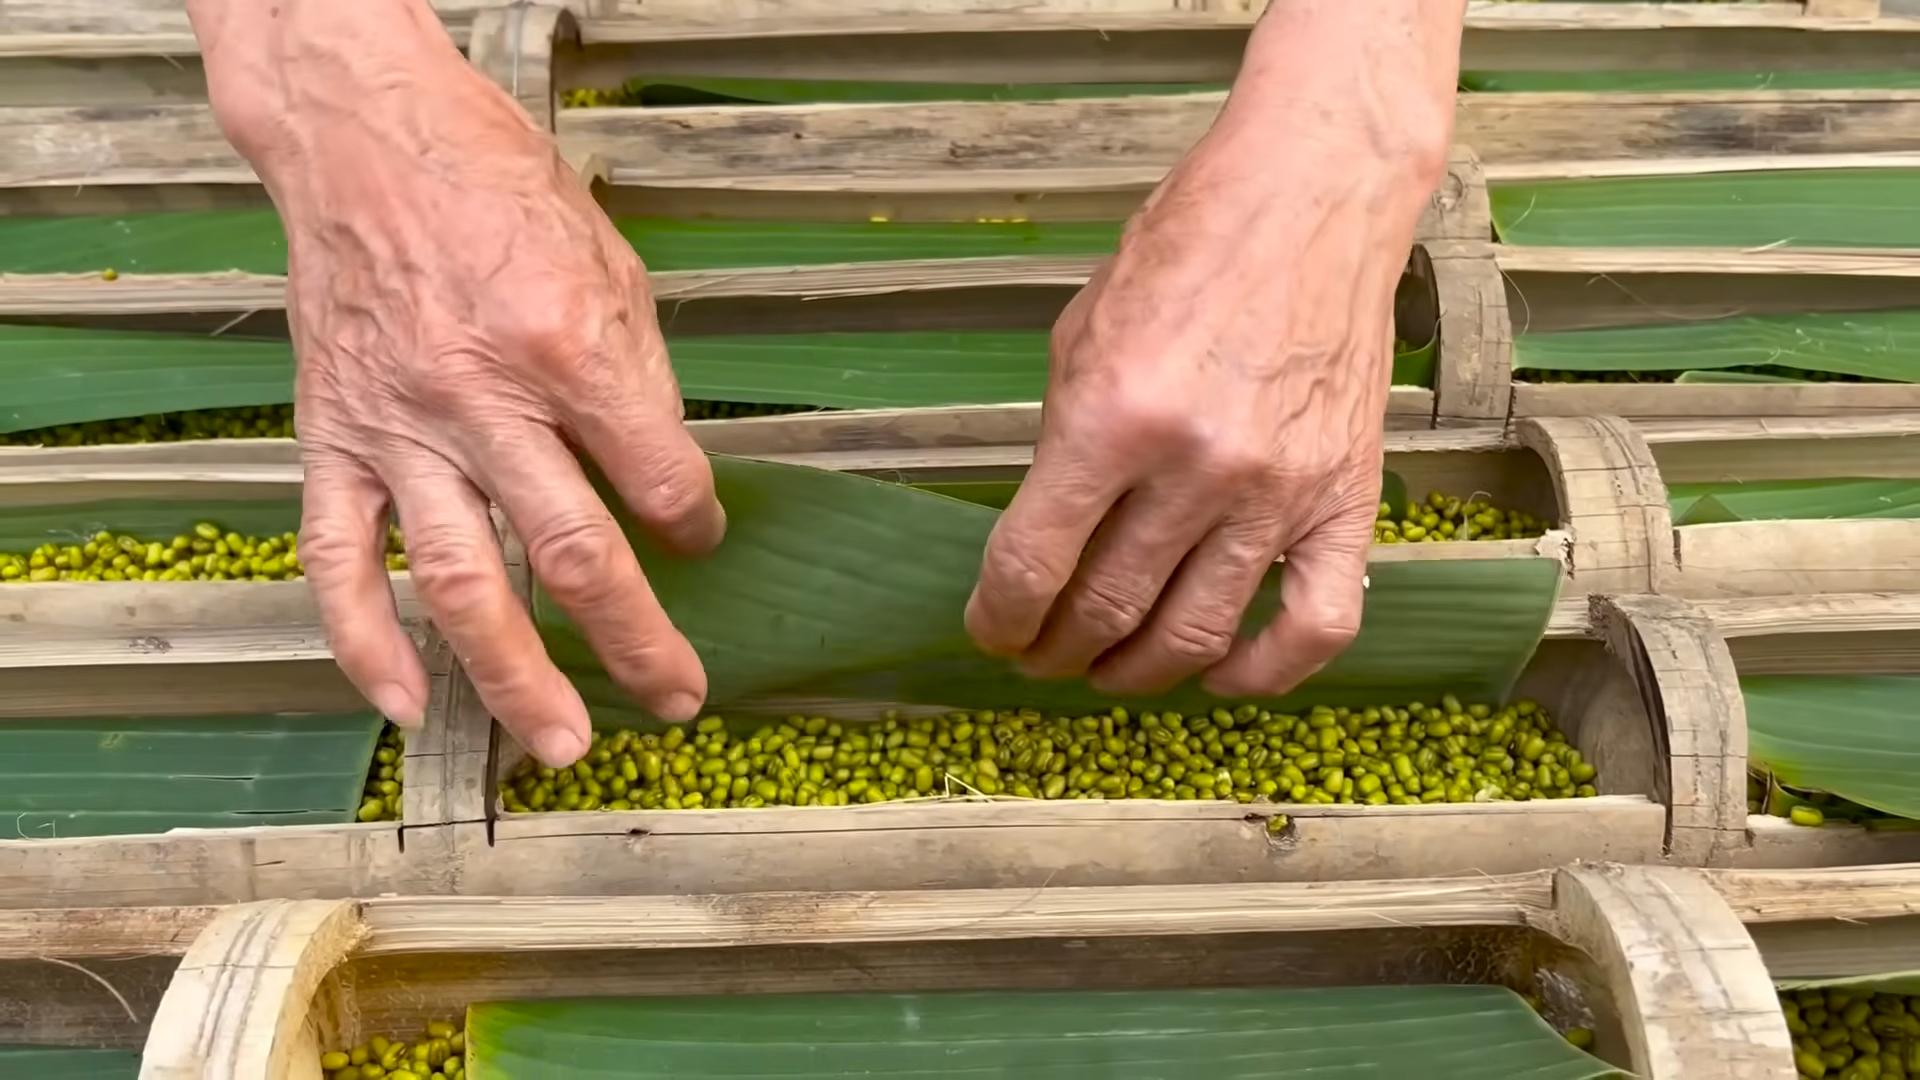
* **Beans:** Mung beans are the most common and easiest to sprout, but you can also experiment with adzuki beans, lentils, or even chickpeas. Make sure they are whole, dried beans specifically intended for sprouting or cooking, not treated for planting. About 1/2 cup of dried beans will yield a good amount of sprouts.
* **Wide-Mouth Jar:** A quart-sized mason jar works perfectly.
* **Sprouting Lid or Cheesecloth:** You’ll need something to cover the jar that allows for drainage and airflow. A sprouting lid is ideal, but a piece of cheesecloth secured with a rubber band works just as well.
* **Water:** Clean, filtered water is best.
* **Bowl:** For soaking the beans.
* **Dark Place:** A cupboard, pantry, or even a covered box will do.
* **Colander or Strainer:** For rinsing the sprouts.
Step-by-Step Sprouting Guide
Okay, let’s get sprouting! Here’s a detailed breakdown of each step:
1. **Soaking the Beans:**
* First, give your beans a good rinse under cool water. This helps remove any dust or debris.
* Place the rinsed beans in a bowl and cover them with plenty of water – about 2-3 times the volume of the beans. They’ll absorb a lot of water as they soak.
* Let the beans soak for 8-12 hours, or even overnight. This is crucial for activating the germination process. You’ll notice they’ll swell up considerably.
* After soaking, drain the beans thoroughly using a colander or strainer.
2. **Setting Up Your Sprouting Jar:**
* Transfer the soaked beans to your clean, wide-mouth jar.
* Cover the jar with your sprouting lid or cheesecloth secured with a rubber band.
* Rinse the beans again through the lid or cheesecloth, ensuring all the water drains out. This is important to prevent mold growth.
* Invert the jar at an angle in a bowl or on a dish rack. This allows any excess water to drain out and promotes airflow.
3. **The Sprouting Process (Rinsing and Draining):**
* This is the most important part! You need to rinse and drain your sprouts 2-3 times a day. This keeps them hydrated and prevents them from drying out or getting moldy.
* To rinse, simply run cool water through the sprouting lid or cheesecloth, making sure all the beans get wet.
* Drain the water thoroughly by inverting the jar again at an angle.
* After rinsing and draining, place the jar in a dark, well-ventilated place. Darkness encourages the sprouts to grow long and white. Avoid direct sunlight, as it can make them bitter.
4. **Monitoring and Troubleshooting:**
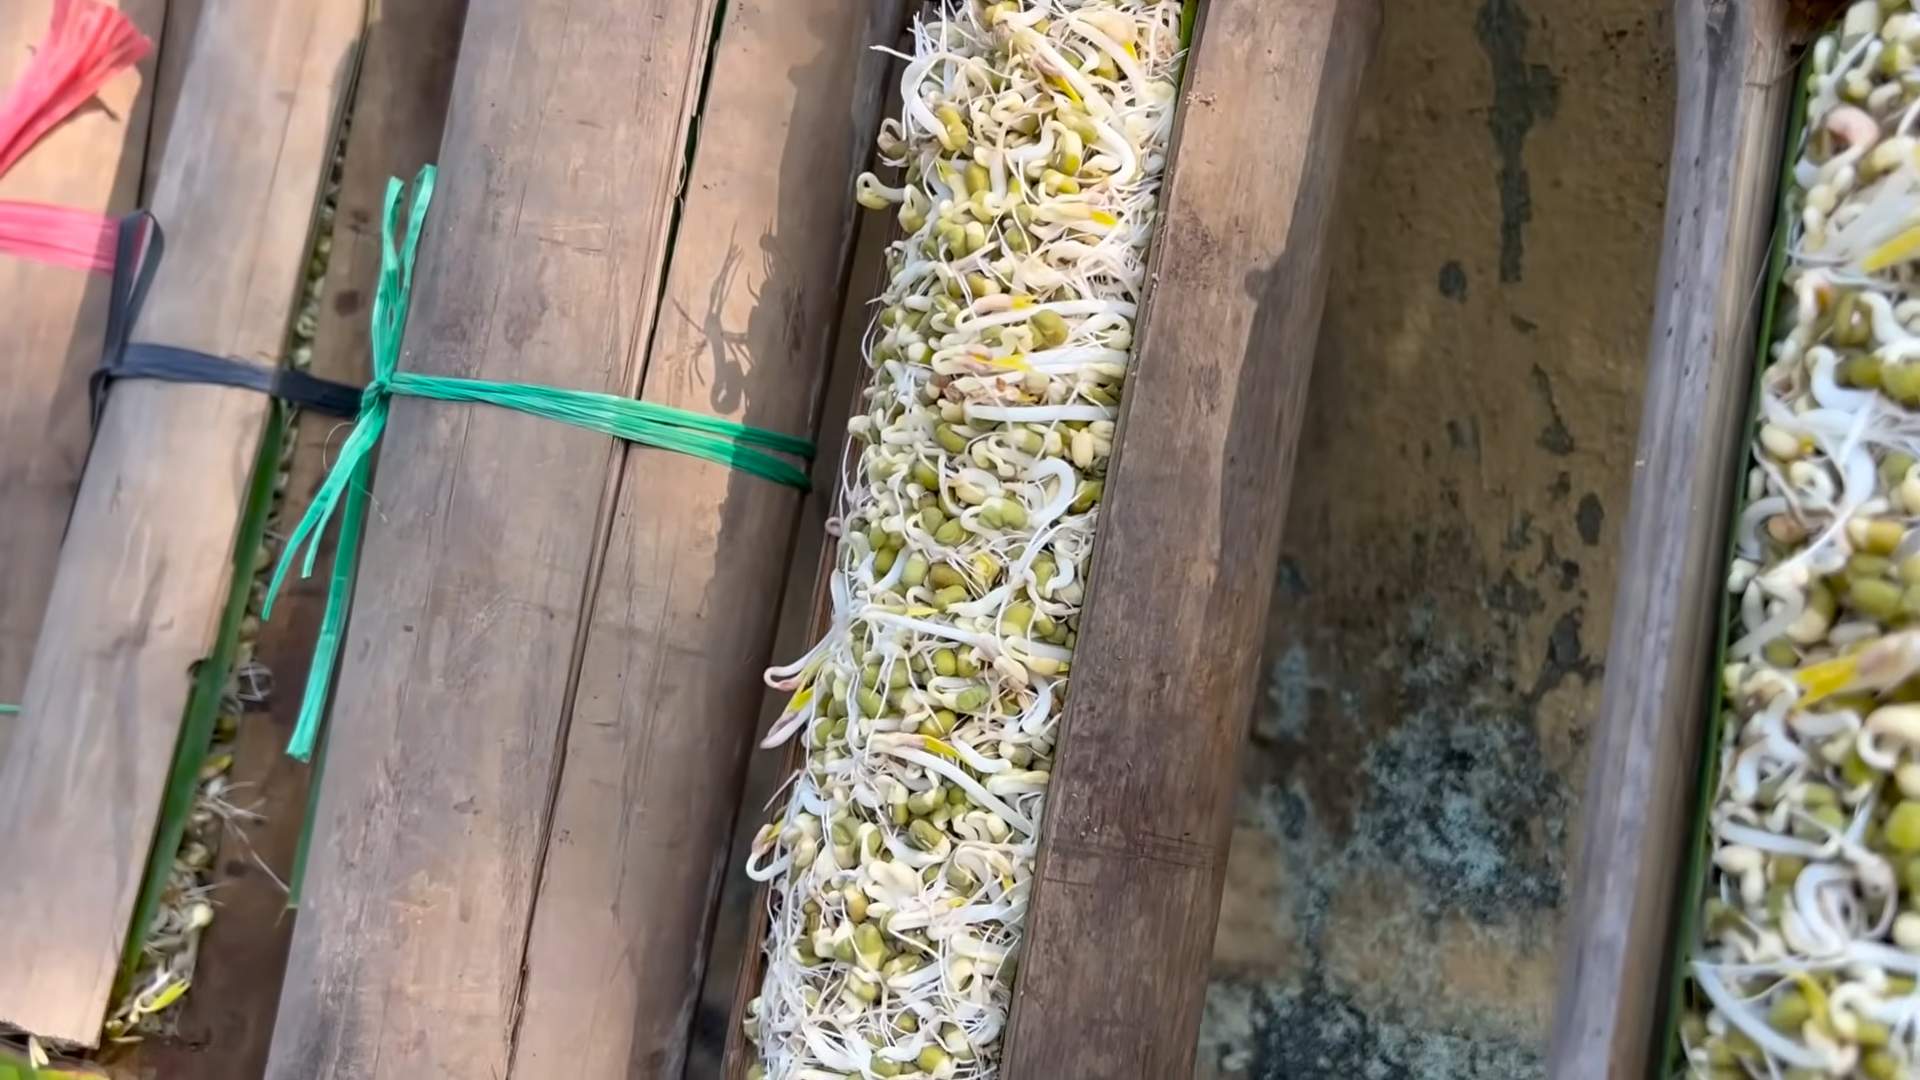
* Check your sprouts daily. You should start seeing tiny tails (the roots) emerging within a day or two.
* If you notice any mold growth (it will usually appear as fuzzy white or gray patches), discard the entire batch. Mold is a sign that the sprouts aren’t draining properly or that the environment is too humid.
* Make sure to rinse and drain more frequently if you live in a humid climate.
* If your sprouts are drying out, increase the frequency of rinsing.
5. **Harvesting Your Sprouts:**
* Your bean sprouts will be ready to harvest in about 3-5 days, depending on the temperature and humidity. They should be about 1-2 inches long.
* Once they’ve reached your desired length, give them a final rinse and remove any remaining bean hulls (the outer skins). This is optional, but it makes them look nicer.
* Spread the sprouts out on a clean kitchen towel to dry slightly.
6. **Storing Your Sprouts:**
* Store your harvested bean sprouts in an airtight container in the refrigerator. They should last for about a week.
* To keep them fresh, you can line the container with a paper towel to absorb any excess moisture.
Tips and Tricks for Sprout Success
Here are a few extra tips to help you become a sprouting pro:
* Use good quality beans: Older beans may have a lower germination rate.
* Maintain a consistent temperature: Ideally, the temperature should be between 70-75°F (21-24°C).
* Don’t overcrowd the jar: Too many beans in the jar can lead to poor airflow and mold growth.
* Experiment with different beans: Once you’ve mastered mung bean sprouts, try sprouting other types of beans and seeds.
* Enjoy your sprouts! Add them to salads, sandwiches, stir-fries, soups, or eat them as a snack.
Troubleshooting Common Problems
Let’s address some common issues you might encounter:
* **Mold Growth:** As mentioned earlier, mold is usually caused by insufficient drainage or poor airflow. Make sure you’re rinsing and draining your sprouts thoroughly 2-3 times a day. You can also try using a larger jar or reducing the amount of beans you’re sprouting.
* **Slow Growth:** Slow growth can be due to several factors, including low temperature, old beans, or insufficient moisture. Make sure your sprouts are in a warm place and that you’re rinsing them regularly.
* **Bitter Taste:** A bitter taste can be caused by exposure to light. Make sure your sprouts are kept in a dark place.
* **Rotting:** Rotting is a sign of overwatering or poor drainage. Reduce the frequency of rinsing and ensure the jar is draining properly.
Beyond Mung Beans: Exploring Other Sprouting Options
While mung beans are a great starting point, the world of sprouting is vast and exciting! Here are a few other options to consider:
* **Alfalfa Sprouts:** These are delicate and slightly sweet, perfect for salads and sandwiches.
* **Radish Sprouts:** These have a peppery kick and add a zesty flavor to any dish.
* **Broccoli Sprouts:** These are packed with nutrients and have a mild, slightly cabbage-like flavor.
* **Lentil Sprouts:** These are hearty and filling, great for soups and stews.
* **Adzuki Bean Sprouts:** Similar to mung beans, but with a slightly sweeter flavor.
The sprouting process is generally the same for all these options, but the sprouting time may vary. Be sure to research the specific requirements for each type of bean or seed.
Why Sprout? The Benefits of Homegrown Sprouts
Growing your own bean sprouts isn’t just a fun project; it’s also a healthy and sustainable way to add fresh, nutritious food to your diet. Here are some of the benefits:
* Nutrient-Rich: Sprouts are packed with vitamins, minerals, and enzymes. The sprouting process actually increases the nutritional value of the beans.
* Easy to Digest: Sprouting breaks down complex carbohydrates, making the beans easier to digest.
* Cost-Effective: Growing your own sprouts is much cheaper than buying them from the store.
* Sustainable: Sprouting is a sustainable way to produce food, as it requires very little water and energy.
* Fresh and Flavorful: Homegrown sprouts are fresher and more flavorful than store-bought sprouts.
* Fun and Educational: Sprouting is a fun and educational activity for kids and adults alike.
So, there you have it! Everything you need to know to start growing your own delicious and nutritious bean sprouts at home. It might seem a little daunting at first, but trust me, once you get the hang of it, you’ll be sprouting like a pro in no time. Happy sprouting!
Conclusion
So, there you have it! Growing your own bean sprouts at home is not only incredibly easy and cost-effective, but it also provides you with a constant supply of fresh, nutritious ingredients right at your fingertips. Forget those limp, often questionable bean sprouts from the grocery store – with this simple DIY trick, you can cultivate crisp, flavorful sprouts bursting with vitality.
Why is this a must-try? Because it empowers you to take control of your food source, reduces food waste, and adds a delightful touch of green to your kitchen. Plus, the satisfaction of watching those tiny seeds transform into edible sprouts is surprisingly rewarding. It’s a fantastic project for beginners, a fun activity to do with kids, and a sustainable way to enhance your meals.
But don’t stop there! Experiment with different types of beans. Mung beans are the classic choice, but you can also try adzuki beans, lentils, or even chickpeas. Each variety offers a unique flavor and texture profile, adding exciting variations to your salads, stir-fries, and sandwiches. Consider adding a touch of spice to your sprouting water for a subtle flavor infusion. A pinch of turmeric or a few drops of hot sauce can add a delightful kick to your bean sprouts.
Another variation to explore is the sprouting method itself. While the jar method is incredibly popular and easy, you can also use a sprouting tray or even a simple colander lined with cheesecloth. Each method has its own advantages, so feel free to experiment and find what works best for you.
The key to successful bean sprout cultivation lies in maintaining a consistent environment – adequate moisture, proper drainage, and sufficient airflow. Don’t be afraid to adjust the watering schedule based on your local climate and the specific type of bean you’re using. Remember, observation is key! Pay attention to the sprouts’ appearance and adjust your technique accordingly.
We wholeheartedly encourage you to give this DIY trick a try. It’s a simple, rewarding, and sustainable way to add fresh, nutritious bean sprouts to your diet. And most importantly, have fun with it! Embrace the process, experiment with different variations, and enjoy the delicious results.
Once you’ve mastered the art of growing your own bean sprouts, we’d love to hear about your experience! Share your tips, tricks, and variations in the comments below. Let’s build a community of sprout enthusiasts and inspire others to embrace the joy of homegrown goodness. Show us your pictures of your beautiful bean sprouts! Let’s get sprouting!
Frequently Asked Questions (FAQ)
What types of beans are best for sprouting?
Mung beans are the most popular and easiest to sprout, making them a great choice for beginners. However, you can also successfully sprout adzuki beans, lentils, chickpeas, and even some types of peas. Avoid sprouting kidney beans, as they contain toxins that are only destroyed by thorough cooking. Always use beans specifically intended for sprouting or cooking, not raw beans from the garden, as these may not be safe to consume raw.
How long does it take for bean sprouts to grow?
Generally, bean sprouts will be ready to harvest in 3-5 days. The exact time will depend on the type of bean, the temperature, and the humidity. Keep a close eye on your sprouts and harvest them when they reach your desired length and crispness.
How often should I rinse the bean sprouts?
Rinse your bean sprouts at least twice a day, preferably three times, with cool, fresh water. This helps to keep them moist, prevent mold growth, and remove any accumulated waste products. Ensure thorough drainage after each rinse.
What if my bean sprouts start to smell bad?
A foul odor is usually a sign of bacterial growth or mold. This can happen if the sprouts are not rinsed frequently enough or if the environment is too warm and humid. If you notice a bad smell, discard the sprouts immediately and start a new batch, paying closer attention to hygiene and ventilation.
Can I eat the bean sprout roots?
Yes, the roots of bean sprouts are perfectly edible. They are a natural part of the sprout and contribute to its overall texture and flavor.
How do I store bean sprouts?
Once harvested, store your bean sprouts in an airtight container in the refrigerator. They will typically last for up to a week. To maintain their crispness, you can line the container with a paper towel to absorb excess moisture.
Are bean sprouts nutritious?
Yes, bean sprouts are a good source of vitamins, minerals, and enzymes. They are low in calories and fat and high in fiber. They are particularly rich in vitamin C, vitamin K, and folate.
Can I grow bean sprouts without a jar?
Yes, you can use a variety of methods to grow bean sprouts. Sprouting trays, colanders lined with cheesecloth, or even specialized sprouting bags can all be used successfully. The key is to provide adequate moisture, drainage, and airflow.
What if my bean sprouts are not growing?
Several factors can contribute to slow or stalled growth. Ensure that the beans are viable and not too old. Check the temperature – bean sprouts prefer a cool, but not cold, environment. Make sure they are being rinsed frequently enough and that they have adequate drainage. Also, ensure they are not exposed to direct sunlight, which can overheat them.
Can I grow bean sprouts in direct sunlight?
No, bean sprouts should not be grown in direct sunlight. Direct sunlight can overheat the sprouts and cause them to dry out or even cook. They prefer a cool, shaded environment. Indirect light is fine, but avoid direct exposure.
How do I prevent mold growth on my bean sprouts?
The key to preventing mold growth is to maintain good hygiene and ventilation. Rinse the sprouts frequently with cool, fresh water, ensuring thorough drainage after each rinse. Avoid overcrowding the sprouts in the jar or container. Ensure that the environment is not too warm or humid. If you notice any signs of mold, discard the sprouts immediately.
Are there any risks associated with eating raw bean sprouts?
While generally safe, raw bean sprouts can sometimes harbor bacteria, such as Salmonella or E. coli. To minimize this risk, purchase sprouting beans from a reputable source, rinse the sprouts thoroughly before eating, and store them properly in the refrigerator. Individuals with weakened immune systems, pregnant women, and young children should exercise extra caution and may consider lightly cooking the sprouts before consumption.
Leave a Comment