
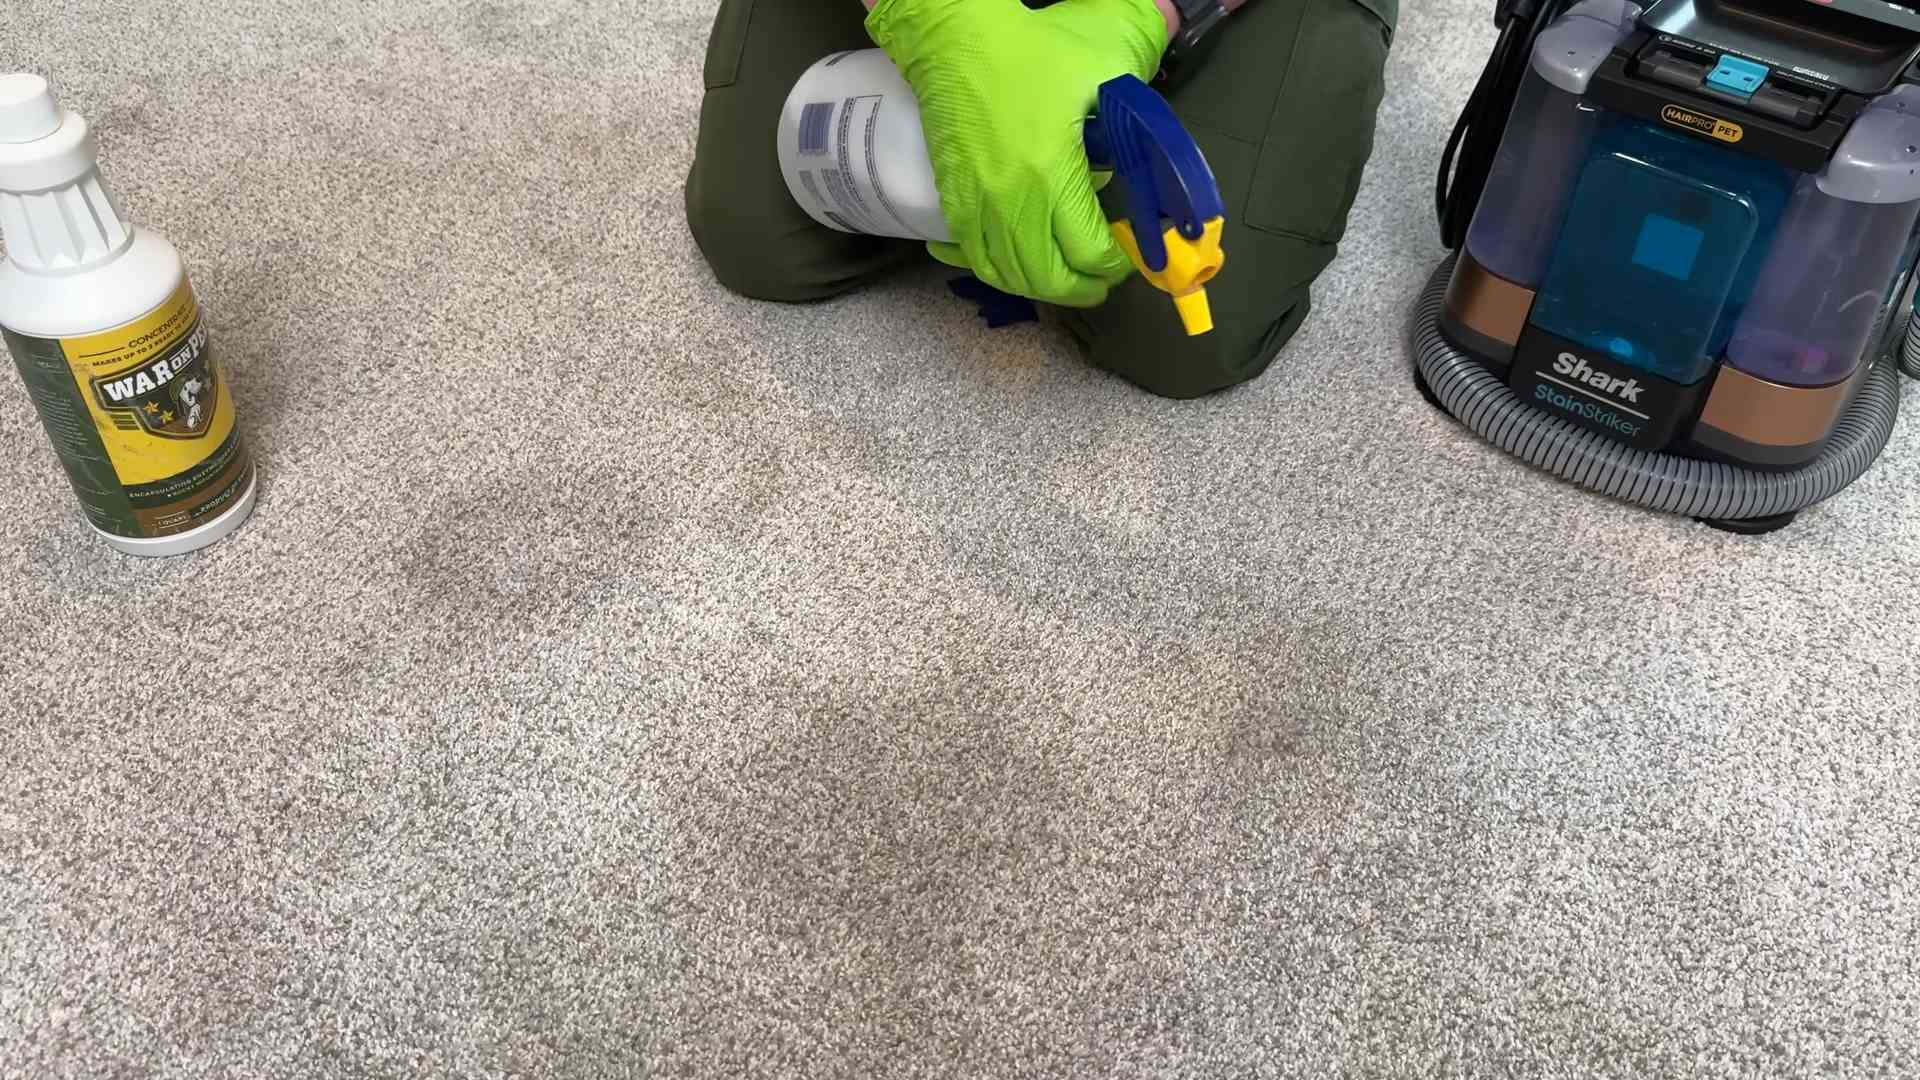
Best pet cleaning products – let’s face it, as much as we adore our furry companions, they can sometimes leave behind a bit of a mess! From muddy paw prints to the occasional “accident,” keeping our homes clean with pets can feel like a never-ending battle. But fear not, fellow pet parents! I’m here to share some amazing DIY cleaning tricks and product recommendations that will not only keep your house sparkling but also ensure the safety and well-being of your beloved animals.
Historically, keeping homes clean around animals has been a concern for centuries. In many cultures, specific herbs and natural remedies were used to disinfect and deodorize living spaces shared with animals. Today, we have access to a wider range of products, but it’s crucial to choose wisely. Many commercial cleaners contain harsh chemicals that can be harmful to pets, leading to skin irritation, respiratory problems, or even poisoning. That’s why I’m so excited to delve into the world of DIY and pet-safe cleaning solutions!
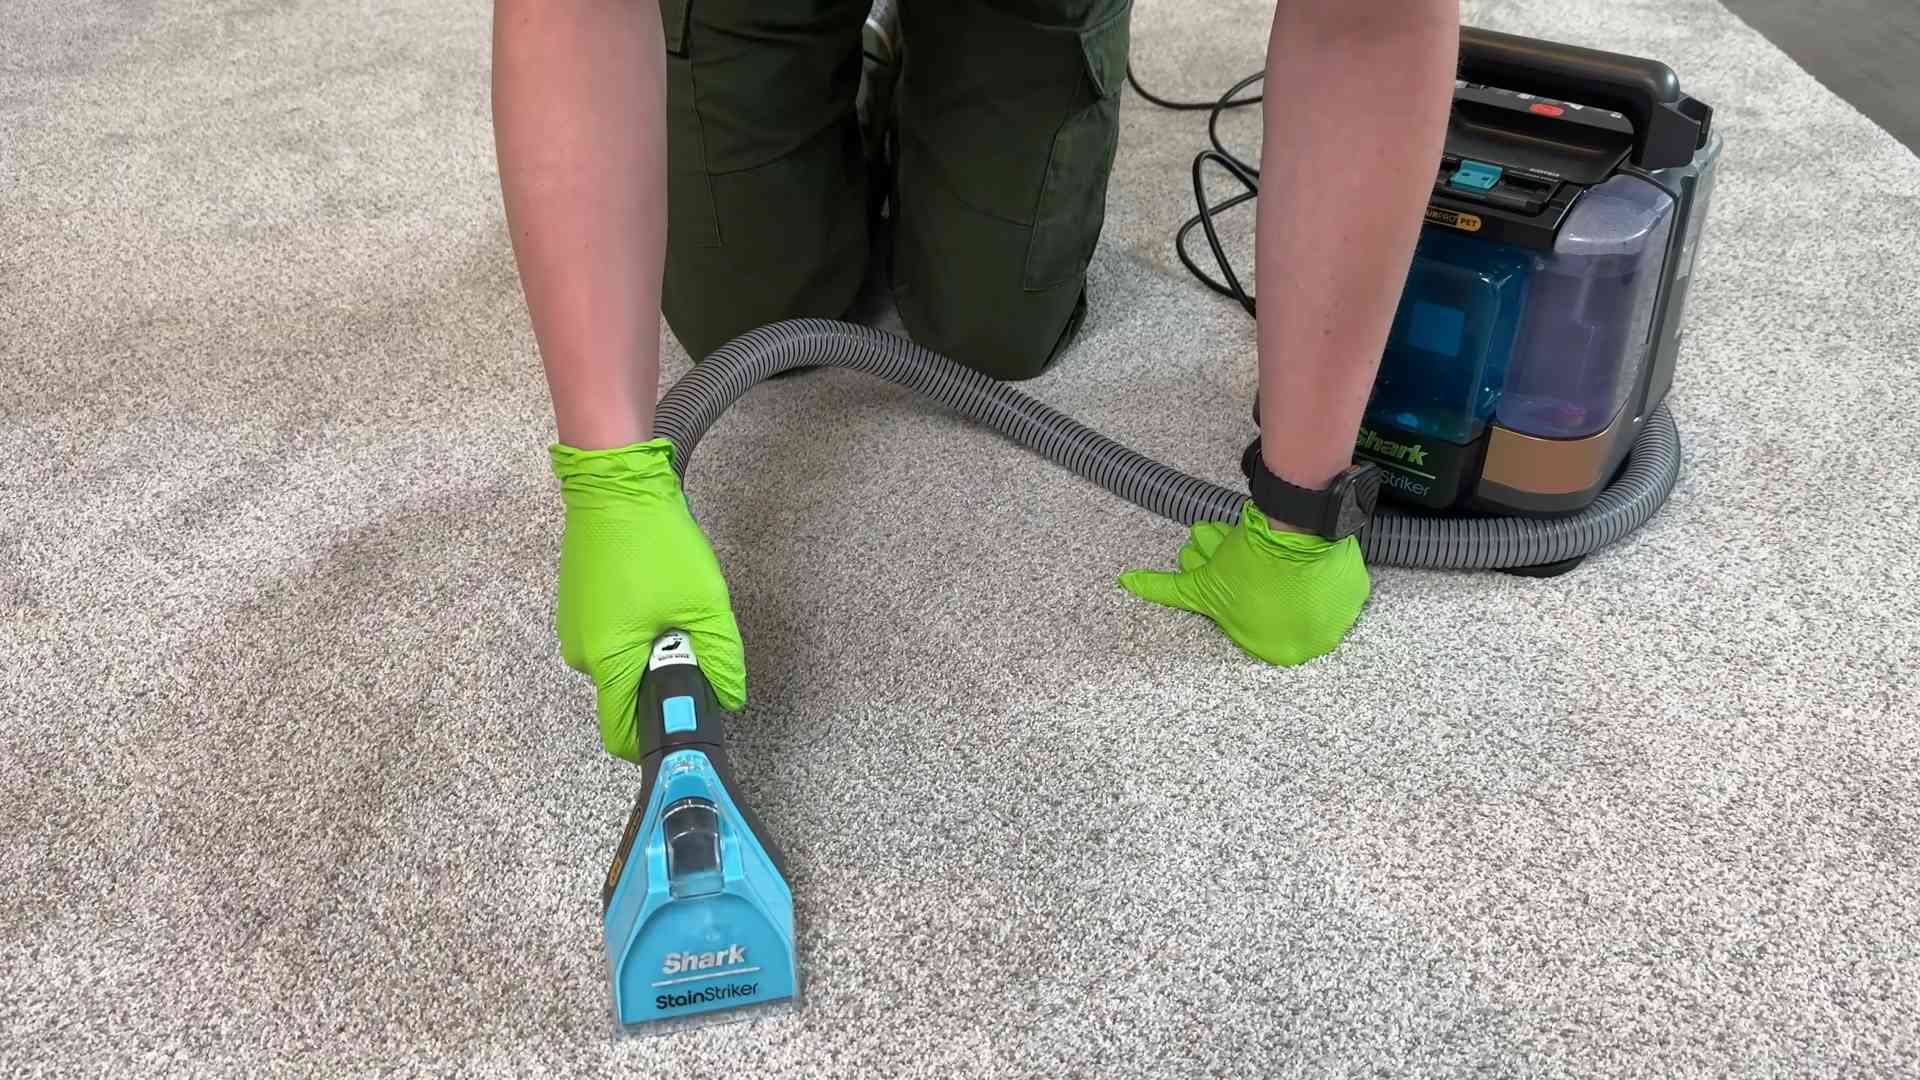
This article is your ultimate guide to creating your own best pet cleaning products using simple, readily available ingredients. I’ll show you how to tackle common pet-related messes with ease, from removing stubborn stains to eliminating lingering odors. Plus, I’ll share my top picks for commercially available pet-friendly cleaners that you can trust. Get ready to say goodbye to pet messes and hello to a clean, happy home for both you and your furry friends!
Grow Your Own Salad: A Beginner’s Guide to Container Lettuce Gardening
Okay, lettuce lovers! Are you dreaming of fresh, crisp salads right outside your door? You don’t need a huge garden to make that dream a reality. Growing lettuce in containers is super easy, even if you’re a complete beginner. I’m going to walk you through everything you need to know, from choosing the right container to harvesting your delicious leafy greens. Let’s get started!
Choosing the Right Container and Soil
First things first, let’s talk about where your lettuce will call home. The right container and soil are crucial for a happy and productive lettuce patch.
* Container Size: Lettuce doesn’t need super deep containers because its roots are relatively shallow. A container that’s at least 6 inches deep and 6 inches wide is a good starting point for a single head of lettuce. For multiple plants, consider a larger container, like a window box or a wide planter. I’ve had great success with containers that are about 12 inches deep and 24 inches long, allowing me to grow several different lettuce varieties together.
* Drainage: This is non-negotiable! Lettuce hates soggy roots. Make sure your container has drainage holes at the bottom. If it doesn’t, you’ll need to drill some. Trust me, it’s worth the effort to prevent root rot.
* Container Material: Plastic, terracotta, ceramic – the choice is yours! Plastic containers are lightweight and retain moisture well, which can be helpful in hot climates. Terracotta pots are more breathable, which can prevent overwatering, but they also dry out faster. Ceramic pots are beautiful but can be heavy. Consider your climate and watering habits when making your decision. I personally love using recycled plastic containers – it’s a great way to be eco-friendly!
* Potting Mix: Don’t use garden soil in your containers! It’s too heavy and doesn’t drain well. Instead, opt for a high-quality potting mix specifically designed for containers. Look for a mix that contains peat moss, perlite, and vermiculite. These ingredients help with drainage, aeration, and moisture retention. You can also add some compost to the mix for extra nutrients. I usually mix in about 25% compost to give my lettuce a boost.
Planting Your Lettuce
Now that you’ve got your container and soil sorted, it’s time to get planting! You have two options: starting from seeds or using transplants (small lettuce plants you buy from a nursery).
* Starting from Seeds: This is the most economical option, and it gives you a wider variety of lettuce to choose from.
* Sowing Seeds: Sprinkle the lettuce seeds evenly over the surface of the potting mix. Lettuce seeds are tiny, so don’t bury them too deep. Gently press them into the soil or cover them with a very thin layer of potting mix (about 1/4 inch).
* Watering: Gently water the soil using a spray bottle or a watering can with a gentle rose head. You want to keep the soil consistently moist but not waterlogged.
* Germination: Lettuce seeds germinate best in cool temperatures (60-70°F). Keep the container in a bright location but out of direct sunlight until the seedlings emerge. Germination usually takes about 7-14 days.
* Thinning: Once the seedlings have a few true leaves (the leaves that look like miniature lettuce leaves), you’ll need to thin them out. This means removing some of the seedlings so that the remaining plants have enough space to grow. Aim for a spacing of about 4-6 inches between plants. Don’t just pull them out! Gently snip them off at the soil line with scissors to avoid disturbing the roots of the remaining plants.
* Using Transplants: This is a faster and easier option, especially if you’re new to gardening.
* Choosing Transplants: Look for healthy-looking transplants with vibrant green leaves and a strong root system. Avoid plants that are yellowed, wilted, or have signs of pests or diseases.
* Planting Transplants: Dig a small hole in the potting mix that’s large enough to accommodate the root ball of the transplant. Gently remove the transplant from its container and loosen the roots slightly. Place the transplant in the hole and backfill with potting mix, gently firming the soil around the base of the plant.
* Spacing: Space the transplants about 4-6 inches apart.
Step-by-Step Planting Instructions (Whether Seeds or Transplants):
1. Prepare the Container: Fill your chosen container with the potting mix, leaving about an inch of space at the top.
2. Moisten the Soil: Water the potting mix thoroughly until water drains out of the drainage holes.
3. Plant Your Lettuce: Follow the instructions above for either starting from seeds or using transplants.
4. Label Your Lettuce: If you’re growing multiple varieties of lettuce, label each one so you know what you’re harvesting. I use popsicle sticks and a permanent marker.
5. Find the Right Spot: Place the container in a location that receives at least 4-6 hours of sunlight per day. Lettuce prefers morning sun and afternoon shade, especially in hot climates.
Caring for Your Container Lettuce
Once your lettuce is planted, it’s important to provide it with the right care to ensure a bountiful harvest.
* Watering: Lettuce needs consistent moisture, but it doesn’t like to be waterlogged. Water deeply whenever the top inch of soil feels dry to the touch. Avoid overhead watering, as this can lead to fungal diseases. Instead, water at the base of the plant. I find that watering every other day is usually sufficient, but this will depend on the weather and the type of container you’re using.
* Fertilizing: Lettuce is a relatively light feeder, but it will benefit from occasional fertilization. Use a balanced liquid fertilizer diluted to half strength every 2-3 weeks. You can also add some compost tea to the soil for an extra boost of nutrients.
* Sunlight: As mentioned earlier, lettuce needs at least 4-6 hours of sunlight per day. If you live in a hot climate, provide some afternoon shade to prevent the leaves from scorching.
* Pest Control: Keep an eye out for common lettuce pests, such as aphids, slugs, and snails. You can control aphids with a strong spray of water or by introducing beneficial insects like ladybugs. Slugs and snails can be handpicked or trapped with beer traps. I also like to use diatomaceous earth around my lettuce plants as a natural pest deterrent.
* Weed Control: Keep the container free of weeds, as they can compete with the lettuce for nutrients and water. Gently pull out any weeds that appear.
Harvesting Your Lettuce
The best part of growing your own lettuce is, of course, harvesting it! You can start harvesting lettuce leaves as soon as they are large enough to eat, usually about 4-6 inches long.
* Cut-and-Come-Again Method: This is the most common method for harvesting lettuce. Simply cut off the outer leaves, leaving the inner leaves to continue growing. This allows you to harvest lettuce from the same plant multiple times.
* Harvesting the Whole Head: If you prefer to harvest the entire head of lettuce at once, cut it off at the base of the plant.
* Timing: Harvest lettuce in the morning, when the leaves are crisp and cool. Avoid harvesting during the heat of the day, as the leaves will be more likely to wilt.
* Storage: Store harvested lettuce in the refrigerator in a plastic bag or container. It will keep for several days.
Troubleshooting
Even with the best care, you might encounter some problems when growing lettuce in containers. Here are a few common issues and how to address them:
* Yellowing Leaves: This can be caused by overwatering, underwatering, nutrient deficiencies, or pests. Check the soil moisture and adjust your watering accordingly. Fertilize the lettuce with a balanced fertilizer. Inspect the plants for pests and treat them as needed.
* Wilting Leaves: This is usually caused by underwatering or heat stress. Water the lettuce deeply and provide some afternoon shade.
* Bolting: Bolting is when the lettuce plant sends up a flower stalk and the leaves become bitter. This is usually caused by hot weather. To prevent bolting, plant lettuce in the spring or fall, and provide some afternoon shade. Choose bolt-resistant varieties. Once lettuce bolts, the leaves are generally not palatable.
* Pests: As mentioned earlier, aphids, slugs, and snails are common lettuce pests. Control them with a strong spray of water, beneficial insects, beer traps, or diatomaceous earth.
Choosing Lettuce Varieties
There are so many different types of lettuce to choose from! Here are a few of my favorites:
* Loose-Leaf Lettuce: This type of lettuce has loose, individual leaves that are easy to harvest. Some popular
Conclusion
So, there you have it! This simple yet effective DIY pet cleaning solution is a game-changer for any pet owner tired of harsh chemicals and expensive store-bought products. We’ve shown you how to create a powerful, natural cleaner that’s safe for your furry friends and your home. The beauty of this method lies in its simplicity and adaptability. You’re not just buying a product; you’re crafting a solution tailored to your specific needs and preferences.
Why is this DIY trick a must-try? Because it offers a trifecta of benefits: it’s cost-effective, environmentally friendly, and, most importantly, safe for your beloved pets. Commercial cleaners often contain ingredients that can irritate your pet’s skin, cause respiratory problems, or even be toxic if ingested. This homemade solution eliminates those risks, giving you peace of mind while keeping your home sparkling clean. Plus, the satisfaction of creating something yourself, knowing exactly what’s in it, is an added bonus.
Beyond the Basic Recipe: Unleash Your Creativity
Don’t be afraid to experiment! The basic recipe is a fantastic starting point, but you can easily customize it to suit your specific needs and preferences. For instance, if you have a particularly smelly pet, consider adding a few extra drops of essential oil known for its deodorizing properties, such as lemon or eucalyptus (always ensure the essential oils are pet-safe and properly diluted). If you’re dealing with tough stains, a pre-treatment with a baking soda paste can work wonders before applying the cleaner.
Here are a few variations to consider:
* **For delicate surfaces:** Dilute the solution further with water to prevent any potential damage.
* **For upholstery:** Test the cleaner on an inconspicuous area first to ensure colorfastness.
* **For hardwood floors:** Use a microfiber mop and avoid excessive moisture.
* **For a refreshing scent boost:** Infuse your vinegar with citrus peels or herbs for a few weeks before using it in the recipe. This adds a subtle, natural fragrance to your cleaner.
Take the Plunge and Share Your Success!
We wholeheartedly encourage you to give this DIY pet cleaning solution a try. It’s a small change that can make a big difference in your pet’s health and your home’s cleanliness. Once you’ve experienced the benefits firsthand, we’d love to hear about your results! Share your experiences, variations, and tips in the comments below. Let’s build a community of pet owners who are committed to creating a safer, healthier environment for their furry companions. Your feedback will not only help other readers but also inspire us to continue developing and sharing innovative DIY solutions. Remember, a clean home and a happy pet are just a few simple ingredients away! Let’s ditch the harsh chemicals and embrace the power of natural cleaning. This DIY pet cleaning solution is the answer.
Frequently Asked Questions (FAQ)
Is this DIY pet cleaning solution safe for all pets?
Generally, yes, this DIY pet cleaning solution is safe for most pets, including dogs, cats, rabbits, and other common household animals. The ingredients – water, vinegar, and dish soap – are typically non-toxic when used in diluted form. However, it’s crucial to exercise caution and observe your pet for any adverse reactions. If your pet has sensitive skin or allergies, it’s always best to perform a patch test on a small, inconspicuous area before applying the cleaner more broadly. Additionally, ensure that the essential oils you use are pet-safe and properly diluted, as some essential oils can be harmful to animals. When in doubt, consult with your veterinarian.
What type of vinegar should I use?
White distilled vinegar is the recommended choice for this DIY pet cleaning solution. It’s readily available, inexpensive, and has a neutral odor that dissipates quickly. Avoid using colored or flavored vinegars, as they may contain additives that could be harmful to your pet or stain your surfaces. Apple cider vinegar can be used as a substitute, but it has a stronger odor that some people may find unpleasant.
What kind of dish soap is best?
Opt for a mild, unscented dish soap that is free of harsh chemicals, dyes, and fragrances. Look for options labeled as “natural” or “hypoallergenic.” Avoid using dish soaps that contain antibacterial agents, as these can be harmful to pets if ingested. A small amount of dish soap is all you need to help cut through grease and grime.
Can I use this cleaner on all surfaces?
While this DIY pet cleaning solution is generally safe for most surfaces, it’s always a good idea to test it on an inconspicuous area first, especially on delicate materials like upholstery, hardwood floors, or painted surfaces. Vinegar is acidic and can potentially damage certain finishes. For hardwood floors, use a microfiber mop and avoid excessive moisture. For upholstery, blot the cleaner gently and avoid rubbing. If you’re unsure, consult the manufacturer’s instructions for the surface you’re cleaning.
How often can I use this cleaner?
You can use this DIY pet cleaning solution as often as needed, depending on your pet’s shedding habits and the frequency of messes. For general cleaning, once or twice a week should suffice. For spot cleaning, you can use it as needed. Just be sure to allow the surface to dry completely after cleaning to prevent mold or mildew growth.
How should I store the DIY pet cleaning solution?
Store the DIY pet cleaning solution in a clean, labeled spray bottle. Keep it out of reach of children and pets. The solution should be stable for several weeks when stored at room temperature. If you notice any changes in color or odor, discard the solution and make a fresh batch.
My pet licked the cleaner. What should I do?
While the ingredients in this DIY pet cleaning solution are generally non-toxic, it’s always best to err on the side of caution. If your pet licks a small amount of the cleaner, monitor them for any signs of distress, such as vomiting, diarrhea, or excessive drooling. If they exhibit any of these symptoms, contact your veterinarian immediately. If your pet ingests a large amount of the cleaner, seek veterinary attention immediately.
Can I add essential oils to this cleaner?
Yes, you can add essential oils to this cleaner for added fragrance and potential benefits, but it’s crucial to choose pet-safe essential oils and dilute them properly. Some essential oils, such as tea tree oil, pennyroyal, and wintergreen, are toxic to pets. Safe options include lavender, chamomile, and cedarwood. Always dilute essential oils with a carrier oil, such as water, before adding them to the cleaner. Start with a small amount and increase as needed, but never exceed the recommended dilution ratio. If you’re unsure about the safety of a particular essential oil, consult with your veterinarian.
The vinegar smell is too strong. How can I reduce it?
The vinegar smell will dissipate quickly once the cleaner dries. However, if you find the smell too strong, you can try a few things to reduce it. First, use less vinegar in the recipe. Second, add a few drops of pet-safe essential oil to mask the vinegar smell. Third, infuse your vinegar with citrus peels or herbs for a few weeks before using it in the recipe. This will add a subtle, natural fragrance to your cleaner. Finally, ensure that the area is well-ventilated while cleaning.
This cleaner isn’t working on tough stains. What can I do?
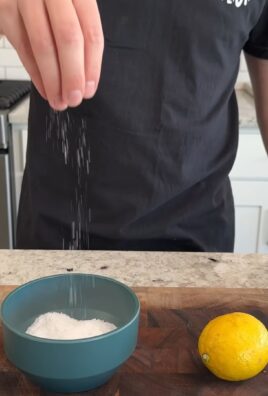
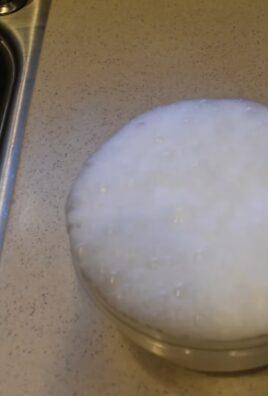
For tough stains, pre-treat the area with a baking soda paste before applying the cleaner. Mix baking soda with a small amount of water to form a paste, apply it to the stain, and let it sit for 15-20 minutes. Then, wipe away the paste and apply the DIY pet cleaning solution. You can also try using a scrub brush to agitate the stain. For particularly stubborn stains, you may need to repeat the process or use a stronger cleaning solution.
Leave a Comment