
Bok Choy Grow Bags: Your Guide to Easy Homegrown Greens
Bok Choy Grow Bags – I’ve always loved the crisp, slightly sweet taste of bok choy, but the thought of dedicating precious garden space to it, especially with limited outdoor area, always seemed daunting. That’s why I’m so excited to share my secrets to successfully growing this delicious green using the simple, yet incredibly effective method of bok choy grow bags! This isn’t just about saving space; it’s about unlocking the joy of homegrown vegetables, regardless of your gardening experience or the size of your yard.
The history of bok choy stretches back centuries, originating in China and holding a significant place in Asian cuisine. Its versatility and nutritional value have made it a beloved ingredient worldwide. But what if you could enjoy this fresh, healthy vegetable all year round, without the hassle of a large garden? That’s the power of bok choy grow bags.
Why Choose Bok Choy Grow Bags?
Using bok choy grow bags offers numerous advantages. They’re perfect for apartment dwellers, balcony gardeners, or anyone with limited space. You have complete control over the soil quality and can easily monitor your plants’ growth. Plus, grow bags offer excellent drainage, preventing root rot – a common problem with bok choy. This DIY approach allows you to grow your own organic bok choy, free from pesticides and chemicals, ensuring a healthier and tastier harvest. This article will guide you through every step, from selecting the right grow bag to harvesting your delicious, homegrown bok choy.
So, whether you’re a seasoned gardener or a complete beginner, get ready to discover the magic of bok choy grow bags and experience the satisfaction of nurturing your own vibrant, healthy bok choy plants. Let’s get started!
Growing Bok Choy in Grow Bags: A Step-by-Step Guide
I love bok choy! It’s so versatile and delicious, and growing it yourself is incredibly rewarding. This guide will walk you through creating your own bok choy grow bags, perfect for even the smallest balcony or patio.
Phase 1: Gathering Supplies and Preparing Your Grow Bags
- Grow Bags: Choose large grow bags, at least 5 gallons each. I prefer fabric grow bags because they allow for better drainage and aeration.
- Bok Choy Seeds: Select a variety you enjoy. Some varieties are faster growing than others, so check the seed packet for details.
- Potting Mix: Use a high-quality seed-starting mix. Avoid using garden soil directly, as it can be too heavy and compact for young seedlings. Look for a mix that’s light, airy, and well-draining.
- Watering Can: A watering can with a rose head is ideal for gentle watering.
- Small Trowel or Spoon: For planting the seeds.
- Labels (optional): To mark your grow bags with the planting date and variety of bok choy.
- Location: Choose a sunny spot that receives at least 6-8 hours of sunlight per day. Bok choy needs plenty of sun to thrive.
- Inspect your grow bags: Check for any holes or damage before you begin.
- Fill the grow bags: Fill each grow bag about ¾ full with the potting mix. Don’t pack it down too tightly; leave it loose and airy.
- Water the potting mix: Gently water the potting mix until it’s evenly moist but not soggy. You should see water draining from the bottom of the grow bag. This helps the soil settle.
- Label your grow bags (optional): If you’re using labels, write the date and the bok choy variety on them and attach them to the bags.
Phase 2: Sowing the Bok Choy Seeds
- Seed Depth: Bok choy seeds are tiny! Plant them about ¼ inch deep.
- Spacing: Space the seeds about 1-2 inches apart. You can thin them out later if needed.
- Multiple Seeds per Hole: I like to plant 2-3 seeds per hole to increase the chances of successful germination. You can thin out the weaker seedlings later.
- Make small holes: Use your trowel or spoon to make small holes in the potting mix, about ¼ inch deep.
- Plant the seeds: Drop 2-3 seeds into each hole.
- Cover the seeds: Gently cover the seeds with potting mix.
- Water gently: Use your watering can to gently water the seeds, ensuring the soil remains moist but not waterlogged. Avoid dislodging the seeds.
Phase 3: Germination and Seedling Care
Maintaining consistent moisture is key during germination.
- Keep the soil moist: Check the soil moisture daily and water as needed. The soil should always feel slightly damp to the touch.
- Provide warmth: Bok choy seeds germinate best in temperatures between 65-75°F (18-24°C). If it’s cooler, consider placing the grow bags in a warmer location or covering them with plastic wrap to create a mini-greenhouse (remember to remove the plastic wrap once the seeds germinate).
- Germination time: Germination usually takes 5-10 days, but it can vary depending on the variety and temperature.
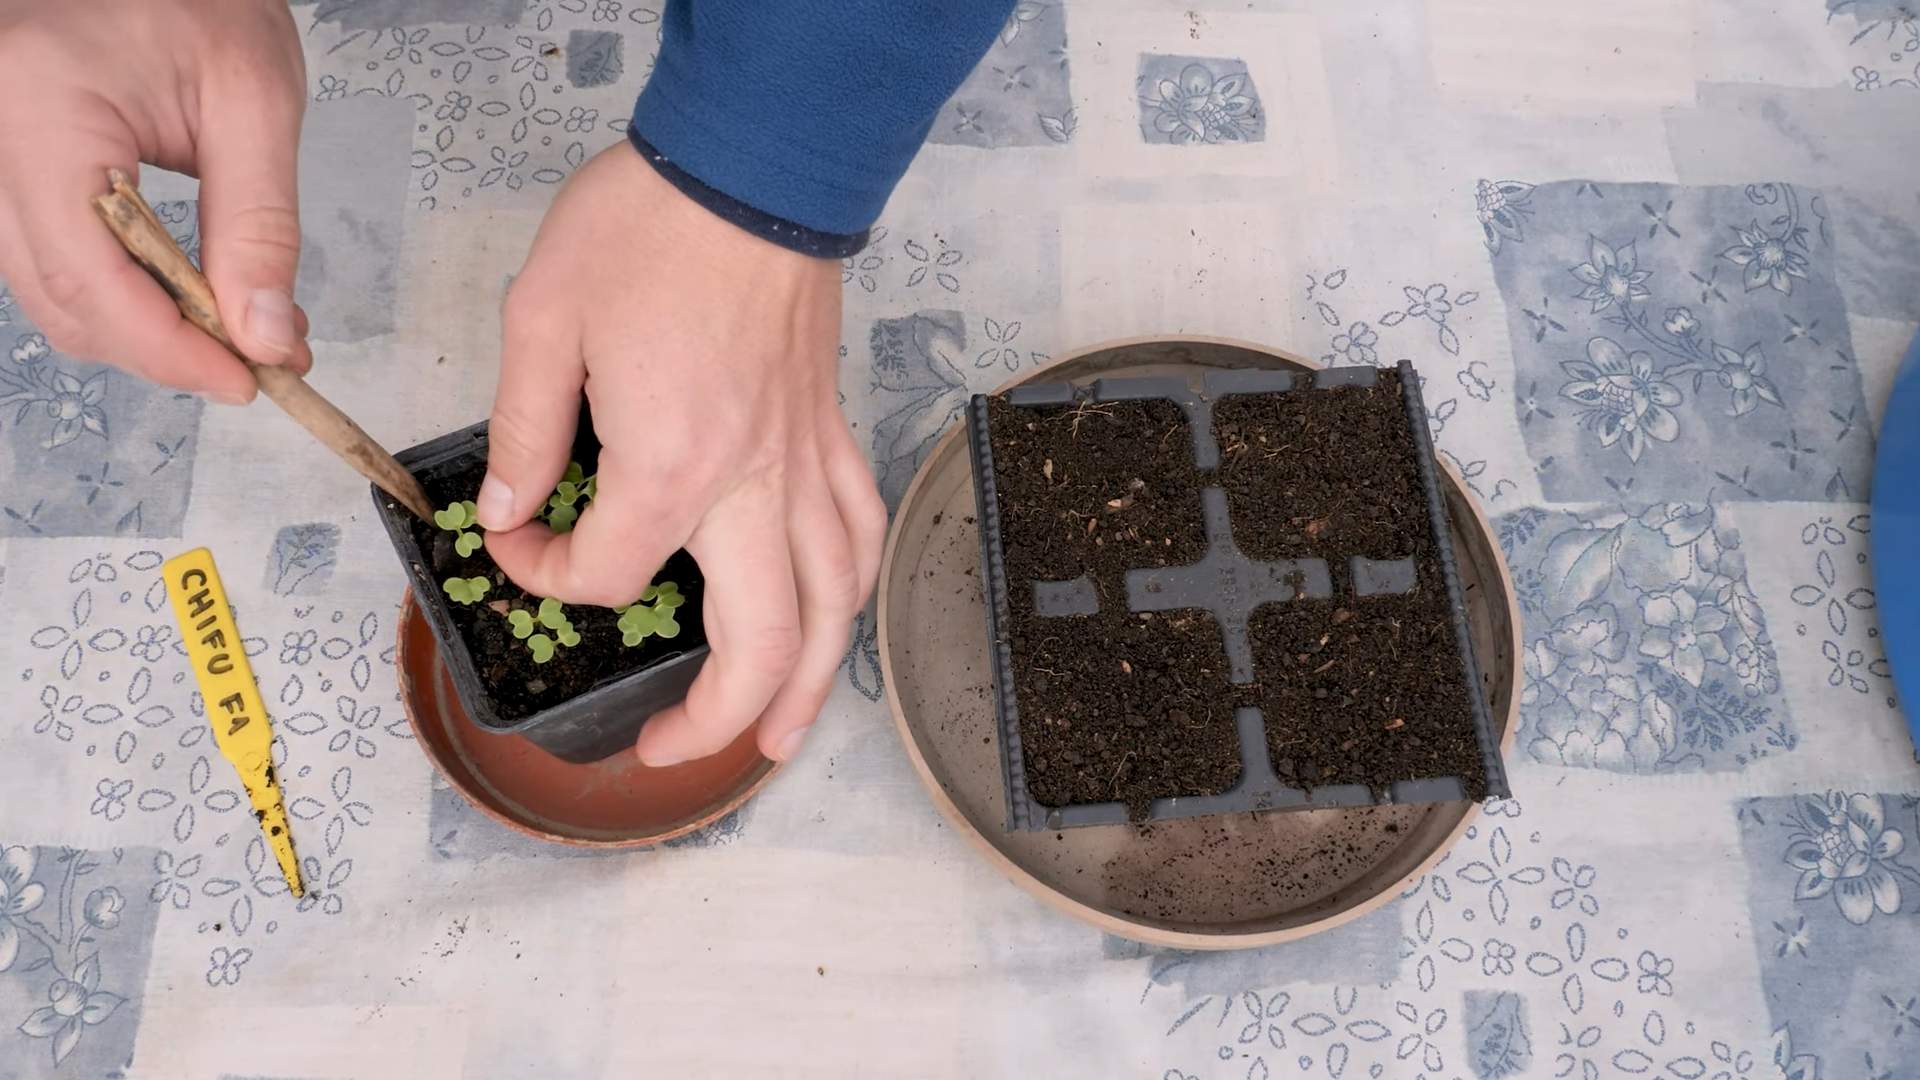
- Thinning seedlings: Once the seedlings have a few true leaves (the leaves that appear after the cotyledons), thin them out to one strong seedling per hole. Gently pull out the weaker seedlings, being careful not to disturb the roots of the remaining plants.
Phase 4: Bok Choy Growth and Harvesting
- Sunlight: Ensure your bok choy receives at least 6-8 hours of sunlight daily.
- Watering: Water regularly, keeping the soil consistently moist but not waterlogged. The frequency of watering will depend on the weather and the type of grow bag you are using.
- Fertilizing: You can fertilize your bok choy every 2-3 weeks with a balanced liquid fertilizer diluted to half strength. Follow the instructions on the fertilizer packaging. Over-fertilizing can lead to bitter-tasting leaves.
- Pest and disease control: Regularly inspect your plants for pests and diseases. Address any issues promptly.
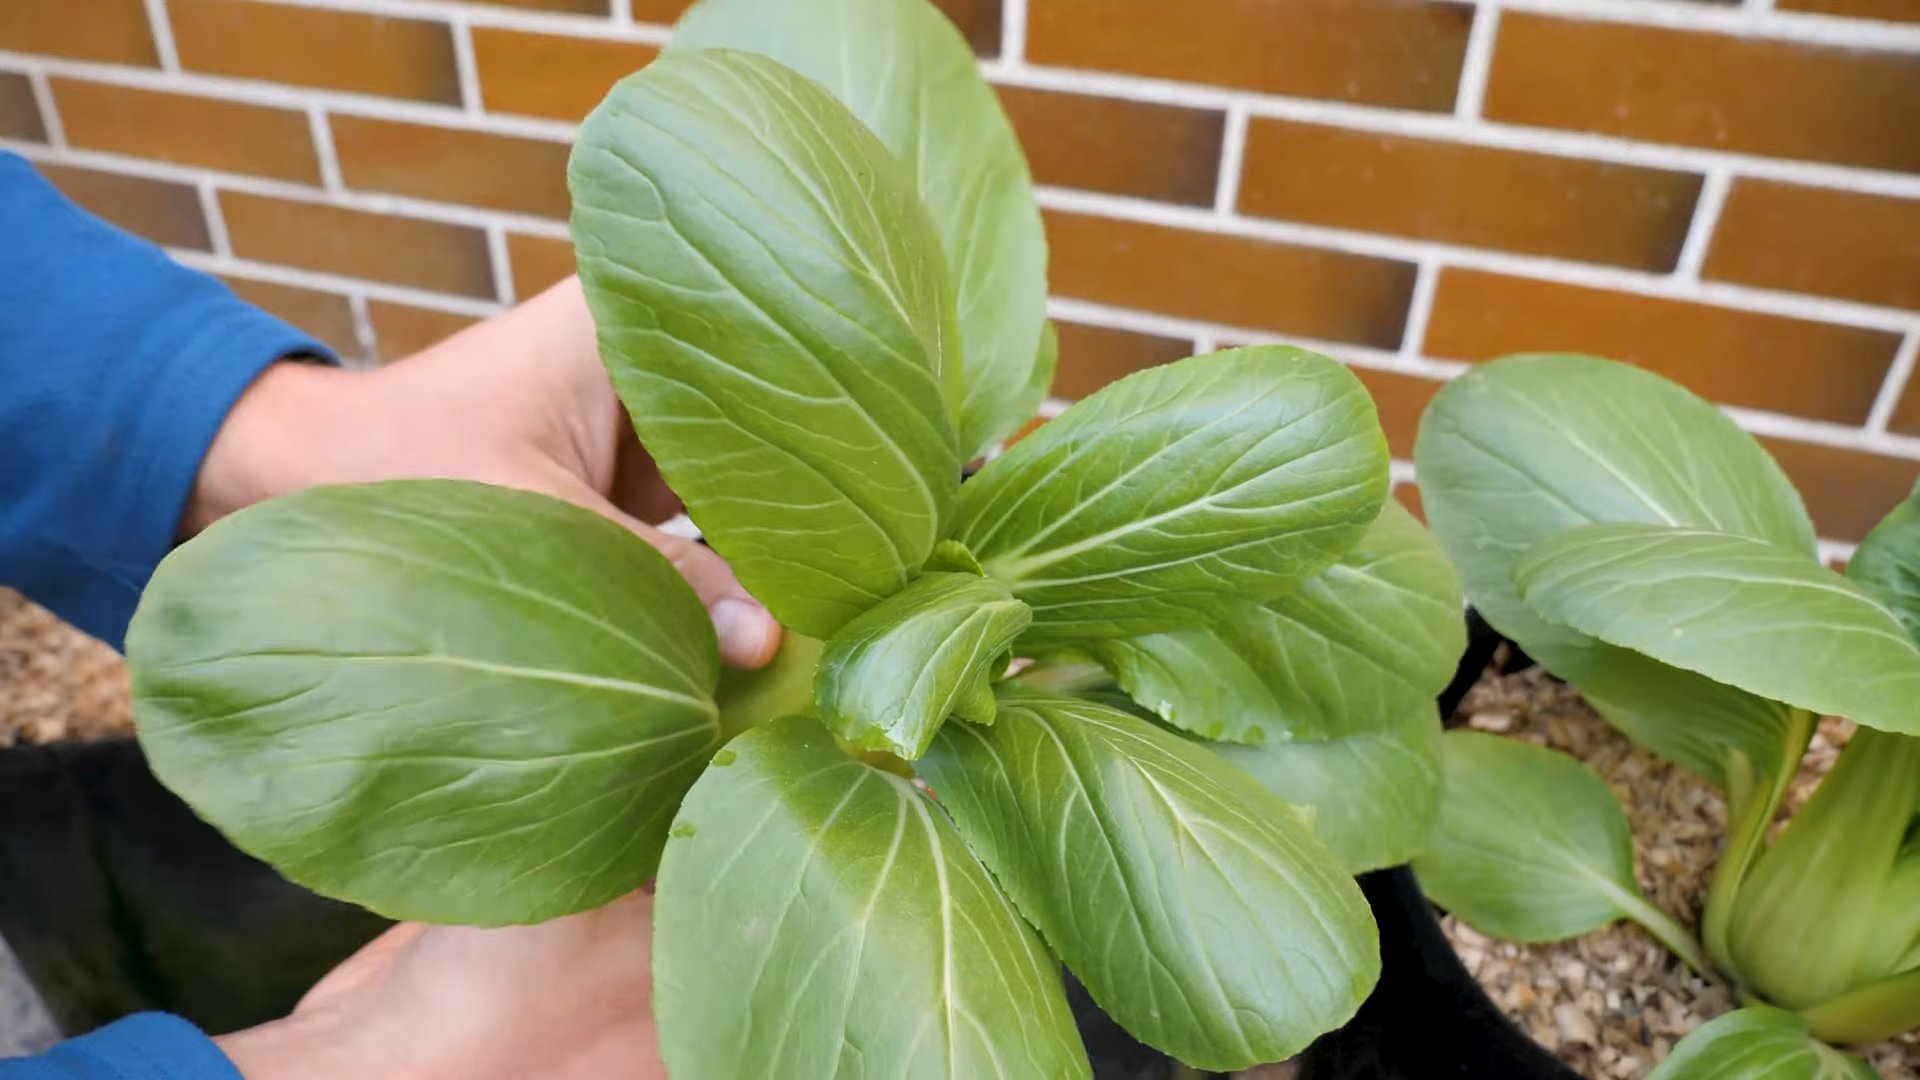
- Harvesting: Bok choy is ready for harvest when the leaves are fully developed and firm. You can harvest individual leaves as needed, or you can harvest the entire plant by cutting it at the base.
- Successive sowings: For a continuous harvest, sow new seeds every few weeks.
- Enjoy your homegrown bok choy! Use it in stir-fries, salads, soups, or any recipe that calls for this delicious leafy green.
Troubleshooting
Yellowing Leaves:
This could indicate overwatering, underwatering, or nutrient deficiency. Adjust your watering schedule and consider fertilizing.
Leggy Seedlings:
This usually means the plants aren’t getting enough light. Move them to a sunnier location.
Pests:
Common pests include aphids and slugs. Use appropriate pest control methods, such as insecticidal soap or diatomaceous earth. For slugs, you can use beer traps or handpick them.
Diseases:
Fungal diseases can occur if the plants are overcrowded or the soil is too wet. Ensure good air circulation and avoid overwatering.
Conclusion
So, there you have it! Our guide to growing your own delicious bok choy using grow bags. This simple DIY method offers a wealth of benefits, making it a must-try for home gardeners of all skill levels. From the convenience of having your own fresh, pesticide-free bok choy readily available, to the rewarding experience of nurturing a plant from seed to harvest, the advantages are undeniable. This bok choy grow bag method eliminates the need for extensive gardening space and complicated techniques, making it perfect for apartment dwellers, balcony gardeners, or anyone with limited outdoor space. You’ll be amazed at how easy it is to cultivate vibrant, healthy bok choy, and the taste difference compared to store-bought varieties is truly remarkable. The satisfaction of harvesting your own crisp, flavorful leaves is unparalleled.
Beyond the basic method outlined, the possibilities for customization are endless. Experiment with different types of bok choy – from the classic baby bok choy to the larger, more robust varieties. Consider adding compost tea or other organic fertilizers to enrich the soil mix for even faster growth and improved nutrient content. You can also adjust the spacing between plants depending on the variety you choose and the size of your grow bag. For a truly unique experience, try growing different varieties of bok choy in separate grow bags, allowing you to compare their growth rates and flavors. Don’t be afraid to get creative and adapt the method to your own preferences and available resources. The beauty of this DIY approach is its flexibility.
We strongly encourage you to try this simple yet effective bok choy grow bag method. It’s a fantastic way to connect with nature, enjoy fresh, healthy produce, and experience the satisfaction of growing your own food. Share your bok choy growing journey with us! Post pictures of your thriving plants and harvested bok choy on social media using #BokChoyGrowBags and tag us – we’d love to see your results and hear about your experiences. Whether you’re a seasoned gardener or a complete beginner, this project is accessible and rewarding. Embrace the simplicity, enjoy the process, and savor the delicious rewards of your homegrown bok choy. Get started today and discover the joy of growing your own food!
Frequently Asked Questions
What type of grow bag is best for bok choy?
For bok choy, you’ll want a grow bag that’s at least 5 gallons in capacity to provide ample space for root development. Non-woven fabric grow bags are ideal as they allow for good drainage and aeration, preventing root rot. Look for bags that are UV-resistant to protect the roots from harsh sunlight.
What kind of soil is best for bok choy grow bags?
Bok choy thrives in well-draining, fertile soil. A good soil mix would consist of a blend of potting soil, compost, and perlite or vermiculite. The compost adds nutrients, while the perlite or vermiculite improves drainage and aeration. Avoid using heavy clay soils, as they can retain too much water and lead to root problems.
How much sunlight does bok choy need?
Bok choy prefers at least 6 hours of sunlight per day. However, in hot climates, some afternoon shade might be beneficial to prevent scorching. If you’re growing bok choy indoors, you’ll need to supplement with grow lights to ensure it receives adequate light.
How often should I water my bok choy in grow bags?
Water your bok choy regularly, keeping the soil consistently moist but not waterlogged. The frequency of watering will depend on factors such as temperature, humidity, and the type of grow bag you’re using. Check the soil moisture regularly by sticking your finger a couple of inches into the soil. Water when the top inch or two feels dry.
How long does it take for bok choy to grow in a grow bag?
The time it takes for bok choy to mature depends on the variety and growing conditions. Generally, you can expect to harvest baby bok choy in about 4-6 weeks, while larger varieties may take 8-10 weeks. Ensure consistent watering and adequate sunlight for optimal growth.
Can I use fertilizer for my bok choy in grow bags?
Yes, you can use fertilizer to boost the growth and nutrient content of your bok choy. A balanced liquid fertilizer diluted to half strength is a good option. Follow the instructions on the fertilizer packaging carefully and avoid over-fertilizing, which can harm the plants.
What are the common problems when growing bok choy in grow bags?
Some common problems include root rot (due to overwatering), pest infestations (such as aphids or slugs), and nutrient deficiencies. Ensure good drainage, monitor for pests, and provide adequate nutrients to prevent these issues. Regularly inspect your plants for any signs of problems.
Can I reuse the grow bags for another planting season?
Yes, you can usually reuse grow bags, but it’s essential to thoroughly clean and disinfect them before using them again. Remove any old soil and debris, and then wash the bags with a solution of bleach and water. Allow them to dry completely before using them for a new planting.
What are the benefits of using grow bags for bok choy?
Grow bags offer several advantages, including portability, improved drainage, and ease of use. They are particularly beneficial for those with limited space or who prefer a container gardening approach. They also make it easier to control the soil composition and prevent soil-borne diseases.
Where can I buy bok choy seeds?
Bok choy seeds are readily available online from various seed suppliers and at many garden centers and nurseries. Choose high-quality seeds from reputable sources for the best results.
Leave a Comment