
Bush Bean Growing Guide: Your Path to a Bountiful Harvest!
Have you ever dreamed of stepping into your backyard and picking fresh, crisp green beans for dinner? Imagine the satisfaction of knowing exactly where your food comes from and the joy of nurturing life from a tiny seed. Well, dream no more! This Bush Bean Growing Guide is your ticket to making that dream a reality, even if you’re a complete beginner.
Growing beans has a rich history, dating back thousands of years. They were a staple crop for ancient civilizations in the Americas, providing essential protein and nutrients. Today, the tradition continues, and with good reason! But let’s face it, sometimes gardening can feel overwhelming. That’s where this guide comes in. I’m here to share simple, effective DIY tricks and hacks that will make growing bush beans a breeze.
Why do you need this Bush Bean Growing Guide? Because store-bought beans simply can’t compare to the flavor and freshness of homegrown ones. Plus, gardening is a fantastic way to reduce stress, connect with nature, and get some exercise. I’ll walk you through everything from choosing the right variety to dealing with common pests, ensuring you have a thriving bush bean patch in no time. So, grab your gardening gloves, and let’s get started!
DIY: From Seed to Sprout: Your Ultimate Guide to Growing Bush Beans
Hey there, fellow gardening enthusiasts! I’m so excited to share my tried-and-true method for growing bush beans. They’re a fantastic addition to any garden, big or small, and the satisfaction of harvesting your own fresh beans is simply unbeatable. This guide will walk you through every step, from prepping your soil to enjoying a delicious bean harvest. Let’s get our hands dirty!
Choosing Your Bush Bean Variety
Before we dive into the nitty-gritty, let’s talk about bean varieties. Bush beans are compact and don’t require staking, making them perfect for smaller spaces. Here are a few of my favorites:
* Blue Lake Bush: A classic, reliable variety with excellent flavor.
* Contender: Early maturing and produces high yields, even in cooler climates.
* Provider: Another early variety known for its disease resistance.
* Roma II: Flat, wide beans with a delicious, slightly nutty flavor.
* Golden Wax: Yellow beans that are tender and sweet.
Consider your climate and personal preferences when choosing your variety. Seed packets usually provide helpful information about each type.
Preparing Your Garden Bed
Bush beans thrive in well-drained soil that’s rich in organic matter. Here’s how I prepare my garden bed:
* Timing is Key: Plant bush beans after the last frost when the soil temperature is consistently above 60°F (15°C).
* Sunlight: Choose a location that receives at least 6 hours of direct sunlight per day.
* Soil Testing: Ideally, test your soil pH. Bush beans prefer a pH between 6.0 and 7.0. You can purchase a soil testing kit at most garden centers.
* Amendments: Amend the soil with compost or well-rotted manure to improve drainage and fertility. I usually add a generous layer (about 2-3 inches) and work it into the top 6-8 inches of soil.
* Weed Removal: Remove any weeds or debris from the planting area. Weeds compete with your bean plants for nutrients and water.
* Loosening the Soil: Use a garden fork or tiller to loosen the soil to a depth of about 12 inches. This will allow the bean roots to penetrate easily.
* Leveling: Rake the soil smooth to create a level planting surface.
Planting Your Bush Bean Seeds
Now for the fun part – planting! Here’s my step-by-step guide:
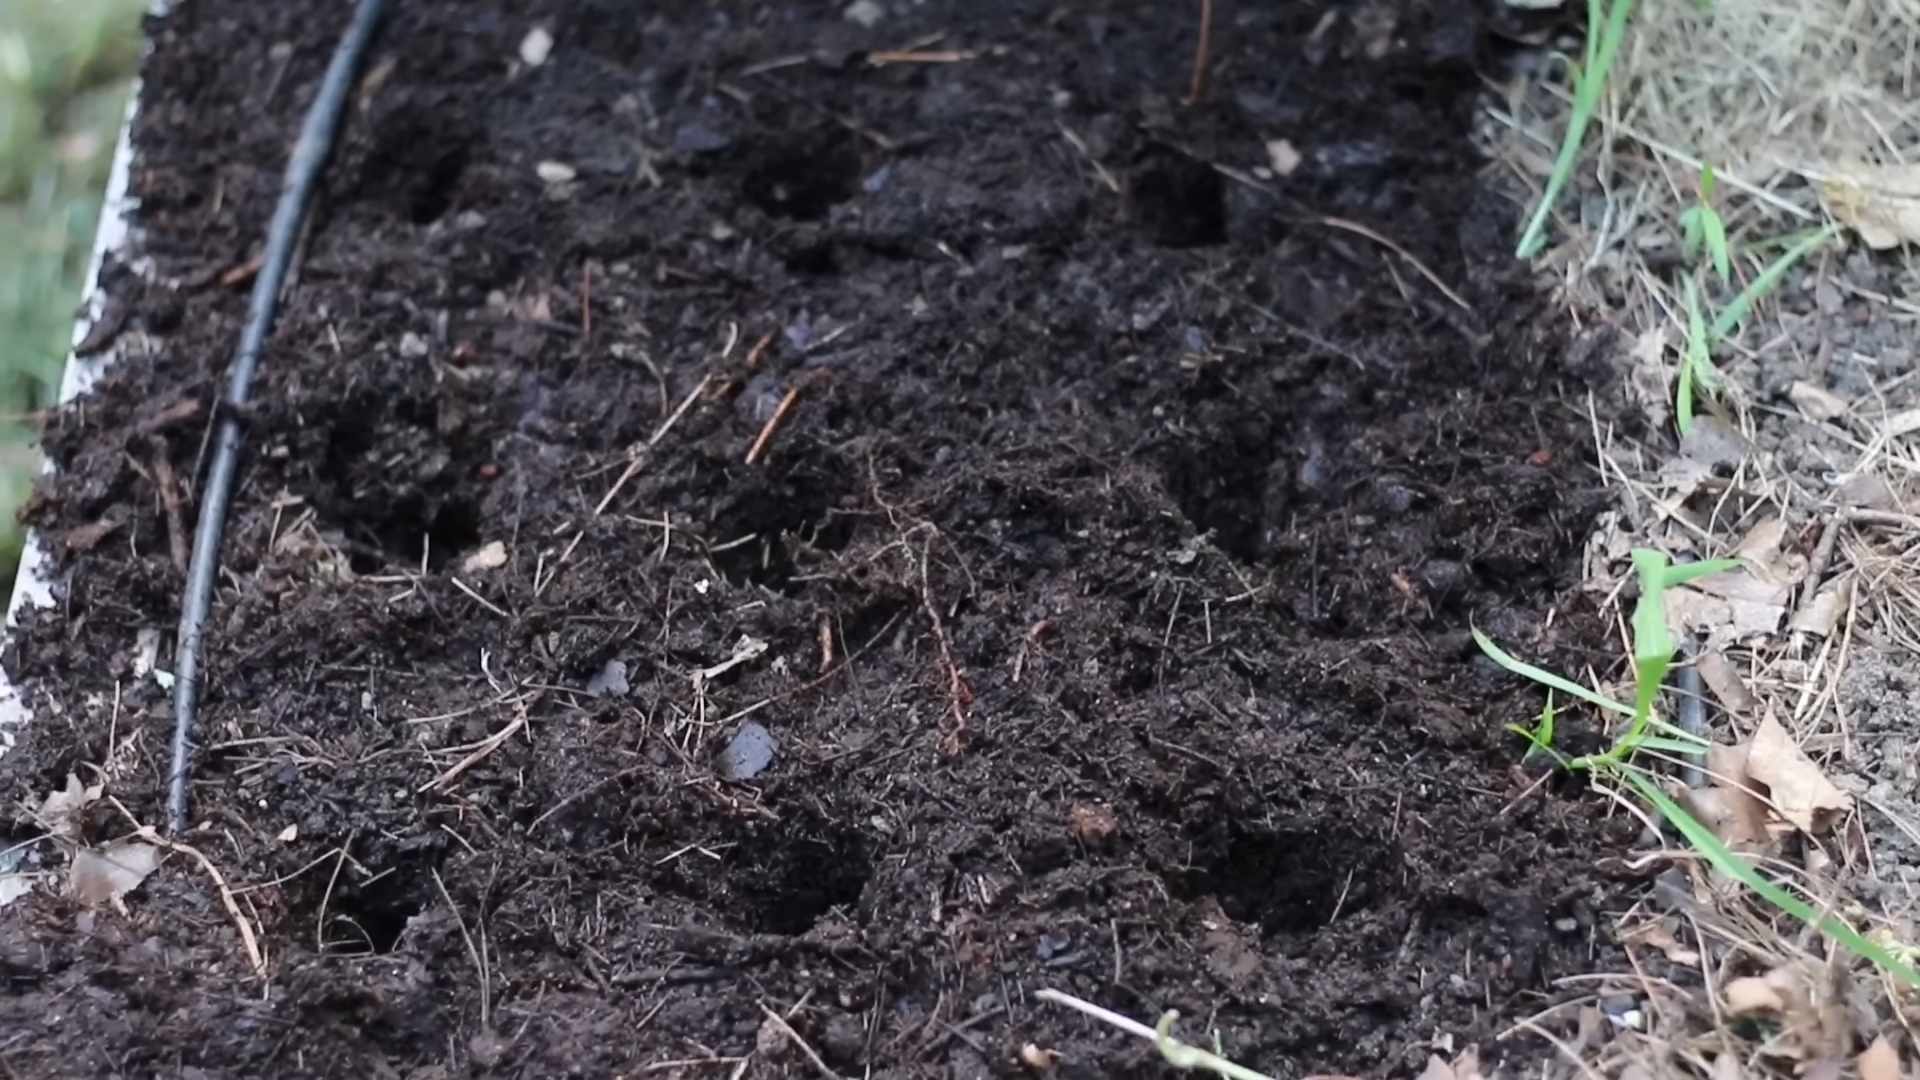
1. Spacing: Sow seeds about 1 inch deep and 2-3 inches apart in rows that are 18-24 inches apart. I like to use a garden trowel to create small furrows for the seeds.
2. Sowing: Place the seeds in the furrows and cover them gently with soil.
3. Watering: Water the planted area thoroughly but gently. Avoid washing away the seeds. I use a watering can with a rose head to provide a gentle shower.
4. Marking: Label the rows with the bean variety and planting date. This helps me keep track of what’s growing where.
5. Succession Planting: For a continuous harvest, plant a new batch of seeds every 2-3 weeks. This ensures you’ll have fresh beans throughout the growing season.
Caring for Your Bush Bean Plants
Once your beans have sprouted, it’s important to provide them with the care they need to thrive.
* Watering: Water regularly, especially during dry periods. Bush beans need about 1 inch of water per week. Water deeply at the base of the plants to avoid wetting the foliage, which can lead to fungal diseases. I usually water in the morning to allow the foliage to dry before nightfall.
* Weeding: Keep the garden bed free of weeds. Hand-pull weeds carefully to avoid disturbing the bean plants’ roots. You can also use a hoe to cultivate between the rows.
* Mulching: Apply a layer of mulch around the bean plants to help retain moisture, suppress weeds, and regulate soil temperature. I like to use straw or shredded leaves.
* Fertilizing: Bush beans don’t require a lot of fertilizer, but a side dressing of compost or a balanced organic fertilizer can be beneficial. Apply the fertilizer according to the package instructions. Avoid over-fertilizing, as this can lead to excessive foliage growth and fewer beans.
* Pest Control: Keep an eye out for common bean pests like aphids, bean beetles, and spider mites. I prefer to use organic pest control methods, such as insecticidal soap or neem oil. You can also hand-pick pests off the plants.
* Disease Prevention: To prevent fungal diseases, ensure good air circulation around the plants and avoid overhead watering. If you notice any signs of disease, such as leaf spots or mildew, remove the affected leaves immediately.
Harvesting Your Bush Beans
Harvest time is the most rewarding part of growing bush beans! Here’s how to know when to harvest and how to do it properly:
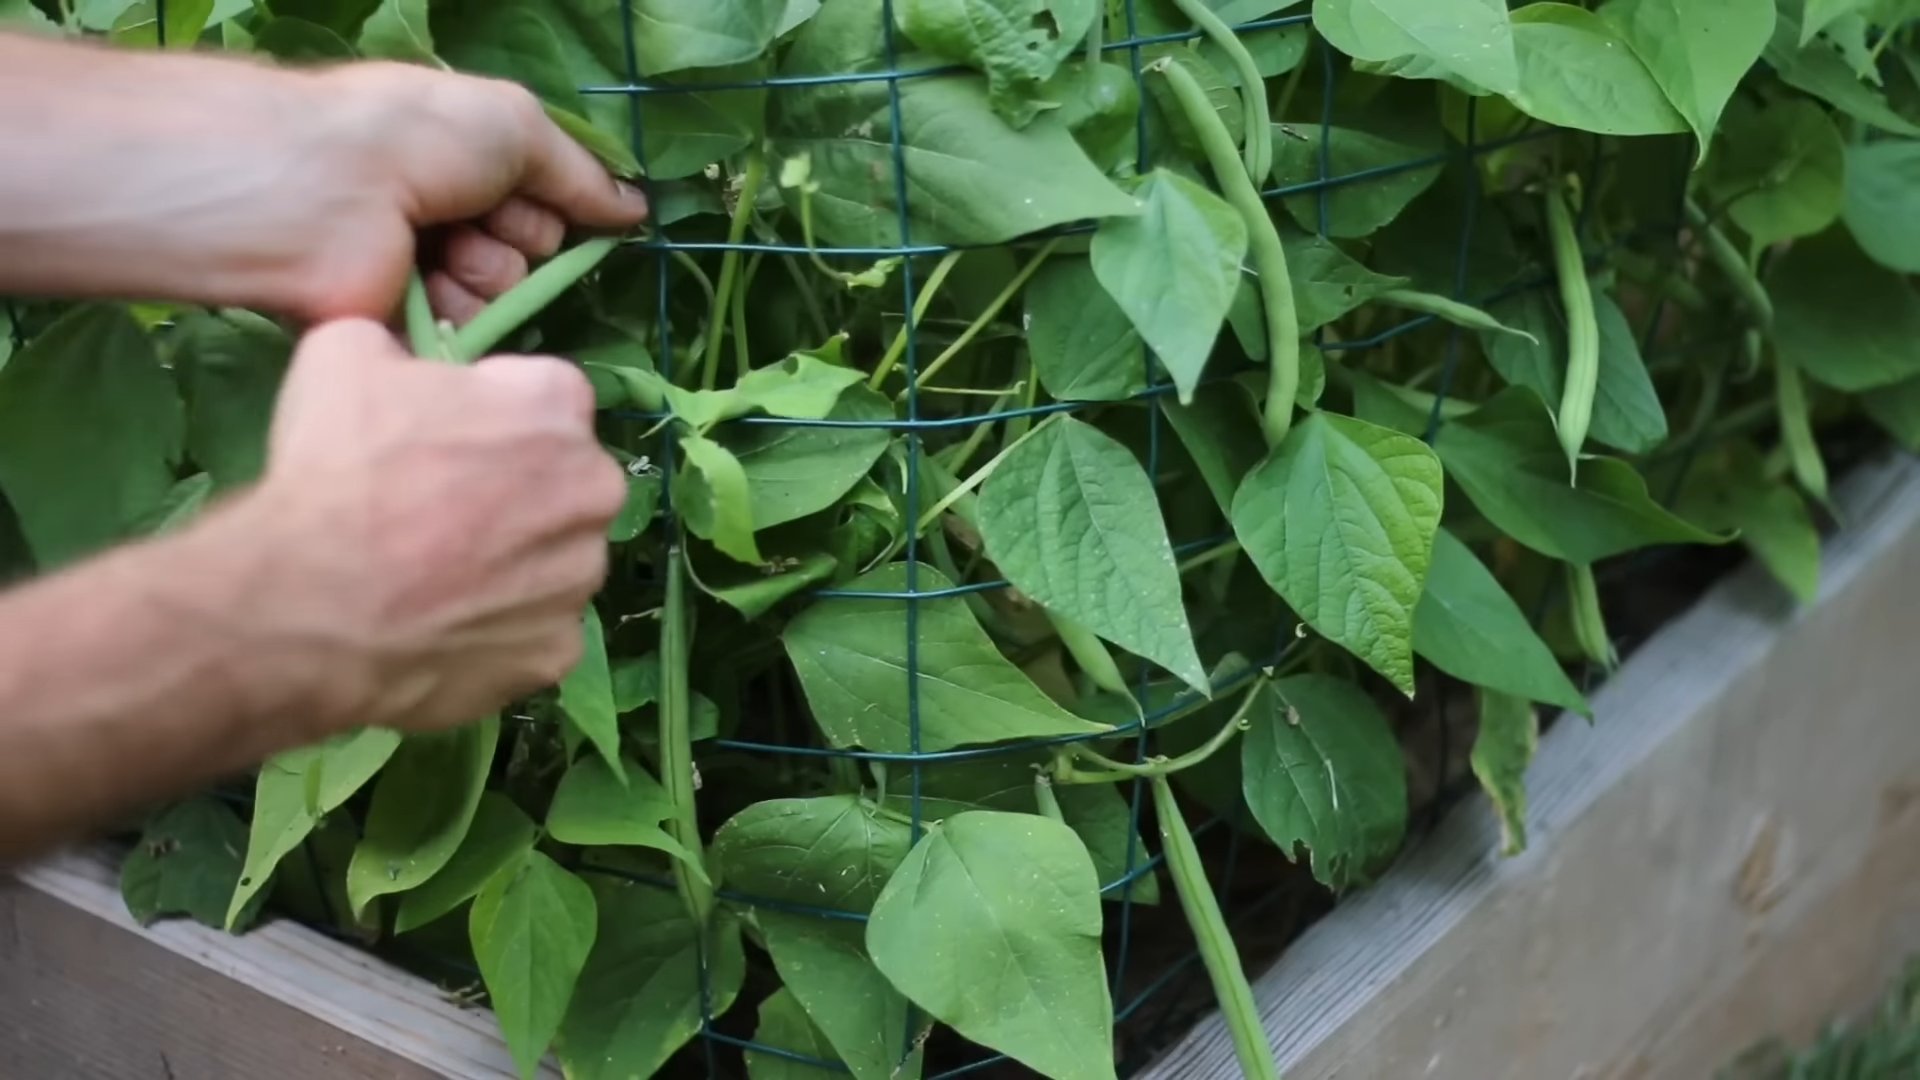
1. Timing: Bush beans are typically ready to harvest about 50-60 days after planting. The pods should be firm, plump, and snap easily when bent.
2. Harvesting Technique: Gently snap the beans off the plant, being careful not to damage the stems or surrounding pods. I like to use two hands – one to hold the stem and the other to snap off the bean.
3. Frequency: Harvest beans regularly, about every 2-3 days, to encourage continued production. Overripe beans can become tough and stringy.
4. Storage: Freshly harvested bush beans can be stored in the refrigerator for up to a week. For longer storage, you can blanch and freeze them.
Troubleshooting Common Bush Bean Problems
Even with the best care, you might encounter some challenges when growing bush beans. Here are some common problems and how to address them:
* Poor Germination: If your bean seeds aren’t germinating, it could be due to cold soil, poor quality seeds, or overwatering. Make sure the soil temperature is above 60°F (15°C) before planting. Use fresh, high-quality seeds. Avoid overwatering, which can cause the seeds to rot.
* Yellowing Leaves: Yellowing leaves can indicate a nutrient deficiency, such as nitrogen or iron. Amend the soil with compost or a balanced organic fertilizer. Check the soil pH to ensure it’s within the optimal range for bush beans.
* Pest Infestations: As mentioned earlier, aphids, bean beetles, and spider mites are common bean pests. Use organic pest control methods to manage infestations.
* Disease Problems: Fungal diseases like powdery mildew and bean rust can affect bush beans. Ensure good air circulation around the plants and avoid overhead watering. Remove any affected leaves immediately.
* Lack of Bean Production: If your bean plants are growing well but not producing beans, it could be due to hot weather, poor pollination, or over-fertilizing. Bush beans prefer temperatures between 65°F and 80°F (18°C and 27°C). Ensure there are pollinators in your garden. Avoid over-fertilizing, as this can lead to excessive foliage growth and fewer beans.
Saving Bush Bean Seeds
If you want to save seeds from your bush bean plants for next year, here’s how I do it:
1. Choose Healthy Plants: Select healthy, disease-free plants with desirable traits.
2. Allow Beans to Mature: Allow some of the bean pods to dry completely on the plant. The pods should turn brown and brittle.
3. Harvest the Pods: Harvest the dried pods and remove the seeds.
4. Dry the Seeds: Spread the seeds out on a screen or tray in a cool, dry place for a few weeks to ensure they are completely dry.
5. Store the Seeds: Store the dried seeds in an airtight container in a cool, dark place. Label the container with the bean variety and date.
Bush Bean Companion Planting
Companion planting can be a great way to improve the health and productivity of your bush bean plants. Here are some of my favorite companion plants for bush beans:
* Marigolds: Repel bean beetles and other pests.
* Nasturtiums: Attract aphids away from bean plants.
* Carrots: Improve soil drainage and deter bean flies.
* Cucumbers: Provide shade and support for bean plants.
* Potatoes: Improve soil structure and deter bean beetles.
* Corn: Provides a natural trellis for climbing bean varieties (though this is less relevant for bush beans).
* Rosemary: Deters bean beetles.
Avoid planting bush beans near onions or garlic, as they can inhibit bean growth.
Enjoying Your Bush Bean Harvest
Now that
Conclusion
So, there you have it! Growing your own bush beans is not only incredibly rewarding, providing you with fresh, delicious produce right at your fingertips, but it’s also surprisingly simple. We’ve walked you through everything from selecting the right variety and preparing your soil to planting, watering, and harvesting your bountiful crop.
Why is this DIY bush bean growing guide a must-try? Because it empowers you to take control of your food source, ensuring you know exactly what goes into your meals. No more worrying about pesticides or questionable farming practices. You’re in charge! Plus, the taste of homegrown bush beans is simply unparalleled – sweeter, crisper, and bursting with flavor compared to anything you can find in the store.
But the benefits don’t stop there. Gardening is a fantastic stress reliever, a great way to get some exercise, and a wonderful opportunity to connect with nature. And let’s not forget the satisfaction of watching those tiny seeds sprout and grow into a thriving plant, laden with delicious beans.
Feeling adventurous? Try different varieties of bush beans! Experiment with yellow wax beans, purple beans, or even Romano beans for a wider range of flavors and textures. You can also try succession planting, sowing new seeds every few weeks, to ensure a continuous harvest throughout the growing season. Consider companion planting too! Marigolds can help deter pests, while herbs like rosemary and thyme can enhance the flavor of your beans.
Don’t be afraid to get your hands dirty and embrace the joy of growing your own food. This guide provides a solid foundation, but the best way to learn is by doing. So, grab some seeds, prepare your garden, and get ready to enjoy the fruits (or rather, the beans!) of your labor.
We’re confident that you’ll find growing bush beans to be a fun, rewarding, and delicious experience. Now it’s your turn! We encourage you to try this DIY trick and share your experiences with us. Let us know what varieties you planted, what challenges you faced, and what successes you celebrated. Share your photos, tips, and tricks in the comments below. We can all learn from each other and create a thriving community of home gardeners. Happy growing!
Frequently Asked Questions (FAQ)
What are the best varieties of bush beans to grow for beginners?
For beginners, some excellent and reliable bush bean varieties include ‘Blue Lake Bush,’ ‘Contender,’ and ‘Provider.’ These varieties are known for their disease resistance, high yields, and relatively easy cultivation. ‘Blue Lake Bush’ is a classic choice with a great flavor, while ‘Contender’ is known for its early maturity. ‘Provider’ is a particularly hardy variety that can tolerate cooler soil temperatures, making it a good option for areas with shorter growing seasons. Experimenting with different varieties is part of the fun, but these are a great starting point for a successful harvest.
How often should I water my bush beans?
Bush beans need consistent moisture, especially during germination and pod development. Generally, you should water your bush beans deeply about once or twice a week, depending on the weather and soil conditions. The goal is to keep the soil consistently moist but not waterlogged. A good rule of thumb is to water when the top inch of soil feels dry to the touch. During hot, dry periods, you may need to water more frequently. Using a soaker hose or drip irrigation can help deliver water directly to the roots, minimizing water loss through evaporation and reducing the risk of fungal diseases.
What kind of fertilizer do bush beans need?
Bush beans are relatively light feeders, but they still benefit from some fertilization. Before planting, amend your soil with compost or well-rotted manure to improve its fertility and drainage. Avoid using fertilizers that are high in nitrogen, as this can promote excessive foliage growth at the expense of bean production. A balanced fertilizer with an NPK ratio of 5-10-10 or 10-20-20 is a good choice. You can also side-dress your plants with compost tea or a liquid seaweed fertilizer every few weeks during the growing season. Remember to follow the instructions on the fertilizer label carefully to avoid over-fertilizing.
How do I deal with pests and diseases on my bush beans?
Several pests and diseases can affect bush beans, including aphids, bean beetles, and fungal diseases like powdery mildew. To prevent problems, start with healthy seeds and practice good garden hygiene. Remove any diseased or infested plants promptly. Encourage beneficial insects like ladybugs and lacewings, which prey on aphids and other pests. You can also use insecticidal soap or neem oil to control pests. For fungal diseases, ensure good air circulation around your plants and avoid overhead watering. If necessary, you can use a fungicide specifically labeled for use on beans. Crop rotation can also help prevent soilborne diseases from building up.
When is the best time to harvest my bush beans?
Bush beans are typically ready to harvest about 50-60 days after planting. The best time to harvest is when the pods are firm, plump, and snap easily when bent. Avoid letting the pods become too large or tough, as this can affect their flavor and texture. Harvest your beans regularly, every few days, to encourage continued production. Overripe beans will signal the plant to stop producing new pods.
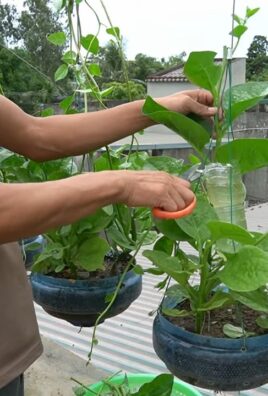
Can I grow bush beans in containers?
Yes, bush beans are well-suited for container gardening. Choose a container that is at least 12 inches deep and wide to provide enough room for the roots to grow. Use a well-draining potting mix and ensure that the container has drainage holes. Water your container-grown beans regularly, as they will dry out more quickly than beans grown in the ground. You may also need to fertilize them more frequently. Place the container in a sunny location that receives at least 6-8 hours of sunlight per day.
How do I save seeds from my bush beans?
Saving seeds from your bush beans is a great way to ensure a supply of seeds for future plantings. To save seeds, allow some of your bean pods to mature fully on the plant until they are dry and brown. Once the pods are completely dry, shell the beans and spread them out on a tray to dry for a few more days. Store the dried beans in an airtight container in a cool, dry, and dark place. Label the container with the variety and date. Keep in mind that if you grew hybrid varieties, the seeds may not produce plants that are true to type.
What are some good companion plants for bush beans?
Companion planting can help improve the health and productivity of your bush beans. Some good companion plants for bush beans include:
* **Marigolds:** Deter pests like bean beetles and nematodes.
* **Nasturtiums:** Attract aphids away from your beans.
* **Rosemary and Thyme:** Repel bean beetles and other pests.
* **Carrots:** Improve soil drainage and deter bean flies.
* **Cucumbers:** Provide shade and support for bean vines.
* **Corn:** Provides support for climbing bean varieties (though these are not bush beans).
Avoid planting bush beans near onions or garlic, as these can inhibit their growth.
My bush bean plants are flowering, but not producing beans. What could be the problem?
There are several reasons why your bush bean plants might be flowering but not producing beans. One common reason is high temperatures, which can interfere with pollination. If temperatures are consistently above 90°F (32°C), the flowers may drop off before they can be pollinated. Another possible reason is a lack of pollinators. Attract bees and other pollinators to your garden by planting flowering herbs and flowers nearby. Insufficient watering or fertilization can also affect bean production. Ensure that your plants are receiving adequate water and nutrients. Finally, some bean varieties are more sensitive to environmental conditions than others.
How do I prevent my bush beans from becoming tough and stringy?
To prevent your bush beans from becoming tough and stringy, harvest them regularly when they are young and tender. Overripe beans tend to develop tough skins and strings. Also, ensure that your plants are receiving adequate water and nutrients, as stress can contribute to tough beans. Choose varieties that are known for their tender pods. Finally, proper cooking can also help improve the texture of your beans. Avoid overcooking them, as this can make them mushy.

Leave a Comment