
Cleaning Time Savers: who doesn’t want more of them? Let’s be honest, in our busy lives, spending hours scrubbing and tidying isn’t exactly high on anyone’s list of fun activities. I get it! We all crave a sparkling clean home, but the thought of dedicating an entire weekend to chores? No thanks! That’s where these ingenious cleaning time savers come in – they’re your secret weapon against the never-ending battle with dust bunnies and grime.
Throughout history, people have sought ways to make household tasks easier. From ancient civilizations using natural remedies for cleaning to the invention of modern appliances, the quest for efficiency has always been a driving force. Think about it – our grandmothers had their own unique cleaning hacks passed down through generations. Now, we’re taking that spirit of ingenuity and combining it with modern knowledge to create even more effective and time-saving solutions.
But why are these cleaning time savers so essential today? Well, beyond just freeing up your weekend, they can actually reduce stress and improve your overall well-being. A clean and organized home contributes to a calmer and more productive environment. Plus, with these DIY tricks, you’ll save money on expensive cleaning products and reduce your environmental impact. So, are you ready to reclaim your time and create a cleaner, happier home? Let’s dive into some amazing DIY cleaning hacks that will revolutionize your cleaning routine!
Cleaning Time Savers: DIY Hacks to Reclaim Your Weekend!
Okay, let’s be honest, cleaning isn’t exactly anyone’s favorite pastime. But a clean home is a happy home, right? So, I’ve compiled some of my absolute favorite DIY cleaning hacks that will save you time and effort, leaving you with more precious moments to enjoy your sparkling space. Get ready to ditch those harsh chemicals and embrace some clever, cost-effective solutions!
Hack 1: Microwave Cleaning Powerhouse
This is a game-changer, I promise! No more scrubbing baked-on food splatters. This method uses the power of steam to loosen everything up, making it a breeze to wipe clean.
What you’ll need:
* 1 cup water
* 1 tablespoon white vinegar or lemon juice
* Microwave-safe bowl
* Sponge or cloth
Step-by-step instructions:
1. Mix it up: In your microwave-safe bowl, combine the water and vinegar (or lemon juice). The vinegar helps to loosen grime and deodorize, while lemon juice adds a fresh scent.
2. Microwave magic: Place the bowl in your microwave and heat on high for 5-7 minutes. You want the water to boil and create plenty of steam.
3. Steam soak: Leave the microwave door closed for another 2-3 minutes after the timer goes off. This allows the steam to fully saturate the interior and loosen all the stubborn gunk.
4. Wipe away: Carefully remove the bowl (it will be hot!). Use your sponge or cloth to easily wipe away the loosened food particles. You’ll be amazed at how effortlessly everything comes off!
5. Final touches: For any particularly stubborn spots, you can dip your sponge in the remaining vinegar water and give them a little extra attention.
Hack 2: Sparkling Shower Head in Minutes
Hard water deposits can really dull your shower head and reduce water pressure. This simple hack will have it looking brand new in no time!
What you’ll need:
* White vinegar
* Plastic bag (sandwich bag or larger, depending on the size of your shower head)
* Rubber band or twist tie
Step-by-step instructions:
1. Vinegar bath: Fill the plastic bag with enough white vinegar to completely submerge your shower head.
2. Secure the bag: Carefully attach the bag to the shower head, ensuring the shower head is fully immersed in the vinegar. Use a rubber band or twist tie to secure the bag tightly.
3. Soak overnight: Let the shower head soak in the vinegar overnight (or for at least a few hours). This allows the vinegar to dissolve the mineral deposits.
4. Remove and rinse: Remove the bag and discard the vinegar. Rinse the shower head thoroughly with water to remove any remaining vinegar and loosened deposits.
5. Shine on: Use a soft cloth to wipe down the shower head and reveal its sparkling clean surface. If you still see some stubborn deposits, use an old toothbrush to gently scrub them away.
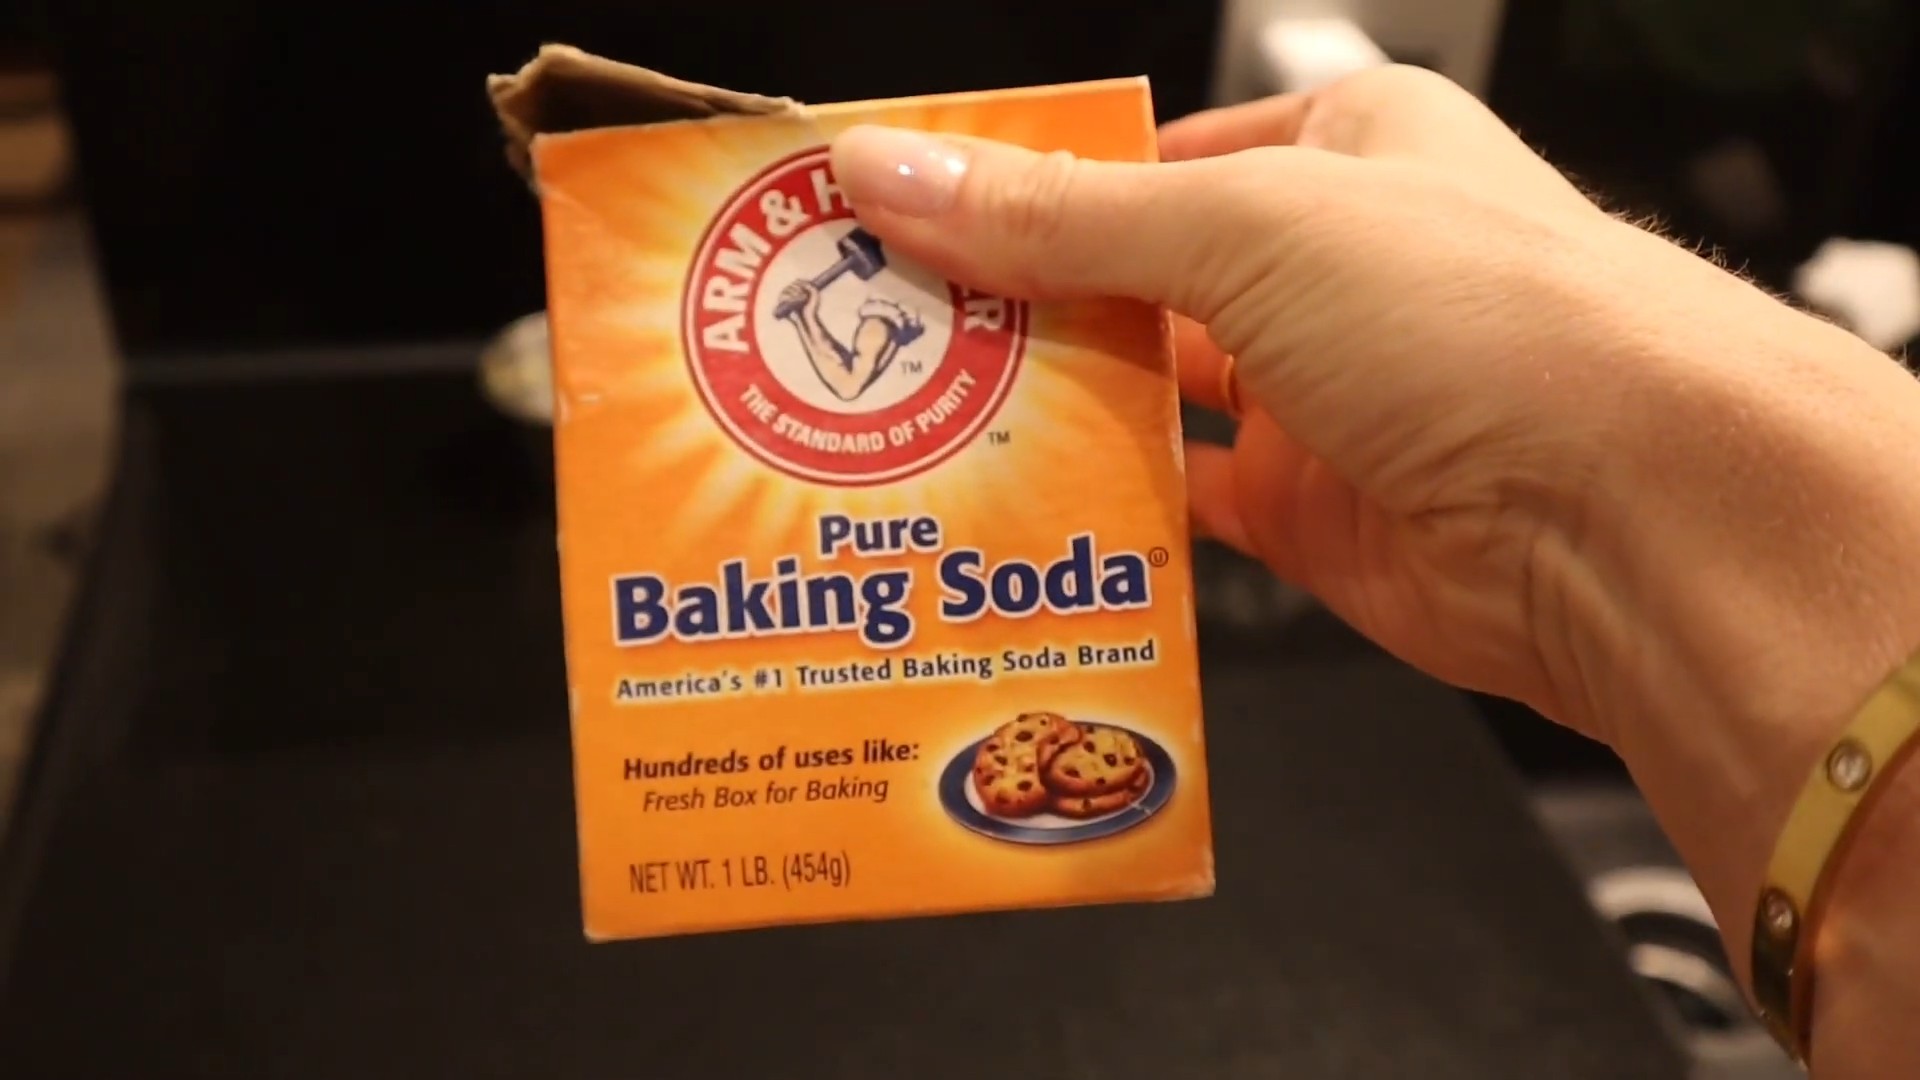
Hack 3: Grout Cleaning Power Paste
Grime and mildew love to hide in grout lines, making them look dingy and discolored. This homemade paste is a powerful and natural way to brighten them up.
What you’ll need:
* Baking soda
* Hydrogen peroxide
* Old toothbrush or grout brush
Step-by-step instructions:
1. Paste preparation: In a small bowl, mix baking soda and hydrogen peroxide until you form a thick paste. The consistency should be similar to toothpaste.
2. Apply the paste: Apply the paste generously to the grout lines you want to clean.
3. Let it sit: Allow the paste to sit on the grout for 5-10 minutes. This gives the baking soda and hydrogen peroxide time to work their magic and lift the grime.
4. Scrub-a-dub-dub: Use your old toothbrush or grout brush to scrub the grout lines thoroughly. You’ll see the grime start to loosen and lift away.
5. Rinse and repeat: Rinse the area with water to remove the paste and loosened grime. If necessary, repeat the process for particularly stubborn areas.
6. Dry and admire: Dry the area with a clean cloth and admire your sparkling clean grout!
Hack 4: Blinds Cleaning Made Easy
Cleaning blinds can be a tedious task, but this hack makes it much faster and easier.
What you’ll need:
* Old sock (clean, of course!)
* White vinegar
* Spray bottle
* Bowl of water
Step-by-step instructions:
1. Sock solution: Turn the sock inside out and slip it onto your hand like a glove.
2. Vinegar spray: In a spray bottle, dilute white vinegar with water (a 50/50 solution works well). Lightly spray the sock with the vinegar solution.
3. Blind cleaning: Pinch each blind slat between your thumb and forefinger (with the sock-covered hand) and wipe from one end to the other. The sock will trap the dust and grime.
4. Rinse and repeat: Dip the sock in the bowl of water to rinse it clean. Wring out any excess water and re-spray with the vinegar solution. Continue cleaning the blinds, rinsing the sock as needed.
5. Dry time: Once you’ve cleaned all the blinds, allow them to air dry completely. You can open a window or use a fan to speed up the drying process.
Hack 5: Mattress Refresh and Deodorizer
Mattresses can harbor dust mites, allergens, and odors. This simple refresh will leave your mattress feeling clean and fresh.
What you’ll need:
* Baking soda
* Essential oil (optional, lavender or eucalyptus are great choices)
* Sieve or shaker
* Vacuum cleaner with upholstery attachment
Step-by-step instructions:
1. Prepare the baking soda: In a bowl, mix baking soda with a few drops of your favorite essential oil (if using). The essential oil will add a pleasant scent and can also have antibacterial properties.
2. Sprinkle evenly: Use a sieve or shaker to evenly sprinkle the baking soda mixture over the entire surface of your mattress.
3. Let it sit: Allow the baking soda to sit on the mattress for at least 30 minutes, or even better, for a few hours. This allows the baking soda to absorb odors and moisture.
4. Vacuum thoroughly: Use your vacuum cleaner with the upholstery attachment to thoroughly vacuum the entire surface of the mattress, removing all the baking soda.
5. Flip and repeat: Flip the mattress over and repeat the process on the other side.
6. Fresh and clean: Your mattress will now be refreshed, deodorized, and ready for a good night’s sleep!
Hack 6: Garbage Disposal Freshener Bombs
Garbage disposals can get pretty stinky. These DIY freshener bombs are a fun and effective way to keep them smelling clean and fresh.
What you’ll need:
* 1 cup baking soda
* 1/2 cup salt
* 1/4 cup dish soap
* 1/2 cup water
* Lemon or orange peels (optional, for added scent)
* Ice cube tray or silicone mold
Step-by-step instructions:
1. Mix dry ingredients: In a bowl, combine the baking soda and salt.
2. Add wet ingredients: Slowly add the dish soap and water to the dry ingredients, mixing until you form a thick paste.
3. Add scent (optional): If using, finely chop the lemon or orange peels and add them to the mixture.
4. Mold the bombs: Spoon the mixture into your ice cube tray or silicone mold.
5. Freeze solid: Place the tray or mold in the freezer and freeze until solid (at least 2-3 hours).
6. Use as needed: To use, simply drop one or two frozen bombs into your garbage disposal while it’s running with cold water. The bombs will fizz and dissolve, cleaning and freshening the disposal.
Hack 7: Stainless Steel Shine Booster
Stainless steel appliances can easily show fingerprints and smudges. This simple solution will leave them looking shiny and new.
What you’ll need:
* White vinegar
* Olive oil
* Two soft cloths
Step-by-step instructions:
1. Vinegar wipe: Lightly dampen one of the cloths with white vinegar and wipe down the stainless steel surface, following the grain of the metal. This will remove fingerprints and grime.
2. Olive oil polish: Pour a small amount of olive oil onto the second cloth.
3. Buff to shine: Buff the stainless steel surface with the olive

Conclusion
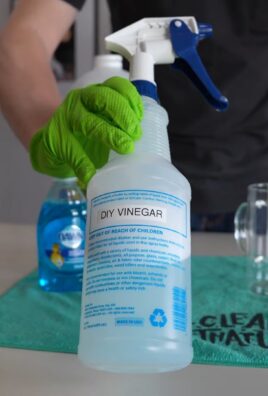
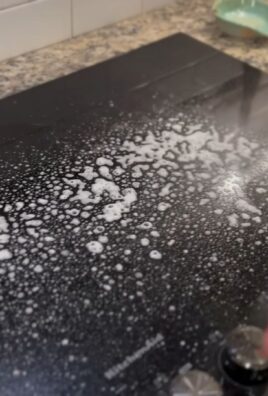
So, there you have it! This simple yet incredibly effective DIY cleaning trick is a game-changer for anyone looking to save time and effort while maintaining a sparkling clean home. We’ve shown you how to create a powerful, all-purpose cleaner using ingredients you likely already have in your pantry. Forget spending a fortune on commercial cleaning products filled with harsh chemicals; this method is not only budget-friendly but also environmentally conscious.
Why is this a must-try? Because it works! It cuts through grease, grime, and everyday messes with ease, leaving surfaces clean and fresh. Imagine reclaiming those precious weekend hours you used to spend scrubbing away at stubborn stains. This DIY solution empowers you to clean smarter, not harder.
But the beauty of this trick lies in its adaptability. Feel free to experiment with different essential oils to customize the scent to your liking. Lavender, lemon, tea tree, and eucalyptus are all excellent choices, each offering its own unique aroma and additional cleaning properties. For tougher stains, consider adding a tablespoon of borax to the mixture for an extra boost of cleaning power. If you’re dealing with hard water, using distilled water in your solution can prevent mineral buildup and streaking. You can also adjust the concentration of vinegar depending on the surface you’re cleaning. For delicate surfaces, dilute the solution further with water.
We’re confident that once you try this DIY cleaning time saver, you’ll wonder how you ever lived without it. It’s a simple, effective, and sustainable way to keep your home clean and healthy.
Don’t just take our word for it – give it a try! We encourage you to experiment with the recipe, find what works best for your home and cleaning needs, and most importantly, share your experiences with us. Let us know in the comments below how this DIY cleaning trick has transformed your cleaning routine. Share your variations, your successes, and even your challenges. We’re all in this together, striving for cleaner homes and more free time. Your feedback will not only help us improve this guide but also inspire others to embrace the power of DIY cleaning. So, grab your ingredients, mix up a batch, and get ready to experience the joy of effortless cleaning! Let’s revolutionize our cleaning routines, one DIY solution at a time!
Frequently Asked Questions (FAQs)
What exactly makes this DIY cleaning solution a “time saver”?
This DIY cleaning solution saves time in several ways. First, it’s incredibly quick and easy to make, requiring only a few readily available ingredients and minimal preparation time. Second, its all-purpose nature eliminates the need for multiple specialized cleaning products, streamlining your cleaning process. You can use it on a variety of surfaces, from countertops and sinks to floors and appliances, reducing the time spent switching between different cleaners. Finally, its effectiveness means you’ll spend less time scrubbing and more time enjoying a clean home. The powerful combination of ingredients cuts through grease and grime quickly, making cleaning tasks more efficient.
Is this DIY cleaner safe for all surfaces?
While this DIY cleaner is generally safe for most surfaces, it’s always a good idea to test it in an inconspicuous area first, especially on delicate or sensitive materials like marble, granite, or wood. The acidity of vinegar can potentially damage certain surfaces over time. For these surfaces, consider diluting the solution further with water or using a different cleaning method altogether. Avoid using it on waxed furniture, as it can strip the wax. Always read the manufacturer’s instructions for cleaning specific surfaces and appliances. When in doubt, err on the side of caution and test the solution before applying it to a large area.
Can I use a different type of vinegar besides white vinegar?
While white vinegar is the most commonly recommended type for cleaning due to its acidity and lack of color, you can experiment with other types of vinegar, such as apple cider vinegar. However, be aware that apple cider vinegar has a distinct scent that some people may find unpleasant. It also contains sediment that could potentially leave a residue on surfaces. If you choose to use apple cider vinegar, strain it before using it in your cleaning solution. Balsamic vinegar is not recommended for cleaning due to its dark color and sugar content, which can leave stains and sticky residue.
How long does this DIY cleaning solution last?
This DIY cleaning solution typically lasts for several months when stored properly in an airtight container in a cool, dark place. The vinegar acts as a natural preservative, preventing the growth of bacteria and mold. However, it’s always a good idea to check the solution periodically for any signs of spoilage, such as discoloration or an unusual odor. If you notice any changes, discard the solution and make a fresh batch. To maximize its shelf life, avoid contaminating the solution with dirty cloths or sponges.
What essential oils are best to use in this DIY cleaner?
The best essential oils to use in this DIY cleaner depend on your personal preferences and desired cleaning properties. Lemon essential oil is a popular choice for its fresh, citrusy scent and its ability to cut through grease and grime. Lavender essential oil offers a calming aroma and has antibacterial properties. Tea tree essential oil is a powerful disinfectant and is effective against mold and mildew. Eucalyptus essential oil has a refreshing scent and can help to clear congestion. Other good options include peppermint, orange, and grapefruit essential oils. Experiment with different combinations to find your favorite scent and cleaning power.
Can I use this DIY cleaner to clean my bathroom?
Yes, this DIY cleaner is excellent for cleaning bathrooms. It can be used on sinks, countertops, toilets, showers, and tubs. The vinegar helps to dissolve soap scum and hard water stains, while the essential oils provide a fresh scent and antibacterial properties. For tougher stains, you can create a paste of baking soda and water and apply it to the affected area before spraying with the DIY cleaner. Be sure to rinse thoroughly after cleaning to remove any residue.
Is this DIY cleaner safe for pets and children?
While this DIY cleaner is generally safer than commercial cleaning products, it’s still important to take precautions when using it around pets and children. Keep the solution out of reach of children and pets, and avoid spraying it directly on them. If your pet or child ingests the solution, contact a veterinarian or poison control center immediately. When cleaning surfaces that pets and children come into contact with, rinse thoroughly with water to remove any residue. Choose essential oils that are safe for pets, as some essential oils can be toxic to animals.
How do I dispose of this DIY cleaning solution?
This DIY cleaning solution is generally safe to dispose of down the drain. However, if you’ve added borax to the solution, it’s best to dilute it with plenty of water before disposing of it. Avoid pouring large amounts of undiluted vinegar down the drain, as it can potentially damage pipes over time. You can also dispose of the solution by pouring it onto weeds or grass, as vinegar can act as a natural herbicide.
What if I don’t have all the ingredients? Can I still make a version of this cleaner?
Yes, you can still make a simplified version of this cleaner with just vinegar and water. While it won’t be as powerful as the full recipe, it will still be effective for light cleaning tasks. You can also add a few drops of dish soap for extra cleaning power. If you don’t have essential oils, you can skip them altogether or add a few drops of lemon juice for a fresh scent. The key ingredient is the vinegar, which provides the cleaning power.
How can I make this DIY cleaner even more eco-friendly?
To make this DIY cleaner even more eco-friendly, use organic vinegar and essential oils. You can also reuse spray bottles instead of buying new ones. Consider using microfiber cloths instead of paper towels for cleaning, as they are reusable and more absorbent. When disposing of the solution, dilute it with plenty of water to minimize its impact on the environment. By making small changes to your cleaning routine, you can significantly reduce your environmental footprint.
Leave a Comment