
Cleaning wooden cutting boards can feel like a daunting task, right? I get it! You love your trusty wooden cutting board – it’s been with you through countless culinary adventures, from chopping veggies for a hearty stew to slicing crusty bread for a delicious sandwich. But let’s be honest, those grooves and scratches can become a breeding ground for bacteria if not properly cared for.
For centuries, wooden cutting boards have been a kitchen staple. Think about it – our grandmothers and great-grandmothers relied on them! They’re a natural, beautiful, and often sentimental part of our cooking experience. But unlike their modern plastic counterparts, wooden boards require a little extra TLC to keep them hygienic and long-lasting.
That’s where these DIY cleaning tricks come in! You see, properly cleaning wooden cutting boards isn’t just about aesthetics; it’s about food safety and extending the life of your beloved kitchen tool. Nobody wants to risk food poisoning, and nobody wants to replace their favorite cutting board every year. In this article, I’m going to share some simple, effective, and all-natural methods to keep your wooden cutting boards sparkling clean and ready for your next culinary masterpiece. Get ready to say goodbye to lingering odors and hello to a fresh, sanitized cutting board!
DIY: Reviving Your Wooden Cutting Boards – A Deep Clean Guide
Hey there, fellow kitchen enthusiasts! I’m here to share my tried-and-true method for keeping those beloved wooden cutting boards clean, sanitized, and looking their best. We all know how essential these boards are for prepping meals, but they can also become breeding grounds for bacteria if not properly cared for. So, let’s dive into a comprehensive guide that will help you keep your wooden cutting boards in tip-top shape!
What You’ll Need
Before we get started, let’s gather our supplies. This is a pretty simple process, and you probably already have most of these items in your kitchen:
* Coarse Salt: Table salt works, but kosher or sea salt is even better for scrubbing.
* Lemons: These are our natural cleaning and deodorizing powerhouses.
* White Vinegar: A fantastic disinfectant and grease cutter.
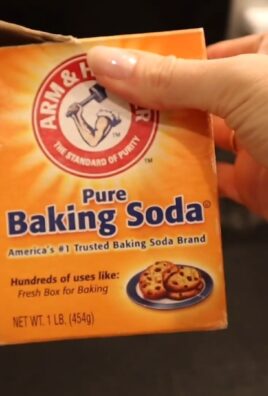
* Baking Soda: For extra scrubbing power and odor removal.
* Hydrogen Peroxide (3%): A safe and effective sanitizer.
* Clean Rags or Sponges: Microfiber cloths are my personal favorite.
* Soft-Bristled Brush: An old toothbrush works great for getting into grooves.
* Mineral Oil or Cutting Board Oil: To rehydrate and protect the wood.
* Beeswax (Optional): For creating a protective beeswax finish.
* Double Boiler or Heat-Safe Bowl and Saucepan (Optional): For melting beeswax.
* Clean, Dry Cloth (Optional): For applying beeswax finish.
* Gloves (Optional): If you have sensitive skin.
Phase 1: The Initial Scrub – Salt and Lemon Power
This first step is crucial for removing surface stains and odors. The combination of salt and lemon is a natural and effective way to scrub away grime.
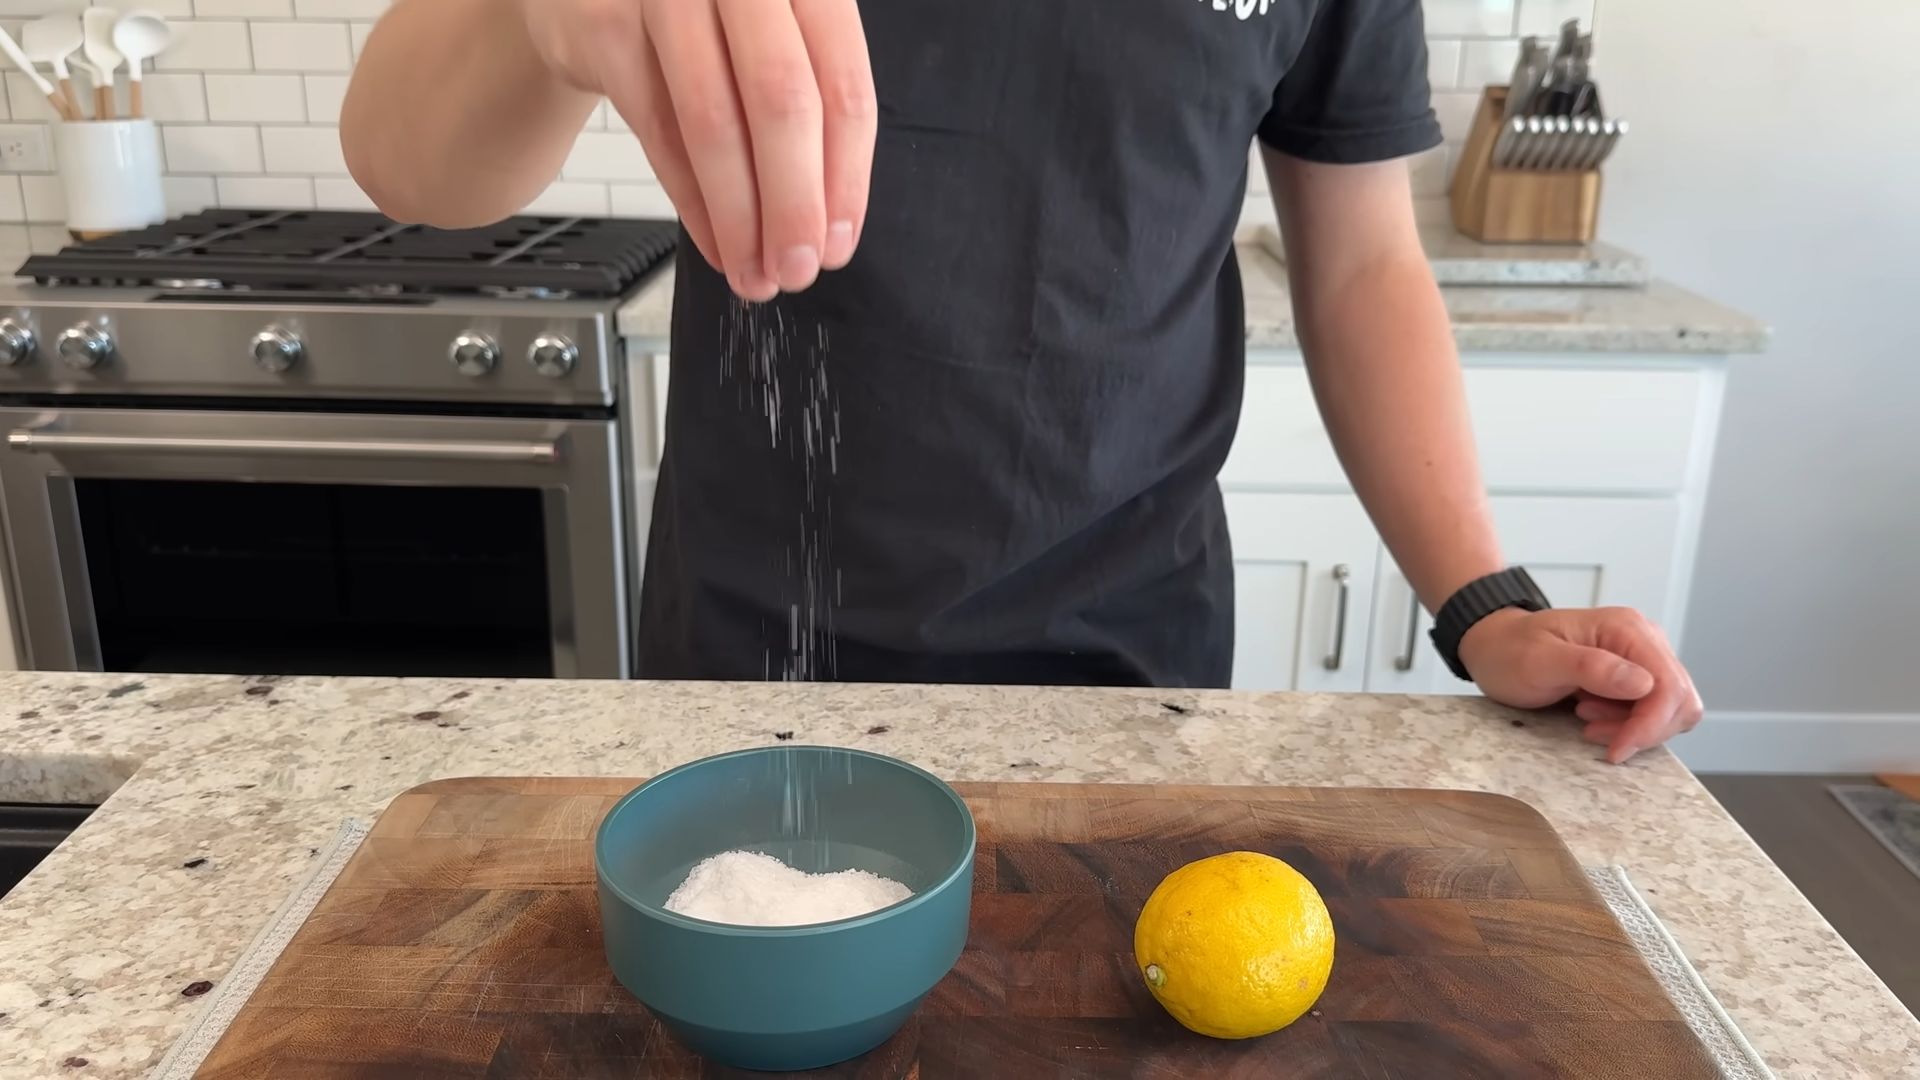
1. Prepare the Board: Rinse your wooden cutting board with warm water to dampen the surface. This helps the salt adhere better.
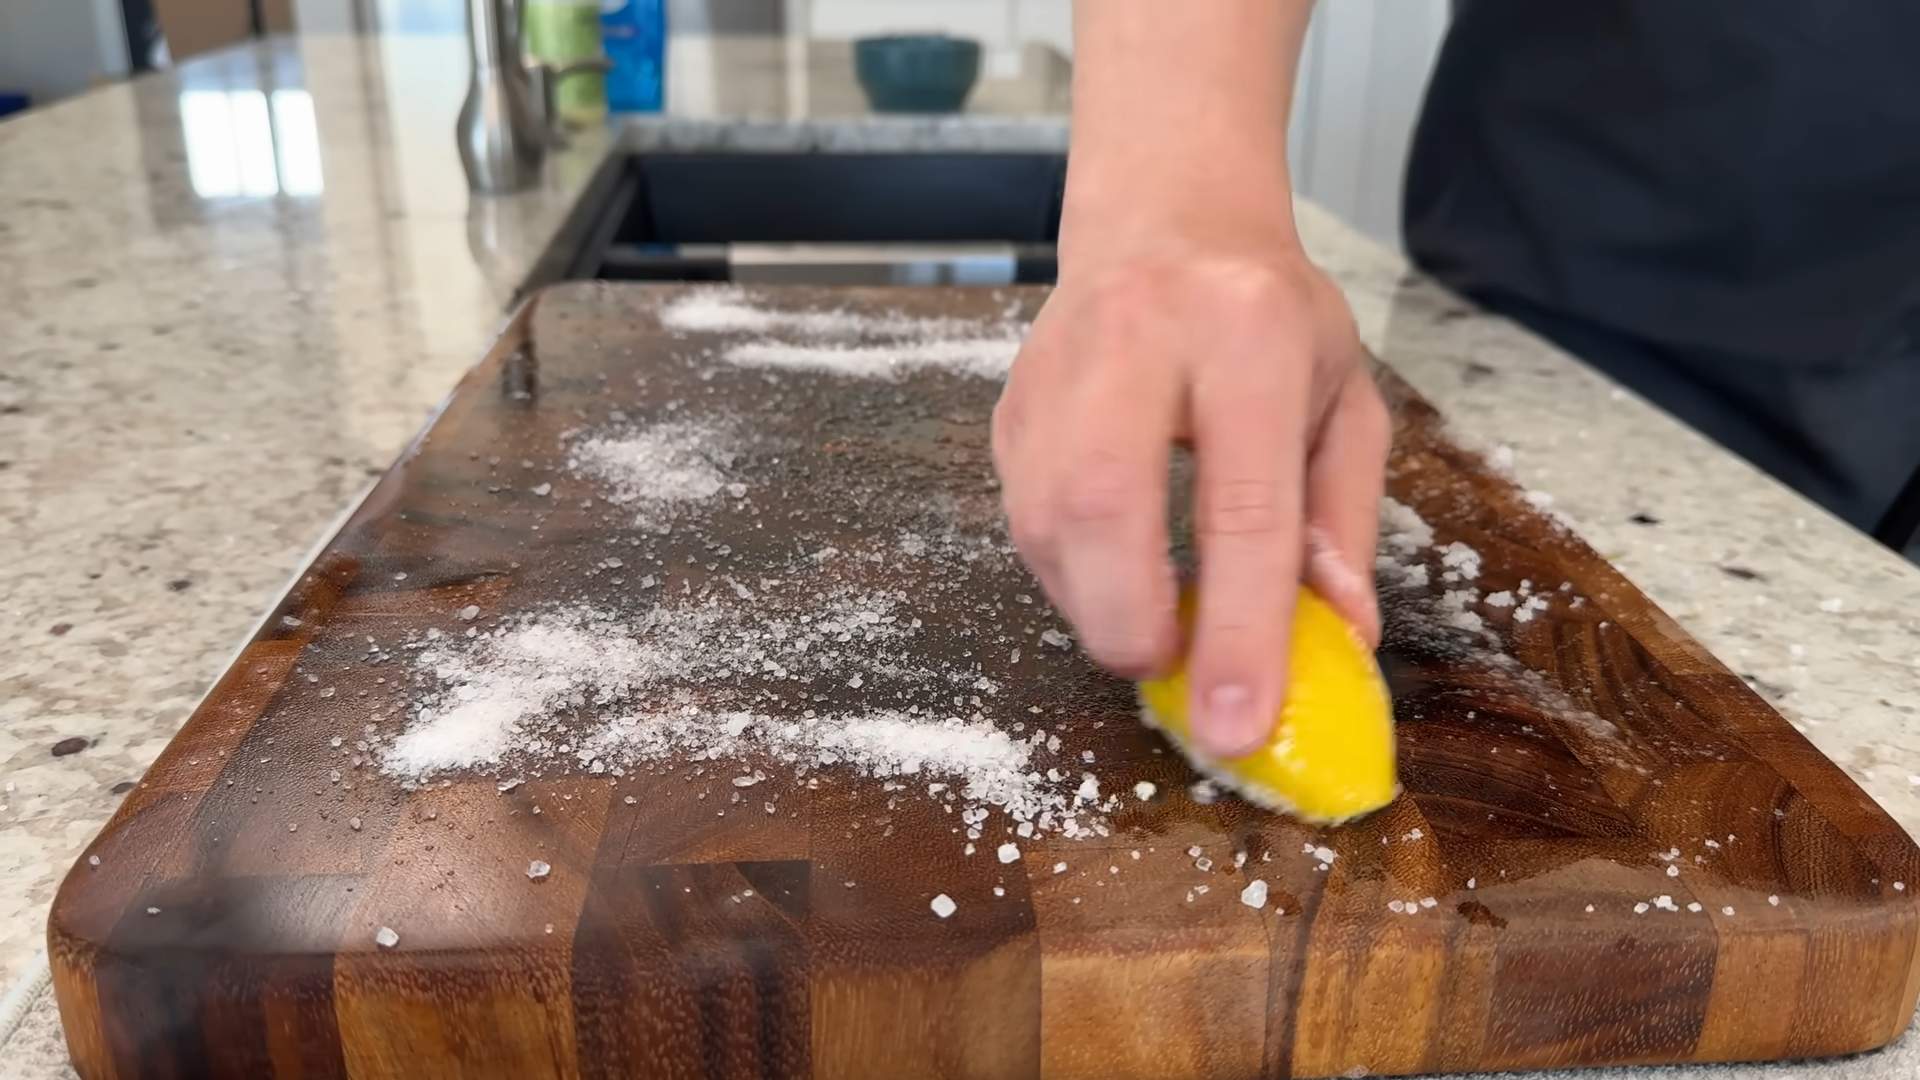
2. Salt Application: Generously sprinkle coarse salt all over the cutting board surface. Don’t be shy – you want a good layer of salt to act as an abrasive.
3. Lemon Scrub: Cut a lemon in half. Using one half, scrub the salt into the cutting board using a circular motion. Squeeze the lemon gently as you scrub to release its juice. The lemon juice will help dissolve stains and the salt will provide the scrubbing power.
4. Thorough Scrubbing: Really put some elbow grease into it! Focus on areas with visible stains or odors. Pay special attention to any grooves or knife marks. I usually spend about 5-10 minutes on this step, depending on how dirty the board is.
5. Rinse and Inspect: Rinse the cutting board thoroughly with warm water. Inspect the surface to see if any stains or odors remain. If so, repeat steps 2-4.
Phase 2: Deep Cleaning and Sanitizing – Vinegar and Baking Soda
Now that we’ve tackled the surface grime, it’s time to deep clean and sanitize the board. Vinegar and baking soda are a dynamic duo for this task.
1. Vinegar Rinse: Pour white vinegar over the entire surface of the cutting board. Let it sit for about 5 minutes. The vinegar will help kill bacteria and loosen any remaining debris.
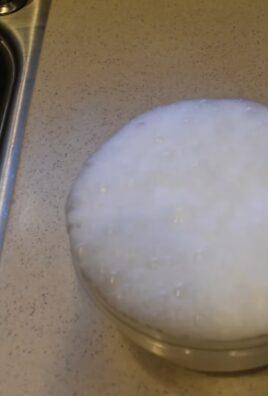
2. Baking Soda Paste: Make a paste of baking soda and water (or vinegar for extra cleaning power). The consistency should be similar to toothpaste.
3. Apply the Paste: Spread the baking soda paste evenly over the cutting board surface.
4. Gentle Scrub: Using a clean rag or sponge, gently scrub the baking soda paste into the board. Again, focus on any problem areas. The baking soda will help absorb odors and provide a gentle abrasive action.
5. Rinse Thoroughly: Rinse the cutting board thoroughly with warm water until all traces of vinegar and baking soda are gone.
Phase 3: Disinfecting – Hydrogen Peroxide
This step is essential for killing any remaining bacteria and ensuring your cutting board is truly sanitized.
1. Hydrogen Peroxide Application: Spray the entire surface of the cutting board with 3% hydrogen peroxide.
2. Let it Sit: Allow the hydrogen peroxide to sit on the board for about 5-10 minutes. You might see some bubbling – that’s a good sign that it’s working!
3. Rinse Again: Rinse the cutting board thoroughly with warm water.
Phase 4: Drying and Inspection
Proper drying is crucial to prevent warping and cracking.
1. Towel Dry: Use a clean towel to dry the cutting board as much as possible.
2. Air Dry: Stand the cutting board on its side in a well-ventilated area to air dry completely. Avoid placing it in direct sunlight or near a heat source, as this can cause it to warp. I usually let mine air dry overnight.
3. Inspection: Once the board is completely dry, inspect it for any cracks or damage. If you notice any significant damage, it might be time to replace the boa
Hey there, fellow kitchen enthusiasts! I’m here to share my tried-and-true method for keeping those beloved wooden cutting boards clean, sanitized, and looking their best. We all know how essential these boards are for prepping meals, but they can also become breeding grounds for bacteria if not properly cared for. So, let’s dive into a comprehensive guide that will help you keep your wooden cutting boards in tip-top shape!
What You’ll Need
Before we get started, let’s gather our supplies. This is a pretty simple process, and you probably already have most of these items in your kitchen:
* Coarse Salt: Table salt works, but kosher or sea salt is even better for scrubbing.
* Lemons: These are our natural cleaning and deodorizing powerhouses.
* White Vinegar: A fantastic disinfectant and grease cutter.
* Baking Soda: For extra scrubbing power and odor removal.
* Hydrogen Peroxide (3%): A safe and effective sanitizer.
* Clean Rags or Sponges: Microfiber cloths are my personal favorite.
* Soft-Bristled Brush: An old toothbrush works great for getting into grooves.
* Mineral Oil or Cutting Board Oil: To rehydrate and protect the wood.
* Beeswax (Optional): For creating a protective beeswax finish.
* Double Boiler or Heat-Safe Bowl and Saucepan (Optional): For melting beeswax.
* Clean, Dry Cloth (Optional): For applying beeswax finish.
* Gloves (Optional): If you have sensitive skin.
Phase 1: The Initial Scrub – Salt and Lemon Power
This first step is crucial for removing surface stains and odors. The combination of salt and lemon is a natural and effective way to scrub away grime.
1. Prepare the Board: Rinse your wooden cutting board with warm water to dampen the surface. This helps the salt adhere better.
2. Salt Application: Generously sprinkle coarse salt all over the cutting board surface. Don’t be shy – you want a good layer of salt to act as an abrasive.
3. Lemon Scrub: Cut a lemon in half. Using one half, scrub the salt into the cutting board using a circular motion. Squeeze the lemon gently as you scrub to release its juice. The lemon juice will help dissolve stains and the salt will provide the scrubbing power.
4. Thorough Scrubbing: Really put some elbow grease into it! Focus on areas with visible stains or odors. Pay special attention to any grooves or knife marks. I usually spend about 5-10 minutes on this step, depending on how dirty the board is.
5. Rinse and Inspect: Rinse the cutting board thoroughly with warm water. Inspect the surface to see if any stains or odors remain. If so, repeat steps 2-4.
Phase 2: Deep Cleaning and Sanitizing – Vinegar and Baking Soda
Now that we’ve tackled the surface grime, it’s time to deep clean and sanitize the board. Vinegar and baking soda are a dynamic duo for this task.
1. Vinegar Rinse: Pour white vinegar over the entire surface of the cutting board. Let it sit for about 5 minutes. The vinegar will help kill bacteria and loosen any remaining debris.
2. Baking Soda Paste: Make a paste of baking soda and water (or vinegar for extra cleaning power). The consistency should be similar to toothpaste.
3. Apply the Paste: Spread the baking soda paste evenly over the cutting board surface.
4. Gentle Scrub: Using a clean rag or sponge, gently scrub the baking soda paste into the board. Again, focus on any problem areas. The baking soda will help absorb odors and provide a gentle abrasive action.
5. Rinse Thoroughly: Rinse the cutting board thoroughly with warm water until all traces of vinegar and baking soda are gone.
Phase 3: Disinfecting – Hydrogen Peroxide
This step is essential for killing any remaining bacteria and ensuring your cutting board is truly sanitized.
1. Hydrogen Peroxide Application: Spray the entire surface of the cutting board with 3% hydrogen peroxide.
2. Let it Sit: Allow the hydrogen peroxide to sit on the board for about 5-10 minutes. You might see some bubbling – that’s a good sign that it’s working!
3. Rinse Again: Rinse the cutting board thoroughly with warm water.
Phase 4: Drying and Inspection
Proper drying is crucial to prevent warping and cracking.
1. Towel Dry: Use a clean towel to dry the cutting board as much as possible.
2. Air Dry: Stand the cutting board on its side in a well-ventilated area to air dry completely. Avoid placing it in direct sunlight or near a heat source, as this can cause it to warp. I usually let mine air dry overnight.
3. Inspection: Once the board is completely dry, inspect it for any cracks or damage. If you notice any significant damage, it might be time to replace the board.
Phase 5: Rehydrating and Protecting – Oil and Beeswax (Optional)
Wooden cutting boards need to be oiled regularly to prevent them from drying out and cracking. This step is essential for maintaining the board’s longevity.
1. Choose Your Oil: Use food-grade mineral oil or a specialized cutting board oil. Avoid using vegetable oils, as they can go rancid and create unpleasant odors.
2. Apply the Oil: Pour a generous amount of oil onto the cutting board surface.
3. Rub it In: Using a clean cloth, rub the oil into the wood in a circular motion. Make sure to cover all surfaces, including the edges and sides.
4. Let it Soak: Allow the oil to soak into the wood for at least a few hours, or preferably overnight. The longer it soaks, the better.
5. Wipe Off Excess: After the oil has soaked in, wipe off any excess oil with a clean cloth. The board should feel slightly oily but not greasy.
6. Beeswax Finish (Optional): For added protection and a water-resistant finish, you can apply a beeswax finish.
* Melt the Beeswax: In a double boiler or heat-safe bowl placed over a saucepan of simmering water, melt beeswax. You can mix the beeswax with mineral oil (about 4 parts oil to 1 part beeswax) for a softer finish.
* Apply the Beeswax: Once the beeswax is melted, carefully apply it to the cutting board using a clean, dry cloth.
* Buff the Surface: After the beeswax has cooled and hardened slightly, buff the surface with a clean cloth to create a smooth, protective finish.
Maintaining Your Cutting Board
Regular maintenance is key to keeping your wooden cutting board clean and in good condition.
* Wash After Each Use: Wash your cutting board with warm, soapy water after each use.
* Dry Thoroughly: Always dry the cutting board thoroughly after washing.
* Oil Regularly: Oil your cutting board every few weeks, or more often if it starts to look dry.
* Avoid Dishwashers: Never put your wooden cutting board in the dishwasher, as the high heat and harsh detergents can damage the wood.
* Sanitize Periodically: Sanitize your cutting board with hydrogen peroxide or a vinegar solution every few weeks.
* Address Stains Promptly: Tackle stains as soon as possible to prevent them from setting in.
Extra Tips and Tricks
* Odor Removal: For stubborn odors, try placing a bowl of baking soda near the cutting board overnight.
* Deep Scratches: For deep scratches, you can try sanding the board lightly with fine-grit sandpaper before oiling.
* Board Feet: Consider adding rubber feet to the bottom of your cutting board to prevent it from slipping and to allow air to circulate underneath.
* Dedicated Boards: Use separate cutting boards for raw meats and vegetables to prevent cross-contamination.
And there you have it! A comprehensive guide to cleaning and maintaining your wooden cutting boards. By following these steps, you can keep your boards clean, sanitized, and looking their best for years to come. Happy cooking!
Conclusion
So, there you have it! This simple, yet incredibly effective DIY cleaning trick for your wooden cutting boards is a game-changer. No more lingering odors, no more worrying about hidden bacteria, and no more dull, lifeless wood. This method revitalizes your cutting boards, leaving them clean, sanitized, and ready for your next culinary adventure.
Why is this a must-try? Because it’s natural, affordable, and significantly extends the life of your wooden cutting boards. Harsh chemicals can damage the wood fibers, leading to cracking and warping. This DIY solution, using readily available ingredients like lemon, salt, and baking soda, gently cleanses and disinfects without compromising the integrity of the wood. It’s a win-win!
Beyond the basic method, feel free to experiment with variations. For particularly stubborn stains or odors, you can create a paste of baking soda and water and let it sit on the affected area for a longer period before scrubbing. Some people also swear by using white vinegar diluted with water as a final rinse for extra sanitization. If you’re concerned about drying out the wood, consider applying a food-grade mineral oil or beeswax conditioner after cleaning and drying to replenish the natural oils. This will help prevent cracking and keep your cutting boards looking their best.
Don’t just take our word for it – try it yourself! We’re confident that you’ll be amazed at the difference this simple DIY cleaning trick makes. Your wooden cutting boards will thank you, and your food preparation will be safer and more enjoyable.
We encourage you to give this method a try and share your experiences with us. Did you find it effective? Did you try any variations? What were your results? Share your tips and tricks in the comments below! Let’s build a community of clean cutting board enthusiasts! Mastering this DIY cleaning method is an investment in your kitchen hygiene and the longevity of your cherished wooden tools. It’s a small effort with a significant payoff.
Frequently Asked Questions (FAQs)
Q: How often should I clean my wooden cutting board using this DIY method?
A: The frequency depends on how often you use your cutting board. For daily use, a quick wipe down with soap and water after each use is sufficient. However, for a deep clean using the lemon, salt, and baking soda method, aim for at least once a week, or more often if you’ve been cutting raw meat, poultry, or fish. If you notice any lingering odors or stains, it’s definitely time for a deep clean. Remember, consistent cleaning is key to preventing bacteria buildup and maintaining the hygiene of your cutting board.
Q: Can I use this method on all types of wooden cutting boards?
A: Yes, this DIY cleaning method is generally safe for all types of wooden cutting boards, including those made from hardwoods like maple, walnut, and cherry, as well as bamboo cutting boards. However, it’s always a good idea to test a small, inconspicuous area first, especially if you have an antique or particularly delicate cutting board. Avoid using this method on cutting boards that are heavily lacquered or varnished, as the abrasive nature of the salt and baking soda could potentially damage the finish.
Q: What if I don’t have lemons? Can I use something else?
A: While lemons are ideal due to their acidity and natural cleaning properties, you can substitute them with other citrus fruits like limes or grapefruits. If you don’t have any citrus fruits on hand, you can use white vinegar diluted with water. Mix equal parts white vinegar and water, and use this solution to scrub the cutting board after applying the salt and baking soda. The vinegar will help to disinfect and deodorize the board.
Q: Is it necessary to use both salt and baking soda?
A: While you can use either salt or baking soda individually, using them together creates a more effective cleaning action. The salt acts as a gentle abrasive to scrub away food particles and stains, while the baking soda helps to neutralize odors and further disinfect the surface. The combination of the two provides a powerful cleaning duo that is both effective and safe for wooden cutting boards.
Q: How do I properly dry my wooden cutting board after cleaning?
A: Proper drying is crucial to prevent warping and cracking. After cleaning, rinse the cutting board thoroughly with warm water. Stand the cutting board on its side, propped up against something to allow air to circulate on both sides. Avoid laying it flat on a surface, as this can trap moisture and lead to warping. You can also use a clean, dry towel to pat the cutting board dry, but make sure to allow it to air dry completely before storing it. Never put a wooden cutting board in the dishwasher, as the high heat and moisture can cause it to crack and warp.
Q: How can I prevent my wooden cutting board from drying out and cracking?
A: To prevent your wooden cutting board from drying out and cracking, it’s essential to regularly oil it with a food-grade mineral oil or beeswax conditioner. After cleaning and drying the cutting board, apply a generous amount of oil to the surface and let it soak in for several hours, or even overnight. Wipe off any excess oil with a clean cloth. Oiling the cutting board replenishes the natural oils that are lost during cleaning and helps to keep the wood moisturized and prevent cracking. Aim to oil your cutting board at least once a month, or more often if you notice it starting to look dry.
Q: My cutting board has deep knife marks. Can this method still clean it effectively?
A: While this DIY cleaning method can help to clean and sanitize cutting boards with knife marks, it may not be able to completely remove all bacteria and food particles that are trapped in the deep grooves. For cutting boards with significant knife marks, you may need to consider sanding the surface down to create a smoother, more hygienic surface. You can use a fine-grit sandpaper to gently sand the cutting board, following the grain of the wood. After sanding, be sure to clean and oil the cutting board as described above.
Q: Can I use essential oils in this cleaning method?
A: While some people add essential oils to their cleaning solutions for their antibacterial and aromatic properties, it’s important to use caution when using essential oils on wooden cutting boards that will come into contact with food. Some essential oils can be toxic if ingested, so it’s crucial to choose oils that are food-safe and use them sparingly. Lemon essential oil is a good option, as it has a similar scent and cleaning properties to fresh lemons. Add a few drops of lemon essential oil to the baking soda and salt mixture before scrubbing the cutting board. Always rinse the cutting board thoroughly after cleaning to remove any residue.
Q: What is the best way to store my wooden cutting board?
A: The best way to store your wooden cutting board is in a dry, well-ventilated area. Avoid storing it in a damp or humid environment, as this can promote the growth of mold and bacteria. Store the cutting board on its side, propped up against something to allow air to circulate on both sides. This will help to prevent warping and cracking. You can also store the cutting board in a cutting board rack or holder.

Leave a Comment