
DIY bathroom cleaner: Let’s face it, nobody *loves* cleaning the bathroom. It’s a chore we all dread, filled with harsh chemicals and lingering odors. But what if I told you there’s a better way? A way to achieve a sparkling clean bathroom without resorting to those store-bought cleaners that can irritate your skin and pollute your home?
For generations, resourceful homemakers have relied on simple, natural ingredients to keep their homes clean. Think about it – before the advent of mass-produced cleaning products, vinegar, baking soda, and lemon juice were the go-to solutions for tackling grime and germs. These time-tested remedies are not only effective but also environmentally friendly and budget-conscious.
In today’s world, where we’re increasingly aware of the impact of chemicals on our health and the planet, rediscovering these traditional cleaning methods is more important than ever. That’s why I’m so excited to share my favorite DIY bathroom cleaner recipes and hacks with you! Not only will you save money and reduce your exposure to harmful chemicals, but you’ll also gain a sense of satisfaction from creating your own effective cleaning solutions. Get ready to transform your bathroom cleaning routine into a simple, safe, and even enjoyable experience!
DIY Bathroom Cleaner: Sparkling Clean Without the Harsh Chemicals
Okay, let’s be honest, cleaning the bathroom is nobody’s favorite chore. But, it’s a necessary evil, right? And what if I told you that you could ditch those expensive, chemical-laden cleaners and whip up your own powerful, effective, and eco-friendly bathroom cleaner using ingredients you probably already have in your pantry? Sounds good, doesn’t it? Well, get ready to say goodbye to harsh fumes and hello to a sparkling clean bathroom with this super simple DIY recipe!
What You’ll Need: The Arsenal of Clean
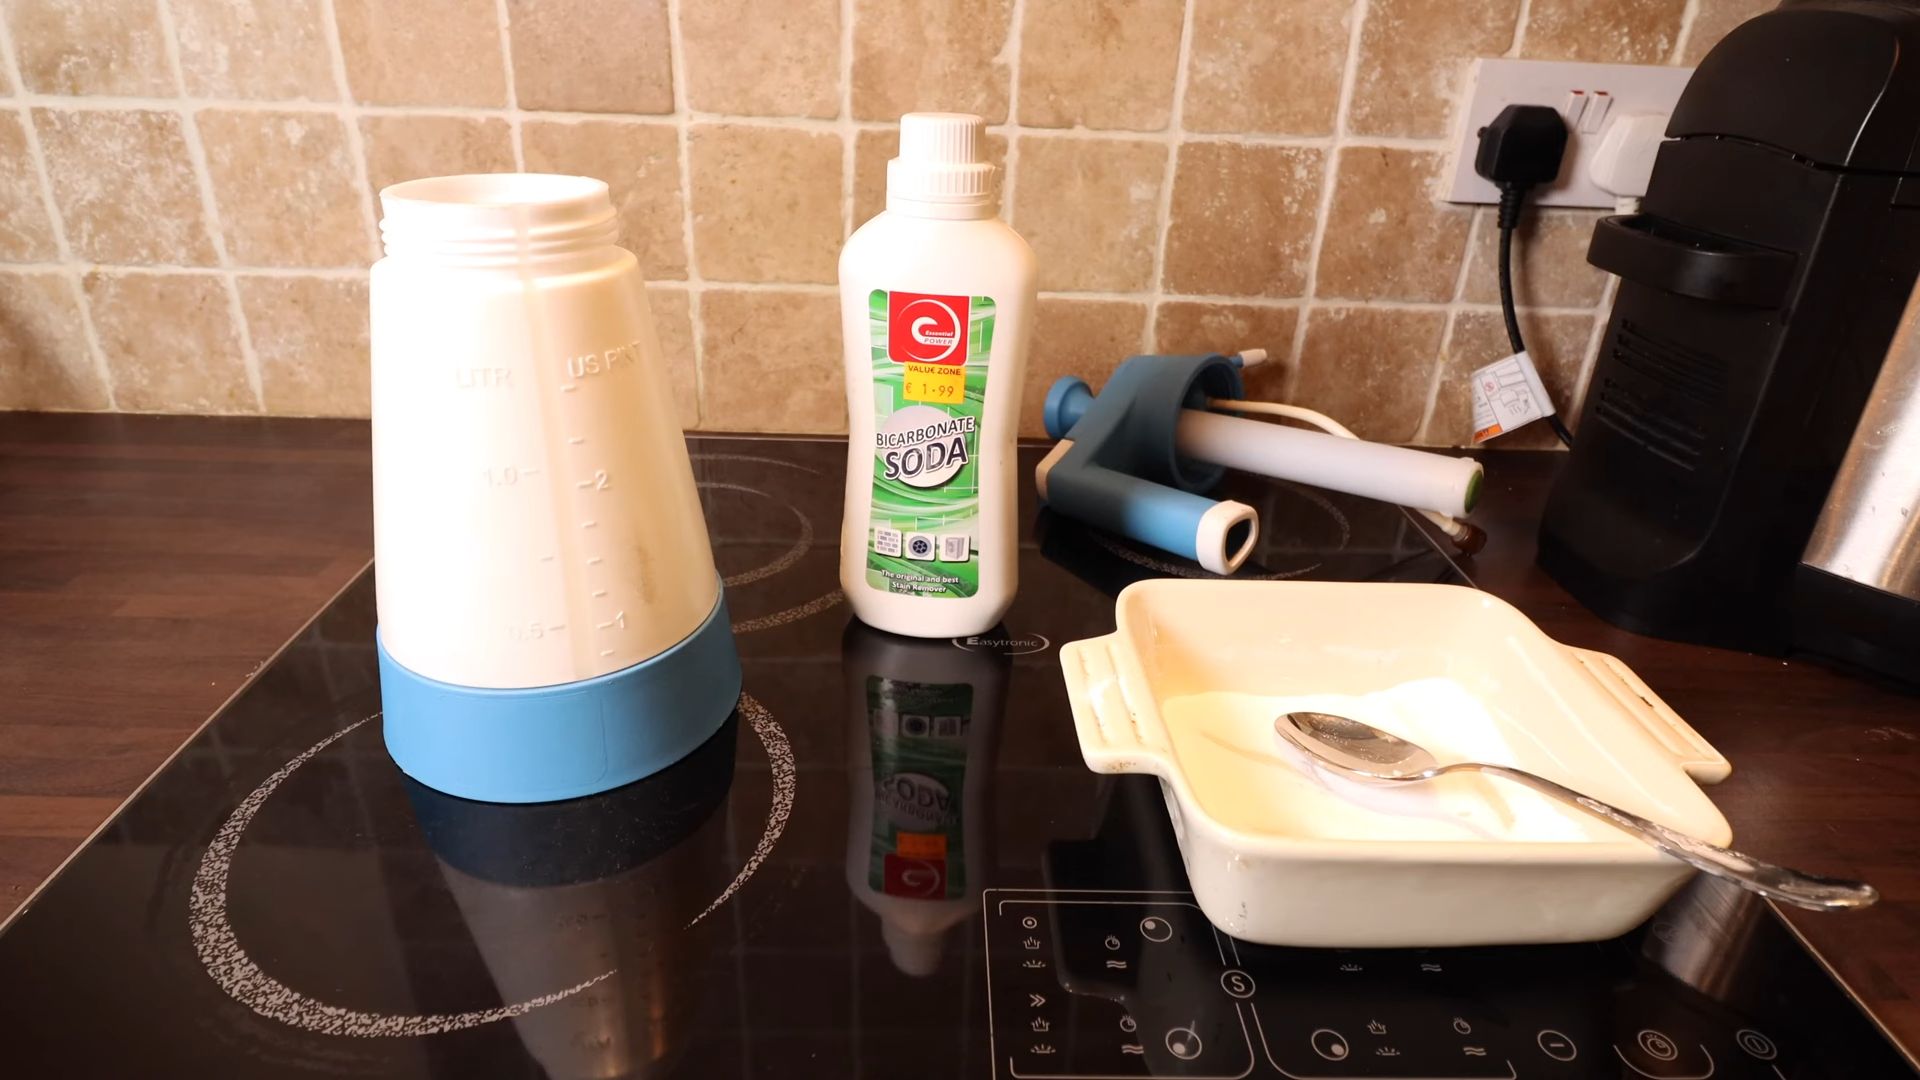
Before we dive in, let’s gather our supplies. This is a pretty straightforward recipe, so you won’t need anything too fancy.
* **Spray Bottle:** An empty spray bottle is essential for easy application. Make sure it’s clean and has a good spray nozzle. I prefer using a dark-colored bottle to help protect the essential oils (if you choose to use them) from light degradation.
* **White Vinegar:** This is our star ingredient! Vinegar is a natural disinfectant and deodorizer. Its acidity helps to break down soap scum, hard water stains, and mildew.
* **Baking Soda:** The trusty baking soda! It’s a mild abrasive that helps to scrub away grime without scratching surfaces. Plus, it neutralizes odors.
* **Water:** Distilled water is best to prevent mineral buildup in your spray bottle, but tap water works just fine too.
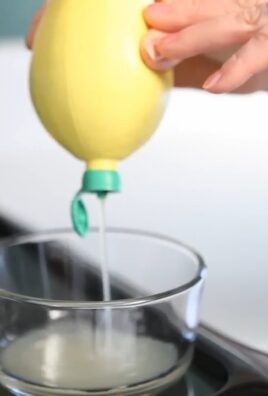
* **Essential Oils (Optional):** These are totally optional, but they add a lovely scent and can boost the cleaning power. My favorites for the bathroom are tea tree (antifungal and antibacterial), lavender (relaxing and antibacterial), lemon (degreasing and uplifting), and eucalyptus (antiseptic and refreshing).
* **Measuring Cups and Spoons:** For accurate measurements.
* **Funnel (Optional):** Makes pouring ingredients into the spray bottle much easier and less messy.
* **Microfiber Cloths:** These are my go-to for cleaning! They’re super absorbent, lint-free, and great for scrubbing.
Step-by-Step: Mixing the Magic Potion
Alright, let’s get down to business and create our amazing bathroom cleaner!
1. **Prepare the Spray Bottle:** Make sure your spray bottle is clean and dry. If you’ve used it for other cleaners before, rinse it out thoroughly with soap and water to remove any residue.
2. **Add the Vinegar:** Pour 1 cup of white vinegar into the spray bottle. Vinegar is the workhorse of this cleaner, tackling grime and killing bacteria.
3. **Add the Water:** Next, add 1 cup of water to the spray bottle. This dilutes the vinegar slightly, making it less harsh on surfaces and easier to work with.
4. **Add the Baking Soda (Slowly!):** This is where things can get a little fizzy! Add 1 tablespoon of baking soda to the spray bottle *very slowly*. The vinegar and baking soda will react, creating a bubbling effect. Don’t worry, this is normal! Just add it gradually to prevent it from overflowing.
5. **Add Essential Oils (Optional):** If you’re using essential oils, add 10-20 drops of your favorite blend to the spray bottle. I usually go for a combination of tea tree and lemon for their cleaning and disinfecting properties. Remember, essential oils are potent, so a little goes a long way.
6. **Shake Well:** Secure the spray nozzle onto the bottle and shake well to combine all the ingredients.
7. **Label Your Bottle:** This is important! Label your spray bottle clearly as “DIY Bathroom Cleaner” so you don’t accidentally use it for something else. I also like to include the date I made it.
Using Your DIY Bathroom Cleaner: Time to Shine!
Now that you’ve created your amazing bathroom cleaner, let’s put it to work!
1. **Spray the Surfaces:** Spray the cleaner liberally onto the surfaces you want to clean, such as the shower walls, bathtub, sink, toilet, and countertops.
2. **Let it Sit:** Allow the cleaner to sit on the surfaces for a few minutes (5-10 minutes is usually good) to allow the vinegar and baking soda to break down the grime and soap scum. For tougher stains, you can let it sit for a bit longer.
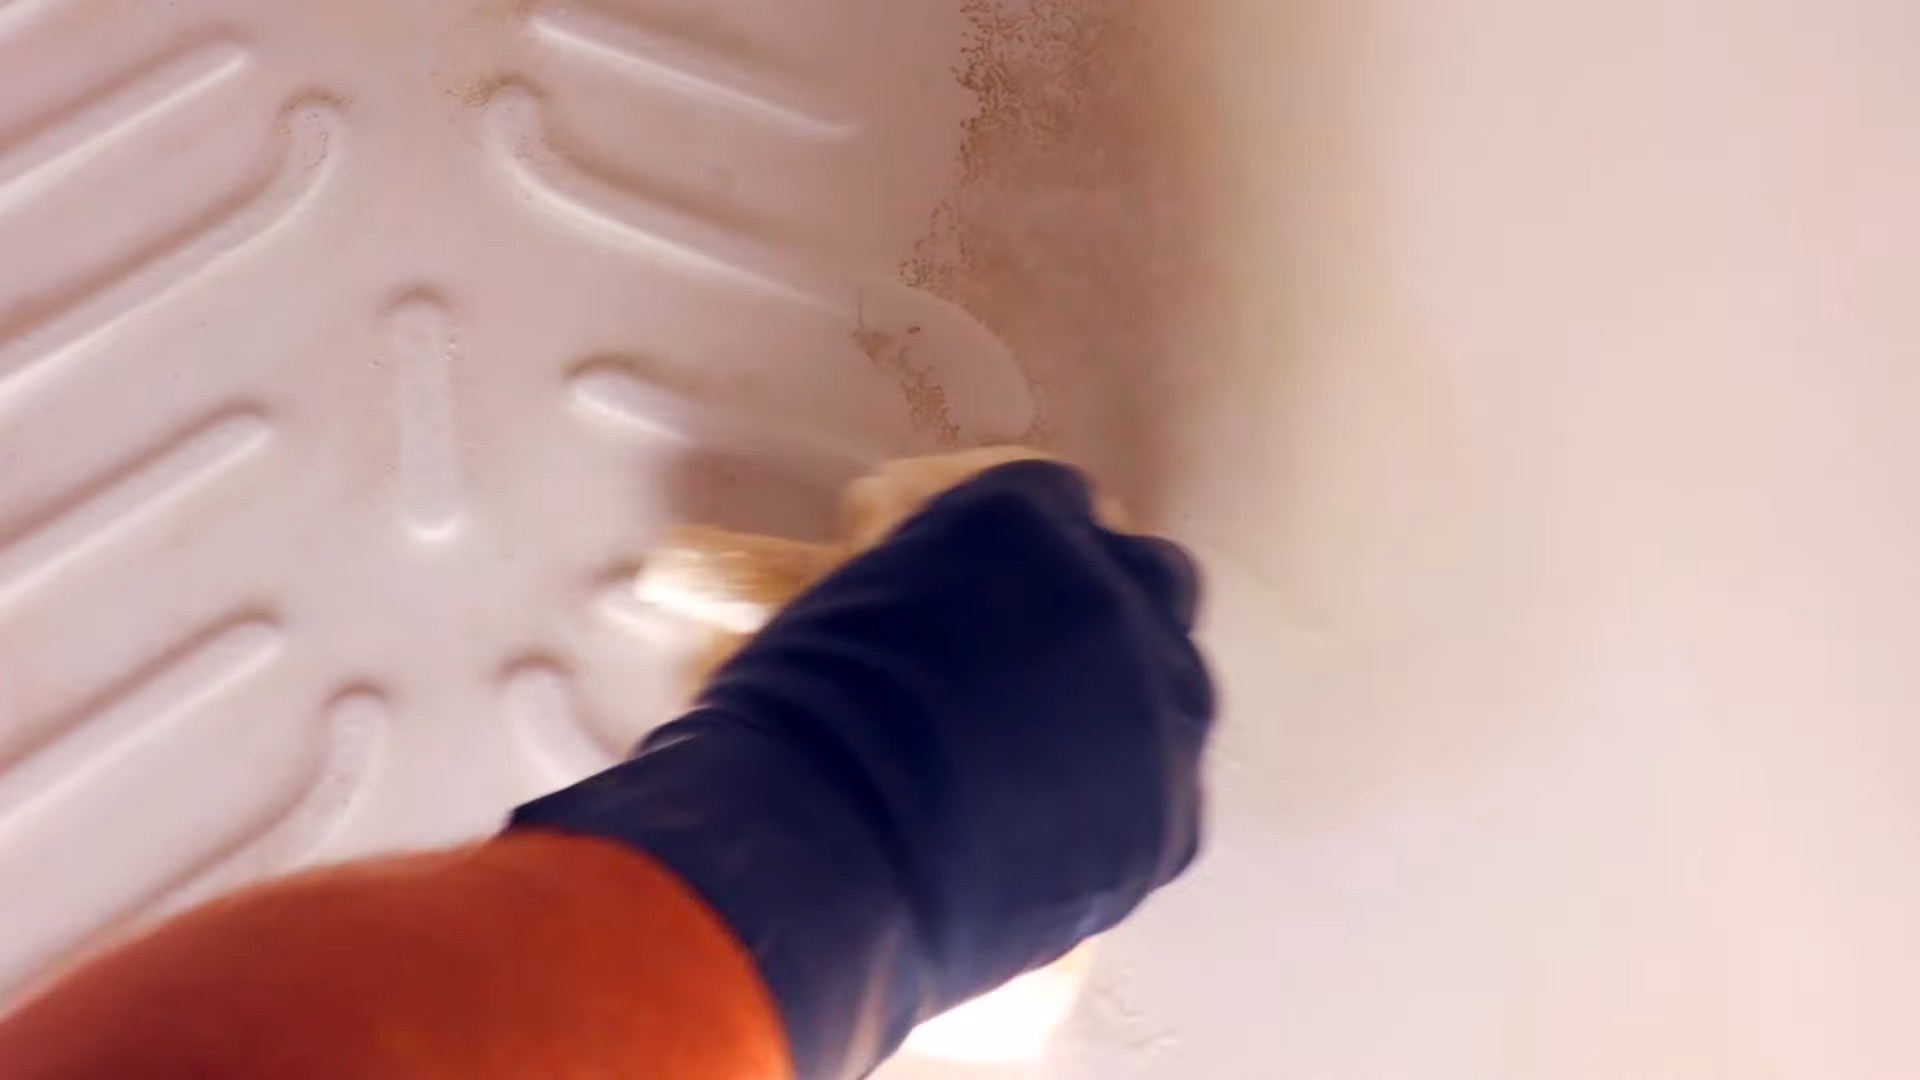
3. **Scrub (If Necessary):** For stubborn stains or buildup, use a scrub brush, sponge, or microfiber cloth to scrub the surfaces. The baking soda will act as a mild abrasive to help remove the grime.
4. **Rinse:** Rinse the surfaces thoroughly with water. You can use the showerhead to rinse the shower walls and bathtub, and a damp cloth to rinse the sink, toilet, and countertops.
5. **Wipe Dry:** Finally, wipe the surfaces dry with a clean microfiber cloth. This will prevent water spots and leave your bathroom sparkling clean!
Tackling Specific Bathroom Areas: A Targeted Approach
Let’s break down how to use this cleaner in different areas of your bathroom for optimal results.
Shower and Bathtub
* **Soap Scum:** This cleaner is fantastic for tackling soap scum. Spray it liberally on the shower walls, bathtub, and shower door. Let it sit for 10-15 minutes, then scrub with a scrub brush or sponge. Rinse thoroughly and wipe dry. For really stubborn soap scum, you can make a paste of baking soda and water and apply it to the affected areas before spraying with the cleaner.
* **Mildew:** Vinegar is a natural mildew killer! Spray the cleaner on any areas affected by mildew, such as the grout lines or shower curtain. Let it sit for 15-20 minutes, then scrub with a scrub brush. Rinse thoroughly and wipe dry. For severe mildew, you may need to repeat this process or use a stronger solution of straight vinegar.
* **Showerhead:** To clean your showerhead, fill a plastic bag with the DIY cleaner and secure it around the showerhead with a rubber band. Make sure the showerhead is submerged in the cleaner. Let it soak for a few hours or overnight, then remove the bag and run the shower to flush out any remaining cleaner.
Sink and Countertops
* **Water Spots:** The vinegar in this cleaner will help to dissolve water spots on your sink and countertops. Spray the cleaner on the affected areas, let it sit for a few minutes, then wipe clean with a microfiber cloth.
* **Toothpaste Splatters:** We all know the struggle! Spray the cleaner on the toothpaste splatters, let it sit for a minute, then wipe clean with a damp cloth.
* **General Cleaning:** This cleaner is perfect for everyday cleaning of your sink and countertops. Just spray it on, wipe clean, and you’re done!
Toilet
* **Toilet Bowl:** Pour about 1/2 cup of the DIY cleaner into the toilet bowl. Let it sit for 10-15 minutes, then scrub with a toilet brush. Flush the toilet to rinse.
* **Toilet Seat and Exterior:** Spray the cleaner on the toilet seat and exterior, let it sit for a few minutes, then wipe clean with a damp cloth.
Mirrors
* **Streak-Free Shine:** This cleaner can also be used to clean your mirrors! Spray a small amount of the cleaner onto a microfiber cloth and wipe the mirror clean. Then, use a dry microfiber cloth to buff the mirror to a streak-free shine. Be careful not to spray the cleaner directly onto the mirror, as it can seep behind the glass and damage the backing.
Important Considerations: Safety First!
While this DIY cleaner is generally safe, there are a few things to keep in mind:
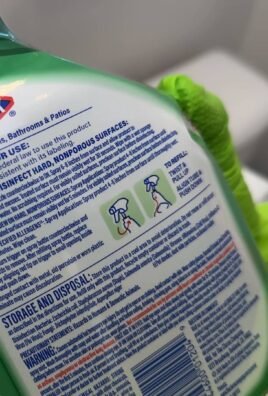
* **Test in an Inconspicuous Area:** Before using the cleaner on a large surface, test it in a small, inconspicuous area to make sure it doesn’t damage the finish.
* **Avoid Mixing with Bleach:** Never mix this cleaner with bleach, as it can create harmful fumes.
* **Ventilation:** When cleaning your bathroom, make sure the room is well-ventilated. Open a window or turn on the exhaust fan.
* **Storage:** Store the cleaner in a cool, dark place away from children and pets.
* **Shelf Life:** This cleaner is best used within a few months. The essential oils may lose their potency over time.
Troubleshooting: Addressing Common Issues
* **Strong Vinegar Smell:** If you find the vinegar smell too strong, you can add more essential oils or use a milder vinegar, such as apple cider vinegar.
* **Clogging Spray Nozzle:** If the baking soda clogs the spray nozzle, try using a finer baking soda or filtering the cleaner through a coffee filter before pouring it into the spray bottle.
* **Cleaner Not Working:** If the cleaner isn’t working as well as you’d like, try increasing the amount of vinegar or baking soda. You can also add a few drops of dish soap for extra cleaning power.
So there you have it! A simple, effective, and eco-friendly DIY bathroom cleaner that will leave your bathroom sparkling clean without the harsh chemicals. Happy cleaning!
Conclusion
So, there you have it! Ditching the harsh chemicals and embracing this simple, effective, and budget-friendly DIY bathroom cleaner is more than just a trend; it’s a smart choice for your health, your wallet, and the environment. We’ve walked you through the easy steps, highlighting how readily available ingredients can transform into a powerful cleaning solution that tackles grime, soap scum, and hard water stains with surprising efficiency.
But why is this DIY trick a must-try? Beyond the obvious cost savings, you gain complete control over what you’re spraying in your bathroom. No more deciphering complicated ingredient lists filled with unpronounceable chemicals. You know exactly what’s in your cleaner, making it a safer option for your family, especially those with sensitivities or allergies. Plus, the satisfaction of creating something effective yourself is incredibly rewarding!
This isn’t a one-size-fits-all solution, either. Feel free to experiment with variations to tailor the cleaner to your specific needs and preferences. For a boost of disinfecting power, consider adding a few drops of tea tree oil or eucalyptus oil. These essential oils not only enhance the cleaning properties but also leave behind a refreshing, natural scent. If you’re dealing with particularly stubborn stains, a paste made from baking soda and a little water can work wonders as a pre-treatment. Let it sit for a few minutes before spraying with your DIY cleaner and scrubbing.
Another variation involves infusing your vinegar with citrus peels. Simply save the peels from oranges, lemons, or grapefruits and soak them in the vinegar for a week or two before using it in your cleaner. This adds a pleasant citrus scent and can further enhance the cleaning power. You can also experiment with different ratios of ingredients to find what works best for your bathroom surfaces and the types of grime you typically encounter.
Don’t be afraid to adjust the recipe to suit your specific needs. If you have particularly hard water, you might want to increase the amount of vinegar slightly. If you prefer a stronger scent, add a few more drops of your favorite essential oil. The beauty of DIY is that you can customize it to your liking.
We are confident that once you try this DIY bathroom cleaner, you’ll be amazed by its effectiveness and simplicity. It’s a game-changer for anyone looking to create a healthier, cleaner home without breaking the bank.
Now, it’s your turn! We encourage you to give this DIY trick a try and see the results for yourself. We’re eager to hear about your experiences. Did you find it as effective as we did? Did you experiment with any variations? Share your tips, tricks, and before-and-after photos in the comments below. Let’s build a community of DIY enthusiasts who are passionate about creating a cleaner, healthier world, one bathroom at a time! Your feedback will not only help others but also inspire us to continue sharing valuable DIY solutions. So, grab your ingredients, mix up a batch of this amazing cleaner, and get ready to transform your bathroom! We can’t wait to hear your success stories!
Frequently Asked Questions (FAQ)
Is this DIY bathroom cleaner safe for all bathroom surfaces?
Generally, yes, this DIY bathroom cleaner is safe for most bathroom surfaces, including tile, porcelain, glass, and stainless steel. However, it’s always a good idea to test it on a small, inconspicuous area first, especially if you have delicate or unusual surfaces like natural stone (marble, granite) or certain types of painted finishes. The acidity of vinegar can potentially etch or damage these surfaces over time. If you’re unsure, consult the manufacturer’s recommendations for cleaning your specific bathroom fixtures. For natural stone, a milder cleaner like a diluted solution of dish soap and water is often a safer option.
How long will this DIY bathroom cleaner last?
This DIY bathroom cleaner doesn’t contain any harsh preservatives, so it’s best to use it within a reasonable timeframe. We recommend storing it in a cool, dark place and using it within 1-2 months for optimal effectiveness. Over time, the essential oils may lose their potency, and the vinegar’s cleaning power might diminish slightly. To ensure you’re always using a fresh and effective cleaner, consider making smaller batches more frequently. Labeling the bottle with the date you made it will also help you keep track of its freshness.
Can I use a different type of vinegar?
While white vinegar is the most commonly recommended type for cleaning due to its high acidity and lack of color, you can experiment with other types of vinegar, such as apple cider vinegar. However, be aware that apple cider vinegar has a brownish tint that could potentially stain light-colored surfaces, so it’s best to test it in an inconspicuous area first. White vinegar is generally the most effective and versatile option for cleaning purposes. Avoid using balsamic vinegar, as its sugar content could leave a sticky residue.
What essential oils are best to use in this DIY bathroom cleaner?
The best essential oils for this DIY bathroom cleaner are those with antibacterial, antifungal, and antiviral properties, as well as pleasant scents. Popular choices include tea tree oil, eucalyptus oil, lavender oil, lemon oil, and orange oil. Tea tree oil is known for its powerful disinfecting properties, while eucalyptus oil has a refreshing scent and can help clear congestion. Lavender oil has a calming aroma and also possesses antibacterial properties. Lemon and orange oils are excellent for cutting through grease and grime and leaving behind a bright, citrusy scent. When choosing essential oils, make sure to purchase high-quality, pure essential oils from a reputable source.
My bathroom has a strong odor. Will this DIY cleaner help?
Yes, this DIY bathroom cleaner can help eliminate odors in your bathroom. Vinegar is a natural deodorizer that neutralizes odors rather than just masking them. The essential oils you add will also contribute to a fresher, cleaner scent. For particularly stubborn odors, try leaving a small bowl of vinegar in the bathroom overnight to absorb the smells. You can also sprinkle baking soda on surfaces like the toilet bowl or shower floor to absorb odors before cleaning. Regular cleaning with this DIY cleaner will help prevent odors from building up in the first place.
How often should I use this DIY bathroom cleaner?
The frequency of use will depend on how often your bathroom needs cleaning. For general maintenance, cleaning once or twice a week is usually sufficient. If you have a busy household or notice grime and soap scum building up more quickly, you may need to clean more frequently. Regular cleaning with this DIY bathroom cleaner will help prevent the buildup of stubborn stains and make your bathroom easier to maintain.
Can I use this cleaner on my shower door to remove hard water stains?
Yes, this DIY bathroom cleaner can be effective at removing hard water stains from shower doors. The vinegar helps to dissolve the mineral deposits that cause these stains. For stubborn stains, try spraying the cleaner on the shower door and letting it sit for 10-15 minutes before scrubbing with a non-abrasive sponge or cloth. You can also try using a paste made from baking soda and water to scrub the stains before spraying with the cleaner. After cleaning, rinse the shower door thoroughly with water and dry it with a clean towel to prevent water spots. Consider using a squeegee after each shower to minimize hard water buildup.
Leave a Comment