
DIY vinegar cleaner bathroom solutions are not just a trend; they’re a return to simpler, more effective cleaning methods! For generations, vinegar has been a staple in households, not just for cooking, but also for its incredible cleaning power. Think back to your grandmother’s cleaning rituals – chances are, vinegar played a starring role. This isn’t just old wives’ tales; it’s science! Vinegar’s acidity naturally breaks down grime, mildew, and hard water stains, making it a fantastic alternative to harsh chemical cleaners.
But why should you embrace a DIY vinegar cleaner bathroom routine? Well, for starters, it’s incredibly budget-friendly. Store-bought cleaners can be expensive, and the cost adds up quickly. Plus, many commercial cleaners are packed with chemicals that can be harmful to your health and the environment. I know I’m always looking for ways to reduce my exposure to harsh chemicals, especially in a space like the bathroom where ventilation can be limited.
This article is your ultimate guide to creating powerful, all-natural bathroom cleaners using vinegar. We’ll explore different recipes, tackle common bathroom cleaning challenges, and show you how to achieve a sparkling clean bathroom without breaking the bank or compromising your health. Get ready to ditch the chemicals and embrace the power of vinegar!
DIY Vinegar Bathroom Cleaner: Sparkling Clean, Naturally!
Hey there, fellow DIY enthusiasts! I’m so excited to share my go-to recipe for a powerful and effective bathroom cleaner using just vinegar and a few other simple ingredients. Forget those harsh chemicals and expensive store-bought cleaners – this homemade solution will leave your bathroom sparkling clean and smelling fresh, all while being gentle on the environment and your wallet. Let’s get started!
What You’ll Need
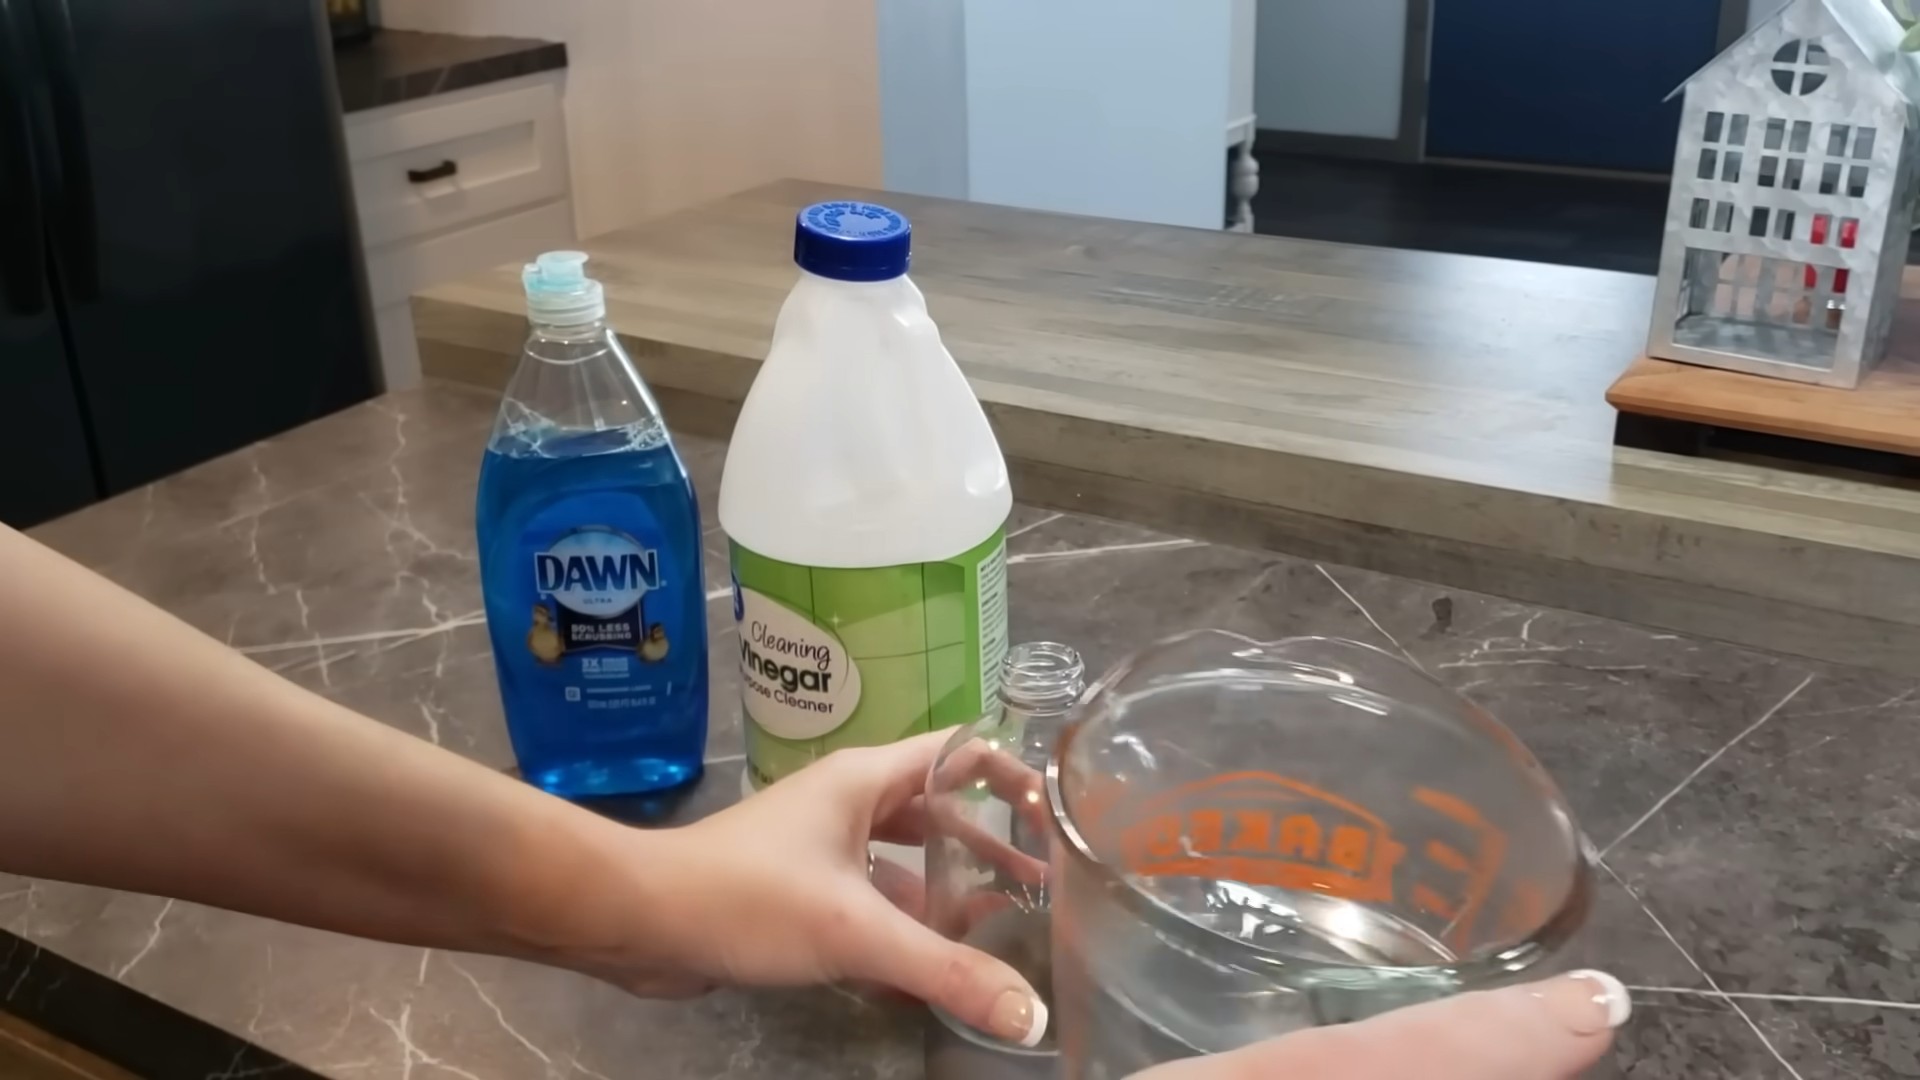
Before we dive into the recipe, let’s gather all the necessary supplies. This will make the process smooth and efficient.
* **White Distilled Vinegar:** This is the star of the show! Vinegar’s acidity helps to dissolve soap scum, hard water stains, and mildew.
* **Water:** Dilutes the vinegar to make it less harsh and easier to work with.
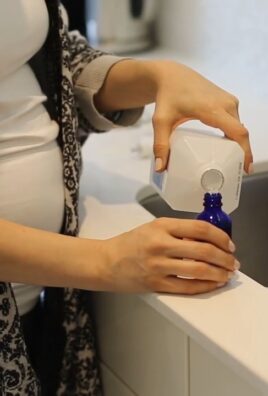
* **Essential Oils (Optional):** These add a pleasant scent and can also provide extra cleaning power. I personally love using tea tree, eucalyptus, or lavender.
* **Spray Bottle:** A sturdy spray bottle is essential for applying the cleaner.
* **Microfiber Cloths:** These are great for wiping surfaces clean without leaving streaks.
* **Old Toothbrush:** Perfect for scrubbing grout and hard-to-reach areas.
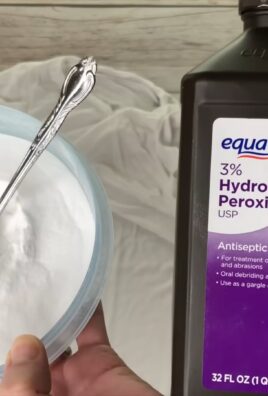
* **Baking Soda (Optional):** For extra scrubbing power on stubborn stains.
* **Funnel (Optional):** Makes pouring liquids into the spray bottle easier and less messy.
* **Gloves (Optional):** If you have sensitive skin, gloves can protect your hands from the vinegar.
The Basic Vinegar Bathroom Cleaner Recipe
This is the foundation of our cleaning solution. It’s simple, effective, and a great starting point.
1. **Prepare the Spray Bottle:** Make sure your spray bottle is clean and empty. Rinse it out with water to remove any residue from previous cleaners.
2. **Combine Vinegar and Water:** In a measuring cup or directly into the spray bottle (using a funnel if you have one), combine equal parts white distilled vinegar and water. I usually start with 1 cup of each, but you can adjust the amount depending on the size of your spray bottle.
3. **Add Essential Oils (Optional):** If you’re using essential oils, add about 10-20 drops to the mixture. Remember, essential oils are potent, so a little goes a long way. My personal favorite combination is 10 drops of tea tree oil and 10 drops of eucalyptus oil for their antibacterial and refreshing properties.
4. **Shake Well:** Secure the spray bottle lid and shake the mixture thoroughly to combine all the ingredients.
5. **Label Your Bottle:** It’s always a good idea to label your spray bottle with the contents and date. This will prevent any confusion later on.
Cleaning Different Bathroom Surfaces
Now that we have our cleaner ready, let’s tackle those grimy bathroom surfaces!
Cleaning the Shower and Tub
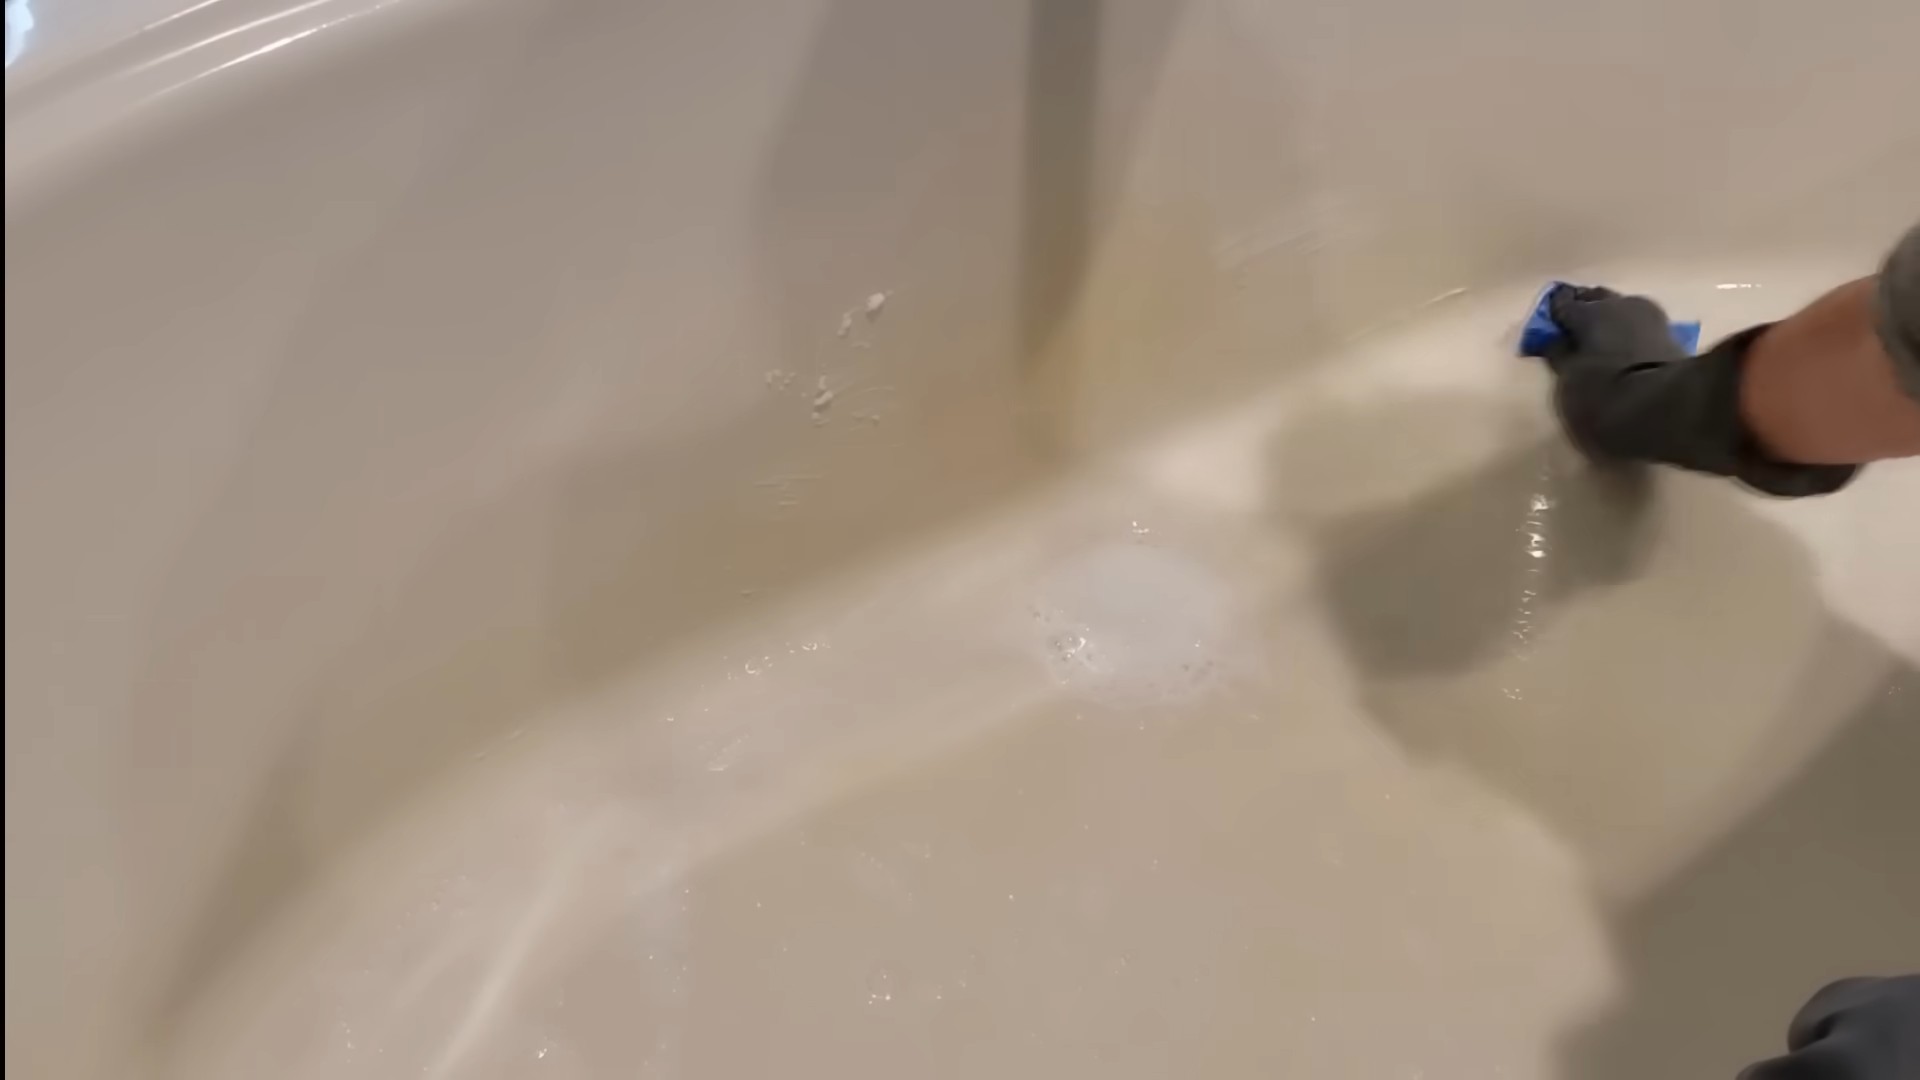
Soap scum and hard water stains are common culprits in the shower and tub. Here’s how to combat them with our vinegar cleaner:
1. **Spray the Surfaces:** Generously spray the vinegar cleaner onto the shower walls, tub, and shower door. Make sure to cover all areas affected by soap scum and hard water stains.
2. **Let it Sit:** Allow the cleaner to sit for at least 15-20 minutes. This will give the vinegar time to break down the grime. For tougher stains, you can let it sit for up to an hour.
3. **Scrub (If Necessary):** If the stains are particularly stubborn, use a scrub brush or sponge to gently scrub the surfaces. Pay extra attention to corners and grout lines.
4. **Rinse Thoroughly:** Rinse the shower and tub with warm water to remove the cleaner and loosened grime.
5. **Dry with a Microfiber Cloth:** Use a clean microfiber cloth to dry the surfaces. This will prevent water spots and leave your shower and tub sparkling clean.
Cleaning the Toilet
The toilet is another area that requires regular cleaning. Vinegar can help to disinfect and remove stains.
1. **Spray the Toilet Bowl:** Spray the vinegar cleaner generously inside the toilet bowl, making sure to cover all areas, including under the rim.
2. **Let it Sit:** Allow the cleaner to sit for at least 15-20 minutes. For tougher stains, you can let it sit overnight.
3. **Scrub the Bowl:** Use a toilet brush to scrub the inside of the bowl, paying attention to any stains or buildup.
4. **Flush the Toilet:** Flush the toilet to rinse away the cleaner and loosened grime.
5. **Clean the Exterior:** Spray the exterior of the toilet with the vinegar cleaner and wipe it down with a microfiber cloth. Don’t forget to clean the seat, lid, and base of the toilet.
Cleaning the Sink and Countertop
The sink and countertop are prone to water spots, toothpaste splatters, and other messes. Vinegar can help to keep them clean and shiny.
1. **Spray the Surfaces:** Spray the vinegar cleaner onto the sink and countertop.
2. **Wipe Clean:** Use a microfiber cloth to wipe the surfaces clean.
3. **Dry with a Microfiber Cloth:** Use a clean, dry microfiber cloth to dry the surfaces. This will prevent water spots and leave them sparkling.
4. **For Stubborn Stains (Optional):** If you have any stubborn stains on the sink or countertop, you can make a paste of baking soda and water and apply it to the stain. Let it sit for a few minutes, then scrub gently and rinse with water.
Cleaning Grout
Grout can be a breeding ground for mold and mildew. Vinegar can help to kill these nasties and brighten the grout lines.
Hey there, fellow DIY enthusiasts! I’m so excited to share my go-to recipe for a powerful and effective bathroom cleaner using just vinegar and a few other simple ingredients. Forget those harsh chemicals and expensive store-bought cleaners – this homemade solution will leave your bathroom sparkling clean and smelling fresh, all while being gentle on the environment and your wallet. Let’s get started!
What You’ll Need
Before we dive into the recipe, let’s gather all the necessary supplies. This will make the process smooth and efficient.
* **White Distilled Vinegar:** This is the star of the show! Vinegar’s acidity helps to dissolve soap scum, hard water stains, and mildew.
* **Water:** Dilutes the vinegar to make it less harsh and easier to work with.
* **Essential Oils (Optional):** These add a pleasant scent and can also provide extra cleaning power. I personally love using tea tree, eucalyptus, or lavender.
* **Spray Bottle:** A sturdy spray bottle is essential for applying the cleaner.
* **Microfiber Cloths:** These are great for wiping surfaces clean without leaving streaks.
* **Old Toothbrush:** Perfect for scrubbing grout and hard-to-reach areas.
* **Baking Soda (Optional):** For extra scrubbing power on stubborn stains.
* **Funnel (Optional):** Makes pouring liquids into the spray bottle easier and less messy.
* **Gloves (Optional):** If you have sensitive skin, gloves can protect your hands from the vinegar.
The Basic Vinegar Bathroom Cleaner Recipe
This is the foundation of our cleaning solution. It’s simple, effective, and a great starting point.
1. **Prepare the Spray Bottle:** Make sure your spray bottle is clean and empty. Rinse it out with water to remove any residue from previous cleaners.
2. **Combine Vinegar and Water:** In a measuring cup or directly into the spray bottle (using a funnel if you have one), combine equal parts white distilled vinegar and water. I usually start with 1 cup of each, but you can adjust the amount depending on the size of your spray bottle.
3. **Add Essential Oils (Optional):** If you’re using essential oils, add about 10-20 drops to the mixture. Remember, essential oils are potent, so a little goes a long way. My personal favorite combination is 10 drops of tea tree oil and 10 drops of eucalyptus oil for their antibacterial and refreshing properties.
4. **Shake Well:** Secure the spray bottle lid and shake the mixture thoroughly to combine all the ingredients.
5. **Label Your Bottle:** It’s always a good idea to label your spray bottle with the contents and date. This will prevent any confusion later on.
Cleaning Different Bathroom Surfaces
Now that we have our cleaner ready, let’s tackle those grimy bathroom surfaces!
Cleaning the Shower and Tub
Soap scum and hard water stains are common culprits in the shower and tub. Here’s how to combat them with our vinegar cleaner:
1. **Spray the Surfaces:** Generously spray the vinegar cleaner onto the shower walls, tub, and shower door. Make sure to cover all areas affected by soap scum and hard water stains.
2. **Let it Sit:** Allow the cleaner to sit for at least 15-20 minutes. This will give the vinegar time to break down the grime. For tougher stains, you can let it sit for up to an hour.
3. **Scrub (If Necessary):** If the stains are particularly stubborn, use a scrub brush or sponge to gently scrub the surfaces. Pay extra attention to corners and grout lines.
4. **Rinse Thoroughly:** Rinse the shower and tub with warm water to remove the cleaner and loosened grime.
5. **Dry with a Microfiber Cloth:** Use a clean microfiber cloth to dry the surfaces. This will prevent water spots and leave your shower and tub sparkling clean.
Cleaning the Toilet
The toilet is another area that requires regular cleaning. Vinegar can help to disinfect and remove stains.
1. **Spray the Toilet Bowl:** Spray the vinegar cleaner generously inside the toilet bowl, making sure to cover all areas, including under the rim.
2. **Let it Sit:** Allow the cleaner to sit for at least 15-20 minutes. For tougher stains, you can let it sit overnight.
3. **Scrub the Bowl:** Use a toilet brush to scrub the inside of the bowl, paying attention to any stains or buildup.
4. **Flush the Toilet:** Flush the toilet to rinse away the cleaner and loosened grime.
5. **Clean the Exterior:** Spray the exterior of the toilet with the vinegar cleaner and wipe it down with a microfiber cloth. Don’t forget to clean the seat, lid, and base of the toilet.
Cleaning the Sink and Countertop
The sink and countertop are prone to water spots, toothpaste splatters, and other messes. Vinegar can help to keep them clean and shiny.
1. **Spray the Surfaces:** Spray the vinegar cleaner onto the sink and countertop.
2. **Wipe Clean:** Use a microfiber cloth to wipe the surfaces clean.
3. **Dry with a Microfiber Cloth:** Use a clean, dry microfiber cloth to dry the surfaces. This will prevent water spots and leave them sparkling.
4. **For Stubborn Stains (Optional):** If you have any stubborn stains on the sink or countertop, you can make a paste of baking soda and water and apply it to the stain. Let it sit for a few minutes, then scrub gently and rinse with water.
Cleaning Grout
Grout can be a breeding ground for mold and mildew. Vinegar can help to kill these nasties and brighten the grout lines.
1. **Spray the Grout:** Spray the vinegar cleaner directly onto the grout lines.
2. **Let it Sit:** Allow the cleaner to sit for at least 15-20 minutes.
3. **Scrub with an Old Toothbrush:** Use an old toothbrush to scrub the grout lines. This will help to loosen any dirt and grime.
4. **Rinse with Water:** Rinse the grout lines with water.
5. **Dry with a Cloth:** Use a cloth to dry the grout lines.
Boosting the Cleaning Power: Vinegar and Baking Soda
For those extra tough stains and grime, you can combine the power of vinegar and baking soda. This dynamic duo creates a fizzing action that helps to lift dirt and break down stubborn messes.
1. **Sprinkle Baking Soda:** Sprinkle baking soda onto the area you want to clean.
2. **Spray with Vinegar:** Spray the baking soda with the vinegar cleaner. You’ll notice a fizzing reaction.
3. **Let it Sit:** Allow the mixture to sit for a few minutes.
4. **Scrub (If Necessary):** If the stain is particularly stubborn, use a scrub brush or sponge to gently scrub the area.
5. **Rinse Thoroughly:** Rinse the area with water to remove the cleaner and loosened grime.
Important Considerations and Precautions
While vinegar is a natural and effective cleaner, there are a few things to keep in mind:
* Test on a Small Area First: Before cleaning an entire surface, test the vinegar cleaner on a small, inconspicuous area to make sure it doesn’t damage or discolor the material.
* Avoid Using on Certain Surfaces: Avoid using vinegar on natural stone surfaces like marble and granite, as it can etch and damage them. Also, avoid using it on waxed wood, as it can strip the wax.
* Don’t Mix with Bleach: Never mix vinegar with bleach, as this can create toxic fumes.
* Ventilation: When cleaning with vinegar, make sure to ventilate the bathroom well by opening a window or turning on the exhaust fan.
* Storage: Store your homemade vinegar cleaner in a cool, dark place away from direct sunlight.
Troubleshooting
* **Vinegar Smell:** If you’re concerned about the vinegar smell, don’t worry! It dissipates quickly. Adding essential oils can also help to mask the scent.
* **Stains Not Lifting:** If you’re having trouble removing stubborn stains, try letting the cleaner sit for a longer period of time or using the baking soda and vinegar combination.
* **Spray Bottle Clogging:** If your spray bottle is clogging, try rinsing it out with warm water. You can also use a small pin to clear any blockages in the nozzle.
I hope you found this guide helpful! With a little bit of vinegar and some elbow grease, you can achieve a sparkling clean bathroom without relying on harsh chemicals. Happy cleaning!
Conclusion
So, there you have it! Ditching those harsh chemicals and embracing this DIY vinegar cleaner for your bathroom is more than just a trend; it’s a smart, sustainable, and surprisingly effective way to keep your space sparkling. We’ve walked you through the simple steps, highlighted the benefits, and hopefully, convinced you that this is a cleaning game-changer.
Why is this a must-try? Because it’s powerful, affordable, and eco-friendly. Commercial bathroom cleaners often come with a hefty price tag and a list of ingredients that read like a chemistry experiment gone wrong. This DIY vinegar cleaner, on the other hand, uses readily available ingredients you likely already have in your pantry. It cuts through soap scum, tackles hard water stains, and disinfects surfaces, all without the harsh fumes and potential health risks associated with conventional cleaners. Plus, you’re reducing your plastic consumption by reusing spray bottles, contributing to a healthier planet.
But the beauty of this DIY approach lies in its adaptability. Feel free to experiment with variations to suit your specific needs and preferences. For a boost of cleaning power, add a few drops of tea tree oil, known for its antibacterial and antifungal properties. If you prefer a more pleasant scent, infuse your vinegar with citrus peels for a few weeks before using it. Lemon, orange, or grapefruit peels will impart a refreshing fragrance that will linger in your bathroom long after you’ve finished cleaning. You can also add a few drops of your favorite essential oil, such as lavender or eucalyptus, for an aromatherapy boost while you clean.
For tougher stains, consider creating a paste of baking soda and vinegar. Apply the paste to the affected area, let it sit for a few minutes, and then scrub gently with a sponge or brush. This combination is particularly effective for removing stubborn soap scum and mildew. Remember to always test any cleaning solution in an inconspicuous area first to ensure it doesn’t damage the surface.
We’re confident that once you try this DIY vinegar cleaner in your bathroom, you’ll be amazed by the results. It’s a simple, effective, and environmentally conscious way to keep your bathroom clean and fresh.
Now, we want to hear from you! Give this DIY vinegar cleaner a try and share your experience in the comments below. Did you find it effective? Did you experiment with any variations? What were your results? Your feedback will not only help other readers but also inspire us to continue sharing valuable DIY tips and tricks. Let’s create a community of clean, green, and happy homes! So, grab your vinegar, your spray bottle, and get ready to experience the magic of a naturally clean bathroom. You won’t regret it!
Frequently Asked Questions (FAQs)
Is vinegar safe to use on all bathroom surfaces?
While vinegar is a fantastic cleaner, it’s essential to exercise caution on certain surfaces. Avoid using vinegar on natural stone surfaces like marble, granite, and travertine. The acidity of vinegar can etch and damage these materials over time. Also, be careful when using vinegar on grout, as it can weaken it if used too frequently or in high concentrations. Always test the cleaner in an inconspicuous area first to ensure it doesn’t cause any discoloration or damage. For delicate surfaces, consider diluting the vinegar further with water.
What type of vinegar is best for cleaning?
Plain white distilled vinegar is the most effective and economical choice for cleaning. It has a higher acidity level than other types of vinegar, making it more potent at cutting through grease, grime, and soap scum. Avoid using flavored vinegars, as they may contain sugars or other additives that can leave a sticky residue. Apple cider vinegar can be used as an alternative, but it may not be as effective as white distilled vinegar.
How often should I use this DIY vinegar cleaner in my bathroom?
The frequency of cleaning depends on how often your bathroom is used and how quickly it gets dirty. For general cleaning, using the DIY vinegar cleaner once or twice a week should be sufficient. For areas prone to soap scum and mildew, such as the shower and bathtub, you may need to clean them more frequently. Regular cleaning will prevent buildup and make it easier to maintain a sparkling bathroom.
Does vinegar have a strong odor? How can I minimize it?
Yes, vinegar does have a distinct odor, which some people find unpleasant. However, the smell typically dissipates quickly after cleaning. To minimize the odor, you can add a few drops of your favorite essential oil to the cleaning solution. Citrus oils, lavender, and eucalyptus are popular choices that can help mask the vinegar smell and leave your bathroom smelling fresh and clean. You can also open a window or turn on the exhaust fan to ventilate the room while cleaning. The smell will disappear completely once the surfaces are dry.
Can I store the DIY vinegar cleaner for later use?
Yes, you can store the DIY vinegar cleaner in a spray bottle for later use. However, it’s best to store it in a cool, dark place to prevent the essential oils from degrading. The cleaner should be effective for several months, but it’s always a good idea to give it a shake before each use. If you notice any discoloration or separation, it’s best to discard the cleaner and make a fresh batch.
Is this DIY vinegar cleaner safe for my family and pets?
Yes, this DIY vinegar cleaner is generally safe for families and pets, as it doesn’t contain harsh chemicals or toxic ingredients. However, it’s still important to exercise caution and keep the cleaner out of reach of children and pets. Avoid spraying the cleaner directly into their eyes or mouths. If your pet accidentally ingests the cleaner, it may cause mild stomach upset, but it’s unlikely to be serious. If you’re concerned, contact your veterinarian.
Can I use this cleaner on mold and mildew?
Yes, vinegar is effective at killing mold and mildew. Spray the affected area with the DIY vinegar cleaner and let it sit for at least an hour before scrubbing with a brush or sponge. For stubborn mold and mildew, you may need to repeat the process several times. Ensure the area is well-ventilated to prevent the mold and mildew from spreading. For severe mold infestations, it’s best to consult a professional mold remediation service.
What if the vinegar cleaner isn’t strong enough for tough stains?
For tougher stains, you can create a paste of baking soda and vinegar. Apply the paste to the affected area, let it sit for a few minutes, and then scrub gently with a sponge or brush. This combination is particularly effective for removing stubborn soap scum and mildew. You can also try using a stronger concentration of vinegar, but be sure to test it in an inconspicuous area first to ensure it doesn’t damage the surface. For extremely stubborn stains, you may need to use a commercial cleaner specifically designed for that type of stain.
Can I use this cleaner on my shower door?
Yes, this DIY vinegar cleaner is excellent for cleaning shower doors and removing soap scum buildup. Spray the shower door with the cleaner and let it sit for a few minutes before wiping it down with a sponge or microfiber cloth. For stubborn soap scum, you can use a scrub brush or a magic eraser. To prevent soap scum buildup, wipe down your shower door after each use with a squeegee or a dry cloth.
What are some other uses for vinegar in the bathroom?
Besides cleaning surfaces, vinegar can also be used to unclog drains, remove hard water stains from showerheads, and clean toilet bowls. To unclog a drain, pour a cup of baking soda down the drain, followed by a cup of vinegar. Let it fizz for 30 minutes, then flush with hot water. To remove hard water stains from a showerhead, soak it in a bag filled with vinegar for a few hours or overnight. To clean a toilet bowl, pour a cup of vinegar into the bowl and let it sit for 30 minutes before scrubbing with a toilet brush.
Leave a Comment