
Dollar Tree Rack Hacks: Unlock your inner gardener without breaking the bank! Have you ever dreamed of a lush, organized garden but felt intimidated by the cost? I know I have! Well, get ready to transform your outdoor space with these ingenious and budget-friendly DIY solutions using items you can find at your local Dollar Tree.
For centuries, resourceful gardeners have been finding creative ways to maximize their yields and beautify their surroundings. From repurposing old containers to building makeshift trellises, the spirit of DIY gardening is deeply rooted in our history. Today, we’re taking that spirit to a whole new level with these Dollar Tree Rack Hacks.
Why spend a fortune on expensive gardening supplies when you can create stunning and functional pieces with a little creativity and some Dollar Tree finds? These hacks are perfect for anyone looking to organize their seedlings, create vertical gardens in small spaces, or simply add a touch of charm to their outdoor oasis. I’m going to show you how to turn ordinary Dollar Tree racks into extraordinary gardening solutions. Get ready to be amazed at what you can achieve with just a few dollars and a little bit of imagination!
Dollar Tree Rack Hacks: Organize Your Life on a Budget!
Hey there, fellow DIY enthusiasts! I’m always on the lookout for affordable ways to organize my home, and let me tell you, the Dollar Tree is a goldmine! You can find so many hidden gems that, with a little creativity, can be transformed into amazing organizational solutions. Today, I’m going to share some of my favorite Dollar Tree rack hacks that will help you declutter and organize your space without breaking the bank. Get ready to be amazed at what you can achieve with just a few dollars and a little elbow grease!
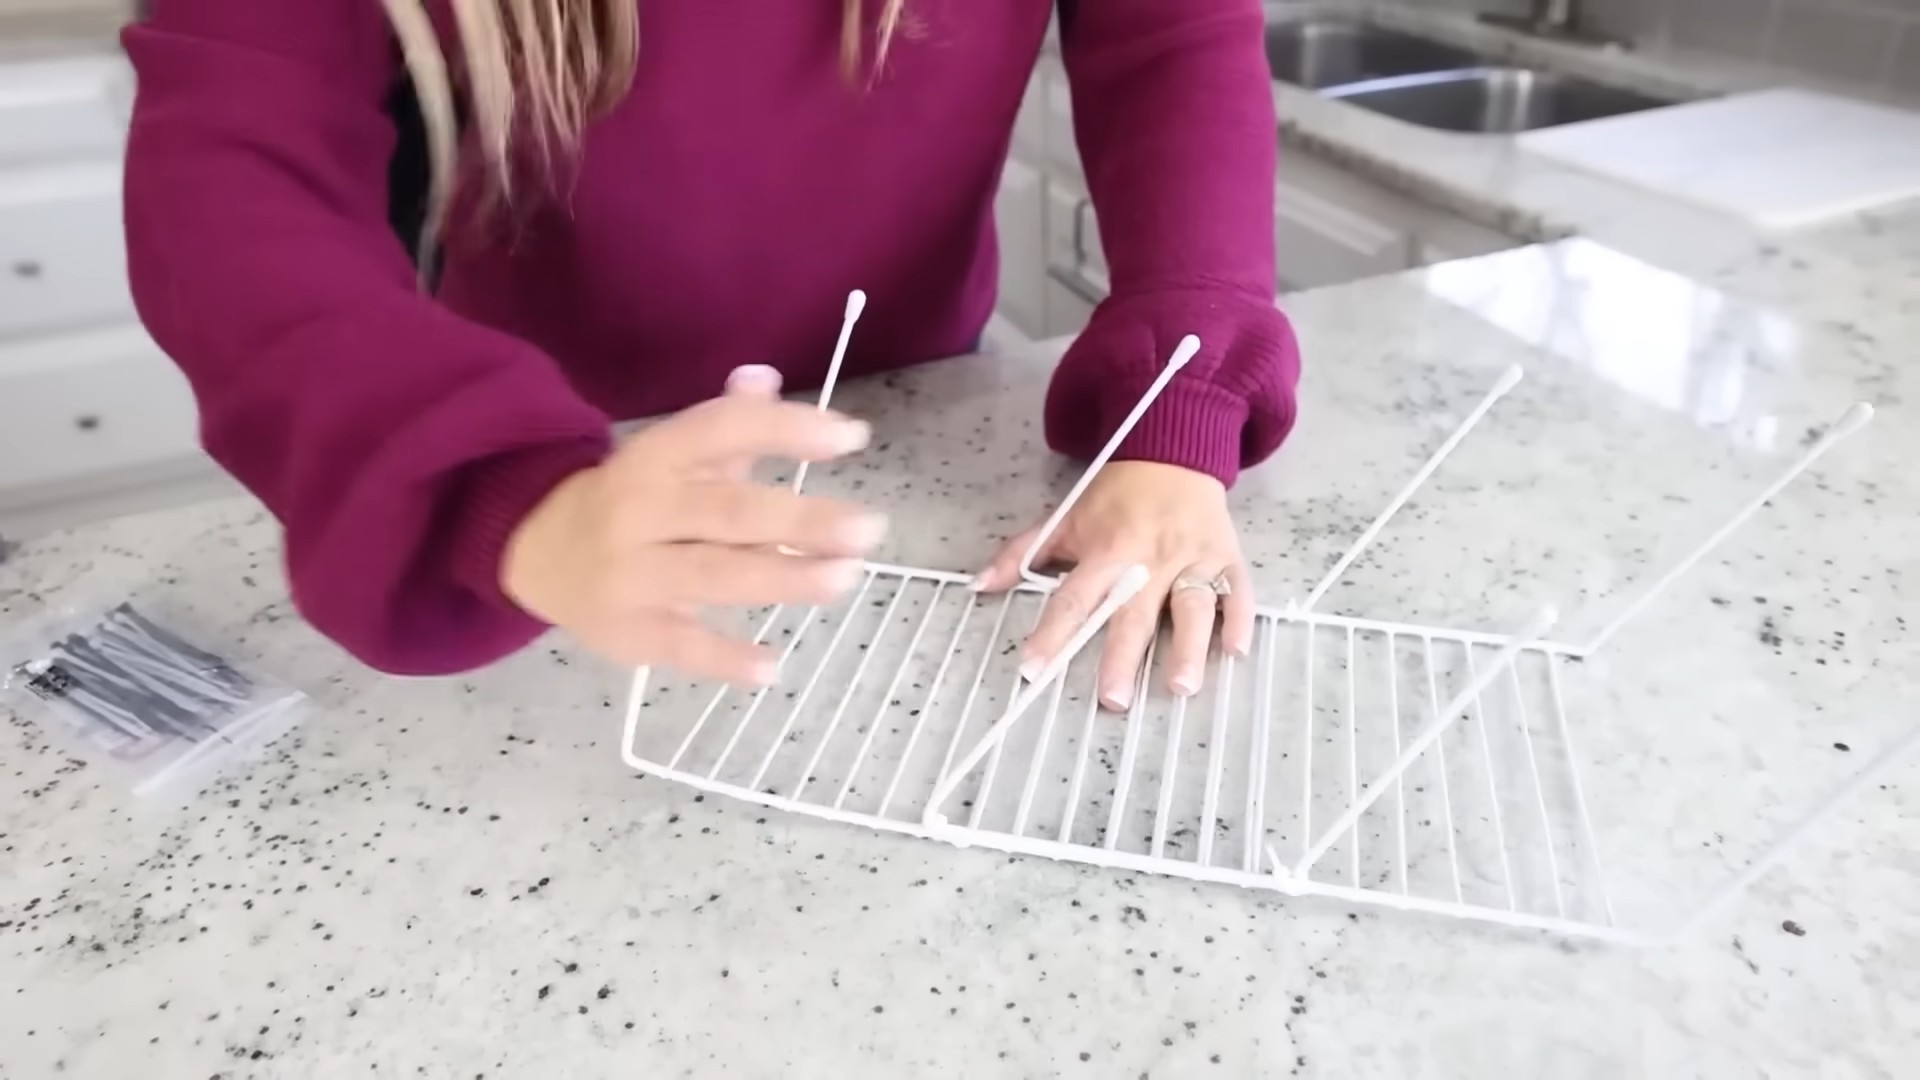
Hack 1: DIY Spice Rack from Cooling Racks
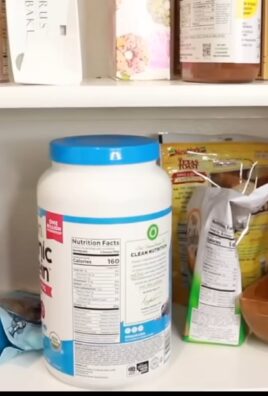
This is one of my go-to hacks because it’s so simple and effective. I always seem to have spices scattered all over my pantry, and this rack keeps them neatly organized and easily accessible.
Materials You’ll Need:
* 2 Dollar Tree cooling racks (the rectangular ones work best)
* Zip ties (clear or colored, your choice!)
* Wire cutters or scissors
* Optional: Spray paint (if you want to customize the color)
Step-by-Step Instructions:
1. Prepare the Racks: If you’re planning to spray paint your racks, now’s the time to do it! Lay them out on a protected surface (like a drop cloth or some old newspapers) and apply even coats of spray paint. Let them dry completely according to the paint’s instructions. I usually do two coats for good coverage.
2. Position the Racks: Take one cooling rack and lay it flat on your work surface. This will be the base of your spice rack. Now, take the second cooling rack and position it vertically, standing it up along one of the long sides of the base rack. This will form the back of your spice rack.
3. Secure with Zip Ties: This is where the zip ties come in! Start by attaching the vertical rack to the base rack at the corners. Thread a zip tie through the grid of both racks, pull it tight, and secure it. Snip off the excess zip tie with your wire cutters or scissors.
4. Add More Zip Ties: To make the spice rack more sturdy, add more zip ties along the entire length where the two racks meet. I usually add one every few inches. The more zip ties you use, the stronger your rack will be.
5. Reinforce the Sides (Optional): If you want to make your spice rack even more stable, you can add zip ties along the sides as well. This will prevent the sides from bowing outwards when you load it up with spices.
6. Test and Adjust: Once you’ve secured all the zip ties, give your spice rack a little test. Make sure it’s sturdy and that the racks are securely attached. If you notice any weak spots, add more zip ties to reinforce them.
7. Load it Up! Now for the fun part! Place your new spice rack in your pantry or on your countertop and start loading it up with your spices. You’ll be amazed at how much more organized your spice collection looks!
Hack 2: Hanging Jewelry Organizer from a Dish Rack
Tired of tangled necklaces and missing earrings? This jewelry organizer is a game-changer! It’s super easy to make and keeps all your jewelry visible and accessible.
Materials You’ll Need:
* 1 Dollar Tree dish rack (the kind with the vertical prongs)
* S-hooks (as many as you need for your jewelry)
* Optional: Spray paint (for customization)
* Optional: Decorative knobs or hooks (for hanging necklaces)
Step-by-Step Instructions:
1. Prepare the Dish Rack: Just like with the spice rack, if you want to spray paint your dish rack, do it now! Choose a color that complements your bedroom decor and apply even coats of spray paint. Let it dry completely.
2. Attach Decorative Knobs (Optional): If you want to hang necklaces from your organizer, now’s the time to attach decorative knobs or hooks to the top of the dish rack. You can use hot glue or screws to attach them, depending on the type of knobs you choose.
3. Hang S-Hooks: Now, simply hang your S-hooks over the vertical prongs of the dish rack. You can space them out however you like, depending on the size of your jewelry.
4. Organize Your Jewelry: Start hanging your necklaces, bracelets, and earrings on the S-hooks. You can also use the bottom of the dish rack to store rings or other small jewelry items.
5. Hang Your Organizer: Find a suitable spot on your wall or in your closet to hang your jewelry organizer. You can use nails, screws, or even command strips to hang it up.
6. Admire Your Organized Jewelry! Step back and admire your beautifully organized jewelry collection! No more tangled necklaces or missing earrings!
Hack 3: Under-Sink Organizer with Wire Baskets and Tension Rods
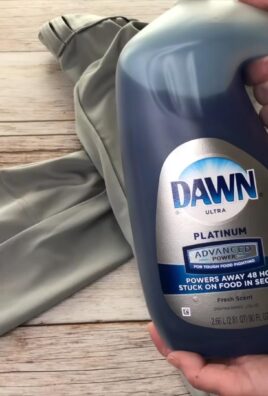
Under-sink cabinets can be a black hole of cleaning supplies and clutter. This hack uses wire baskets and tension rods to create a customized and organized storage space.
Materials You’ll Need:
* 2-3 Dollar Tree wire baskets (depending on the size of your cabinet)
* 1-2 Dollar Tree tension rods (make sure they’re the right length for your cabinet)
* Optional: Shelf liner (to protect the bottom of your cabinet)
Step-by-Step Instructions:
1. Measure Your Cabinet: Before you start, measure the width and height of your under-sink cabinet. This will help you determine the right size of wire baskets and tension rods to buy.
2. Install the Tension Rods: Place the tension rod(s) inside the cabinet at the desired height. Make sure they’re securely in place and can support the weight of the wire baskets. I usually place one rod higher than the other to create tiered storage.
3. Place the Wire Baskets: Slide the wire baskets onto the tension rods. You can arrange them however you like, depending on your storage needs.
4. Organize Your Supplies: Start organizing your cleaning supplies, sponges, and other items into the wire baskets. You can group similar items together to make it easier to find what you need.
5. Add Shelf Liner (Optional): If you want to protect the bottom of your cabinet from spills and stains, you can add a shelf liner. Simply cut the liner to fit the bottom of the cabinet and place it inside.
6. Enjoy Your Organized Under-Sink Space! Say goodbye to the clutter and hello to a beautifully organized under-sink cabinet!
Hack 4: DIY Rolling Cart from Crates and Casters
Need extra storage that’s also mobile? This rolling cart is perfect for storing craft supplies, toys, or anything else you need to move around easily.
Materials You’ll Need:
* 3-4 Dollar Tree plastic crates (choose your desired size and color)
* 4 Dollar Tree casters (wheels)
* Screws (that are the right length for your casters and crates)
* Screwdriver
* Optional: Spray paint (for customization)
Step-by-Step Instructions:
1. Prepare the Crates: If you want to spray paint your crates, do it now! Apply even coats of spray paint and let them dry completely.
2. Attach the Casters: Turn one of the crates upside down. This will be the base of your rolling cart. Position the casters at the corners of the crate and mark the screw holes.
3. Screw in the Casters: Use your screwdriver to screw the casters into the crate. Make sure the screws are securely tightened.
4. Stack the Crates: Stack the remaining crates on top of the base crate. You can secure them together with zip ties or hot glue if you want to make the cart more stable.
5. Load it Up! Start loading your rolling cart with your craft supplies, toys, or whatever else you need to store.
6. Roll it Around! Enjoy the convenience of your new rolling cart! You can easily move it around your home as needed.
Hack 5: Vertical Shoe Organizer from Over-the-Door Hooks and Baskets
If you’re struggling with shoe storage, this vertical organizer is a lifesaver! It utilizes vertical space to keep your shoes off the floor and neatly organized.
Materials You’ll Need:
* 1 Dollar Tree over-the-door hook
* 3-4 Dollar Tree wire or plastic baskets (choose a size that will fit your shoes)
* Zip ties
Step-by-Step Instructions:
1. Attach the Baskets: Lay the over-the-door hook flat. Position the baskets along the length of the hook, spacing them out evenly.
2. Secure with Zip Ties: Use zip ties to attach the baskets to the over-the-door hook. Thread the
Conclusion
So, there you have it! Transforming a simple Dollar Tree rack into a functional and stylish storage solution is not only incredibly budget-friendly but also surprisingly rewarding. This Dollar Tree rack hack proves that you don’t need to spend a fortune to organize your home and add a touch of personality to your space.
Why is this a must-try? Because it’s adaptable, affordable, and allows for complete creative control. Forget those generic, overpriced storage units from big-box stores. With a few dollars and a little imagination, you can create something that perfectly fits your needs and reflects your unique style.
Think beyond the basic setup. Consider these variations to truly personalize your Dollar Tree rack hack:
* Color Coordination: Spray paint the rack and baskets in colors that complement your existing décor. A cohesive color scheme can instantly elevate the look.
* Fabric Liners: Add fabric liners to the baskets for a softer touch and to protect delicate items. Use patterned fabrics for a pop of color or solid colors for a more streamlined look.
* Labeling: Clearly label each basket to keep your items organized and easily accessible. Use chalkboard labels, printed labels, or even handwritten tags for a personal touch.
* Vertical Garden: Transform the rack into a vertical garden by adding small potted plants to the baskets. This is a great way to bring some greenery into your home, especially if you have limited space.
* Rolling Cart: Attach caster wheels to the bottom of the rack to create a mobile storage unit. This is perfect for storing art supplies, cleaning products, or anything else you need to move around easily.
* Seasonal Decor: Decorate the rack with seasonal items to add a festive touch to your home. Think pumpkins and gourds in the fall, ornaments and lights during the holidays, or seashells and starfish in the summer.
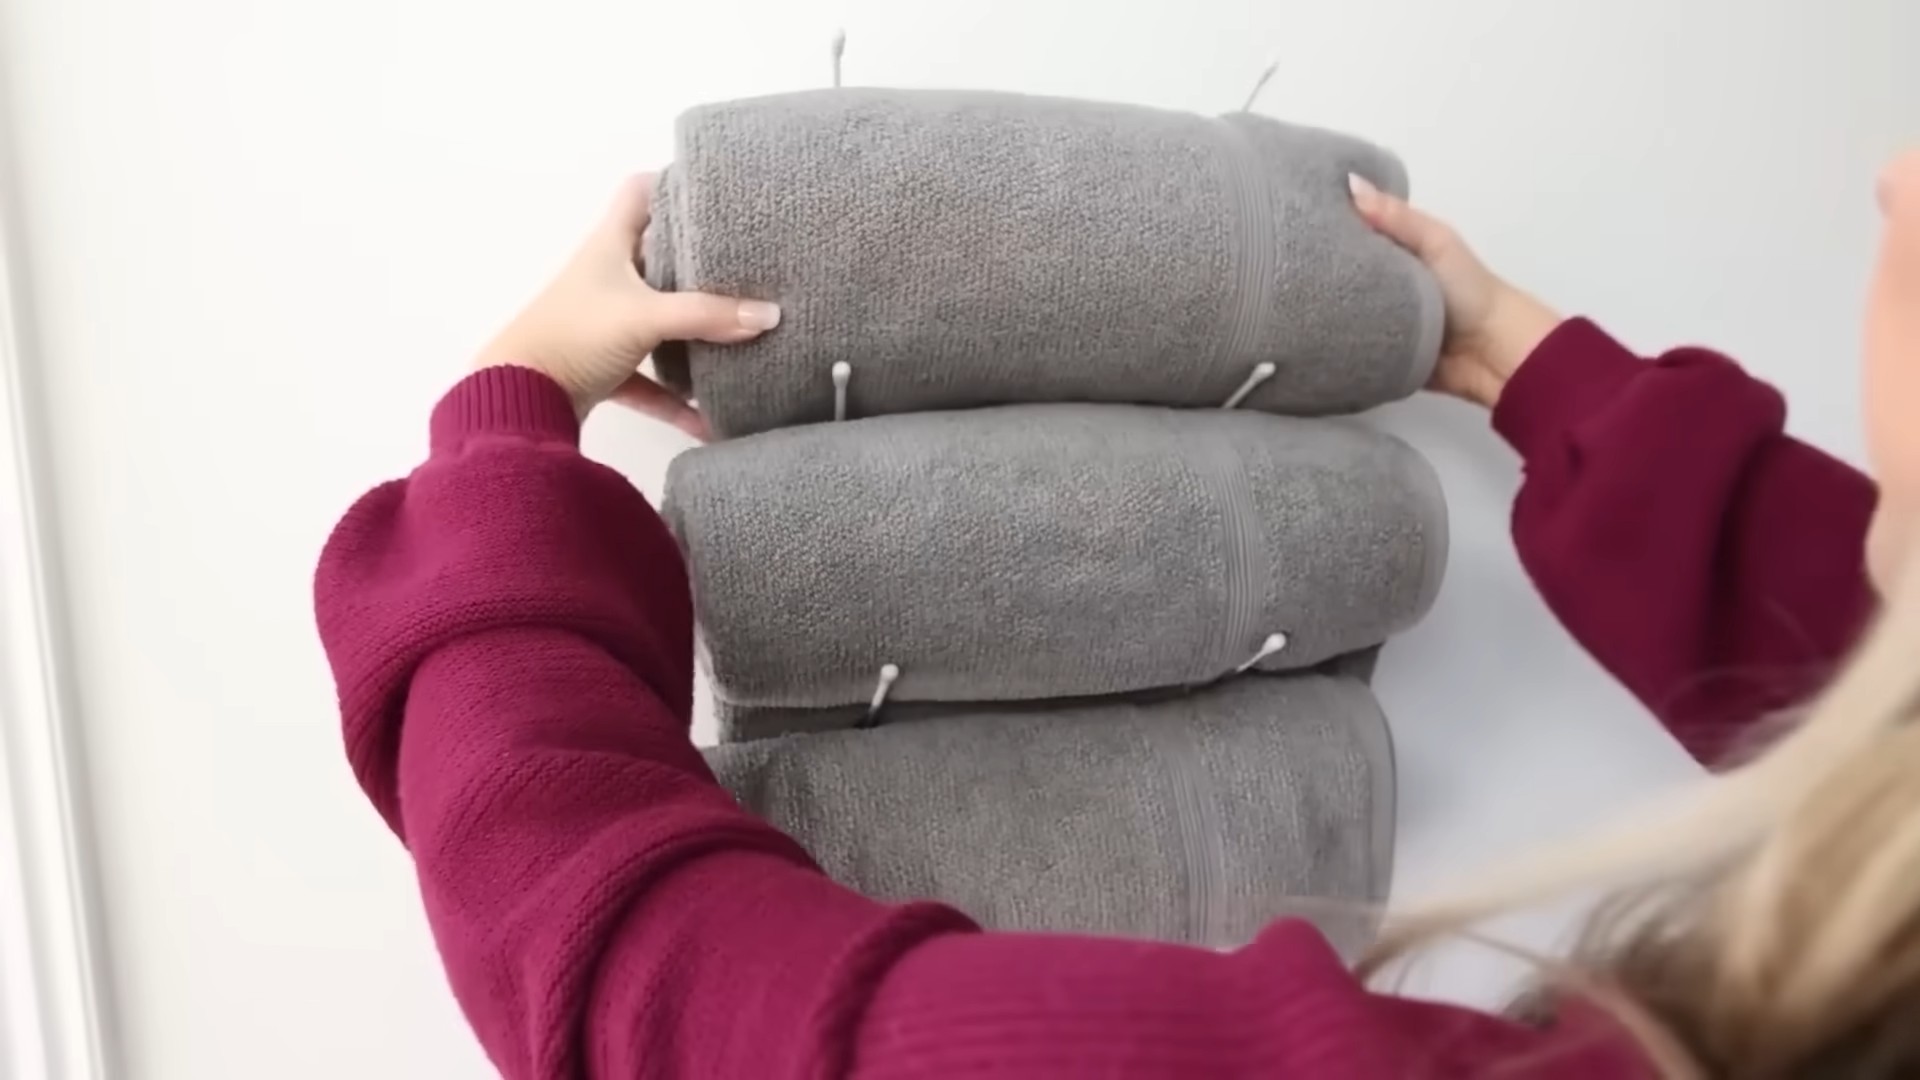
* Bathroom Organizer: Use the rack in your bathroom to store towels, toiletries, and other essentials. Add hooks to the sides of the rack to hang washcloths or loofahs.
* Kids’ Room Storage: Create a fun and functional storage solution for your kids’ toys, books, and art supplies. Use colorful baskets and add playful decorations to make it more appealing to children.
The possibilities are truly endless! The beauty of this DIY project lies in its versatility. It’s a blank canvas waiting for your personal touch.
We wholeheartedly encourage you to give this Dollar Tree rack hack a try. It’s a fun, easy, and affordable way to transform your space and get organized. Don’t be afraid to experiment and get creative!
Once you’ve completed your own Dollar Tree rack transformation, we’d love to see it! Share your photos and experiences with us in the comments below or on social media using #DollarTreeRackHack. We can’t wait to see what you create! Let’s inspire each other with our budget-friendly DIY projects. Happy crafting!
Frequently Asked Questions (FAQ)
What materials do I need for this Dollar Tree rack hack?
The basic materials you’ll need are: a Dollar Tree wire rack (usually a dish drying rack or similar), Dollar Tree baskets (the number depends on the size of your rack and desired configuration), zip ties or wire (for securing the baskets to the rack), and any decorative items you want to use (spray paint, fabric liners, labels, etc.). Remember to check your local Dollar Tree for availability, as stock can vary.
Is this DIY project difficult?
Not at all! This is a beginner-friendly DIY project that requires minimal skills. The most challenging part might be deciding on your design and color scheme. Securing the baskets to the rack is straightforward using zip ties or wire. If you’re using spray paint, be sure to do it in a well-ventilated area and follow the instructions on the can.
How much weight can the Dollar Tree rack hold?
This depends on the specific rack you purchase and how well you secure the baskets. Dollar Tree racks are generally not designed for heavy items. It’s best to use them for lightweight items like clothing, toiletries, craft supplies, or small toys. Avoid placing heavy books or appliances on the rack. Distribute the weight evenly across the baskets to prevent the rack from tipping over.
Can I use this rack outdoors?
While you *can* use it outdoors, keep in mind that the Dollar Tree rack is not designed for outdoor use and may rust or deteriorate over time, especially if exposed to rain or direct sunlight. If you plan to use it outdoors, consider applying a rust-resistant coating to the metal before assembly. Also, be mindful of the weight you place on the rack, as wind could potentially tip it over.
What if my Dollar Tree doesn’t have the exact rack or baskets shown in the example?
That’s perfectly fine! The beauty of this DIY project is its adaptability. Look for similar wire racks or storage containers at your local Dollar Tree. You can adjust the design and configuration to fit the materials you find. Get creative and think outside the box! You might even find alternative items that work even better for your specific needs.
How can I make the rack more stable?
If you’re concerned about the stability of the rack, there are a few things you can do. First, make sure the rack is placed on a level surface. Second, use sturdy zip ties or wire to securely attach the baskets to the rack. Third, consider adding weight to the bottom of the rack to lower its center of gravity. You could place a heavy object on the bottom shelf or attach a weighted base to the bottom of the rack.
How do I clean the Dollar Tree rack?
To clean the rack, simply wipe it down with a damp cloth. For stubborn stains, you can use a mild soap and water solution. Avoid using harsh chemicals or abrasive cleaners, as they could damage the finish. If you’ve added fabric liners to the baskets, you can remove them and wash them separately according to the fabric care instructions.
Where can I use this Dollar Tree rack hack?
The possibilities are endless! This rack can be used in virtually any room of your home. It’s great for organizing your closet, pantry, bathroom, laundry room, kids’ room, or even your office. It’s also a useful storage solution for small apartments or dorm rooms where space is limited. Think about your specific storage needs and get creative with how you use the rack.
How can I customize the look of the rack to match my décor?
There are many ways to customize the look of the rack to match your décor. As mentioned earlier, you can spray paint the rack and baskets in colors that complement your existing color scheme. You can also add fabric liners to the baskets using patterned or solid-colored fabrics. Consider adding decorative elements like ribbons, beads, or stickers to personalize the rack. You can also use different types of labels to add a touch of style and organization.
What if I don’t have a Dollar Tree nearby?
While the Dollar Tree is the most budget-friendly option, you can still find similar racks and baskets at other discount stores like Dollar General, Family Dollar, or even thrift stores. You might have to spend a little more, but you can still create a similar storage solution on a budget. You can also check online retailers like Amazon or Walmart for affordable storage options.

Leave a Comment