
Easy oven cleaning – sounds like a dream, right? I know, I know, the mere thought of tackling that greasy, burnt-on mess inside your oven can send shivers down your spine. But what if I told you that you could reclaim your sparkling clean oven without harsh chemicals, endless scrubbing, or a whole weekend dedicated to the task?
For generations, keeping a clean oven was a laborious chore, often involving strong, unpleasant-smelling cleaners. Our grandmothers probably spent hours wrestling with stubborn stains! But thankfully, times have changed. We’ve learned that simple, natural ingredients can be just as effective, and much kinder to our health and the environment.
Let’s face it, a dirty oven impacts more than just aesthetics. Burnt food residue can affect the taste of your dishes, and a build-up of grease can even pose a fire hazard. That’s why mastering this easy oven cleaning trick is essential for every home cook. I’m going to share a simple, DIY method that will leave your oven looking and smelling fresh, without breaking a sweat. Get ready to say goodbye to oven-cleaning dread and hello to a sparkling clean cooking space!
DIY Oven Cleaning: The Baking Soda & Vinegar Powerhouse!
Okay, let’s be honest, cleaning the oven is nobody’s favorite chore. It’s messy, it’s smelly, and it always seems to take way longer than you think it will. But fear not! I’m going to show you a super easy, non-toxic way to get your oven sparkling clean using just baking soda and vinegar. Seriously, it’s like magic! This method is not only effective but also avoids harsh chemicals, making it safer for you, your family, and even your pets.
What You’ll Need:
* Baking Soda
* White Vinegar
* Water
* Spray Bottle
* Spatula or Scraper (plastic or silicone is best to avoid scratching)
* Rubber Gloves (trust me, you’ll want these!)
* Sponge or Cloth
* Old Towels or Rags
Prepping Your Oven:
Before we dive into the cleaning process, let’s get the oven ready. This involves a few simple steps to ensure the baking soda paste adheres properly and the vinegar can work its magic.
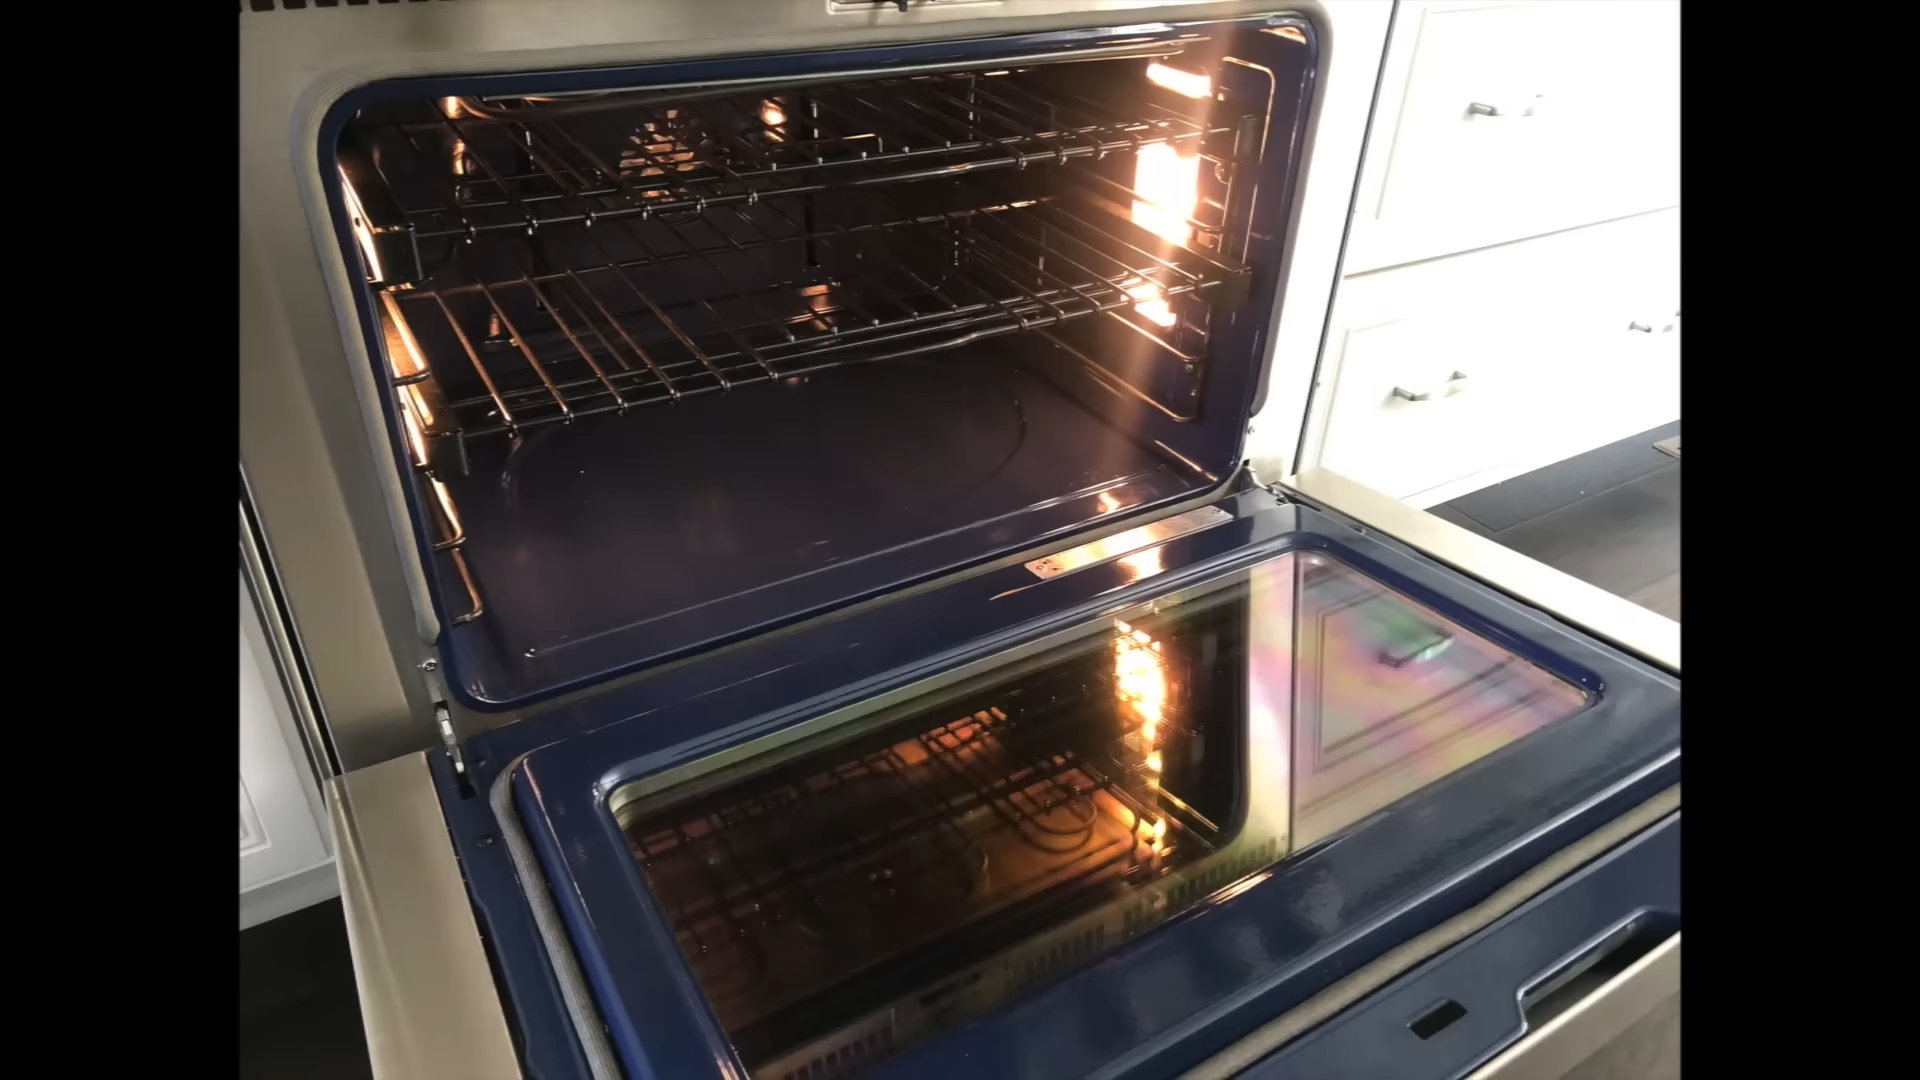
1. Remove the Racks: Take out all the oven racks, pizza stones, or anything else that’s inside. We’ll clean these separately later.
2. Wipe Up Loose Debris: Use a damp cloth or paper towel to wipe up any loose crumbs or food particles from the bottom of the oven. This will make the baking soda paste more effective.
3. Protect the Floor: Lay down old towels or newspapers around the base of your oven to catch any drips or spills. This will save you from having to clean the floor afterward!
Making and Applying the Baking Soda Paste:
This is where the real cleaning power begins! We’re going to create a paste that will cling to the oven walls and break down all that baked-on grime.
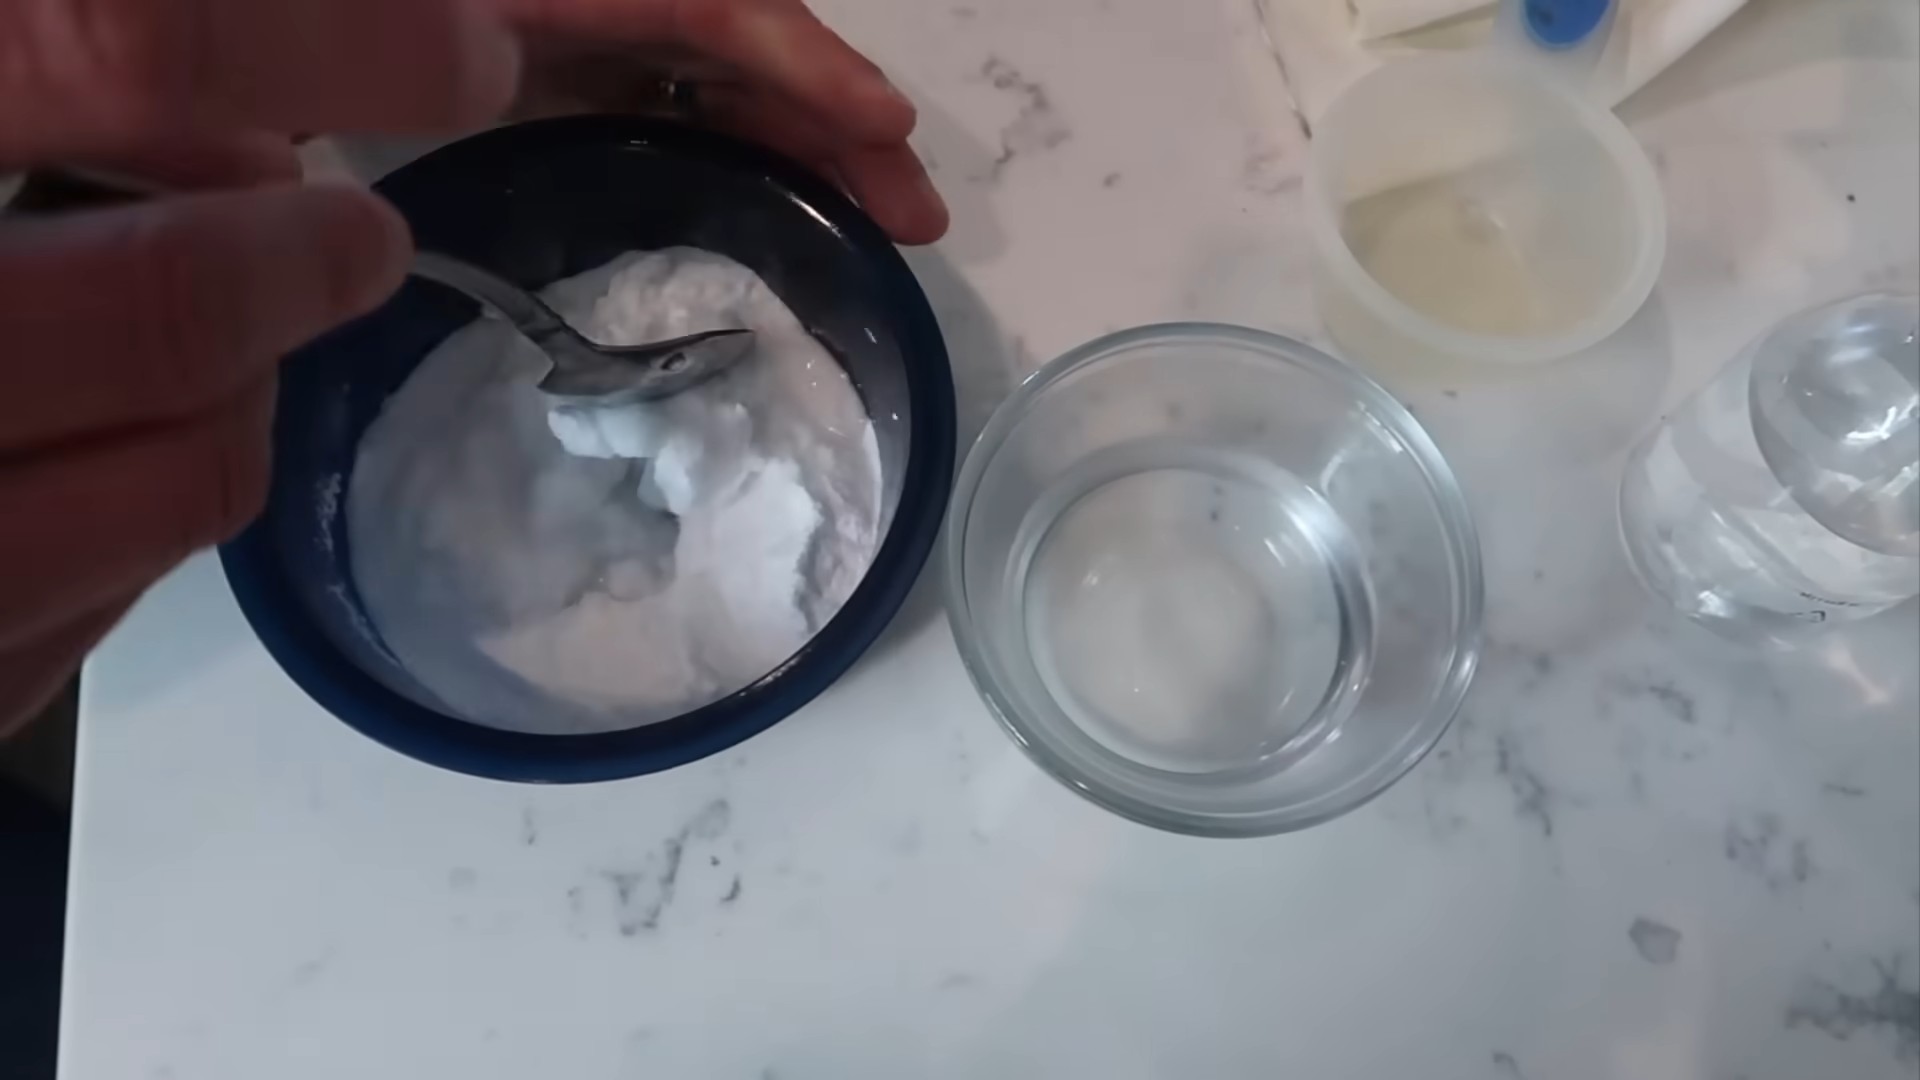
1. Mix the Paste: In a bowl, mix 1/2 cup of baking soda with a few tablespoons of water. Add water gradually until you have a thick, spreadable paste. It should be similar in consistency to frosting.
2. Coat the Oven: Using your rubber gloves (remember, trust me!), spread the baking soda paste all over the inside of your oven. Avoid the heating elements! I usually start with the back and work my way forward. Make sure to coat all the surfaces, including the sides, top, bottom, and door.
3. Thick Layer on Stubborn Spots: For areas with particularly stubborn baked-on grime, apply a thicker layer of the paste. This will give it more time to work its magic.
4. Let it Sit: Now comes the waiting game. Let the baking soda paste sit in your oven for at least 12 hours, or even overnight for really dirty ovens. The longer it sits, the better it will work. I usually do this before I go to bed so it can work its magic while I sleep.
Cleaning the Oven Racks:
While the baking soda paste is working its magic inside the oven, let’s tackle those greasy oven racks.
1. Soak the Racks: Fill your bathtub (or a large utility sink) with hot water and add about 1/2 cup of dish soap. Submerge the oven racks in the soapy water and let them soak for at least 30 minutes. This will help loosen the grease and grime.
2. Scrub the Racks: After soaking, use a scrub brush or sponge to scrub the racks clean. You may need to use a little elbow grease, especially for stubborn spots. For really tough grime, you can try using a paste of baking soda and water directly on the racks.
3. Rinse and Dry: Once the racks are clean, rinse them thoroughly with clean water and dry them with a towel.
The Vinegar Magic:
Now for the fun part! The vinegar reacts with the baking soda to create a fizzing action that helps lift away the grime.
1. Fill the Spray Bottle: Pour white vinegar into a spray bottle.
2. Spray the Vinegar: Spray the vinegar all over the baking soda paste inside your oven. You’ll see it start to fizz and bubble. This is a good thing!
3. Let it Fizz: Let the vinegar and baking soda react for a few minutes. This will help loosen the remaining grime.
Wiping it All Away:
Almost there! Now it’s time to wipe away all the baking soda paste and grime.
1. Wipe Down the Oven: Using a damp sponge or cloth, wipe down the inside of your oven. You may need to rinse the sponge frequently as it gets dirty.
2. Scrape Stubborn Spots: For any stubborn spots that won’t come off with the sponge, use a spatula or scraper to gently scrape them away. Be careful not to scratch the oven surface.
3. Rinse Thoroughly: Once you’ve removed all the baking soda paste and grime, rinse the inside of your oven thoroughly with clean water. This is important to remove any remaining residue.
4. Dry the Oven: Use a clean towel to dry the inside of your oven.
Replacing the Racks and Final Touches:
We’re in the home stretch! Let’s put everything back together and admire our sparkling clean oven.
1. Replace the Racks: Put the clean oven racks back into the oven.
2. Final Wipe Down: Give the inside of your oven one last wipe down with a clean, damp cloth to remove any remaining streaks or residue.
3. Admire Your Work: Step back and admire your sparkling clean oven! You did it!
Tips and Tricks for an Even Cleaner Oven:
* Repeat if Necessary: For extremely dirty ovens, you may need to repeat the process.
* Clean Regularly: To prevent buildup, try to clean your oven every few months.
* Self-Cleaning Ovens: While this method is great for avoiding harsh chemicals, you can still use the self-cleaning function on your oven if you prefer. However, be aware that it can produce strong odors and high heat.
* Lemon Power: For a fresh scent, you can add a few drops of lemon essential oil to the vinegar spray.
* Baking Soda as a Deodorizer: After cleaning, leave a small bowl of baking soda in your oven overnight to absorb any lingering odors.
* Don’t Forget the Door: Pay special attention to the oven door, as it often accumulates grease and grime. You can use the same baking soda paste and vinegar method to clean the door.
* Check the Vent: Make sure the oven vent is clear of any obstructions. This will help ensure proper airflow and prevent buildup of grease and grime.
* Protective Gear: Always wear rubber gloves when cleaning your oven to protect your hands from the baking soda and vinegar.
* Ventilation: Open a window or turn on the exhaust fan to ventilate the kitchen while you’re cleaning your oven.
* Spot Cleaning: For small spills or splatters, you can spot clean your oven with a paste of baking soda and water.
* Preventative Measures: Use oven liners or baking sheets to catch spills and prevent them from baking onto the oven floor.
Troubleshooting:
* Paste Not Sticking: If the baking soda paste isn’t sticking to the oven walls, make sure the surfaces are clean and dry. You may also need to add a little more water to the paste to make it more adhesive.
* Stubborn Grime: For extremely stubborn grime, try using a stronger cleaning solution, such as a commercial oven cleaner. However, be sure to follow the manufacturer’s instructions carefully and wear appropriate protective gear.
* Vinegar Smell: The vinegar smell will dissipate quickly. You can speed up the process by opening a window or turning on the exhaust fan.
* Baking Soda Residue: If you have trouble removing all the baking soda residue, try using a damp cloth with a little bit of dish soap.
* Scratches: Avoid using abrasive scrubbers or harsh chemicals, as they can scratch the oven surface.
Why This Method Works:
The magic of this DIY oven cleaning method lies in the chemical reaction between baking soda (a mild alkali) and vinegar (a mild acid). When they combine, they create carbon dioxide gas, which helps to lift away dirt and grime. The baking soda also acts as a gentle abrasive, while the vinegar helps to dissolve grease and baked-on food. Plus, it’s a natural and non-toxic alternative to harsh chemical cleaners.
So there you have it! A simple, effective, and eco-friendly way to clean your oven using just baking soda and vinegar. Give it a try, and I promise you’ll be amazed at the results! Happy cleaning!
Conclusion
So, there you have it! This simple, effective, and surprisingly easy oven cleaning method is a game-changer for anyone who dreads tackling that baked-on grime. Forget harsh chemicals, expensive cleaners, and hours of scrubbing. This DIY approach, utilizing the power of steam and readily available ingredients, will leave your oven sparkling clean and ready for your next culinary adventure.
Why is this a must-try? Because it’s not just about cleaning; it’s about reclaiming your time and peace of mind. Imagine spending just a few minutes setting up the cleaning process, letting the steam work its magic, and then effortlessly wiping away the loosened residue. No more sore arms, no more lingering chemical smells, just a pristine oven ready to bake your favorite dishes.
But the beauty of this method lies in its adaptability. While the baking soda and water combination is a powerhouse, feel free to experiment with variations to suit your specific needs and preferences. For instance, if you have particularly stubborn stains, consider adding a splash of white vinegar to the water. The vinegar’s acidity can help break down tough grease and grime. Another option is to sprinkle some coarse salt on the bottom of the oven before adding the water; the salt acts as a gentle abrasive, further aiding in the cleaning process. You can also add lemon peels to the water for a fresh, citrusy scent that will naturally deodorize your oven.
For those with self-cleaning ovens, while this method is generally safe, it’s always best to consult your oven’s manual before trying it. Some self-cleaning ovens have specific coatings or features that might be affected by steam cleaning. However, for most standard ovens, this DIY trick is a perfectly safe and effective alternative to the high-heat self-cleaning cycle, which can often produce unpleasant odors and consume a significant amount of energy.
We are confident that once you try this easy oven cleaning method, you’ll never go back to traditional cleaning methods. It’s efficient, eco-friendly, and incredibly satisfying to see the results.
Don’t just take our word for it, though! We encourage you to give this DIY trick a try and experience the difference for yourself. And most importantly, we want to hear about your experience! Share your before-and-after photos, your tips and tricks, and any variations you tried in the comments below. Let’s build a community of clean oven enthusiasts and make oven cleaning a chore we no longer dread. Your feedback will help others discover the magic of this simple yet powerful cleaning solution. Let us know if you have any questions, and happy cleaning!
Frequently Asked Questions (FAQ)
Is this method safe for all types of ovens?
Generally, yes, this steam cleaning method is safe for most standard ovens. However, it’s always a good idea to consult your oven’s manual before trying any new cleaning method, especially if you have a self-cleaning oven. Some self-cleaning ovens have specific coatings or features that might be affected by steam cleaning. If you’re unsure, test a small, inconspicuous area first.
How often should I use this method to clean my oven?
The frequency depends on how often you use your oven and how much it gets soiled. For ovens that are used frequently, a monthly cleaning might be necessary. For ovens that are used less often, cleaning every two to three months might suffice. The key is to clean your oven before the grime becomes too baked-on and difficult to remove. Regular maintenance will make the cleaning process much easier in the long run.
What if I don’t have baking soda? Can I use something else?
Baking soda is a key ingredient because it’s a mild alkali that helps to loosen grease and grime. While it’s the most effective and readily available option, you could try using washing soda (sodium carbonate) as a substitute. However, washing soda is more caustic than baking soda, so be sure to wear gloves and avoid getting it on your skin. Avoid using other types of cleaning agents as they may not be safe for oven use or may leave behind harmful residues.
How long should I leave the water and baking soda mixture in the oven?
The recommended time is typically 30-60 minutes at 300 degrees Fahrenheit. However, the exact time may vary depending on the level of grime in your oven. For heavily soiled ovens, you might need to leave the mixture in for a longer period, up to 90 minutes. Keep an eye on the water level and add more if it evaporates completely.
What if the grime is still difficult to remove after steaming?
If the grime is particularly stubborn, there are a few things you can try. First, let the oven cool down slightly but not completely. Then, use a non-abrasive sponge or cloth to scrub the affected areas. You can also make a paste of baking soda and water and apply it directly to the stubborn stains. Let the paste sit for a few minutes before scrubbing. For extremely tough stains, you might need to repeat the steaming process or use a specialized oven cleaner sparingly, following the manufacturer’s instructions carefully.
Can I use this method on a self-cleaning oven?
While this method is generally safe for most ovens, it’s crucial to consult your oven’s manual before using it on a self-cleaning oven. Some self-cleaning ovens have specific coatings or features that might be damaged by steam cleaning. If your manual advises against it, it’s best to avoid this method. However, many people have successfully used this method on self-cleaning ovens as a gentler alternative to the high-heat self-cleaning cycle. If you choose to try it, proceed with caution and monitor the oven closely.
What is the best way to wipe down the oven after steaming?
Once the oven has cooled down slightly, use a damp, non-abrasive sponge or cloth to wipe away the loosened grime. You might need to rinse the sponge or cloth frequently as it becomes saturated with grease. For hard-to-reach areas, consider using an old toothbrush or a small scrub brush. Be sure to wipe down all surfaces, including the walls, floor, and door of the oven. Finally, dry the oven thoroughly with a clean cloth to prevent rust.
Will this method remove burnt-on sugar?
Burnt-on sugar can be particularly challenging to remove. While this steam cleaning method will help to loosen it, you might need to take extra steps. After steaming, try applying a paste of baking soda and water directly to the burnt-on sugar. Let the paste sit for a few minutes to soften the sugar before scrubbing gently with a non-abrasive sponge. You can also try using a plastic scraper to carefully lift the burnt-on sugar without scratching the oven surface.
Is there a specific type of baking soda I should use?
Regular baking soda (sodium bicarbonate) is all you need for this method. There’s no need to use a special type or brand. The key is to use enough baking soda to create a sufficient alkaline solution that will help to loosen the grime.
What if my oven has a strong odor after cleaning?
If your oven has a lingering odor after cleaning, there are a few things you can do to eliminate it. First, make sure you’ve thoroughly wiped down all surfaces to remove any remaining residue. You can also place a bowl of white vinegar or baking soda in the oven overnight to absorb any lingering odors. Another option is to heat the oven to a low temperature (around 200 degrees Fahrenheit) with a few lemon peels inside. The lemon peels will release their natural oils and help to deodorize the oven.


Leave a Comment