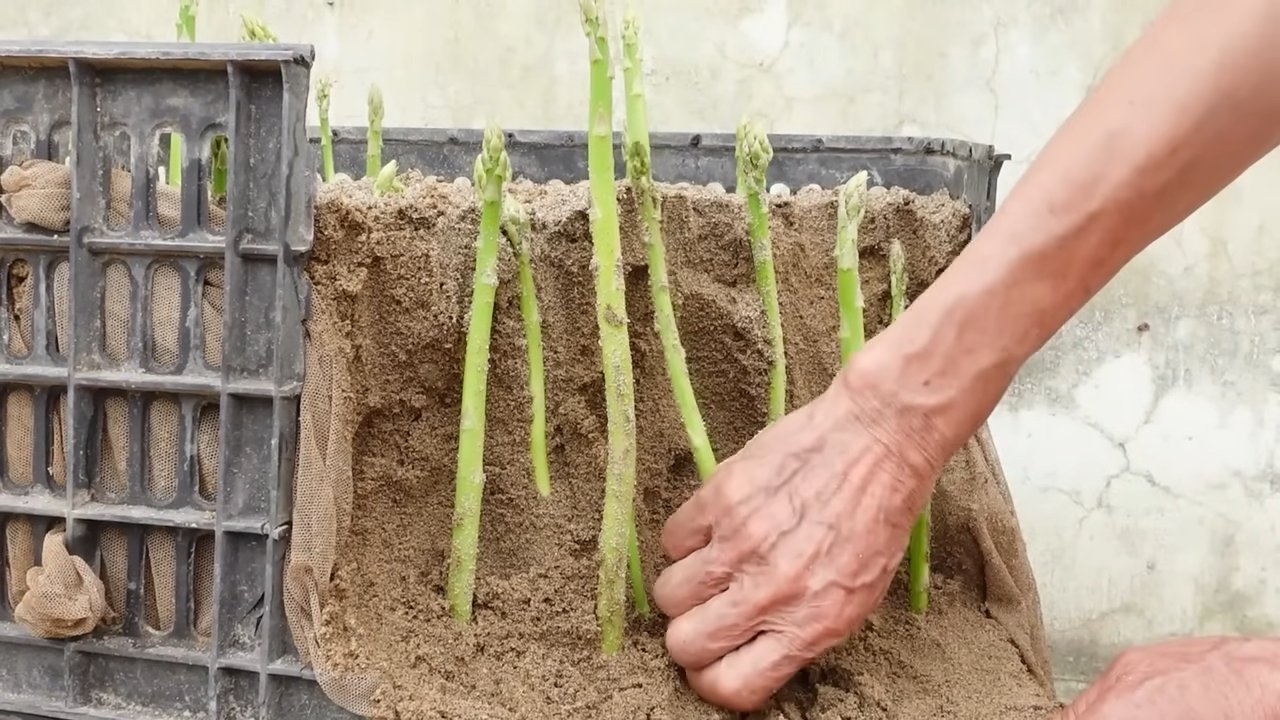
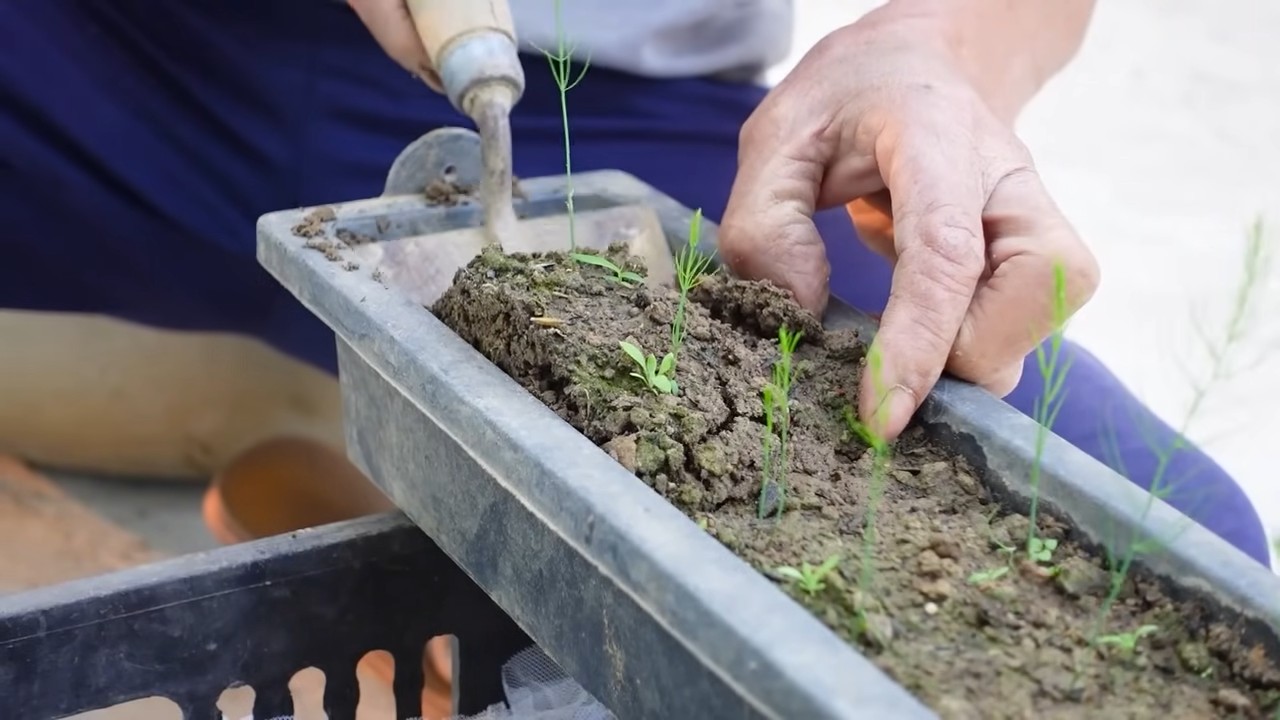
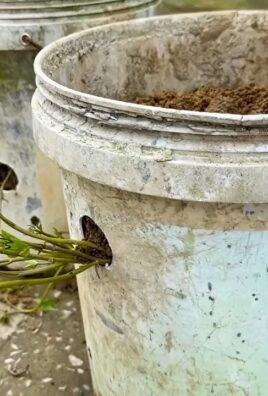
Grow Asparagus at Home and unlock the secrets to a thriving, delicious garden right outside your door! Imagine stepping into your backyard and harvesting fresh, tender asparagus spears, ready to be steamed, grilled, or added to your favorite spring recipes. No more trips to the grocery store for limp, overpriced asparagus – you’ll have a constant supply of this gourmet vegetable, grown with your own two hands.
Asparagus has a rich history, dating back to ancient Greece and Rome, where it was prized for its medicinal properties and culinary delights. Emperors even used to send fleets to retrieve the best asparagus! Today, you don’t need a fleet of ships; you just need a little know-how. Many people shy away from growing asparagus, thinking it’s too difficult or time-consuming. But I’m here to tell you that with a few simple tricks and DIY hacks, you can successfully grow asparagus at home, even if you’re a beginner gardener.
This DIY guide is designed to demystify the process and provide you with all the information you need to cultivate your own asparagus patch. From selecting the right variety to preparing your soil and harvesting your spears, I’ll walk you through each step with clear, easy-to-follow instructions. So, ditch the store-bought stuff and get ready to enjoy the unparalleled flavor of homegrown asparagus – you’ll be amazed at the difference!

Growing Asparagus at Home: A Beginner’s Guide
Asparagus, that delicious and slightly grassy spring vegetable, might seem like something best left to professional farmers. But guess what? You can absolutely grow your own asparagus at home! It takes a little patience, as asparagus needs a few years to mature, but the reward of fresh, homegrown spears is totally worth it. I’m going to walk you through everything you need to know to get started.
Choosing Your Asparagus Variety
First things first, let’s talk about varieties. Different asparagus varieties are suited to different climates and growing conditions. Here are a few popular choices:
* Jersey Knight: This is a widely popular, all-male hybrid known for its high yields and disease resistance. It’s a great choice for beginners.
* Jersey Giant: Similar to Jersey Knight, but produces even larger spears. Also an all-male hybrid.
* Purple Passion: This variety produces beautiful purple spears that turn green when cooked. It’s sweeter and more tender than green varieties.
* Mary Washington: An older, heirloom variety that’s still a reliable producer. It’s more susceptible to disease than the Jersey varieties, but it’s a good option if you prefer heirloom plants.
Consider your local climate and soil conditions when choosing a variety. Your local nursery can offer recommendations specific to your area.
Preparing Your Asparagus Bed
Asparagus needs a dedicated bed because it’s a perennial, meaning it will come back year after year. Choose a location that gets at least 6-8 hours of sunlight per day. Good drainage is also crucial, as asparagus doesn’t like soggy roots.
Here’s how to prepare your asparagus bed:
1. Clear the Area: Remove all grass, weeds, rocks, and debris from the area where you plan to plant your asparagus. This is super important to give your asparagus a head start without competition.
2. Soil Testing: It’s a good idea to get your soil tested to determine its pH and nutrient levels. Asparagus prefers a slightly acidic to neutral soil pH (around 6.5 to 7.0). You can purchase a soil testing kit at most garden centers or send a sample to your local agricultural extension office.
3. Amend the Soil: Asparagus needs rich, well-drained soil. Amend your soil with plenty of organic matter, such as compost, well-rotted manure, or peat moss. This will improve drainage, fertility, and water retention. I usually add a generous layer (4-6 inches) of compost and till it into the soil.
4. Dig a Trench: Dig a trench that is about 12-18 inches wide and 6-8 inches deep. If you’re planting multiple rows, space the trenches about 4 feet apart. This spacing allows for good air circulation and room for the plants to spread.
5. Add Fertilizer: Incorporate a slow-release fertilizer into the bottom of the trench. Choose a fertilizer that is high in phosphorus and potassium, which are essential for root development. Follow the instructions on the fertilizer package for application rates. Bone meal is also a great addition at this stage.
Planting Your Asparagus
You can start asparagus from seeds or crowns. Crowns are one-year-old plants that are already established, and they’ll give you a head start compared to seeds. I usually recommend crowns for beginners.
Here’s how to plant asparagus crowns:
1. Soak the Crowns: Before planting, soak the asparagus crowns in water for about an hour. This will help rehydrate them and encourage root growth.
2. Create Mounds: In the bottom of the trench, create small mounds of soil about 12-18 inches apart. These mounds will support the crowns and allow the roots to spread out.
3. Place the Crowns: Place each crown on top of a mound, spreading the roots out around the mound like an octopus. Make sure the crown is facing upwards.
4. Cover the Crowns: Gently cover the crowns with about 2-3 inches of soil. Water thoroughly after planting.
5. Fill the Trench Gradually: As the asparagus spears emerge and grow, gradually fill in the trench with soil. This will encourage the development of a strong root system. By the end of the first growing season, the trench should be completely filled in.
Caring for Your Asparagus
Asparagus requires regular care to thrive. Here’s what you need to do:
* Watering: Water your asparagus regularly, especially during dry periods. Asparagus needs consistent moisture to produce healthy spears. Aim for about 1 inch of water per week.
* Weeding: Keep the asparagus bed free of weeds. Weeds compete with asparagus for nutrients and water. Hand-pull weeds regularly or use a hoe to cultivate the soil. Mulching around the plants can also help suppress weed growth.
* Fertilizing: Fertilize your asparagus in early spring and again in mid-summer. Use a balanced fertilizer or a fertilizer that is high in nitrogen. Follow the instructions on the fertilizer package for application rates.
* Mulching: Apply a layer of mulch around the asparagus plants to help retain moisture, suppress weeds, and regulate soil temperature. Organic mulches, such as straw, wood chips, or compost, are ideal.
* Pest and Disease Control: Asparagus is relatively pest-resistant, but it can be susceptible to asparagus beetles and asparagus rust. Inspect your plants regularly for signs of pests or diseases. If you find any problems, treat them promptly with an appropriate insecticide or fungicide. Organic options are always preferable.
Harvesting Your Asparagus
This is the part we’ve all been waiting for! But remember, patience is key. Don’t harvest any spears during the first year after planting. This allows the plants to establish a strong root system. You can harvest lightly in the second year, but only for a few weeks. In the third year and beyond, you can harvest more heavily.
Here’s how to harvest asparagus:
1. Harvesting Time: Harvest asparagus spears when they are about 6-8 inches tall and the tips are still tightly closed.
2. Harvesting Method: Use a sharp knife to cut the spears at ground level. Be careful not to damage the crown or other spears.
3. Harvesting Frequency: Harvest asparagus spears every day or two during the peak harvesting season. As the weather warms up, the spears will grow more quickly.
4. Harvesting Season: The asparagus harvesting season typically lasts for about 6-8 weeks in the spring. Once the spears start to become thin and spindly, stop harvesting and allow the plants to fern out. This will allow them to replenish their energy reserves for the following year.
Letting the Ferns Grow
After the harvesting season is over, allow the asparagus plants to fern out. The ferns will grow tall and bushy, and they will provide the plants with the energy they need to produce spears the following year.
Here’s what to do with the ferns:
* Support the Ferns: If the ferns get too tall and floppy, you may need to provide them with some support. You can use stakes or a trellis to keep them upright.
* Fertilize the Ferns: Fertilize the ferns in mid-summer with a balanced fertilizer. This will help them grow strong and healthy.
* Cut Back the Ferns: In late fall or early winter, after the ferns have turned brown and died back, cut them back to ground level. This will help prevent the spread of disease.
Dealing with Common Problems
Even with the best care, you may encounter some problems when growing asparagus. Here are a few common issues and how to deal with them:
* Asparagus Beetles: These small, colorful beetles can damage asparagus spears and ferns. Hand-pick the beetles off the plants or spray them with an insecticide.
* Asparagus Rust: This fungal disease causes orange or brown spots on the ferns. Improve air circulation around the plants and spray them with a fungicide.
* Weeds: Weeds can compete with asparagus for nutrients and water. Hand-pull weeds regularly or use a hoe to cultivate the soil. Mulching around the plants can also help suppress weed growth.
* Poor Drainage: Asparagus doesn’t like soggy roots. Make sure your soil is well-drained and avoid overwatering.
Enjoying Your Homegrown Asparagus
Once you’ve harvested your asparagus, you can enjoy it in a variety of ways. Here are a few ideas:
* Steamed: Steamed asparagus is a simple and delicious way to enjoy this vegetable.
* Roasted: Roasted asparagus is another easy and flavorful option.
* Grilled: Grilled asparagus is perfect for summer barbecues.
* Sautéed: Sautéed asparagus is a quick and easy side dish.
* In Soups and Salads: Asparagus can also be added to soups and salads.
Growing your

Conclusion
So, there you have it! Growing asparagus at home isn’t just a gardening project; it’s an investment in years of delicious, fresh, and incredibly rewarding harvests. Forget the pale, often woody asparagus spears you find at the grocery store. Imagine stepping into your backyard and picking vibrant, tender stalks bursting with flavor – that’s the promise of homegrown asparagus.
This DIY trick, while requiring patience in the initial stages, offers a significant return on your effort. You’re not just growing a vegetable; you’re cultivating a perennial crop that will grace your garden with its presence for 15 to 20 years or even longer. Think of the savings on your grocery bill, the satisfaction of knowing exactly where your food comes from, and the sheer joy of sharing your homegrown bounty with friends and family.
But the benefits extend beyond the culinary. Asparagus ferns, with their delicate, feathery foliage, add a touch of elegance to any garden. They provide a beautiful backdrop for other plants and attract beneficial insects. Plus, the act of gardening itself is a fantastic stress reliever and a wonderful way to connect with nature.
Why is this a must-try? Because it empowers you to take control of your food source, enjoy unparalleled freshness, and experience the enduring satisfaction of nurturing a thriving garden. It’s a project that keeps on giving, year after year.
Ready to take your asparagus growing to the next level? Consider these variations:
* Container Gardening: If you’re short on space, don’t despair! Asparagus can be successfully grown in large containers. Choose a pot at least 24 inches in diameter and depth, and ensure it has excellent drainage. Use a high-quality potting mix and be prepared to water more frequently than you would with in-ground plants.
* Companion Planting: Asparagus thrives when planted alongside certain companion plants. Tomatoes, basil, parsley, and marigolds are all excellent choices. They help deter pests and improve the overall health of your asparagus patch.
* Different Varieties: Explore the different varieties of asparagus available. ‘Jersey Knight’ is a popular choice for its high yield and disease resistance. ‘Purple Passion’ offers a unique color and sweeter flavor. Experiment to find the varieties that best suit your taste and climate.
* Succession Planting: To extend your harvest season, consider succession planting. Plant different varieties of asparagus that mature at different times. This will ensure a continuous supply of fresh spears throughout the spring and early summer.
Don’t be intimidated by the initial investment of time and effort. The rewards are well worth it. With a little planning, patience, and the right techniques, you can enjoy a lifetime of delicious, homegrown asparagus.
We encourage you to try this DIY trick and experience the magic of growing your own asparagus. Share your experiences with us in the comments below! We’d love to hear about your successes, challenges, and any tips you’ve learned along the way. Let’s build a community of asparagus enthusiasts and inspire others to embark on this rewarding gardening journey. Remember, the best asparagus is the asparagus you grow yourself! So, get your hands dirty and start growing asparagus at home today!
Frequently Asked Questions (FAQ)
How long does it take to grow asparagus from seed?
Growing asparagus from seed is a longer process compared to starting with crowns. It typically takes around three years from seed to harvestable spears. The first year is dedicated to developing strong roots and foliage. The second year focuses on continued growth and establishment. By the third year, you can usually begin harvesting a small number of spears. While it requires more patience, growing from seed can be a more economical option and allows you to select specific varieties that may not be readily available as crowns.
What is the best time of year to plant asparagus?
The best time to plant asparagus crowns is in early spring, as soon as the ground can be worked. This allows the plants to establish themselves before the heat of summer arrives. In warmer climates, fall planting may also be an option. If you are starting from seed, you can sow them indoors in late winter or early spring, about 8-10 weeks before the last expected frost. Transplant the seedlings outdoors after the danger of frost has passed.
How much sun does asparagus need?
Asparagus requires at least 6-8 hours of direct sunlight per day to thrive. Choose a location in your garden that receives full sun exposure. Insufficient sunlight can result in weak, spindly growth and reduced yields.
What kind of soil is best for asparagus?
Asparagus prefers well-drained, sandy loam soil with a pH between 6.5 and 7.5. Amend heavy clay soil with compost and other organic matter to improve drainage and aeration. Asparagus does not tolerate waterlogged soil, so good drainage is essential.
How deep should I plant asparagus crowns?
Dig a trench that is 6-8 inches deep and 12 inches wide. Create a small mound of soil in the center of the trench and place the asparagus crown on top of the mound, spreading the roots out around it. Cover the crown with 2-3 inches of soil. As the plant grows, gradually fill in the trench with soil until it is level with the surrounding ground.
How often should I water asparagus?
Water asparagus regularly, especially during dry periods. Aim to keep the soil consistently moist but not waterlogged. Water deeply and less frequently, rather than shallowly and more often. A good rule of thumb is to water when the top inch of soil feels dry to the touch.
When can I start harvesting asparagus?
Do not harvest any spears during the first year after planting crowns or the first three years after planting from seed. This allows the plants to establish a strong root system. In the second year after planting crowns, you can harvest lightly for a few weeks. In subsequent years, you can harvest for 6-8 weeks in the spring. Stop harvesting when the spears become thin and spindly, as this indicates that the plant needs to replenish its energy reserves.
How do I harvest asparagus?
Harvest asparagus spears when they are 6-8 inches tall and about as thick as your finger. Use a sharp knife to cut the spear at ground level. Avoid damaging the surrounding spears or the crown.
How do I care for asparagus ferns after the harvest?
After the harvest season is over, allow the asparagus ferns to grow and mature. They will provide energy to the plant for the following year’s growth. Fertilize the plants with a balanced fertilizer in late spring or early summer. In the fall, cut the ferns back to the ground after they have turned brown and dried out.
What are some common asparagus pests and diseases?
Common asparagus pests include asparagus beetles, asparagus miners, and aphids. Diseases include asparagus rust and Fusarium crown and root rot. Practice good garden hygiene to prevent pest and disease problems. Remove any infected plants promptly and use organic pest control methods when necessary.
Can I grow asparagus in containers?
Yes, asparagus can be grown in containers, but you will need a large container that is at least 24 inches in diameter and depth. Use a high-quality potting mix and ensure the container has excellent drainage. Container-grown asparagus will need to be watered and fertilized more frequently than plants grown in the ground.
How do I overwinter asparagus?
In cold climates, mulch around the base of the asparagus plants with straw or leaves to protect them from freezing temperatures. In warmer climates, no special winter protection is necessary.
What are the benefits of eating asparagus?
Asparagus is a nutritious vegetable that is low in calories and high in vitamins and minerals. It is a good source of vitamin K, folate, vitamin C, and potassium. Asparagus also contains antioxidants and has anti-inflammatory properties.
How do I store asparagus?
Store asparagus in the refrigerator, wrapped in a damp paper towel or standing upright in a jar with an inch or two of water. Asparagus is best used within a few days of harvesting.


Leave a Comment