
Grow Avocados at Home – imagine plucking a perfectly ripe avocado straight from your own tree! Sounds like a dream, right? Well, it doesn’t have to be! For centuries, avocados have been cherished for their creamy texture and nutritional benefits, dating back to ancient Mesoamerica where they were a staple food. Now, you can bring a piece of that history into your own backyard, or even your living room!
But let’s be honest, the thought of growing your own avocado tree can seem a little intimidating. Where do you even start? That’s where this DIY guide comes in! I’m going to share some simple, yet effective tricks and hacks that will make grow avocados at home a fun and rewarding experience, even if you don’t have a green thumb.
Why should you bother? Well, besides the sheer satisfaction of nurturing a plant from seed to fruit, growing your own avocados means access to fresh, organic produce without the grocery store price tag. Plus, it’s a fantastic way to connect with nature and add a touch of greenery to your living space. So, grab your gardening gloves, and let’s get started on this exciting avocado adventure together!
Growing Avocados at Home: My DIY Guide for Beginners
Hey guys! Have you ever wondered what it would be like to harvest your own avocados? Me too! And you know what? It’s not as hard as you might think. I’ve tried it myself and today I want to show you how you can do it too. It takes a bit of patience, but the result is worth it!
What you’ll need:
Before we get started, here’s a list of everything you’ll need:
- A ripe avocado (organic is best, to ensure it hasn’t been treated with growth inhibitors).
- Three to four toothpicks.
- A glass or a cup.
- Water.
- A flower pot (for later).
- Potting soil (for later).
- Patience!
Preparing the Avocado Pit:
- Enjoy the avocado: First, you have to eat the avocado! Carefully cut it open, remove the flesh, and keep the pit. Be careful not to damage the pit.
- Clean the pit: Rinse the pit under lukewarm water to remove all fruit residue. This is important to prevent it from getting moldy.
- Dry the pit: Let the pit air dry for a few hours. This helps to slightly harden the outer brown skin, which makes inserting the toothpicks easier.
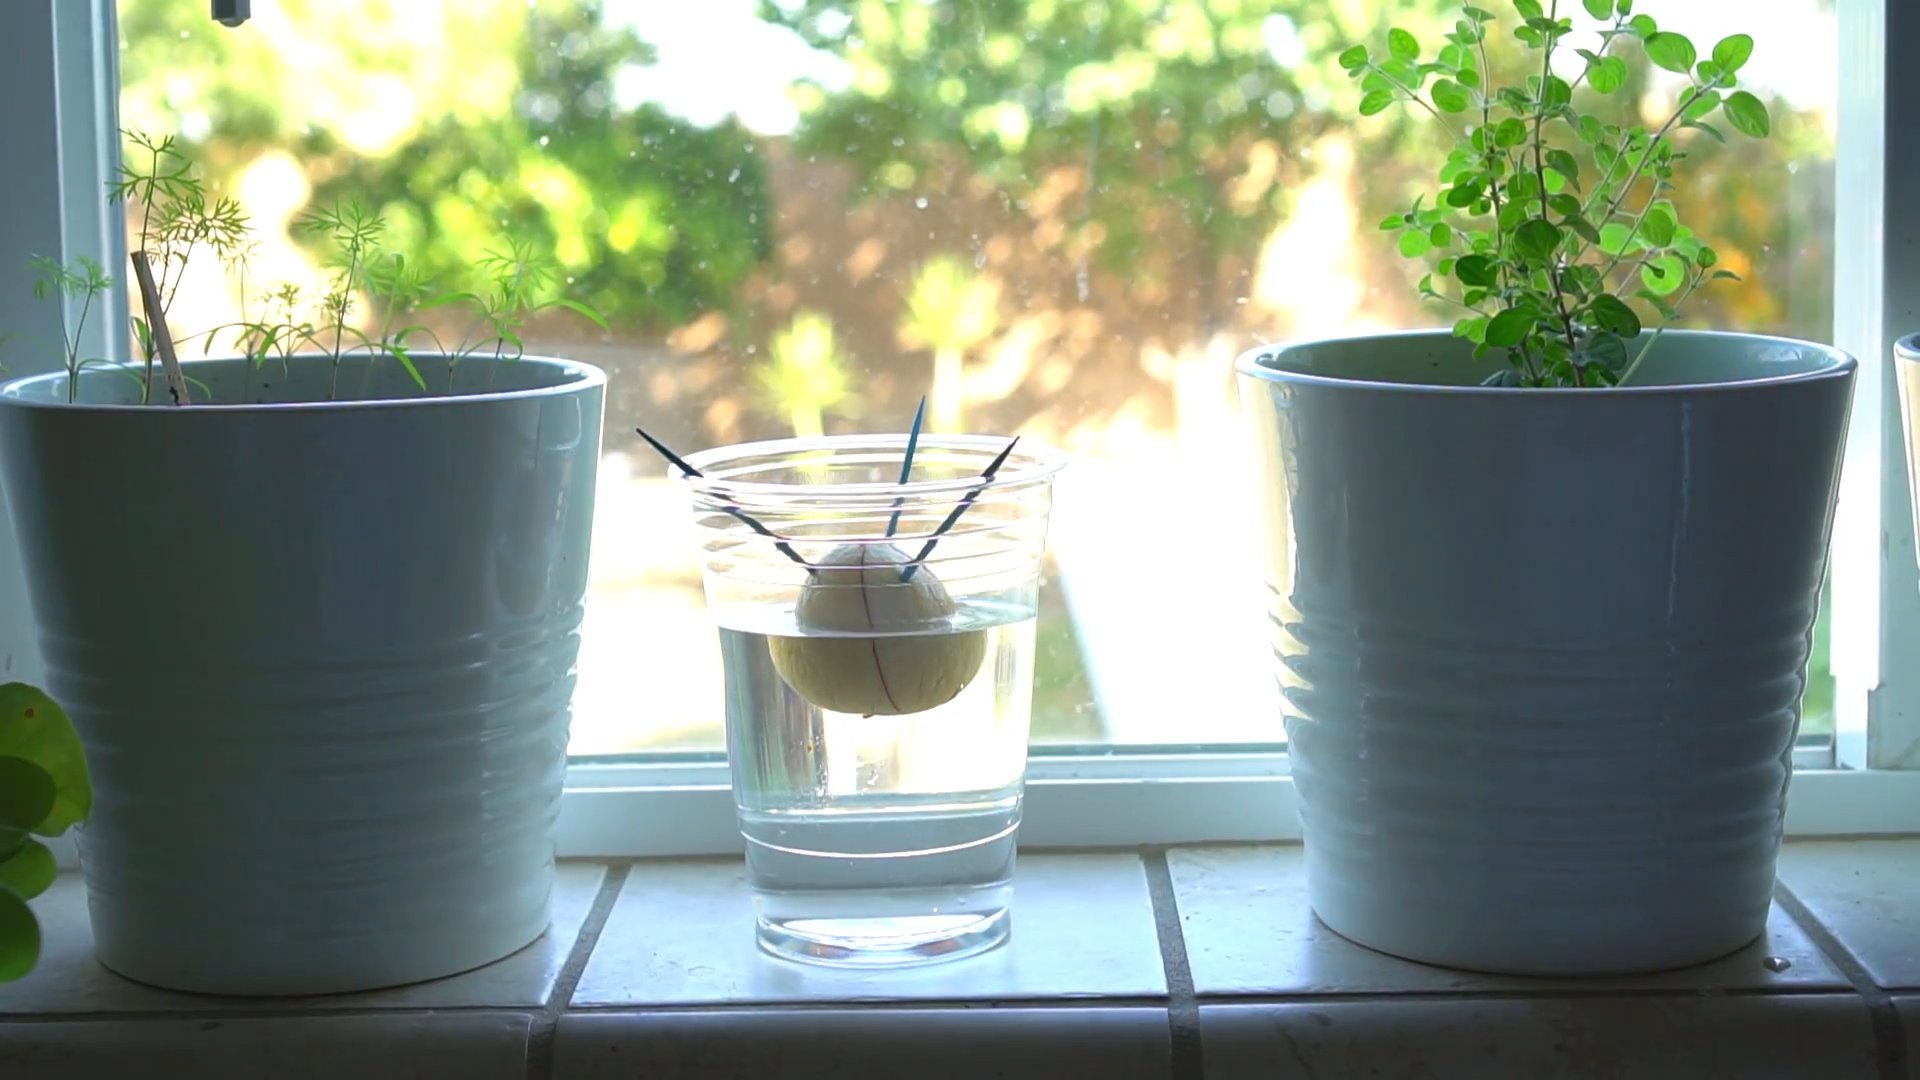
Inserting Toothpicks and Soaking:
- Position the toothpicks: Stick the toothpicks into the pit at a slight angle, about halfway up. they should be evenly spaced and serve as supports to suspend the pit in the glass. Make sure you don’t pierce the pit too deeply.
- Prepare the glass: Fill the glass or cup with water. Make sure the water is clean.
- Insert the pit: Place the pit with the toothpicks on the rim of the glass so that the bottom half of the pit is in the water. The tip of the pit should remain dry. It’s important that only the bottom half is in the water, otherwise there is a risk of mold.
- Choose a location: Place the glass in a warm, bright spot, but not in direct sunlight. A windowsill is ideal.
Changing Water and Being Patient:
- Change the water regularly: Change the water every one to two days to keep it clean and fresh. This prevents mold and ensures optimal conditions for germination.
- Patience is required: Now it’s time to wait! It can take a few weeks or even months for the pit to crack open and form roots. Don’t be discouraged if it doesn’t happen right away.
- Observe: Watch the pit regularly. you will first see a small crack at the bottom, from which the roots will then grow. The top will also split, and a small shoot will appear.
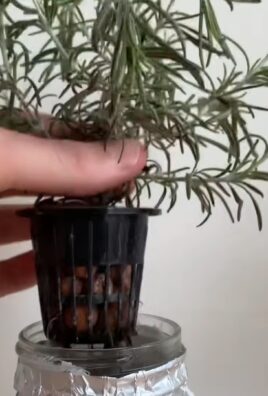
Transplanting into Soil:
- Roots and a shoot: Once the roots are about 5-8 cm (2-3 inches) long and the shoot has a few leaves, it’s time to transplant the pit into soil.
- Prepare the pot: Choose a flower pot with a diameter of about 15-20 cm (6-8 inches). Make sure the pot has drainage holes so that excess water can run off.
- Fill with soil: Fill the pot with potting soil. I recommend a high-quality potting soil that drains well.
- Plant the pit: Make a hole in the soil and carefully place the pit inside. The top of the pit should still be slightly visible above the soil.
- Water: Gently water the soil so that it is well-moistened.
Caring for the Avocado Plant:
- Location: Place the pot in a bright, warm place, but avoid direct sunlight, especially during the hot midday hours.
- Watering: Water the plant regularly, but avoid waterlogging. The soil should always be slightly moist. Let the top layer of soil dry out between waterings.
- Fertilizing: Fertilize the plant every few weeks with a liquid fertilizer for houseplants. Be sure to follow the dosage instructions on the packaging.
- Pruning: To make the plant bushier, you can prune it regularly. Simply cut off the tip of the main shoot.
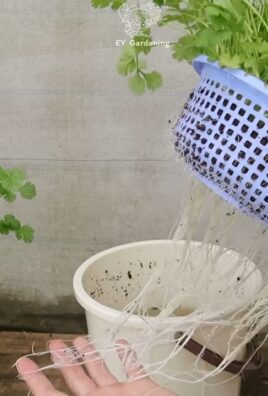
- Repotting: As the plant gets bigger, you will need to repot it into a larger pot.
Common Problems and Solutions:
- Leaves turning brown: This can have various causes, such as too much or too little water, not enough light, or air that is too dry. Check your watering habits and, if necessary, move the plant to a brighter location or increase the humidity.
- No roots: It can take a long time for the pit to form roots. Be patient and change the water regularly. Make sure the bottom half of the pit is always in water.
- Mold: If the pit gets moldy, you should discard it and use a new one. Make sure to clean the pit thoroughly and change the water regularly.
Additional Tips:
- Multiple pits: Plant several pits at the same time to increase the likelihood that at least one will sprout.
- Humidity: Avocados love high humidity. You can increase the humidity by placing the pot on a saucer with water and pebbles or by regularly spraying the leaves with water.
- Overwintering: Avocados are not frost-hardy. If you live in a region with cold winters, you will need to bring the plant indoors for the winter.
Patience and Perseverance:
The most important thing is patience! It can take years for your avocado plant to bear fruit, and it’s not even guaranteed that it will bear fruit at all when kept in a pot. But even without fruit, it’s a great feeling to have grown a plant from a pit.
I hope this guide helps you to grow your own avocados at home. Good luck and have fun gardening! Let me know how it goes

Conclusion
So, there you have it! Growing avocados at home, while requiring patience, is an incredibly rewarding experience. It’s a chance to connect with nature, learn about the life cycle of a plant, and ultimately, enjoy the fruits (literally!) of your labor. This DIY trick isn’t just about saving money on store-bought avocados; it’s about cultivating a deeper appreciation for where our food comes from and the magic of watching something grow from a single seed.
Why is this a must-try? Because it’s more than just a gardening project; it’s a journey. It’s a lesson in perseverance, a testament to the power of nature, and a conversation starter that will impress your friends and family. Imagine the satisfaction of serving guacamole made with avocados you nurtured from a tiny pit!
But the fun doesn’t stop there. Once you’ve mastered the basics, you can explore different variations. Try experimenting with different avocado varieties to see which thrives best in your climate. Grafting is another advanced technique you can explore to ensure fruit production and control the variety of avocado your tree produces. You could even create a mini-avocado orchard in your backyard!
Don’t be discouraged if your first attempt isn’t perfect. Growing avocados at home is a learning process, and every seed, every sprout, every leaf teaches you something new. The key is to be patient, observant, and willing to adapt your approach as needed.
We encourage you to take the plunge and try this DIY trick for growing avocados at home. It’s an investment of time and effort, but the rewards are immeasurable. And most importantly, we want to hear about your experience! Share your successes, your challenges, and your tips in the comments below. Let’s create a community of avocado enthusiasts and learn from each other. Together, we can transform our homes and gardens into thriving avocado havens. So, grab an avocado pit, gather your supplies, and get ready to embark on this exciting adventure. Happy growing!
Frequently Asked Questions (FAQs)
Q: How long does it take to grow avocados at home from a pit?
A: Patience is key! It can take anywhere from 5 to 13 years for an avocado tree grown from seed to produce fruit. However, the process of sprouting the pit and watching the tree grow is rewarding in itself. Grafting a branch from a known fruiting tree onto your seedling can significantly shorten the time to fruit production, potentially yielding avocados in as little as 3-5 years. Remember that not all avocado trees grown from seed will produce fruit, and even if they do, the fruit may not be the same quality as the parent avocado.
Q: What kind of avocado pit should I use?
A: You can use the pit from any avocado you buy at the grocery store. However, some varieties are more likely to sprout and thrive than others. Hass avocados are a popular choice, but feel free to experiment with different varieties to see what works best in your area. Make sure the avocado is ripe when you eat it, as the pit from an unripe avocado may not germinate. Also, handle the pit carefully to avoid damaging it.
Q: My avocado pit sprouted, but the seedling died. What went wrong?
A: There are several reasons why an avocado seedling might die. Overwatering is a common culprit, as it can lead to root rot. Make sure the soil is well-draining and allow it to dry out slightly between waterings. Underwatering can also be a problem, so check the soil regularly and water when it feels dry to the touch. Insufficient sunlight can also weaken the seedling, so make sure it’s getting at least 6 hours of direct sunlight per day. Pests and diseases can also affect avocado seedlings, so inspect your plant regularly and take action if you notice any problems.
Q: How often should I water my avocado tree?
A: The watering frequency depends on several factors, including the size of the tree, the type of soil, and the climate. In general, water deeply and less frequently, allowing the soil to dry out slightly between waterings. Avoid overwatering, as this can lead to root rot. During hot, dry weather, you may need to water more frequently. Check the soil moisture regularly to determine when to water. A good rule of thumb is to water when the top inch of soil feels dry to the touch.
Q: What kind of soil should I use for my avocado tree?
A: Avocado trees prefer well-draining soil that is rich in organic matter. A good potting mix for avocados is a combination of potting soil, perlite, and compost. Avoid using heavy clay soil, as it can retain too much moisture and lead to root rot. You can also amend your soil with sand or gravel to improve drainage. The ideal pH for avocado trees is between 6.0 and 7.0.
Q: When should I transplant my avocado seedling into a larger pot or the ground?
A: Transplant your avocado seedling when it has outgrown its current container. A good indication is when the roots start to circle around the bottom of the pot. Choose a pot that is at least twice the size of the current pot. If you live in a warm climate, you can transplant your avocado tree into the ground. Choose a sunny location with well-draining soil. Dig a hole that is twice as wide and as deep as the root ball. Gently remove the tree from its pot and place it in the hole. Backfill with soil and water thoroughly.
Q: Can I grow avocados indoors?
A: Yes, you can grow avocados indoors, but it can be challenging. Avocado trees need a lot of sunlight, so you’ll need to provide supplemental lighting if you don’t have a sunny window. You’ll also need to provide adequate humidity, as avocados prefer a humid environment. Mist the leaves regularly or use a humidifier. Indoor avocado trees may not produce fruit, but they can still be a beautiful and rewarding addition to your home.
Q: How do I fertilize my avocado tree?
A: Fertilize your avocado tree regularly during the growing season (spring and summer). Use a fertilizer that is specifically formulated for avocado trees or citrus trees. Follow the instructions on the fertilizer label. Avoid over-fertilizing, as this can damage the tree. You can also amend the soil with compost or other organic matter to provide nutrients.
Q: My avocado tree is not producing fruit. What can I do?
A: There are several reasons why an avocado tree might not produce fruit. One common reason is that the tree is not old enough. Avocado trees grown from seed can take several years to produce fruit. Another reason is that the tree is not getting enough sunlight. Avocado trees need at least 6 hours of direct sunlight per day to produce fruit. Pollination can also be a factor. Avocado trees require cross-pollination to produce fruit, so you may need to plant two different varieties of avocado trees nearby. Grafting can also help to ensure fruit production.
Q: What are some common pests and diseases that affect avocado trees?
A: Some common pests that affect avocado trees include aphids, mites, and scale. Diseases that can affect avocado trees include root rot, anthracnose, and scab. Inspect your tree regularly for signs of pests or diseases and take action if you notice any problems. You can use organic pesticides and fungicides to control pests and diseases. Proper watering and fertilization can also help to prevent problems.
Leave a Comment