
Grow bigger melons than you ever thought possible! Imagine sinking your teeth into a juicy, sweet melon that you nurtured from a tiny seed right in your own backyard. Sounds dreamy, right? Well, it doesn’t have to be just a dream! This article is packed with simple, yet effective DIY tricks and hacks that will help you achieve melon-growing success, no matter your experience level.
For centuries, melons have been cherished across cultures, from the watermelons depicted in ancient Egyptian tombs to the cantaloupes enjoyed in Renaissance Europe. Growing your own connects you to this rich history and allows you to experience the unparalleled flavor of a homegrown melon. But let’s face it, sometimes our melon dreams fall flat. We end up with small, bland fruits that are a far cry from the prize-winning melons we envisioned.
That’s where these DIY tricks come in! I’m going to share my secrets to help you grow bigger melons that are bursting with flavor. Whether it’s optimizing your soil, mastering the art of pruning, or understanding the importance of proper watering, these hacks will empower you to transform your garden into a melon paradise. So, grab your gardening gloves, and let’s get started on the path to melon-growing glory!
DIY: Unlock Giant Melons – My Secrets to Bumper Crops!
Okay, melon lovers, gather ’round! I’m about to spill the beans (or should I say, seeds?) on how I consistently grow melons that are the envy of the neighborhood. Forget those puny, grocery store melons – we’re talking juicy, flavorful giants that will have you swimming in melon goodness all summer long. This isn’t just about luck; it’s about understanding what these thirsty plants need and giving them a little extra TLC. Get ready to roll up your sleeves, because we’re going to dive deep into the world of melon cultivation!
Understanding Melon Needs: The Foundation for Success
Before we get our hands dirty, let’s talk about what makes melons tick. They’re not exactly low-maintenance divas, but understanding their needs is half the battle.
* Sunlight: Melons are sun worshippers, plain and simple. They need at least 6-8 hours of direct sunlight per day to thrive. Anything less, and you’ll be sacrificing size and sweetness.
* Water: These guys are thirsty! Consistent and deep watering is crucial, especially during fruit development. We’ll talk about specific watering techniques later.
* Nutrients: Melons are heavy feeders, meaning they need a lot of nutrients to fuel their growth. We’ll focus on providing the right balance of nutrients at different stages.
* Pollination: Melons need to be pollinated to produce fruit. We’ll discuss how to encourage pollination, even if you don’t have a ton of bees buzzing around.
* Space: These vines can sprawl! Make sure you have enough space for them to grow, or be prepared to train them vertically.
Phase 1: Preparing the Soil – The Bedrock of Melon Greatness
The soil is the foundation of everything. If your soil is poor, your melons will struggle, no matter how much you baby them. So, let’s get it right from the start!
1. Choose the Right Location: As mentioned before, sunlight is key. Pick a spot in your garden that gets at least 6-8 hours of direct sunlight. Also, consider drainage. Melons hate soggy feet, so make sure the soil drains well.
2. Soil Testing (Optional, but Recommended): A soil test can tell you exactly what your soil is lacking. You can usually get a soil test kit from your local garden center or extension office. This will help you tailor your amendments to your specific soil needs.
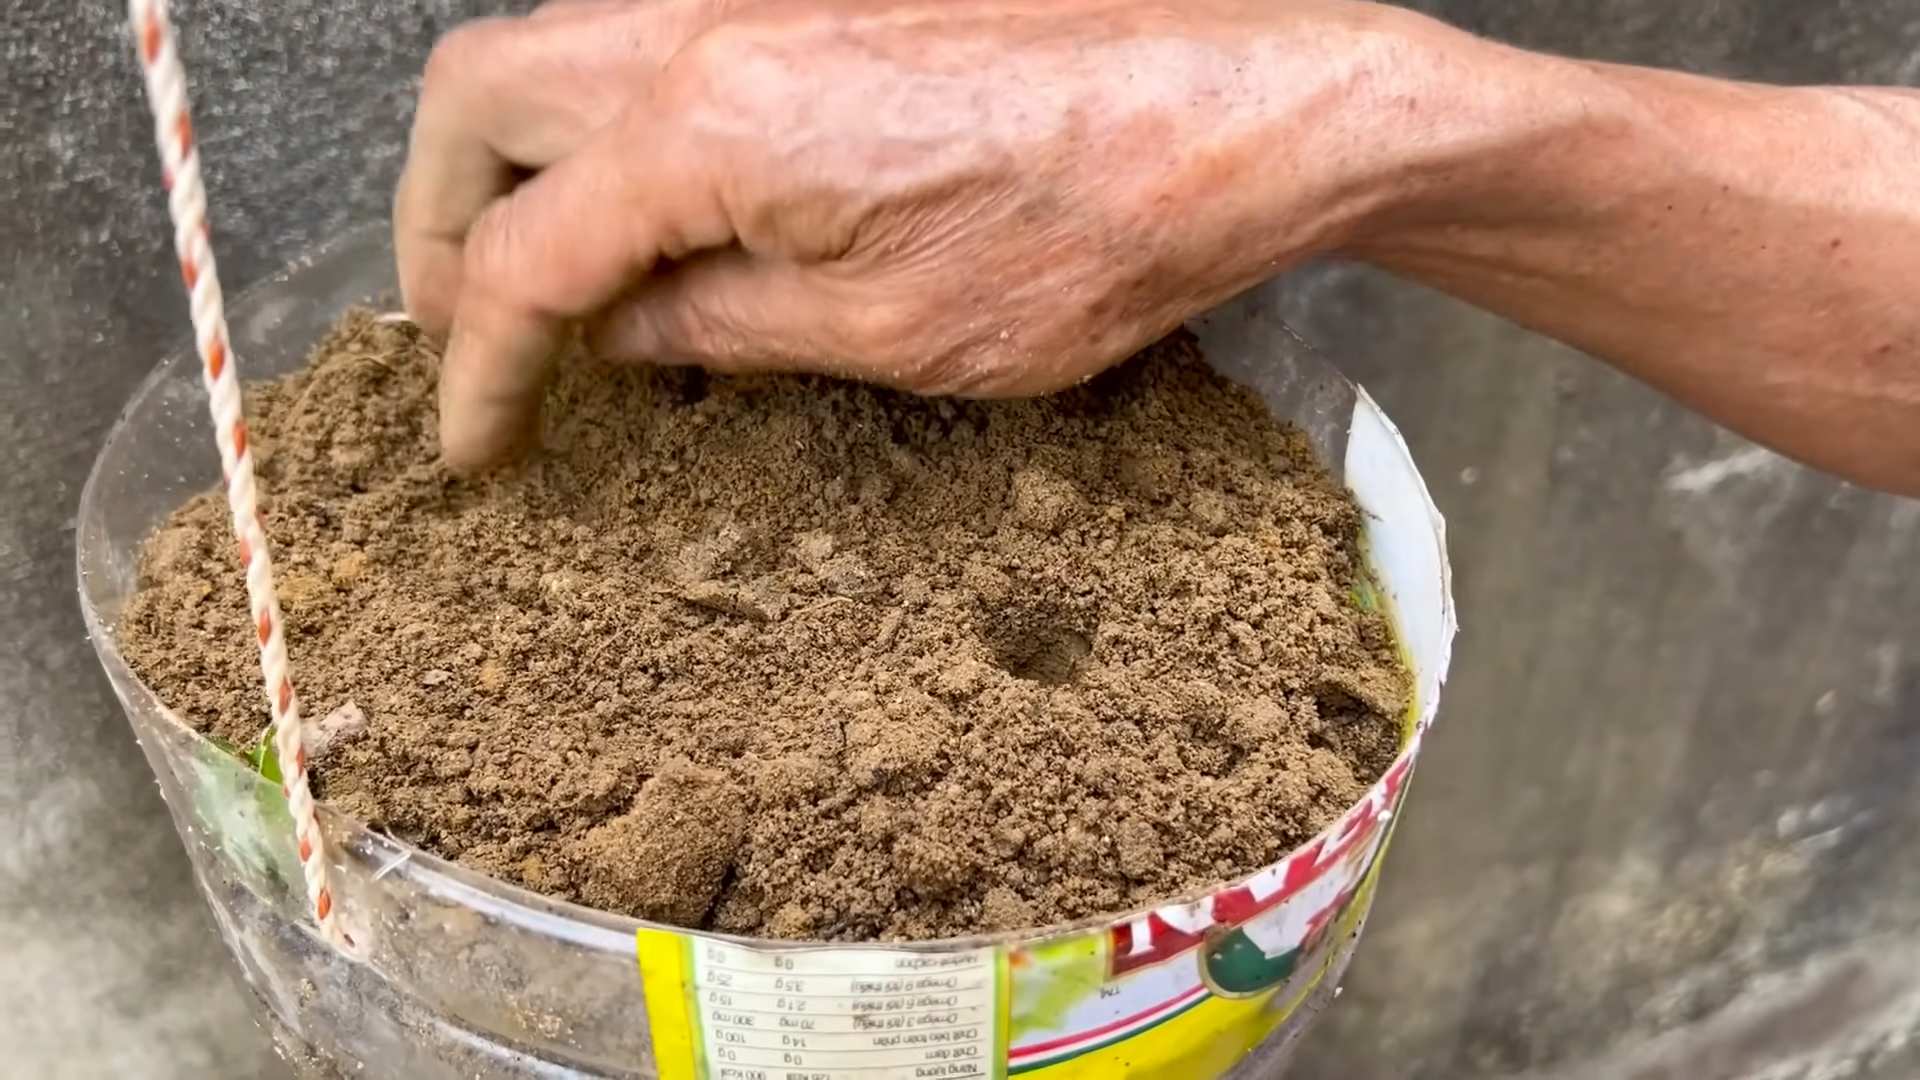
3. Amend, Amend, Amend!: Melons love rich, well-draining soil. I like to amend my soil with a combination of:
* Compost: This adds organic matter, improves drainage, and provides a slow-release source of nutrients. I usually add a generous layer (2-3 inches) of compost to the planting area.
* Well-rotted Manure: This is another great source of organic matter and nutrients. Make sure it’s well-rotted, or it can burn your plants.
* Bone Meal: This provides phosphorus, which is essential for root development and fruit production.
* Greensand: This provides potassium and trace minerals.
4. Till or Dig: Once you’ve added your amendments, till or dig them into the soil to a depth of at least 12 inches. This will create a loose, well-aerated soil that melon roots will love.
5. Create Mounds or Rows: I prefer to plant my melons on slightly raised mounds or rows. This improves drainage and warms the soil faster in the spring.
Phase 2: Planting and Early Care – Setting the Stage for Success
Now that our soil is prepped, it’s time to get those melon seeds in the ground!
1. Start Seeds Indoors (Optional): You can start melon seeds indoors 4-6 weeks before the last expected frost. This gives them a head start and allows you to get a jump on the growing season. I usually sow 2-3 seeds per pot and thin to the strongest seedling.
2. Direct Sowing: If you’re not starting seeds indoors, you can direct sow them into the garden after the last frost. Make sure the soil temperature is at least 70°F (21°C) for optimal germination.
3. Planting Depth: Plant melon seeds about 1 inch deep.
4. Spacing: Space melon plants according to the variety. Watermelons typically need more space than cantaloupes or honeydews. Check the seed packet for specific recommendations. A good rule of thumb is 2-3 feet between plants in a row, and 6-8 feet between rows.
5. Watering: Water the newly planted seeds or seedlings thoroughly. Keep the soil consistently moist, but not soggy.
6. Mulching: Apply a layer of mulch around the plants to help retain moisture, suppress weeds, and regulate soil temperature. I like to use straw or shredded leaves.
7. Protect from Pests: Young melon plants are vulnerable to pests like cutworms and squash bugs. Use row covers or other protective measures to keep them safe.
Phase 3: Watering and Feeding – Fueling the Growth
Consistent watering and feeding are crucial for growing big, juicy melons.
1. Watering: Water deeply and regularly, especially during hot, dry weather. Aim for at least 1 inch of water per week. The best way to water is with a soaker hose or drip irrigation, which delivers water directly to the roots and minimizes water loss through evaporation. Avoid overhead watering, as this can promote fungal diseases.
2. Fertilizing: Melons are heavy feeders, so you’ll need to fertilize them regularly. I like to use a balanced fertilizer (e.g., 10-10-10) at planting time, and then switch to a fertilizer that’s higher in phosphorus and potassium (e.g., 5-10-10) when the plants start to flower.
* Early Growth: Use a fertilizer high in nitrogen to promote leafy growth.
* Flowering and Fruiting: Switch to a fertilizer high in phosphorus and potassium to encourage flower and fruit development.
* Foliar Feeding: I also like to supplement with foliar feeding, which involves spraying the leaves with a diluted fertilizer solution. This allows the plants to absorb nutrients directly through their leaves.
3. Side-dressing: Every few weeks, I side-dress my melon plants with compost or well-rotted manure. This provides a slow-release source of nutrients that will keep them growing strong.
4. Watering During Fruit Development: This is where the magic happens! Consistent watering is absolutely critical during fruit development. If the plants get stressed from lack of water, the fruits will be smaller and less sweet. I increase the watering frequency during this time, especially during hot weather.
Phase 4: Pollination and Fruit Set – Ensuring a Bountiful Harvest
Melons need to be pollinated to produce fruit. Here’s how to encourage pollination:
1. Attract Pollinators: Plant flowers that attract bees and other pollinators near your melon patch. Some good choices include sunflowers, zinnias, and lavender.
2. Hand Pollination (If Necessary): If you’re not seeing a lot of bee activity, you can hand-pollinate your melons. This involves transferring pollen from the male flowers to the female flowers.
* Identifying Male and Female Flowers: Male flowers have a long, slender stem, while female flowers have a small, immature fruit at the base.
* Hand-Pollination Technique: Use a small paintbrush or cotton swab to collect pollen from the male flower and transfer it to the stigma (the sticky part) of the female flower.
* Timing: The best time to hand-pollinate is in the morning, when the flowers are open and the pollen is fresh.
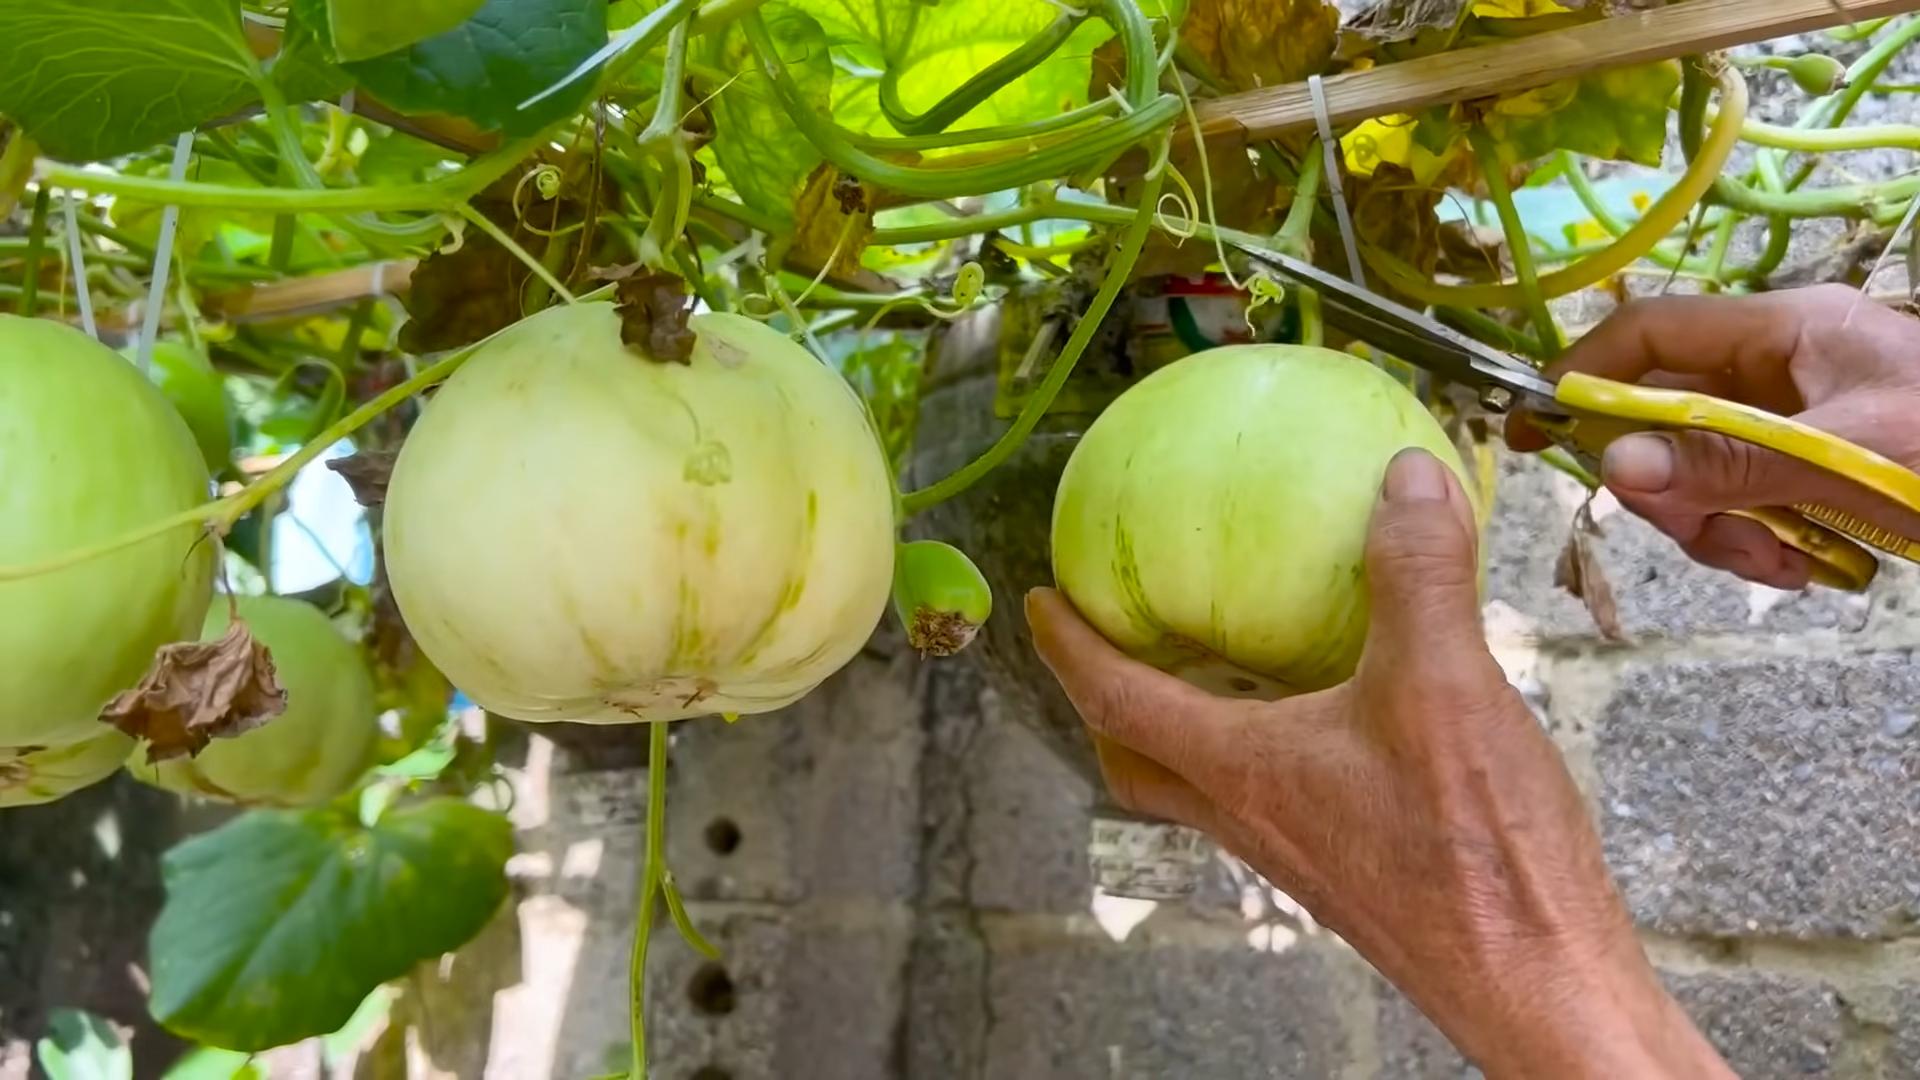
3. Fruit Thinning: Once the fruits start to set, you may want to thin them out. This involves removing some of the smaller fruits to allow the remaining fruits to grow larger. I usually leave only 2-3 fruits per vine for watermelons, and 4-6 fruits per vine for cantaloupes and honeydews.
4. Supporting the Fruit: As the melons grow larger, they may need support to prevent them from breaking off the vine. You can use slings made from old pantyhose or netting to support the fruits.
Phase 5: Protecting Your Investment – Pest and Disease Control
Melons are susceptible to a variety of pests and diseases. Here’s how to protect your crop:
1. Pest Control:
* Squash Bugs: These pests can be a major problem for melons. Handpick them off the plants, or use insecticidal soap.
* Cucumber Beetles: These beetles can transmit diseases. Use row covers to protect young plants, or spray with
Conclusion
So, there you have it! This simple yet effective DIY trick to grow bigger melons is a game-changer for any home gardener, regardless of experience level. We’ve walked you through the process, highlighting the science behind why it works and offering practical tips to ensure your success. This isn’t just about bigger melons; it’s about maximizing your garden’s potential and enjoying the fruits (literally!) of your labor.
Why is this a must-try? Because it’s accessible, affordable, and yields impressive results. You don’t need fancy equipment or specialized knowledge. With just a few readily available materials and a little bit of effort, you can significantly increase the size and quality of your melon harvest. Imagine biting into a juicy, flavorful melon that you nurtured to its full potential – the satisfaction is unparalleled!
But the benefits extend beyond just size. This technique also promotes healthier plants, leading to increased resistance to pests and diseases. A stronger, more robust plant is better equipped to withstand environmental stressors, ensuring a more consistent and abundant yield. You’ll be amazed at the difference this simple intervention can make.
Looking for variations? Consider experimenting with different types of fertilizers. While we’ve recommended a balanced formula, you can tailor the nutrient mix to your specific soil conditions and the needs of your melon variety. For example, a fertilizer higher in phosphorus can promote root development, while one higher in potassium can enhance fruit quality. You can also try using organic alternatives like compost tea or worm castings for a more sustainable approach.
Another variation involves the timing of the feeding. Some gardeners prefer to apply the fertilizer solution more frequently but in smaller doses, while others opt for less frequent but larger applications. Experiment to see what works best for your plants and your schedule. Remember to always monitor your plants closely for any signs of nutrient deficiencies or excesses.
Don’t be afraid to get creative and adapt this technique to your own unique gardening situation. The key is to understand the underlying principles and then tailor the approach to meet your specific needs.
We are confident that this DIY trick will transform your melon-growing experience. But don’t just take our word for it – try it yourself! We encourage you to put this technique into practice and witness the remarkable results firsthand.
And most importantly, we want to hear about your experience! Share your photos, tips, and stories with us in the comments section below. Let’s create a community of melon enthusiasts who are passionate about growing the biggest and best melons possible. Your feedback will not only help us improve this guide but also inspire other gardeners to embark on their own melon-growing adventures. Let’s cultivate a bountiful harvest together!
Frequently Asked Questions (FAQ)
Q: What types of melons does this DIY trick work best for?
A: This technique is effective for a wide variety of melons, including watermelon, cantaloupe, honeydew, and muskmelon. However, the specific results may vary depending on the variety and your local growing conditions. Generally, larger melon varieties will benefit the most from this technique, as it helps them reach their full potential size. Smaller melon varieties may still benefit from improved flavor and overall health.
Q: How often should I apply the fertilizer solution?
A: The frequency of application depends on several factors, including the type of fertilizer you’re using, the soil conditions, and the weather. As a general guideline, we recommend applying the fertilizer solution every 1-2 weeks during the active growing season, starting when the melons are about the size of a tennis ball. However, it’s crucial to monitor your plants closely for any signs of nutrient deficiencies or excesses. If you notice yellowing leaves, stunted growth, or other unusual symptoms, adjust the frequency accordingly.
Q: Can I use organic fertilizers instead of synthetic ones?
A: Absolutely! Organic fertilizers are a great alternative for gardeners who prefer a more sustainable approach. Compost tea, worm castings, and fish emulsion are all excellent options. When using organic fertilizers, it’s important to follow the manufacturer’s instructions carefully and to monitor your plants closely for any signs of nutrient deficiencies. Organic fertilizers tend to release nutrients more slowly than synthetic ones, so you may need to apply them more frequently.
Q: What if I don’t see any results after trying this trick?
A: Several factors can affect the success of this technique. First, ensure that you’re using a balanced fertilizer and applying it correctly. Second, make sure your plants are getting enough sunlight and water. Melons need at least 6-8 hours of direct sunlight per day and consistent watering, especially during hot weather. Third, consider the soil conditions. Melons prefer well-drained soil that is rich in organic matter. If your soil is poor, amend it with compost or other organic materials. Finally, be patient! It may take several weeks to see noticeable results. If you’ve tried all of these things and still aren’t seeing any improvement, consult with a local gardening expert for personalized advice.
Q: Is it possible to over-fertilize my melon plants?
A: Yes, it is possible to over-fertilize your melon plants, which can lead to nutrient burn and other problems. Over-fertilization can manifest as yellowing or browning of the leaves, stunted growth, and even death of the plant. To avoid over-fertilizing, always follow the manufacturer’s instructions carefully and monitor your plants closely for any signs of nutrient excess. If you suspect that you’ve over-fertilized, flush the soil with plenty of water to remove excess nutrients.
Q: What are some common pests and diseases that affect melon plants, and how can I prevent them?
A: Common pests that affect melon plants include aphids, squash bugs, and vine borers. Common diseases include powdery mildew, fusarium wilt, and anthracnose. To prevent these problems, start by choosing disease-resistant varieties. Practice good sanitation by removing any dead or diseased leaves and debris from around the plants. Water at the base of the plants to avoid wetting the foliage, which can promote fungal diseases. Use insecticidal soap or neem oil to control pests. If you suspect that your plants have a disease, consult with a local gardening expert for diagnosis and treatment options.
Q: Can I use this technique for other types of fruits and vegetables?
A: While this technique is specifically designed for melons, the underlying principles can be applied to other types of fruits and vegetables as well. For example, you can use a similar approach to fertilize tomatoes, peppers, and cucumbers. However, it’s important to adjust the fertilizer formula and application frequency to meet the specific needs of each plant. Research the nutrient requirements of the fruits and vegetables you’re growing and tailor your fertilization strategy accordingly.
Q: How do I know when my melons are ripe and ready to harvest?
A: Determining when a melon is ripe can be tricky, as it varies depending on the variety. However, there are some general guidelines you can follow. For watermelons, look for a dull, rather than shiny, rind and a yellowish spot on the underside where the melon rested on the ground. When you thump the melon, it should sound hollow. For cantaloupes, the stem should slip easily from the melon when it’s ripe. The melon should also have a fragrant aroma. For honeydew melons, look for a creamy yellow color and a slightly waxy feel. When you press on the blossom end of the melon, it should feel slightly soft.

Leave a Comment