
Grow Bok Choy Kitchen: Imagine stepping into your kitchen, not just to cook, but to harvest fresh, vibrant greens right from your windowsill! For centuries, cultivating food close to home has been a cornerstone of self-sufficiency and a connection to nature. From ancient Roman rooftop gardens to the victory gardens of wartime, the desire to nurture life and provide for ourselves has always been deeply ingrained in the human spirit.
But let’s face it, not everyone has a sprawling backyard or the time for extensive gardening. That’s where the magic of growing Bok Choy in your kitchen comes in! This DIY guide is your passport to fresh, delicious, and readily available greens, no matter your space or experience level. I’m going to show you simple, effective tricks and hacks to successfully grow Bok Choy Kitchen, even if you’ve never gardened before.
Why Bok Choy? This nutrient-packed leafy green is incredibly versatile in the kitchen and surprisingly easy to cultivate indoors. Forget those wilted, overpriced veggies from the grocery store. With a few simple steps, you can enjoy crisp, flavorful Bok Choy in your stir-fries, salads, and soups, all while adding a touch of green to your home. So, are you ready to transform your kitchen into a mini-garden? Let’s get started!
Growing Bok Choy Indoors: A Beginner’s Guide to Kitchen Gardening
Hey there, fellow plant enthusiasts! Ever thought about growing your own veggies right in your kitchen? It’s easier than you think, and bok choy is a fantastic place to start. This guide will walk you through everything you need to know to cultivate your own little bok choy garden indoors. Get ready for fresh, crisp greens just steps away from your dinner plate!
What You’ll Need
Before we dive in, let’s gather our supplies. Don’t worry, you probably have most of these lying around already!
* Bok Choy Seeds: You can find these at most garden centers or online. Look for varieties specifically suited for container gardening, if possible.
* Containers: Choose pots or containers that are at least 6 inches deep and wide. Good drainage is key!
* Potting Mix: Use a high-quality, well-draining potting mix. Avoid using garden soil, as it can compact and hinder growth.
* Watering Can or Spray Bottle: For gentle watering.
* Grow Lights (Optional but Recommended): Bok choy needs plenty of light, especially indoors.
* Fertilizer (Optional): A balanced liquid fertilizer can give your bok choy a boost.
* Spray Bottle with Water: For misting the leaves.
* Small Shovel or Trowel: For handling the potting mix.
Phase 1: Starting from Seed
Okay, let’s get those seeds germinating! This is the most exciting part, watching those tiny sprouts emerge.
1. Prepare Your Containers: Fill your containers with potting mix, leaving about an inch of space at the top. Gently pat down the soil to remove any air pockets.
2. Sow the Seeds: Sprinkle the bok choy seeds evenly over the surface of the soil. You don’t need to bury them too deep; about ¼ inch is perfect. A light dusting of soil over the seeds will do the trick.
3. Water Gently: Use your watering can or spray bottle to gently moisten the soil. Be careful not to dislodge the seeds. The soil should be damp, but not soggy.
4. Create a Humid Environment: Cover the containers with plastic wrap or a clear plastic bag to create a mini-greenhouse effect. This will help retain moisture and speed up germination.
5. Find a Warm Spot: Place the containers in a warm location, ideally around 70-75°F (21-24°C). A sunny windowsill or a spot near a radiator works well.
6. Monitor Germination: Keep an eye on your seeds. They should start to germinate within 5-10 days. Once you see sprouts, remove the plastic wrap or bag.
Phase 2: Nurturing Your Seedlings
Now that you have little bok choy seedlings, it’s time to give them the care they need to thrive.
1. Provide Adequate Light: Bok choy needs at least 6 hours of sunlight per day. If you don’t have a sunny windowsill, consider using grow lights. Position the lights a few inches above the seedlings. I’ve found that using a timer for the grow lights helps me keep a consistent schedule.
2. Water Regularly: Keep the soil consistently moist, but not waterlogged. Water when the top inch of soil feels dry to the touch. Avoid overhead watering, as this can lead to fungal diseases. Instead, water at the base of the plants.
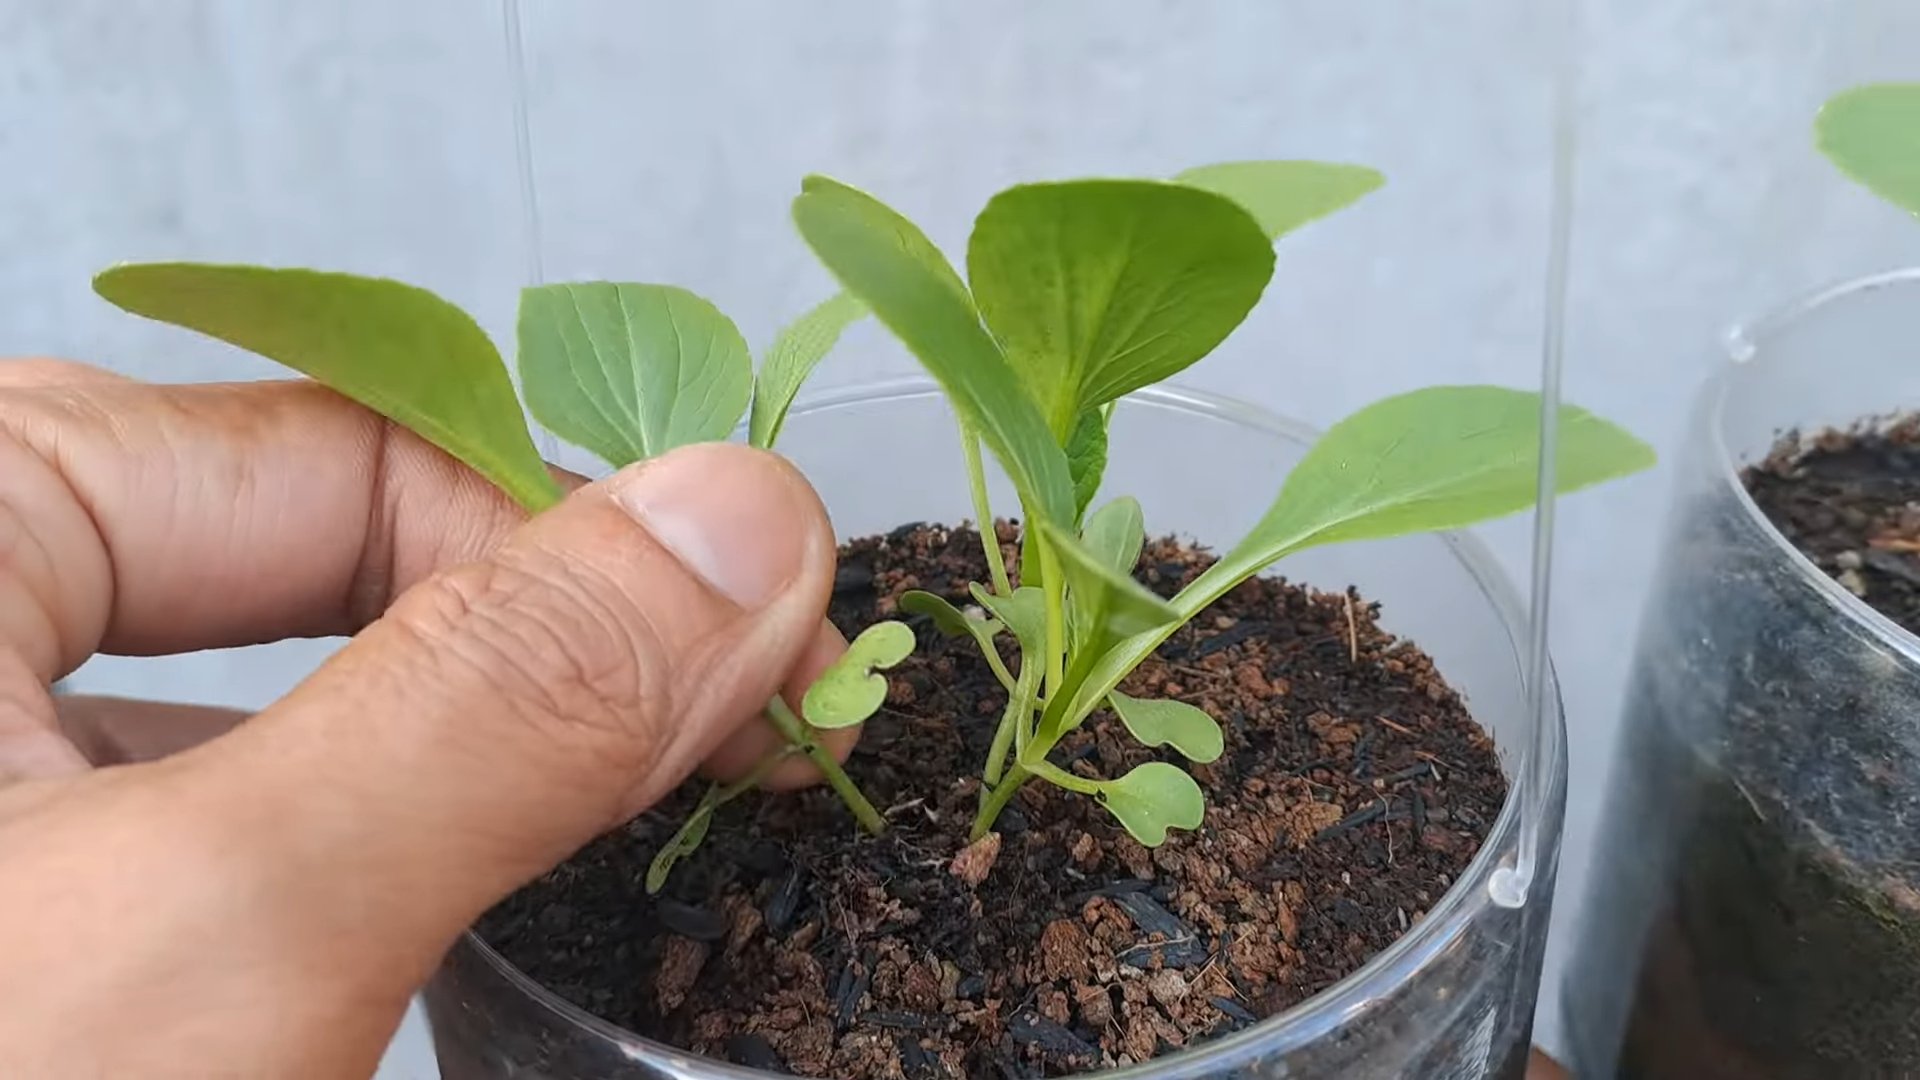
3. Thin the Seedlings: Once the seedlings have a few true leaves (the second set of leaves that appear after the initial seed leaves), it’s time to thin them out. This means removing some of the seedlings to give the remaining ones enough space to grow. Aim for about 2-3 inches between plants. Don’t be afraid to snip them at the base with scissors; it’s better than pulling them out and disturbing the roots of the others.
4. Fertilize (Optional): If you want to give your bok choy a boost, you can fertilize them every 2-3 weeks with a balanced liquid fertilizer. Follow the instructions on the fertilizer packaging. I usually dilute the fertilizer to half strength to avoid burning the roots.
5. Maintain Air Circulation: Good air circulation is important to prevent fungal diseases. Make sure your bok choy plants have enough space around them and that the air is circulating freely. A small fan can help if you live in a humid environment.
6. Monitor for Pests: Keep an eye out for pests like aphids or spider mites. If you spot any, you can try washing them off with a strong stream of water or using an insecticidal soap.
Phase 3: Growing to Maturity
Your bok choy is growing up! Now it’s all about maintaining the right conditions for healthy growth.
1. Continue Providing Adequate Light: As your bok choy grows, it will need even more light. Make sure it’s getting at least 6 hours of sunlight per day or supplement with grow lights.
2. Adjust Watering as Needed: As the plants get bigger, they’ll need more water. Check the soil moisture regularly and water when the top inch feels dry.
3. Consider Repotting: If your bok choy plants are getting too big for their containers, you may need to repot them into larger ones. Choose pots that are at least 8 inches deep and wide.
4. Maintain Temperature: Bok choy prefers cooler temperatures, ideally between 60-70°F (15-21°C). Avoid placing your plants near heat sources or in direct sunlight during the hottest part of the day.
5. Mist the Leaves: Bok choy loves humidity. Mist the leaves regularly with water to keep them hydrated.
Phase 4: Harvesting Your Bok Choy
The moment you’ve been waiting for! It’s time to harvest your homegrown bok choy.
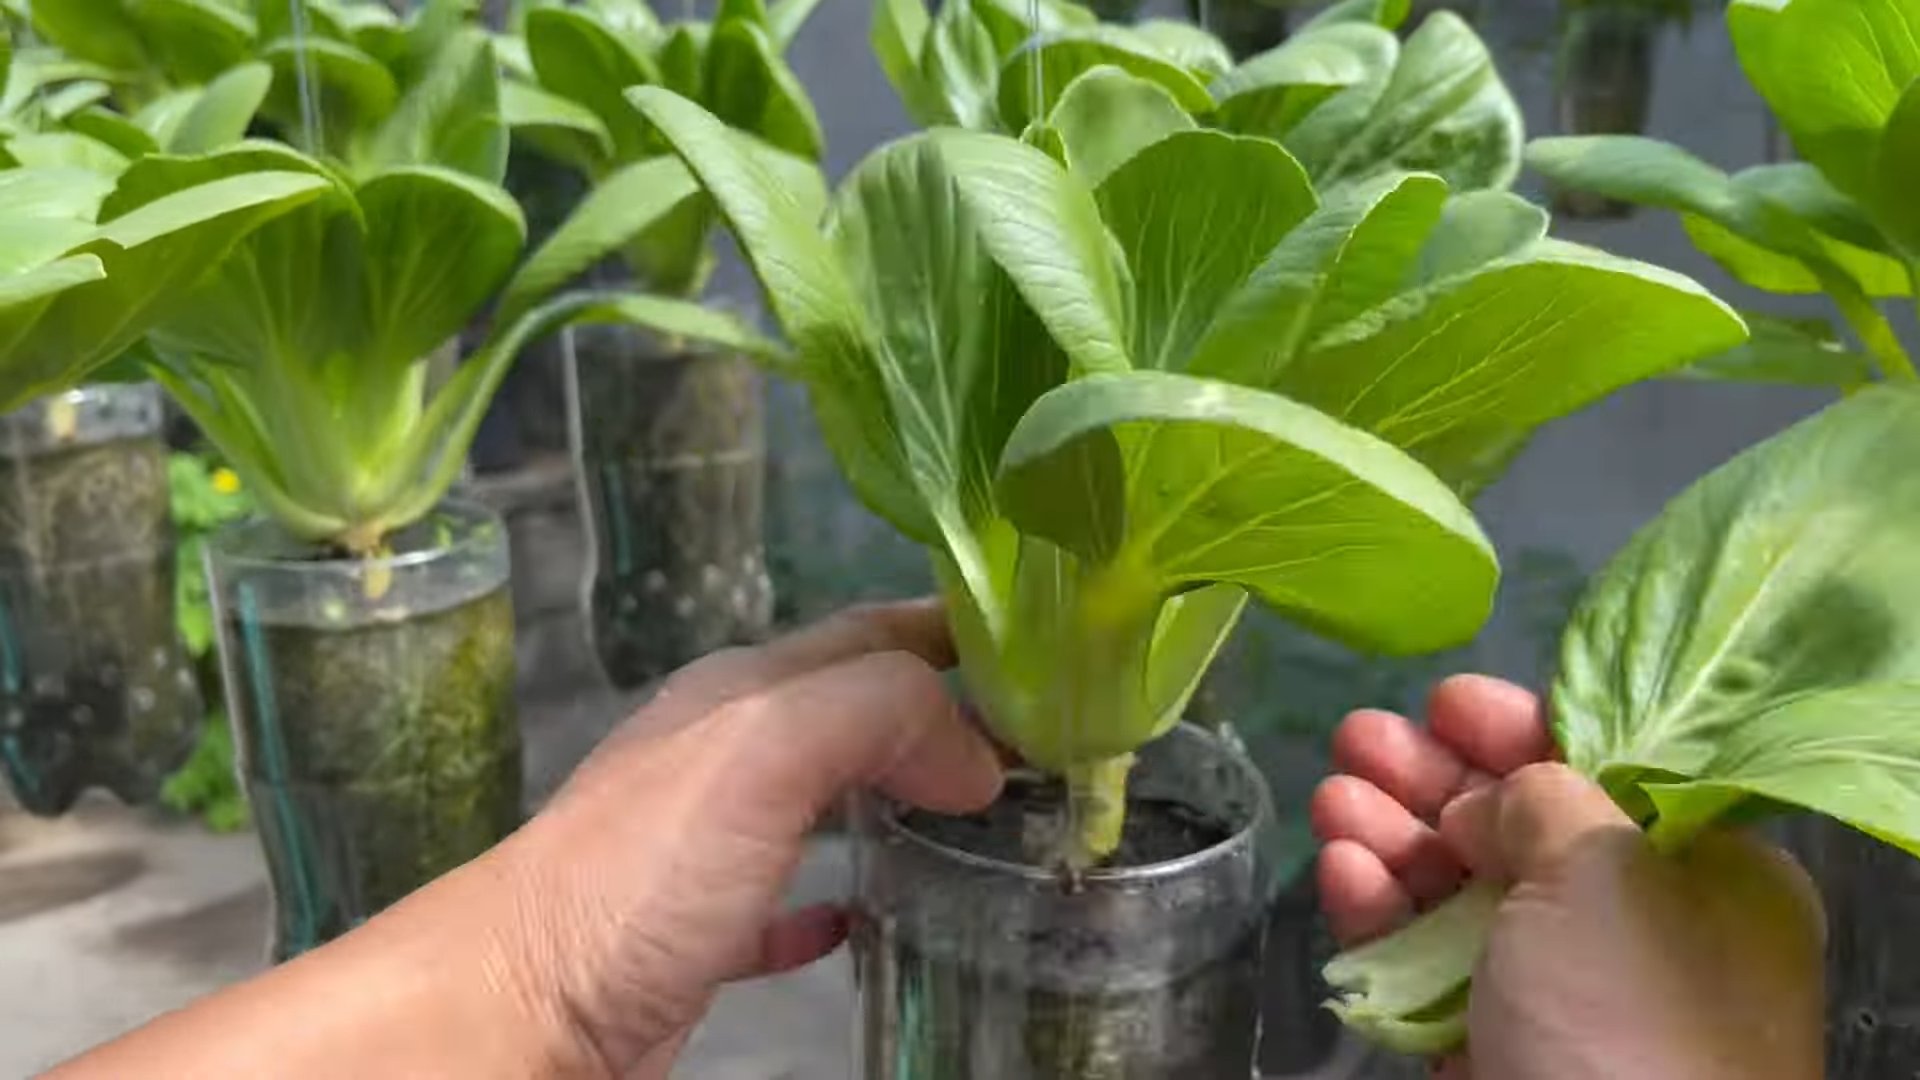
1. Harvesting Time: You can start harvesting your bok choy when the leaves are about 6-8 inches long. This usually takes about 45-60 days from planting.
2. Harvesting Method: You can harvest the entire plant at once by cutting it off at the base with a sharp knife. Alternatively, you can harvest individual leaves as needed, starting with the outer leaves. This will allow the plant to continue producing new leaves.
3. Washing and Storing: After harvesting, wash the bok choy thoroughly to remove any dirt or debris. Store it in the refrigerator in a plastic bag or container. It should stay fresh for several days.
Troubleshooting
Even with the best care, you might encounter a few challenges along the way. Here are some common problems and how to fix them:
* Yellowing Leaves: This could be a sign of overwatering, underwatering, or nutrient deficiency. Check the soil moisture and adjust your watering accordingly. If the soil is dry, water more frequently. If the soil is soggy, water less frequently. You can also try fertilizing your plants with a balanced liquid fertilizer.
* Leggy Growth: This means your plants are not getting enough light. Move them to a sunnier location or supplement with grow lights.
* Pest Infestation: Keep an eye out for pests like aphids or spider mites. If you spot any, you can try washing them off with a strong stream of water or using an insecticidal soap.
* Fungal Diseases: These can be caused by overwatering or poor air circulation. Make sure your plants have enough space around them and that the air is circulating freely. Avoid overhead watering.
Tips for Success
Here are a few extra tips to help you grow the best bok choy possible:
* Choose the Right Variety: Some bok choy varieties are better suited for container gardening than others. Look for varieties that are compact and fast-growing.
* Use High-Quality Potting Mix: A good potting mix will provide your plants with the nutrients they need to thrive. Avoid using garden soil, as it can compact and hinder growth.
* Provide Adequate Light: Bok choy needs plenty of light, especially indoors. If you don’t have a sunny windowsill, consider using grow lights.
* Water Regularly: Keep the soil consistently moist, but not waterlogged.
* Fertilize Regularly: Fertilize your plants every 2-3 weeks with a balanced liquid fertilizer.
* Monitor for Pests and Diseases: Keep an eye out for pests and diseases and take action promptly if you spot any.
* Enjoy Your Harvest! There’s nothing quite like the taste of fresh, homegrown bok choy. Use it in stir-fries, soups, salads, or any other dish you like.
Growing bok choy indoors is a rewarding experience. With a little bit of care and attention, you can enjoy fresh, delicious greens all year round. Happy gardening!
Conclusion
So, there you have it! Growing your own Bok Choy in the kitchen is not just a fun experiment; it’s a gateway to fresher, more flavorful meals and a deeper connection with the food you eat. This simple DIY trick transforms kitchen scraps into a vibrant source of nutrients, reducing waste and adding a touch of green to your indoor space.
Why is this a must-try? Because it’s incredibly easy, cost-effective, and rewarding. Imagine the satisfaction of snipping fresh Bok Choy leaves from your windowsill to add to your stir-fries, soups, or salads. No more last-minute grocery store runs for that essential ingredient! Plus, it’s a fantastic way to introduce children to the wonders of gardening and the cycle of life.
But don’t stop there! Experiment with different varieties of Bok Choy. While regular Bok Choy is a great starting point, try growing baby Bok Choy for a more delicate flavor and texture. You can also explore different containers – from repurposed yogurt containers to stylish ceramic pots – to find what works best for your space and aesthetic. Consider adding a diluted liquid fertilizer every few weeks to boost growth, especially if you notice the leaves are pale or slow-growing.
Another variation to consider is companion planting. While you’re primarily focused on Bok Choy, you could try growing other compatible herbs or vegetables in the same container. Chives, parsley, or even small radishes can thrive alongside your Bok Choy, creating a miniature edible garden.
We’ve shown you how to grow Bok Choy in the kitchen, now it’s your turn to get your hands dirty (or rather, wet!). Gather your Bok Choy scraps, prepare your water, and watch the magic happen. We’re confident that you’ll be amazed at how quickly and easily you can cultivate your own supply of this nutritious vegetable.
Don’t be afraid to experiment, adapt, and personalize the process to suit your own needs and preferences. The beauty of this DIY project is its flexibility and adaptability.
We encourage you to try this simple yet effective method of growing Bok Choy in the kitchen. Once you’ve experienced the joy of harvesting your own fresh greens, we’d love to hear about your experience! Share your photos, tips, and challenges in the comments below. Let’s create a community of indoor gardeners and inspire others to embrace the joys of sustainable living. Let us know what worked for you, what didn’t, and any creative variations you’ve discovered. Your feedback will help us refine this guide and empower even more people to grow their own food. Happy growing!
Frequently Asked Questions (FAQ)
1. How long does it take to regrow Bok Choy from scraps?
Generally, you’ll start to see new growth within a few days. Small leaves will emerge from the center of the cut stem. Within 1-2 weeks, you should have enough growth to harvest some leaves. However, keep in mind that this initial regrowth is fueled by the stored energy in the base. For sustained growth and larger harvests, you’ll need to transplant the Bok Choy into soil.
2. What kind of water should I use?
Tap water is generally fine, but if your tap water is heavily chlorinated, it’s best to let it sit out for 24 hours before using it to allow the chlorine to dissipate. Filtered water is also a good option. Avoid using distilled water, as it lacks the minerals that plants need.
3. How often should I change the water?
Change the water every 1-2 days to prevent bacterial growth and keep the Bok Choy healthy. Stagnant water can lead to rot and attract unwanted pests. When you change the water, gently rinse the base of the Bok Choy to remove any slime or debris.
4. How much sunlight does regrowing Bok Choy need?
Bok Choy needs bright, indirect sunlight. A windowsill that receives morning sun is ideal. Avoid placing it in direct, intense sunlight, as this can scorch the leaves. If you don’t have a sunny windowsill, you can use a grow light to supplement the natural light.
5. When should I transplant the Bok Choy to soil?
Once the roots are about 1-2 inches long and you see significant leaf growth (around 2-3 inches), it’s time to transplant the Bok Choy to soil. This will provide the plant with the nutrients it needs for continued growth and larger harvests.
6. What kind of soil should I use?
Use a well-draining potting mix. A mix of potting soil, perlite, and vermiculite is ideal. Avoid using garden soil, as it can be too heavy and compact, which can lead to root rot.
7. How often should I water the Bok Choy after transplanting?
Water the Bok Choy regularly, keeping the soil consistently moist but not waterlogged. Check the soil moisture by sticking your finger about an inch into the soil. If it feels dry, it’s time to water.
8. Can I grow Bok Choy indoors permanently?
Yes, you can grow Bok Choy indoors permanently, but you’ll need to provide it with adequate light, water, and nutrients. Consider using a grow light to supplement natural light, especially during the winter months. Fertilize regularly with a diluted liquid fertilizer to provide the plant with the nutrients it needs.
9. What are some common problems when growing Bok Choy?
Some common problems include aphids, slugs, and snails. Inspect your plants regularly for pests and take action immediately if you see any. You can use insecticidal soap or neem oil to control aphids. Slugs and snails can be hand-picked off the plants or trapped using beer traps. Root rot can also be a problem if the soil is too wet. Ensure that your soil is well-draining and avoid overwatering.
10. Can I eat the Bok Choy that I regrow?
Yes, absolutely! The Bok Choy that you regrow is perfectly safe to eat. In fact, it’s often more flavorful than store-bought Bok Choy because it’s so fresh. Just be sure to wash the leaves thoroughly before eating them.
11. My Bok Choy is bolting (flowering). Can I still eat it?
When Bok Choy bolts, it means it’s starting to flower. This is often triggered by hot weather or stress. While the leaves may become slightly more bitter, they are still edible. You can try cutting off the flower stalks to encourage more leaf growth.
12. How can I encourage more leaf growth after harvesting?
After harvesting some leaves, continue to provide the Bok Choy with adequate light, water, and nutrients. Fertilize regularly with a diluted liquid fertilizer. You can also try pinching off any yellowing or damaged leaves to encourage new growth.
13. Can I grow Bok Choy from seed indoors?
Yes, you can absolutely grow Bok Choy from seed indoors. Start the seeds in small pots or seed trays filled with seed-starting mix. Keep the soil moist and provide plenty of light. Once the seedlings are large enough, transplant them into larger pots.
14. Is growing Bok Choy in the kitchen sustainable?
Yes, growing Bok Choy in the kitchen is a very sustainable practice. It reduces food waste, minimizes your carbon footprint by reducing the need for transportation, and allows you to grow your own fresh, healthy food. It’s a small but significant step towards a more sustainable lifestyle.
Leave a Comment