
Grow Broccoli from Seed and unlock the satisfaction of harvesting your own delicious, nutrient-packed florets right from your backyard! Have you ever imagined serving a vibrant broccoli dish, knowing you nurtured it from a tiny seed to a thriving plant? It’s easier than you think, and this DIY guide will show you how.
Broccoli, a member of the brassica family, has a rich history dating back to ancient Roman times. For centuries, it’s been a staple in diets worldwide, prized for its health benefits and versatility in the kitchen. But beyond its culinary appeal, growing your own broccoli offers a unique connection to nature and a sense of accomplishment that store-bought produce simply can’t match.
In today’s world, where we’re increasingly conscious of food sources and sustainability, learning to grow broccoli from seed is more relevant than ever. Not only will you have access to fresher, potentially organic broccoli, but you’ll also reduce your carbon footprint and save money. Plus, let’s be honest, there’s something incredibly rewarding about nurturing a plant from its earliest stages. This DIY guide will provide you with simple, step-by-step instructions, tips, and tricks to ensure your broccoli-growing journey is a success. So, grab your gardening gloves, and let’s get started!
Growing Broccoli from Seed: A Comprehensive DIY Guide
Hey there, fellow gardening enthusiasts! I’m so excited to share my tried-and-true method for growing broccoli from seed. It’s surprisingly easy, incredibly rewarding, and way cheaper than buying those pre-grown plants from the nursery. Plus, you get to choose from a wider variety of broccoli types! Let’s get our hands dirty!
Why Grow Broccoli from Seed?
Before we dive in, let’s quickly touch on why starting from seed is awesome:
* Cost-Effective: Seeds are significantly cheaper than starter plants.
* Variety: You’ll have access to a much broader range of broccoli varieties, including heirlooms and unique cultivars.
* Control: You have complete control over the growing environment from the very beginning.
* Satisfaction: There’s nothing quite like the feeling of nurturing a plant from a tiny seed to a bountiful harvest.
Materials You’ll Need
Okay, let’s gather our supplies. Here’s what you’ll need to successfully grow broccoli from seed:
* Broccoli Seeds: Choose a variety that suits your climate and taste preferences. Some popular choices include ‘Waltham 29’, ‘DiCicco’, and ‘Calabrese’.
* Seed Starting Trays or Pots: I prefer seed starting trays with individual cells, but small pots work just as well.
* Seed Starting Mix: This is a lightweight, sterile soil mix specifically designed for starting seeds. Don’t use regular garden soil!
* Watering Can or Spray Bottle: For gentle watering.
* Heat Mat (Optional): Broccoli seeds germinate best with consistent warmth.
* Grow Lights (Optional): If you’re starting seeds indoors, grow lights will provide the necessary light for healthy seedlings.
* Labels and a Permanent Marker: To keep track of your different broccoli varieties.
* Small Trowel or Spoon: For transplanting seedlings.
* Fertilizer: A balanced, water-soluble fertilizer for feeding your seedlings.
* Garden Gloves: To keep your hands clean.
Timing is Everything: When to Start Your Seeds
Broccoli is a cool-season crop, meaning it thrives in cooler temperatures. The timing of when you start your seeds depends on your local climate and the last expected frost date.
* For a Spring Crop: Start seeds indoors 6-8 weeks before the last expected frost.
* For a Fall Crop: Start seeds indoors 10-12 weeks before the first expected frost.
I always check my local weather forecast and gardening calendars to get the most accurate timing for my region.
Phase 1: Sowing the Seeds
This is where the magic begins! Let’s get those seeds planted.
1. Prepare Your Seed Starting Trays or Pots: Fill your seed starting trays or pots with seed starting mix. Gently tap the trays to settle the mix.
2. Moisten the Soil: Water the seed starting mix thoroughly until it’s evenly moist but not soggy.
3. Sow the Seeds: Make a small indentation (about ¼ inch deep) in the center of each cell or pot. Place 2-3 broccoli seeds in each indentation. This increases the chances of at least one seed germinating.
4. Cover the Seeds: Gently cover the seeds with a thin layer of seed starting mix.
5. Water Again: Lightly water the surface of the soil to ensure good seed-to-soil contact.
6. Label Your Trays or Pots: Use labels and a permanent marker to clearly identify the broccoli variety you’ve planted in each tray or pot. This is crucial, especially if you’re growing multiple varieties.
7. Provide Warmth: Place the seed starting trays or pots on a heat mat, if using. This will help maintain a consistent soil temperature of around 70-75°F (21-24°C), which is ideal for germination.
8. Provide Light: If you’re starting seeds indoors, place them under grow lights. Position the lights a few inches above the trays and keep them on for 14-16 hours per day. If you don’t have grow lights, place the trays in a sunny south-facing window. However, be aware that seedlings grown in windows may become leggy due to insufficient light.
Phase 2: Germination and Early Seedling Care
Now comes the waiting game! But don’t worry, it’s not long before you’ll see those little sprouts emerge.
1. Maintain Moisture: Keep the seed starting mix consistently moist but not soggy. Check the moisture level daily and water as needed. I prefer using a spray bottle to gently mist the soil surface.
2. Monitor Germination: Broccoli seeds typically germinate within 5-10 days. Once you see the first seedlings emerge, remove the heat mat (if you were using one).
3. Thin the Seedlings: Once the seedlings have developed their first true leaves (the second set of leaves that appear after the initial seed leaves), thin them to one seedling per cell or pot. Choose the strongest, healthiest-looking seedling and gently snip off the others at the soil line with small scissors. Don’t pull them out, as this can disturb the roots of the remaining seedling.
4. Provide Adequate Light: Continue to provide ample light to the seedlings. If using grow lights, adjust the height of the lights as the seedlings grow to keep them a few inches above the plants.
5. Fertilize the Seedlings: Once the seedlings have developed their second set of true leaves, start feeding them with a diluted, balanced, water-soluble fertilizer. Follow the instructions on the fertilizer package for the correct dilution rate. I usually fertilize my seedlings once a week.
6. Air Circulation: Ensure good air circulation around the seedlings to prevent fungal diseases. You can use a small fan to gently circulate the air.
Phase 3: Hardening Off the Seedlings
Before transplanting your broccoli seedlings outdoors, you need to “harden them off.” This process gradually acclimates the seedlings to the outdoor environment, making them more resilient to temperature fluctuations, wind, and sunlight.
1. Start Gradually: Begin by placing the seedlings outdoors in a sheltered location (e.g., a porch or patio) for just a few hours each day.
2. Increase Exposure: Gradually increase the amount of time the seedlings spend outdoors each day, exposing them to more sunlight and wind.
3. Monitor the Weather: Avoid hardening off your seedlings on days with extreme temperatures, strong winds, or heavy rain.
4. Water Regularly: Continue to water the seedlings regularly during the hardening-off process.
5. After a Week or Two: After a week or two of hardening off, the seedlings should be ready to be transplanted into the garden.
Phase 4: Transplanting to the Garden
Now for the exciting part – planting your broccoli seedlings in their permanent home!
1. Prepare the Garden Bed: Choose a sunny location in your garden with well-drained soil. Broccoli needs at least 6 hours of sunlight per day. Amend the soil with compost or other organic matter to improve its fertility and drainage.
2. Space the Seedlings: Space the broccoli seedlings 18-24 inches apart in rows that are 24-36 inches apart. This will give them enough room to grow and mature.
3. Dig the Holes: Dig holes that are slightly larger than the root balls of the seedlings.
4. Gently Remove the Seedlings: Carefully remove the seedlings from their trays or pots. Gently loosen the root ball if it’s tightly bound.
5. Plant the Seedlings: Place the seedlings in the holes and backfill with soil. Gently firm the soil around the base of the plants.
6. Water Thoroughly: Water the newly transplanted seedlings thoroughly.
7. Mulch: Apply a layer of mulch around the base of the plants to help retain moisture, suppress weeds, and regulate soil temperature. I like to use straw or shredded leaves.
8. Protect from Pests: Broccoli is susceptible to various pests, such as cabbage worms and aphids. Consider using row covers to protect your plants from these pests.
Phase 5: Ongoing Care
Your broccoli plants are now in the ground, but your work isn’t quite done yet! Here’s how to keep them happy and healthy:
1. Water Regularly: Broccoli needs consistent moisture, especially during hot, dry weather. Water deeply and regularly, aiming for about 1-1.5 inches of water per week.
2. Fertilize: Fertilize your broccoli plants every 2-3 weeks with a balanced fertilizer. Follow the instructions on the fertilizer package.
3. Weed Control: Keep the garden bed free of weeds, as they can compete with the broccoli plants for nutrients and water.
Conclusion
So, there you have it! Growing broccoli from seed might seem daunting at first, but as you’ve seen, it’s a remarkably rewarding and accessible process. Forget those expensive, often lackluster heads from the grocery store. Imagine biting into crisp, vibrant, and intensely flavorful broccoli that you nurtured from a tiny seed. The difference is truly night and day.
This DIY approach isn’t just about saving money, although that’s certainly a perk. It’s about connecting with your food, understanding its journey from seed to table, and experiencing the satisfaction of cultivating something delicious with your own hands. Plus, you have complete control over the growing process, ensuring your broccoli is free from unwanted pesticides and chemicals.
But the benefits don’t stop there. Growing your own broccoli allows you to experiment with different varieties. Tired of the standard green Calabrese? Try growing purple sprouting broccoli for a splash of color and a slightly sweeter flavor. Or perhaps Romanesco broccoli, with its stunning fractal patterns, will pique your interest. The possibilities are endless!
Consider these variations to further personalize your broccoli-growing experience:
* Succession Planting: Plant seeds every few weeks to ensure a continuous harvest throughout the growing season.
* Companion Planting: Plant broccoli alongside beneficial companions like marigolds (to deter pests) or dill (to attract pollinators).
* Container Gardening: If you’re short on space, broccoli can thrive in large containers, making it perfect for patios and balconies. Just ensure adequate drainage and sunlight.
* Microgreens: Even if you don’t have the space or time for full-sized broccoli, consider growing broccoli microgreens. They’re packed with nutrients and add a delicious, slightly spicy kick to salads and sandwiches.
Ultimately, growing broccoli from seed is an investment in your health, your garden, and your overall well-being. It’s a chance to reconnect with nature, learn new skills, and enjoy the unparalleled taste of homegrown produce. Don’t be intimidated by the process. Start small, be patient, and learn from your experiences.
We wholeheartedly encourage you to give this DIY trick a try. You might be surprised at how easy and enjoyable it is. And most importantly, we want to hear about your journey! Share your successes, your challenges, and your tips in the comments below. Let’s build a community of broccoli-growing enthusiasts and inspire others to embrace the joys of homegrown food. We are confident that you will find that growing broccoli from seed is easier than you think.
Frequently Asked Questions (FAQ)
How long does it take to grow broccoli from seed?
The time it takes to grow broccoli from seed to harvest varies depending on the variety and growing conditions, but generally, you can expect it to take anywhere from 70 to 100 days. Sprouting broccoli varieties tend to mature faster, while larger heading varieties may take longer. Remember to check the seed packet for specific information on the variety you’ve chosen. Factors like temperature, sunlight, and soil fertility also play a significant role in the growth rate. Consistent watering and fertilization will help your broccoli plants thrive and reach maturity faster.
What is the best time of year to plant broccoli seeds?
Broccoli is a cool-season crop, meaning it thrives in cooler temperatures. The best time to plant broccoli seeds depends on your climate. In areas with mild winters, you can plant seeds in late summer or early fall for a winter or early spring harvest. In colder climates, start seeds indoors 6-8 weeks before the last expected frost and transplant them outdoors in early spring. You can also plant a second crop in late summer for a fall harvest. Avoid planting broccoli during the hottest months of the year, as high temperatures can cause bolting (premature flowering) and reduce the quality of the heads.
What kind of soil is best for growing broccoli?
Broccoli prefers well-drained, fertile soil that is rich in organic matter. The ideal soil pH is between 6.0 and 7.0. Before planting, amend the soil with compost or well-rotted manure to improve drainage and fertility. Broccoli is a heavy feeder, so it’s important to provide it with adequate nutrients. You can also add a slow-release fertilizer at planting time. Avoid soils that are compacted or poorly drained, as these can lead to root rot and other problems. Regular soil testing can help you determine if your soil needs any amendments.
How much sunlight does broccoli need?
Broccoli needs at least 6 hours of direct sunlight per day to thrive. Choose a planting location that receives plenty of sunlight throughout the day. If you’re growing broccoli in containers, make sure to place them in a sunny spot. Insufficient sunlight can result in leggy plants with small, underdeveloped heads. In hot climates, providing some afternoon shade can help prevent bolting.
How often should I water broccoli plants?
Broccoli plants need consistent moisture to thrive. Water deeply and regularly, especially during dry periods. Aim to keep the soil consistently moist but not waterlogged. Mulching around the plants can help retain moisture and suppress weeds. The frequency of watering will depend on the weather and soil conditions. Check the soil moisture regularly and water when the top inch feels dry. Avoid overhead watering, as this can promote fungal diseases. Drip irrigation or soaker hoses are ideal for watering broccoli plants.
What are some common pests and diseases that affect broccoli?
Broccoli is susceptible to several pests and diseases, including cabbage worms, aphids, flea beetles, clubroot, and downy mildew. Regularly inspect your plants for signs of pests or diseases. Handpick cabbage worms and other pests as you see them. Use insecticidal soap or neem oil to control aphids and flea beetles. To prevent clubroot, ensure good soil drainage and avoid planting broccoli in the same location year after year. Choose disease-resistant varieties and practice good sanitation to prevent downy mildew. Crop rotation and companion planting can also help reduce pest and disease problems.
How do I know when my broccoli is ready to harvest?
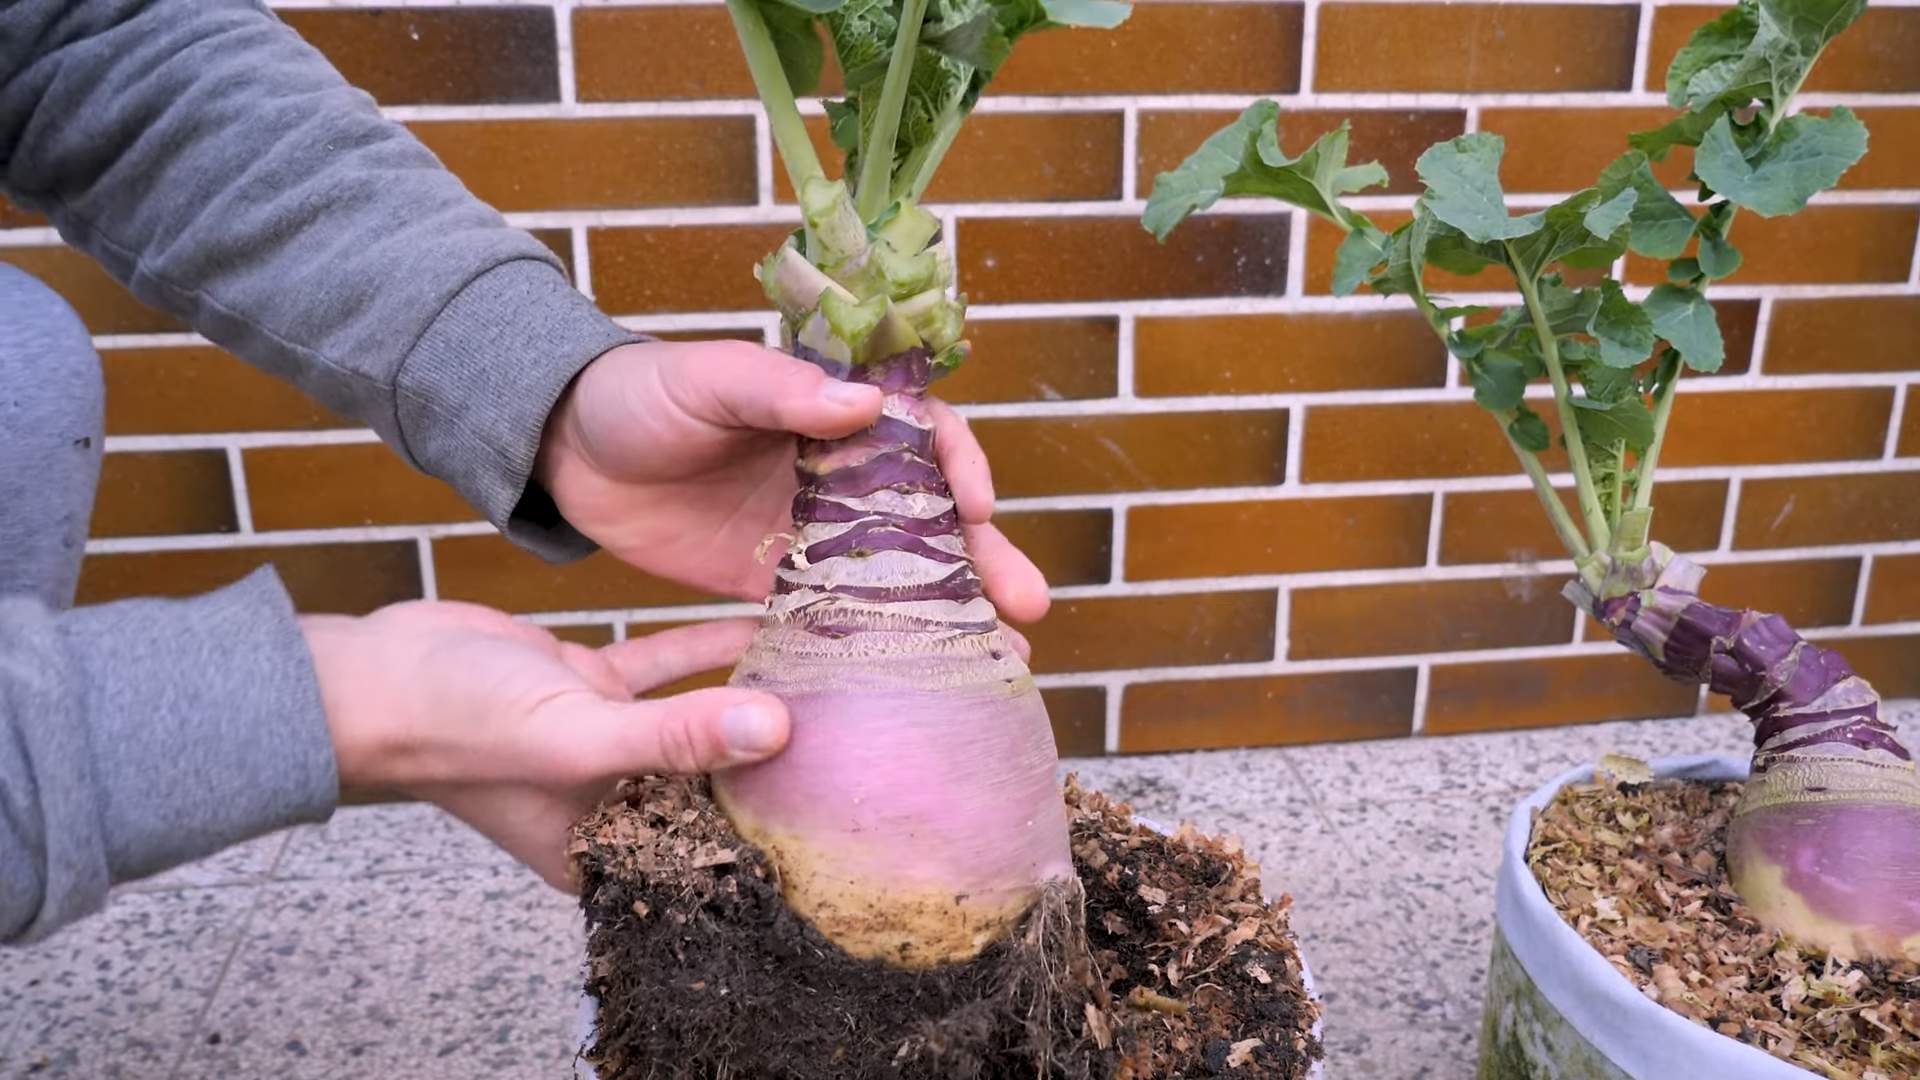
Broccoli is ready to harvest when the heads are firm, tight, and a deep green color. The individual florets should be tightly closed. If the florets start to open and turn yellow, it’s a sign that the broccoli is overripe. Use a sharp knife to cut the head from the plant, leaving a few inches of stem. After harvesting the main head, the plant may produce smaller side shoots that can also be harvested.
Can I grow broccoli in containers?
Yes, broccoli can be successfully grown in containers. Choose a large container that is at least 12 inches in diameter and 12 inches deep. Use a well-draining potting mix and provide adequate sunlight and water. Container-grown broccoli may need more frequent watering and fertilization than broccoli grown in the ground. Choose compact or dwarf varieties that are well-suited for container gardening.
How do I prevent broccoli from bolting (premature flowering)?
Bolting is a common problem with broccoli, especially in hot weather. To prevent bolting, choose heat-tolerant varieties, plant broccoli at the right time of year, and provide adequate water and shade. Mulching around the plants can help keep the soil cool. If your broccoli starts to bolt, harvest the heads immediately, even if they are not fully mature.
What can I do with my harvested broccoli?
The possibilities are endless! Freshly harvested broccoli can be eaten raw, steamed, roasted, stir-fried, or added to soups and stews. It’s a versatile vegetable that can be used in a variety of dishes. Broccoli is also a good source of vitamins, minerals, and fiber. Store harvested broccoli in the refrigerator for up to a week. You can also freeze broccoli for longer storage.

Leave a Comment