
Grow Dill at Home with these simple, yet effective DIY tricks! Have you ever dreamt of snipping fresh, fragrant dill straight from your garden to elevate your culinary creations? I know I have! For centuries, dill has been cherished not only for its distinct flavor but also for its medicinal properties. From ancient Egyptians using it to soothe ailments to medieval Europeans believing it warded off witches, dill boasts a rich and fascinating history.
But let’s be honest, sometimes growing herbs can feel like a daunting task. Maybe you’ve tried before with little success, or perhaps you’re simply intimidated by the thought of starting a garden. That’s where these DIY hacks come in! I’m going to share some of my favorite, tried-and-true methods for successfully grow dill at home, even if you have limited space or a less-than-green thumb.
Imagine the satisfaction of adding a sprig of homegrown dill to your favorite dishes, knowing you nurtured it from seed to table. Not only will you enjoy the fresh, vibrant flavor, but you’ll also save money and reduce your reliance on store-bought herbs. So, grab your gardening gloves, and let’s dive into these easy-to-follow DIY tricks that will have you harvesting your own dill in no time!
Grow Dill at Home: A Beginner’s Guide to a Bountiful Harvest
Hey there, fellow gardening enthusiasts! I’m so excited to share my experience and guide you through the process of growing your own dill at home. Dill is such a versatile herb, adding a fresh, tangy flavor to everything from pickles and salads to fish and dips. Plus, it’s surprisingly easy to grow, even if you don’t have a huge garden. Let’s dive in!
Choosing Your Dill Variety
Before we get our hands dirty, let’s talk about dill varieties. While most dill is pretty similar, knowing the options can help you choose one that best suits your needs.
* ‘Bouquet’ Dill: This is probably the most common variety. It’s known for its compact size and abundant foliage, making it perfect for container gardening. It also bolts (goes to seed) later than some other varieties, giving you a longer harvest of fresh leaves.
* ‘Long Island Mammoth’ Dill: As the name suggests, this variety grows tall and produces large flower heads. It’s great for pickling because you get a lot of dill seed.
* ‘Dukat’ Dill: This variety is known for its strong flavor and aroma. It’s a good choice if you want a dill that really packs a punch.
* ‘Fernleaf’ Dill: This is a dwarf variety that’s ideal for small spaces and containers. It’s also slow to bolt, so you’ll get a longer harvest of leaves.
I personally prefer ‘Bouquet’ dill because it’s easy to find, grows well in containers, and provides a good amount of foliage. But feel free to experiment and see which variety you like best!
Getting Started: Seeds or Seedlings?
You have two main options for starting your dill: seeds or seedlings.
* Seeds: Starting from seed is the most economical option, and it gives you more control over the entire growing process. Dill seeds germinate easily, so it’s a great choice for beginners.
* Seedlings: Buying seedlings from a nursery or garden center is a quicker way to get started. However, it can be more expensive, and you might not have as much variety to choose from.
I usually start my dill from seed because I enjoy the process of watching them sprout and grow. Plus, it’s much cheaper!
Planting Your Dill: A Step-by-Step Guide
Okay, let’s get to the fun part – planting! Here’s how to plant dill, whether you’re starting from seed or using seedlings.
Planting Dill Seeds
1. Choose the Right Location: Dill needs at least 6 hours of sunlight per day. It also prefers well-drained soil. If you’re planting in a container, make sure it has drainage holes.
2. Prepare the Soil: Dill prefers slightly acidic soil with a pH between 6.0 and 7.0. Amend your soil with compost or other organic matter to improve drainage and fertility.
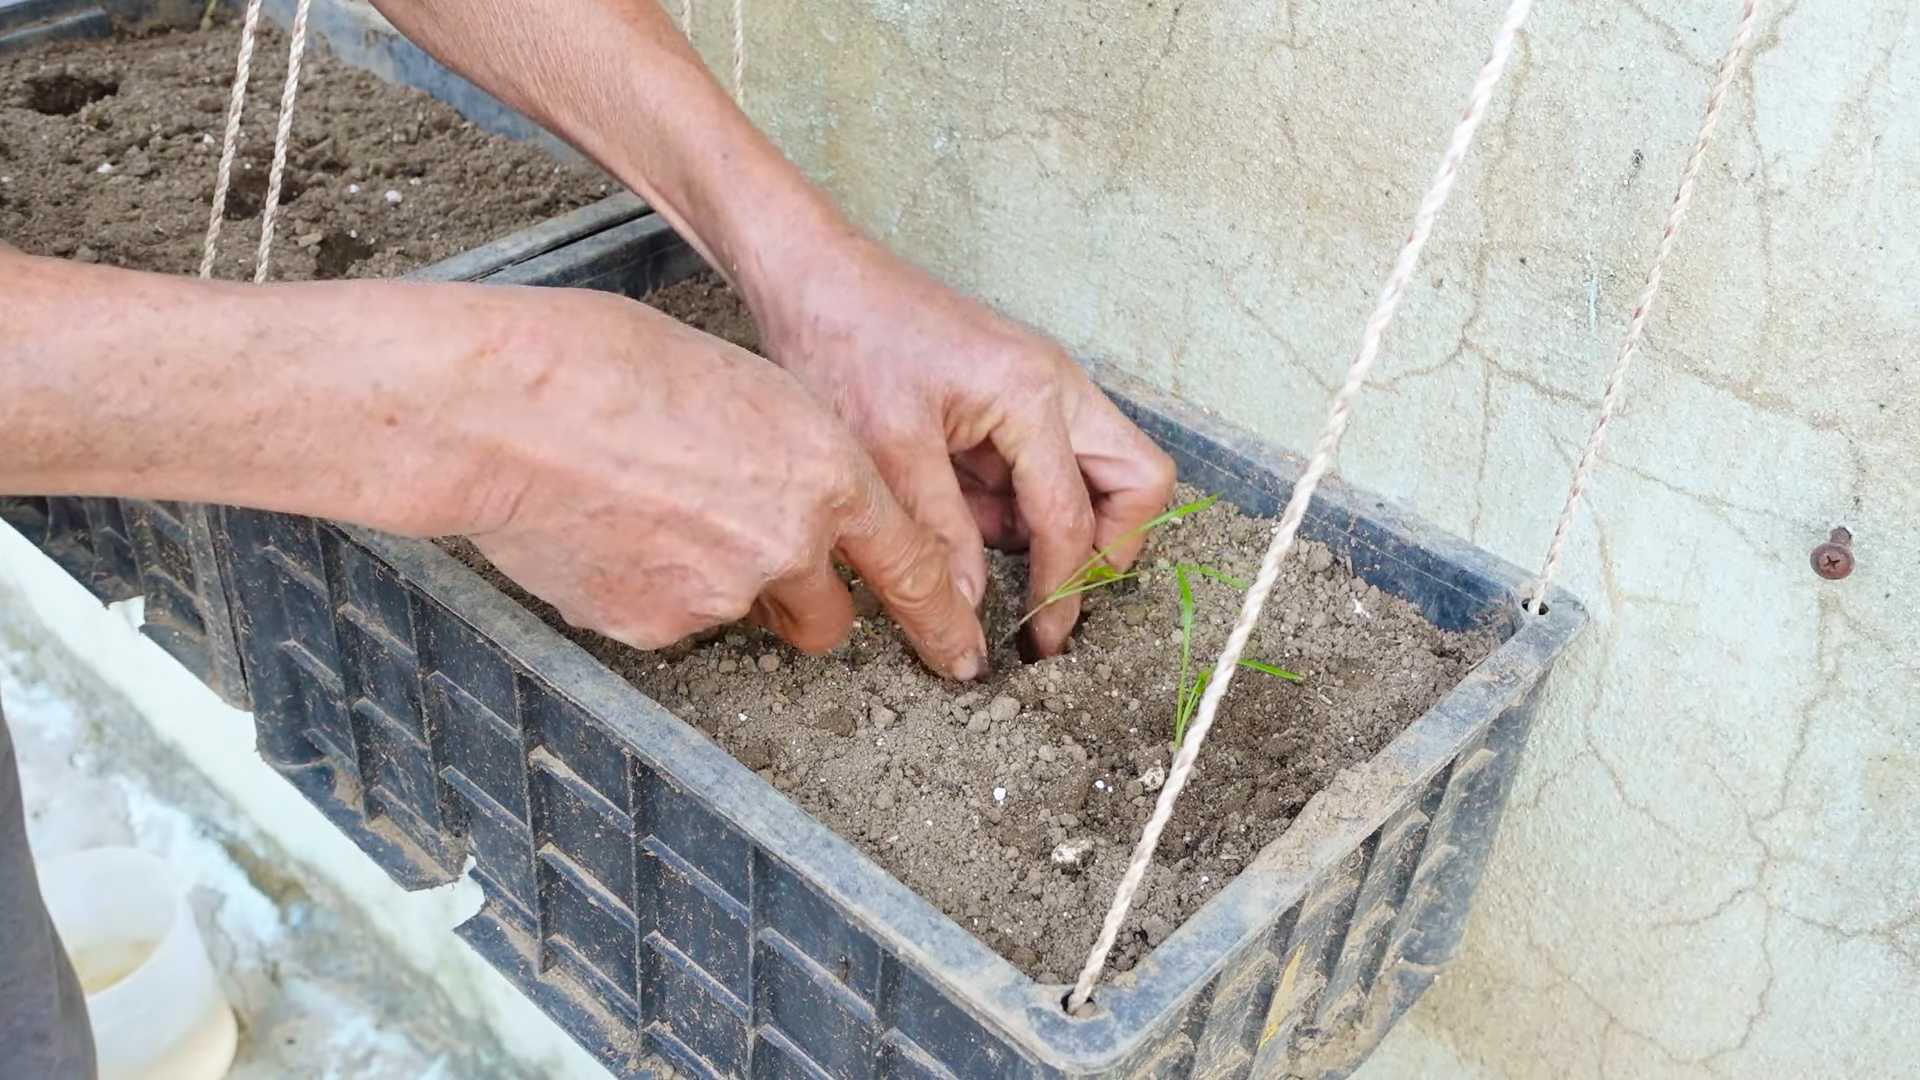
3. Sow the Seeds: Dill seeds are small, so you don’t need to plant them very deep. Sprinkle the seeds evenly over the soil surface and then cover them with a thin layer of soil (about 1/4 inch).
4. Water Gently: Water the soil gently to avoid disturbing the seeds. You can use a spray bottle or a watering can with a gentle rose attachment.
5. Keep the Soil Moist: Keep the soil consistently moist until the seeds germinate. This usually takes about 7-14 days.
6. Thin the Seedlings: Once the seedlings have emerged and have a few sets of true leaves, thin them out so that they are spaced about 6-8 inches apart. This will give them enough room to grow.
Planting Dill Seedlings
1. Choose the Right Location: Just like with seeds, dill seedlings need at least 6 hours of sunlight per day and well-drained soil.
2. Prepare the Planting Hole: Dig a hole that is slightly larger than the root ball of the seedling.
3. Remove the Seedling from the Container: Gently remove the seedling from its container, being careful not to damage the roots.
4. Place the Seedling in the Hole: Place the seedling in the hole and make sure that the top of the root ball is level with the surrounding soil.
5. Fill in the Hole: Fill in the hole with soil and gently pat it down.
6. Water Thoroughly: Water the seedling thoroughly after planting.
Caring for Your Dill: Tips and Tricks
Once your dill is planted, it’s important to provide it with the right care to ensure a healthy and bountiful harvest. Here are some tips and tricks:
* Watering: Dill needs consistent moisture, especially during hot, dry weather. Water deeply whenever the top inch of soil feels dry. Avoid overwatering, as this can lead to root rot.
* Fertilizing: Dill doesn’t need a lot of fertilizer. In fact, too much fertilizer can actually reduce its flavor. If your soil is poor, you can apply a light feeding of a balanced fertilizer (like 10-10-10) once a month.
* Weeding: Keep the area around your dill free of weeds. Weeds can compete with dill for nutrients and water.
* Pest Control: Dill is generally pest-resistant, but it can sometimes be affected by aphids or spider mites. If you notice any pests, you can try spraying them with insecticidal soap or neem oil.
* Bolting: Dill tends to bolt (go to seed) in hot weather. Bolting can reduce the flavor of the leaves. To prevent bolting, you can try planting dill in a partially shaded location or pinching off the flower buds as they appear.
Harvesting Your Dill: When and How
Harvesting dill is easy! You can start harvesting the leaves as soon as the plant is about 6 inches tall.
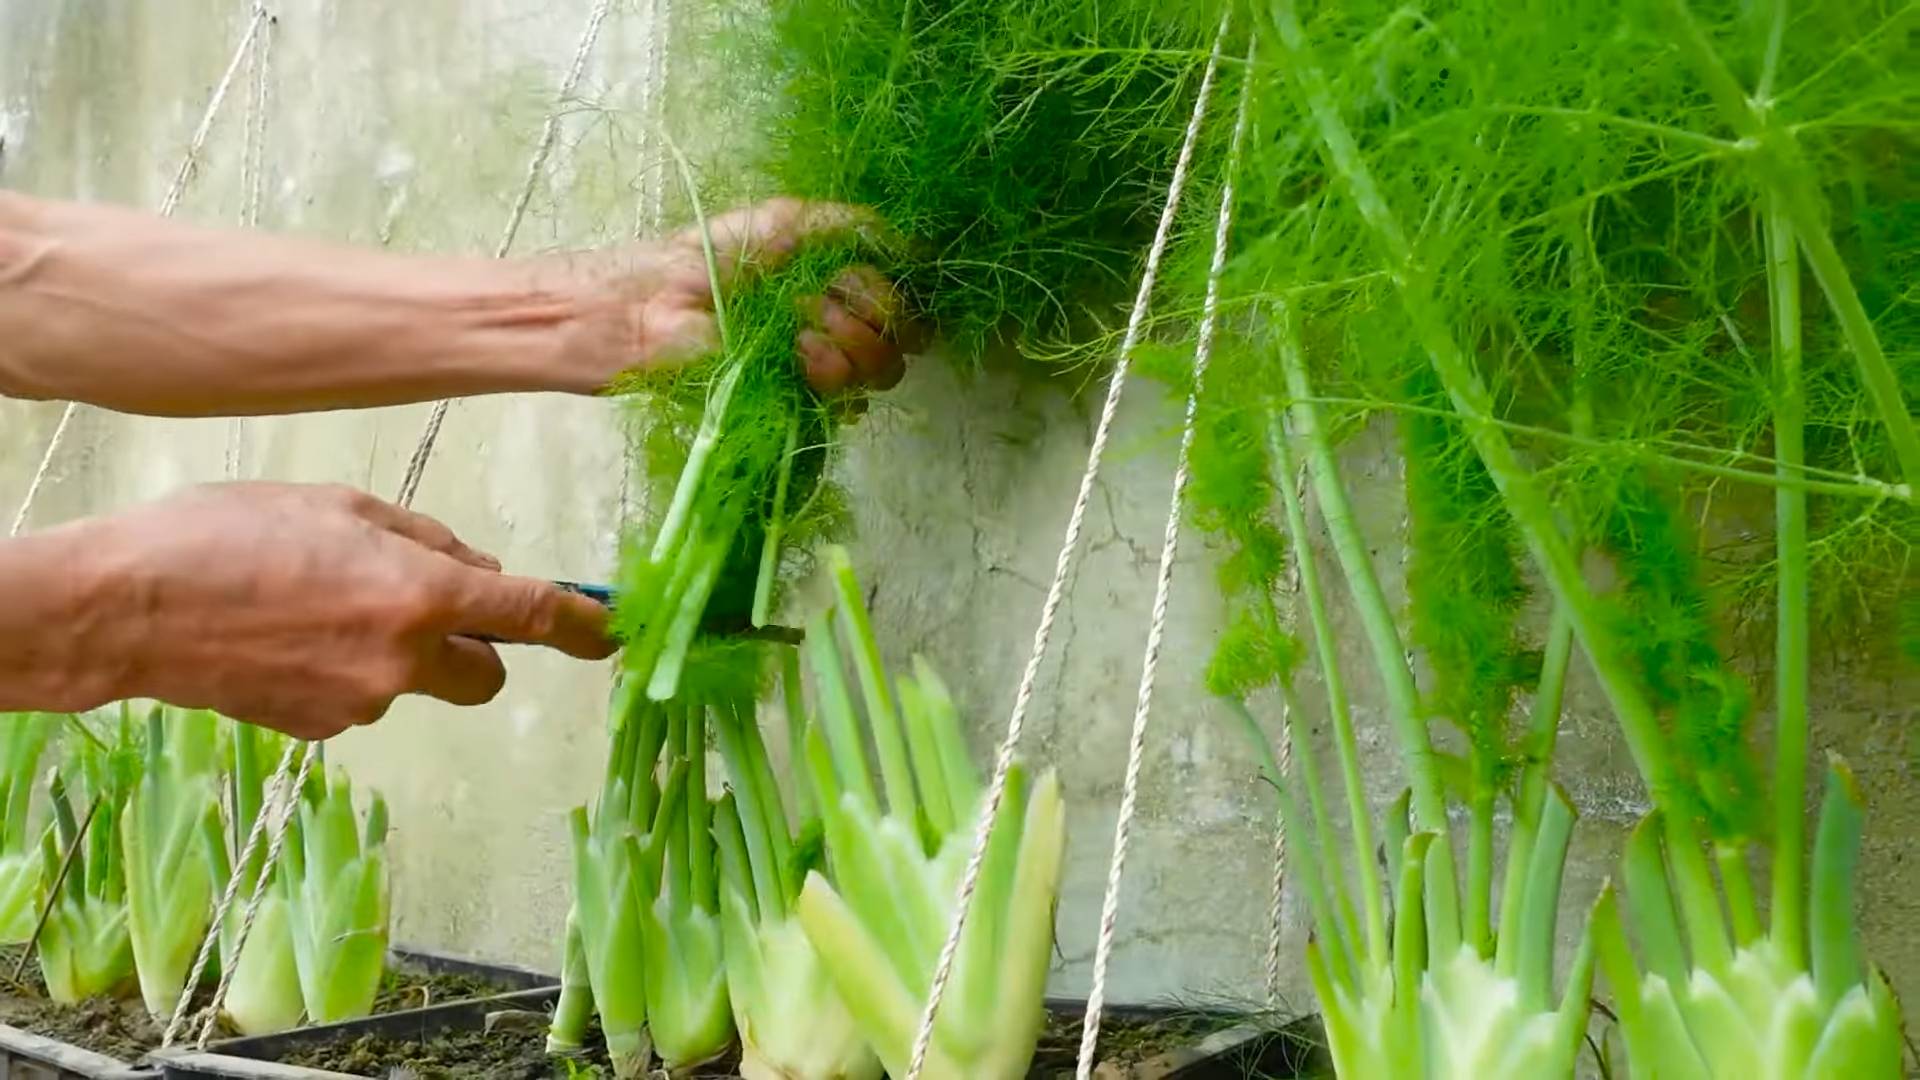
* Harvesting Leaves: Simply snip off the leaves with scissors or your fingers. You can harvest individual leaves or entire stems. The more you harvest, the more the plant will produce.
* Harvesting Seeds: If you want to harvest dill seeds, let the flower heads mature and dry on the plant. Once the seeds are brown and dry, you can cut off the flower heads and shake them into a paper bag.
I usually harvest dill leaves regularly throughout the growing season. I also let some of my plants go to seed so I can have a supply of dill seeds for pickling and other culinary uses.
Using Your Dill: Culinary Delights
Now for the best part – using your homegrown dill! Dill is incredibly versatile and can be used in a wide variety of dishes.
* Fresh Dill: Fresh dill is delicious in salads, dips, sauces, and soups. It’s also a classic addition to fish dishes.
* Dried Dill: Dried dill has a more concentrated flavor than fresh dill. It’s great for seasoning meats, vegetables, and soups.
* Dill Seeds: Dill seeds have a strong, slightly bitter flavor. They’re commonly used in pickling, but they can also be added to breads, crackers, and other baked goods.
Some of my favorite ways to use dill include:
* Pickles: Of course! Homemade dill pickles are so much better than store-bought.
* Dill Dip: A classic party appetizer. Mix fresh dill with sour cream, mayonnaise, and a little garlic powder.
* Salmon with Dill: A simple and elegant dish. Season salmon fillets with salt, pepper, and fresh dill, then bake or grill.
* Dill Potato Salad: A refreshing twist on a classic. Add fresh dill to your favorite potato salad recipe.
Troubleshooting: Common Dill Problems
Even with the best care, you might encounter some problems when growing dill. Here are some common issues and how to address them:
* Yellowing Leaves: Yellowing leaves can be a sign of overwatering, underwatering, or nutrient deficiency. Check the soil moisture and adjust your watering accordingly. If the soil is poor, you can apply a light feeding of fertilizer.
* Bolting: As mentioned earlier, bolting can reduce the flavor of the leaves. To prevent bolting, plant dill in a partially shaded location or pinch off the flower buds as they appear.
* Pests: Aphids and spider mites can sometimes infest dill plants. Spray them with insecticidal soap or neem oil.
* Root Rot: Root rot is caused by overwatering. Make sure your soil is well-drained and avoid overwatering.
Growing Dill in Containers: A Perfect Solution for Small Spaces
If you don’t have a garden, you can still grow dill in containers. Here are some tips for growing dill in containers:
* Choose the Right Container: Select a container that is at least 12 inches in diameter and has drainage holes.
* Use a Good Quality Pot
Conclusion
So, there you have it! Growing dill at home isn’t just a fun project; it’s a game-changer for your culinary adventures. Imagine stepping into your kitchen and having fresh, fragrant dill readily available to elevate your dishes. No more wilted, overpriced bunches from the grocery store. This DIY approach puts you in control, guaranteeing the quality and freshness of your herbs.
Why is this a must-try? Because it’s incredibly rewarding, surprisingly easy, and undeniably delicious. Think of the vibrant dill-infused sauces, the perfectly seasoned pickles, and the aromatic soups you can create with your homegrown bounty. Plus, you’ll be reducing your carbon footprint by cutting down on transportation and packaging waste. It’s a win-win for your taste buds and the planet!
But the benefits don’t stop there. Growing your own dill allows for experimentation. Try different varieties like ‘Bouquet’ for its abundant foliage or ‘Long Island Mammoth’ for its impressive size. Consider companion planting dill with vegetables like cucumbers, cabbage, and lettuce, as it’s known to deter pests and attract beneficial insects. You can even let some of your dill plants flower and go to seed, harvesting the seeds for pickling or grinding into a unique spice blend.
Don’t be intimidated if you’re a beginner gardener. Dill is a relatively low-maintenance herb that thrives in sunny locations with well-drained soil. With just a little attention and care, you’ll be harvesting fresh dill in no time.
We wholeheartedly encourage you to give this DIY trick a try. Start small, perhaps with a single pot on your windowsill, and watch the magic unfold. Once you experience the joy of harvesting your own fresh dill, you’ll be hooked.
And most importantly, we want to hear about your experience! Share your photos, tips, and stories in the comments below. Let us know what varieties you’re growing, what dishes you’re using your dill in, and any challenges you’ve overcome. Your feedback will not only inspire others but also help us refine this guide and make it even better. Let’s build a community of home gardeners, one sprig of dill at a time. Embrace the freshness, savor the flavor, and discover the joy of growing dill at home.
Frequently Asked Questions (FAQs)
1. What is the best time of year to plant dill?
Dill is an annual herb, meaning it completes its life cycle in one growing season. The best time to plant dill is in the spring, after the last frost. You can also plant dill in the late summer or early fall for a fall harvest, especially in warmer climates. For continuous harvest, consider succession planting, sowing new seeds every few weeks throughout the growing season. This ensures a steady supply of fresh dill.
2. What kind of soil does dill need?
Dill prefers well-drained soil that is rich in organic matter. A slightly acidic to neutral pH (between 6.0 and 7.0) is ideal. Before planting, amend your soil with compost or well-rotted manure to improve drainage and fertility. If you’re growing dill in containers, use a high-quality potting mix. Avoid heavy clay soils, as they can become waterlogged and lead to root rot.
3. How much sunlight does dill need?
Dill thrives in full sun, requiring at least 6-8 hours of direct sunlight per day. Insufficient sunlight can result in leggy, weak plants with reduced flavor. If you’re growing dill indoors, place it near a sunny window or use grow lights to supplement natural light. Rotate the plant regularly to ensure even growth.
4. How often should I water dill?
Water dill regularly, especially during hot, dry weather. Keep the soil consistently moist but not waterlogged. Overwatering can lead to root rot, while underwatering can cause the plants to wilt and dry out. Check the soil moisture regularly by sticking your finger about an inch deep. If the soil feels dry, it’s time to water. When watering, water deeply, allowing the water to soak into the soil.
5. Does dill need fertilizer?
Dill is not a heavy feeder and generally doesn’t require a lot of fertilizer. However, a light feeding of a balanced fertilizer (such as 10-10-10) can help promote healthy growth. Apply the fertilizer according to the package instructions, being careful not to over-fertilize, as this can lead to excessive foliage growth at the expense of flavor. Alternatively, you can amend the soil with compost or well-rotted manure before planting to provide a slow-release source of nutrients.
6. How do I harvest dill?
You can start harvesting dill leaves as soon as the plants are a few inches tall. Simply snip off the leaves with scissors or pruning shears. For the best flavor, harvest dill in the morning, after the dew has dried. To encourage bushier growth, pinch off the flower heads as they appear. If you want to harvest dill seeds, allow the flower heads to mature and dry on the plant. Once the seeds are brown and dry, cut off the flower heads and place them in a paper bag to dry completely. Then, shake the bag to release the seeds.
7. What are some common pests and diseases that affect dill?
Dill is generally pest-resistant, but it can be susceptible to aphids, spider mites, and carrot flies. To control aphids and spider mites, spray the plants with a strong stream of water or use insecticidal soap. Carrot flies can be deterred by covering the plants with row covers. Dill can also be affected by fungal diseases such as powdery mildew and leaf spot. To prevent these diseases, ensure good air circulation around the plants and avoid overwatering. If you notice signs of disease, remove the affected leaves and spray the plants with a fungicide.
8. Can I grow dill indoors?
Yes, you can grow dill indoors, but it requires bright light and well-drained soil. Choose a pot that is at least 6 inches in diameter and has drainage holes. Use a high-quality potting mix and place the pot near a sunny window or under grow lights. Water regularly, keeping the soil consistently moist but not waterlogged. Fertilize lightly every few weeks with a balanced fertilizer.
9. How do I store fresh dill?
Fresh dill is best used immediately after harvesting. However, you can store it in the refrigerator for a few days. To store dill, wrap it loosely in a damp paper towel and place it in a plastic bag. You can also freeze dill for longer storage. To freeze dill, chop it finely and place it in ice cube trays. Fill the trays with water or olive oil and freeze. Once frozen, transfer the dill cubes to a freezer bag.
10. Can I grow dill from seed?
Yes, dill is easy to grow from seed. You can sow the seeds directly into the garden or start them indoors a few weeks before the last frost. To sow seeds directly, sprinkle them on the surface of the soil and lightly cover them with soil. Keep the soil moist until the seeds germinate, which usually takes about 7-14 days. To start seeds indoors, sow them in seed trays filled with potting mix. Keep the soil moist and provide plenty of light. Once the seedlings are large enough to handle, transplant them into individual pots or into the garden.
Leave a Comment