
Grow Dill Indoors? Absolutely! Imagine having fresh, fragrant dill readily available, even when the snow is falling outside. No more sad, wilted bunches from the grocery store – just vibrant, flavorful dill whenever you need it. For centuries, dill has been cherished not only for its culinary uses but also for its medicinal properties. Ancient Egyptians used it to soothe digestive issues, and Romans believed it brought good fortune.
But let’s be honest, sometimes life gets in the way, and a sprawling outdoor garden just isn’t feasible. That’s where the magic of indoor gardening comes in! I’m going to share some simple, effective DIY tricks and hacks that will empower you to grow dill indoors successfully, regardless of your experience level. Whether you’re a seasoned gardener or a complete newbie, these tips will help you create a thriving indoor dill patch.
Why is this so important? Because fresh dill elevates everything from creamy dips and tangy pickles to grilled fish and roasted vegetables. Plus, growing your own herbs is incredibly rewarding and a fantastic way to connect with nature, even within the confines of your home. So, grab your pots, soil, and seeds, and let’s embark on this exciting journey together! I promise, with a little know-how, you’ll be enjoying the delightful taste of homegrown dill in no time.

Growing Dill: Your Guide to Fresh Dill Straight from the Windowsill
I love the fresh, anise-like flavor of dill! And what’s better than always having it on hand? That’s why today I’m showing you how you can easily grow dill at home, even if you don’t have a garden. With this guide, you’ll soon have your own little dill paradise on your windowsill.
What You’ll Need: The Ingredients for Your Dill Success
Before we get started, make sure you have everything ready. This will make the whole process much more relaxed:
- Dill seeds: It’s best to buy organic seeds to ensure they haven’t been treated with pesticides. You can find them in any garden center or online.
- Starter pots or trays: Small pots or trays with drainage holes are ideal for the beginning.
- High-quality seed-starting mix: This soil is specially formulated for young plants and contains all the important nutrients.
- A larger pot (approx. 15-20 cm / 6-8 inches in diameter): Once the dill plants are a bit bigger, they will need more space.
- All-purpose or herb soil: For the larger pot, you can use regular potting soil or special herb soil.
- A spray bottle: For moistening the soil.
- A sunny spot: Dill needs a lot of light, so choose a spot by a window that gets at least 6 hours of sun a day.
- Optional: Grow light: If you don’t have enough sunlight, a grow light can help.
- Optional: Liquid fertilizer for herbs: To give your dill plants additional support.
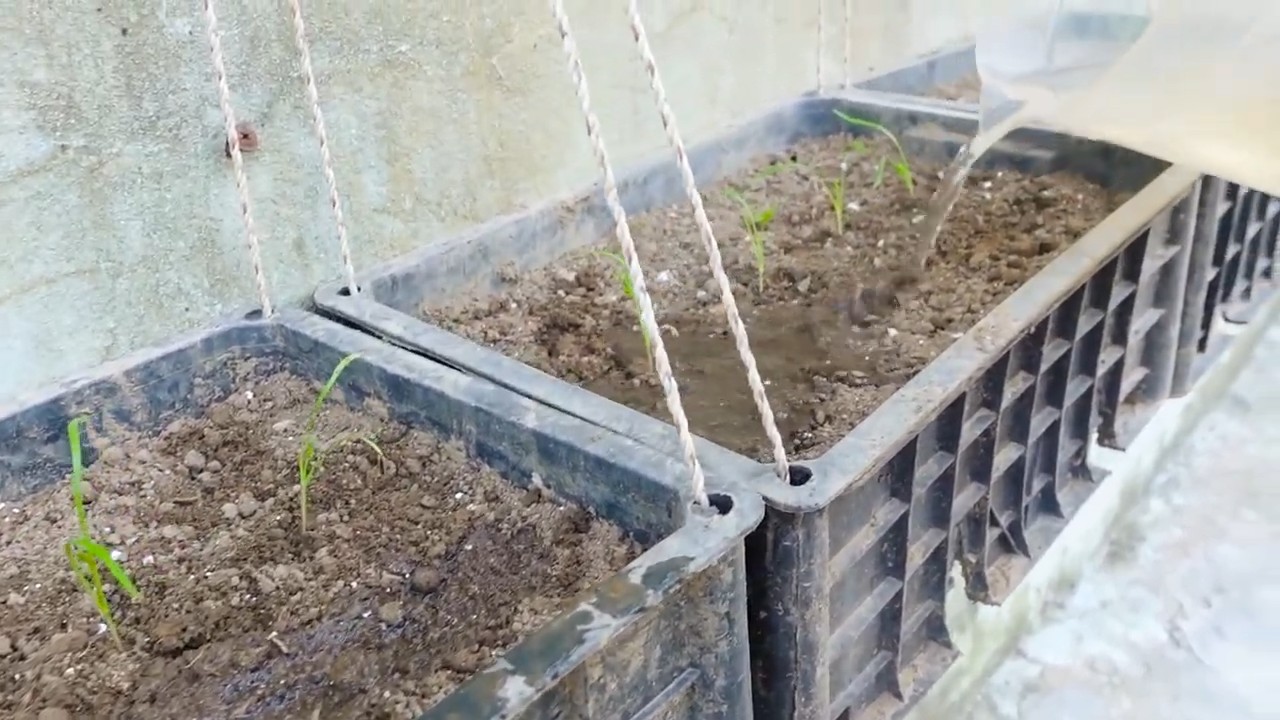
Sowing: The Start of Your Dill Adventure
Let’s get started! Sowing is the first step to your own dill.
- Prepare the starter pots: Fill the starter pots or trays with seed-starting mix. Press the soil down lightly, but not too firmly.
- Sow the seeds: Sprinkle the dill seeds evenly over the soil. You can sow several seeds per pot, as not all of them will germinate.
- Cover the seeds: Cover the seeds with a thin layer of soil (about 0.5 cm / 0.2 inches).
- Water: Gently moisten the soil with the spray bottle. The soil should be damp, but not wet.
- Location: Place the starter pots in a warm and bright location. A temperature of 18-20°C (64-68°F) is ideal.
- Patience: Now it’s time to wait! The seeds usually germinate within 7-14 days. Keep the soil moist during this time.
Pricking Out: Giving the Dill Plants More Space
As soon as the dill plants are a few centimeters tall and have their first true leaves, it’s time to prick them out. This means transplanting them into larger pots so they have more space to grow.
- Prepare the larger pot: Fill the larger pot with all-purpose or herb soil.
- Careful removal: Gently lift the dill plants out of the starter pots. Be careful not to damage the roots. It’s best to loosen the soil around the plant a bit and then carefully lift it out.
- Planting: Place the dill plants in the larger pot. You can put several plants in one pot, but make sure they have enough space between them (about 5-7 cm / 2-3 inches).
- Fill with soil: Fill the pot with soil and press it down lightly.
- Watering: Gently water the plants.
Care: So Your Dill Thrives
Proper care is crucial for your dill to grow healthy and strong.
- Location: Place the pot in a sunny location. Dill needs at least 6 hours of sun a day.
- Watering: Water the plants regularly, but avoid waterlogging. The soil should always be slightly moist. It’s best to test with your finger to see if the soil is dry before you water.
- Fertilizing: Fertilize the plants every 2-3 weeks with a liquid fertilizer for herbs. This ensures healthy growth and aromatic leaves.
- Cutting: Cut the dill tips regularly to encourage growth. This also promotes the formation of new leaves. You can use the cut dill tips immediately or freeze them.
- Preventing flowering: When dill flowers, it loses its aroma. To prevent this, you should remove the flower heads in a timely manner.
Harvest: The Reward for Your Effort
After a few weeks, you can finally harvest your own dill!
- Harvest time: You can harvest dill as soon as the plants have reached a height of about 15-20 cm (6-8 inches).
- Harvesting method: Cut the dill tips with scissors. You can either harvest individual leaves or whole stems.
- Use: Use the fresh dill immediately or freeze it to make it last longer. Dill pairs excellently with fish, potatoes, salads, and much more.
Common Problems and Solutions: So Nothing Goes Wrong
Even with dill cultivation, problems can sometimes arise. Here are some common problems and how you can solve them:
- Yellow leaves: Yellow leaves can be a sign of overwatering or a nutrient deficiency. Check your watering and fertilize the plants if necessary.
- Pests: Dill can be infested by aphids or spider mites. Spray the plants with a mild soap solution or use a biological pesticide.
- Fungal diseases: Fungal diseases can occur if the humidity is too high. Ensure good ventilation and avoid waterlogging.
Additional Tips for the Perfect Dill
Here are a few more tips to help you care for your dill even better:
- Rotate regularly: Rotate the pot regularly so that all sides of the plant receive even light.
- Repotting: When the pot becomes too small, you should transplant the dill into a larger one.
- Overwintering: Dill is an annual, which means it dies after flowering. However, you can try to overwinter it by placing it in a cool and bright location and watering it only sparingly.
Growing Dill from Cuttings: An Alternative Method
Did you know that you can also grow dill from cuttings? This is a great way to propagate your dill plants.
Planting: Once the roots are about 2-3 cm (1 inch) long, you can plant the cuttings in pots with soil.
Select the cuttings: Choose healthy, strong shoots from an existing dill plant. The cuttings should be about 5-7 cm (2-3 inches) long.
Prepare the cuttings: Remove the lower leaves from the cuttings.
Rooting: Place the cuttings in a glass of water. Make sure the leaves are not in the water, as they could rot.
Wait for roots: Place the glass in a bright place, but not in direct sun. After a few weeks, roots should form.
Conclusion
So, there you have it! Growing dill indoors is not only achievable, but it’s also a rewarding experience that brings a touch of freshness and vibrant flavor to your kitchen, year-round. Forget those sad, wilted bunches of dill from the grocery store; imagine snipping fresh, fragrant sprigs whenever you need them, adding a burst of herbaceous goodness to your favorite dishes.
This DIY trick is a must-try for several compelling reasons. First and foremost, it grants you unparalleled control over the quality of your dill. You know exactly what goes into nurturing your plants, ensuring they are free from harmful pesticides and chemicals. Secondly, it’s incredibly convenient. No more last-minute trips to the store when you realize you’re out of dill. Your supply is always readily available, just a few steps away. Thirdly, it’s surprisingly easy and cost-effective. With just a few basic supplies and a little bit of patience, you can cultivate a thriving dill plant indoors.
But the benefits don’t stop there. Growing dill indoors can also be a therapeutic and enjoyable hobby. Tending to your plants, watching them grow, and harvesting your own herbs can be incredibly satisfying and stress-relieving. Plus, it’s a great way to add a touch of greenery to your home, creating a more inviting and vibrant living space.
Ready to take your indoor gardening to the next level? Consider experimenting with different varieties of dill. ‘Bouquet’ dill is a popular choice for its compact size and abundant foliage, making it ideal for indoor growing. ‘Fernleaf’ dill is another excellent option, known for its feathery leaves and strong flavor. You can also try growing dill in different types of containers, such as terracotta pots or self-watering planters, to see what works best for you.
Don’t be afraid to get creative with your dill! Use it to flavor everything from soups and salads to dips and sauces. Add it to your favorite seafood dishes, sprinkle it over roasted vegetables, or use it to make a refreshing dill-infused oil. The possibilities are endless!
We’re confident that you’ll find growing dill indoors to be a worthwhile and enjoyable endeavor. So, grab your seeds, gather your supplies, and get ready to embark on your indoor gardening adventure. And most importantly, don’t forget to share your experiences with us! We’d love to hear about your successes, your challenges, and your favorite ways to use your homegrown dill. Share your photos and tips in the comments below, and let’s create a community of indoor dill enthusiasts! Let us know if this DIY trick helped you.
Frequently Asked Questions (FAQ)
1. What kind of dill should I grow indoors?
While any dill variety can technically be grown indoors, some are better suited than others. Compact varieties like ‘Bouquet’ and ‘Fernleaf’ are excellent choices because they don’t require as much space and tend to be more productive in containers. ‘Dukat’ dill is another good option, known for its strong flavor and resistance to bolting (going to seed prematurely). Consider the size of your growing space and your personal preferences when selecting a dill variety.
2. What kind of soil is best for growing dill indoors?
Dill thrives in well-draining soil that is rich in organic matter. A good potting mix specifically formulated for herbs is ideal. You can also create your own potting mix by combining equal parts of potting soil, perlite, and compost. Perlite helps to improve drainage, while compost provides essential nutrients. Avoid using garden soil, as it can be too heavy and may contain pests or diseases.
3. How much sunlight does dill need indoors?
Dill requires at least 6 hours of direct sunlight per day to thrive. If you don’t have a sunny window, you can supplement with a grow light. Place the grow light about 6-12 inches above the plants and keep it on for 12-14 hours per day. Rotate your dill plants regularly to ensure that all sides receive adequate sunlight. Insufficient light can lead to leggy growth and reduced flavor.
4. How often should I water my dill plants?
Water your dill plants when the top inch of soil feels dry to the touch. Avoid overwatering, as this can lead to root rot. Dill prefers slightly dry conditions, so it’s better to err on the side of underwatering than overwatering. Ensure that your container has drainage holes to allow excess water to escape. During the warmer months, you may need to water more frequently.
5. How do I fertilize my dill plants?
Dill is a relatively light feeder, so you don’t need to fertilize it heavily. A balanced liquid fertilizer diluted to half strength can be applied every 2-3 weeks during the growing season. Alternatively, you can use a slow-release fertilizer at the time of planting. Avoid over-fertilizing, as this can lead to excessive foliage growth at the expense of flavor.
6. How do I harvest dill?
You can start harvesting dill leaves as soon as the plants are about 6 inches tall. Simply snip off the leaves with scissors or pruning shears. Avoid removing more than one-third of the plant at a time, as this can stunt its growth. For the strongest flavor, harvest dill in the morning, after the dew has dried. You can also harvest dill seeds once the flower heads have dried and turned brown.
7. How do I prevent pests and diseases?
Dill is generally resistant to pests and diseases, but it can occasionally be affected by aphids, spider mites, or powdery mildew. To prevent these problems, keep your plants well-ventilated and avoid overwatering. Inspect your plants regularly for signs of pests or diseases, and treat them promptly if necessary. Insecticidal soap or neem oil can be used to control aphids and spider mites, while a fungicide can be used to treat powdery mildew.
8. My dill plant is bolting (going to seed). What should I do?
Bolting is a natural process that occurs when dill plants are exposed to high temperatures or long days. Once a dill plant bolts, its leaves become bitter and less flavorful. To prevent bolting, keep your plants well-watered and provide them with some shade during the hottest part of the day. You can also pinch off the flower buds as soon as they appear. If your dill plant has already bolted, you can still harvest the seeds for future planting.
9. Can I grow dill from seed indoors?
Yes, growing dill from seed indoors is a great way to start your plants. Sow the seeds directly into your container, about 1/4 inch deep. Keep the soil moist but not soggy, and provide plenty of light. Dill seeds typically germinate within 7-14 days. Once the seedlings are large enough to handle, thin them out so that there is only one plant per container.
10. How long will my indoor dill plant last?
With proper care, your indoor dill plant can last for several months. However, dill is an annual herb, so it will eventually complete its life cycle and die. To ensure a continuous supply of fresh dill, you can sow new seeds every few weeks. This will allow you to have a succession of dill plants at different stages of growth.

Leave a Comment