
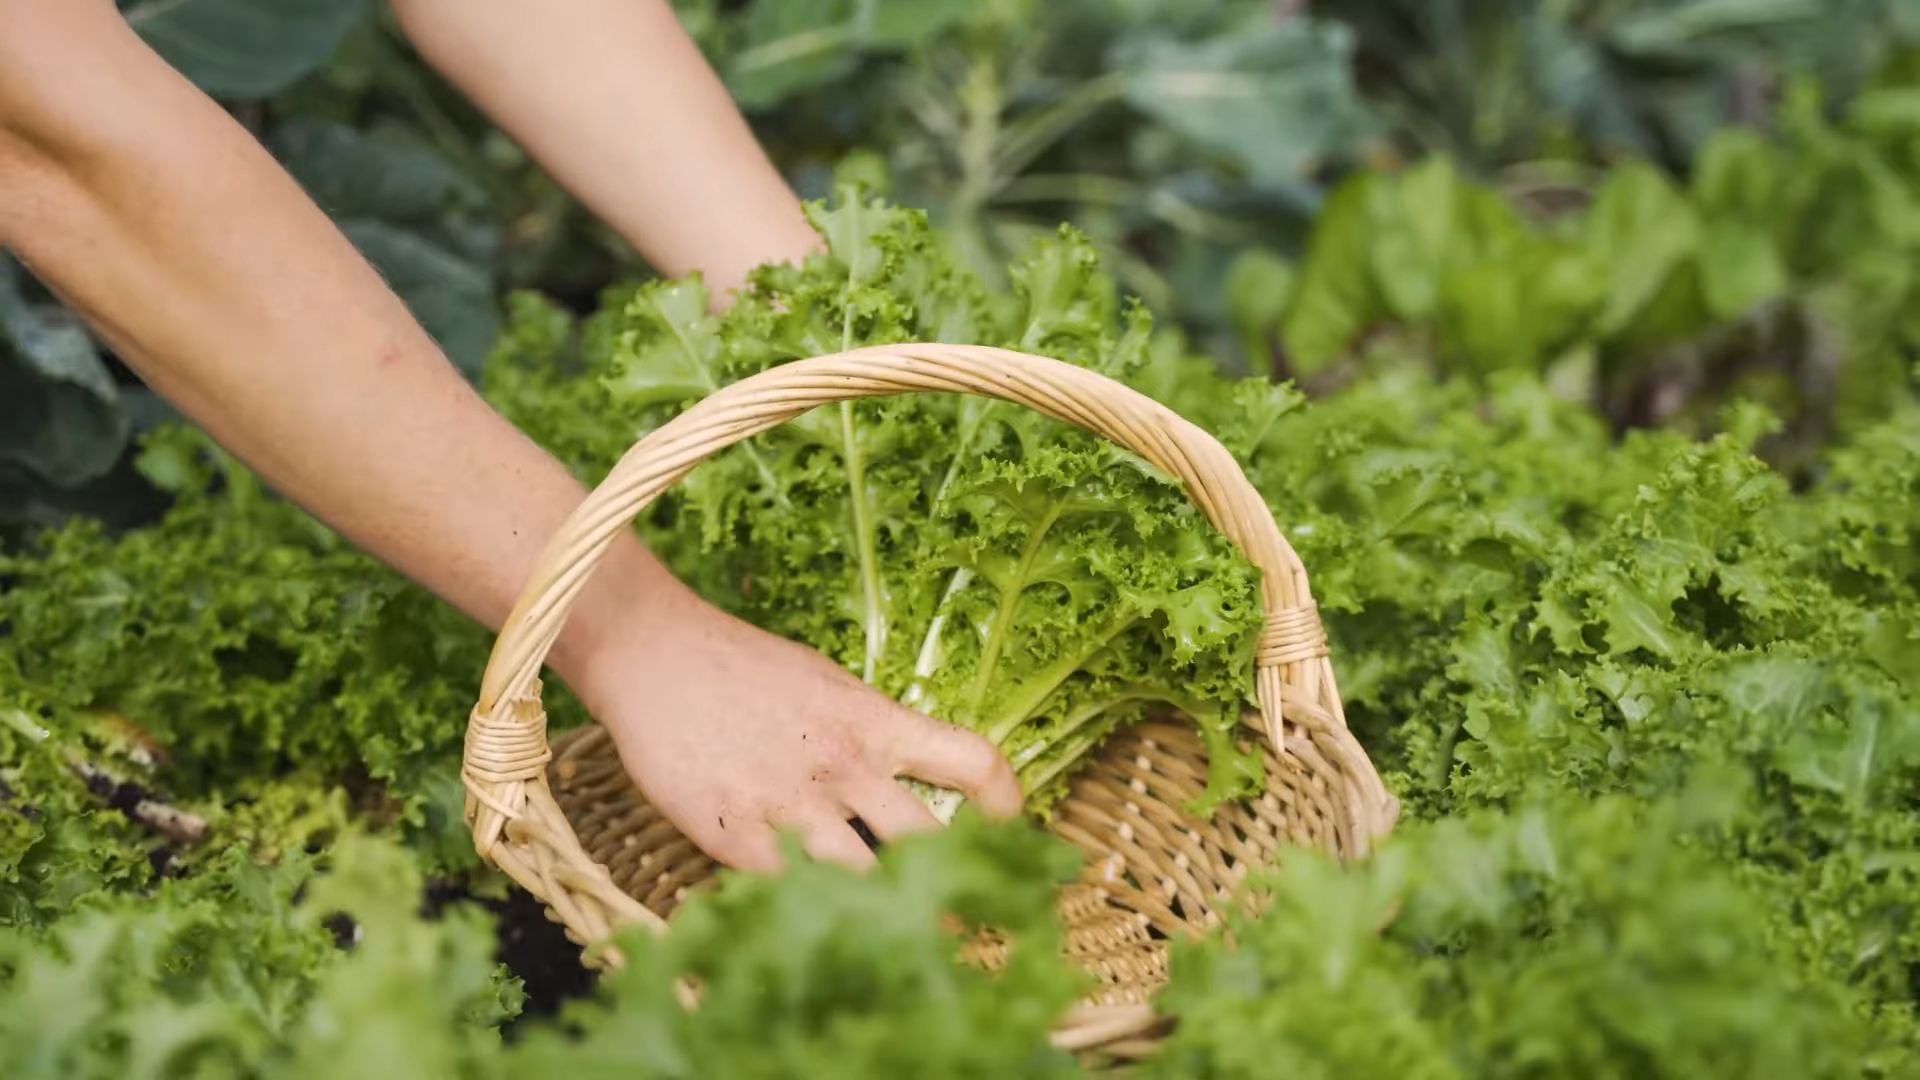
Grow Endive Indoors? Absolutely! Imagine fresh, slightly bitter, and delightfully crunchy endive gracing your salads, all year round, without ever stepping foot outside. Sounds like a dream, right? Well, it’s a dream you can easily make a reality with a few simple tricks and a little DIY spirit!
For centuries, endive has been a culinary treasure, particularly in Europe, where it’s often braised, grilled, or enjoyed raw. Its unique flavor profile adds a sophisticated touch to any dish. But what if you don’t have a sprawling garden or live in a climate that’s not exactly endive-friendly? That’s where the magic of indoor gardening comes in!
I know what you’re thinking: “Indoor gardening is complicated!” But trust me, growing endive indoors is surprisingly straightforward, even for beginners. This DIY guide will walk you through every step, from choosing the right container to providing the perfect lighting. We’ll explore simple hacks to ensure your endive thrives, offering you a constant supply of fresh greens. Forget expensive grocery store prices and wilted produce. Let’s unlock the secrets to cultivating your own delicious endive harvest right in the comfort of your home. You’ll be amazed at how easy and rewarding it is!
Growing Endive Indoors: A Beginner’s Guide
Hey there, fellow plant enthusiasts! Ever thought about growing your own endive right in your home? It’s totally doable, and honestly, there’s nothing quite like the satisfaction of harvesting your own fresh, slightly bitter greens. This guide will walk you through everything you need to know to successfully grow endive indoors, from seed to harvest. Let’s get started!
What You’ll Need
Before we dive into the nitty-gritty, let’s gather our supplies. Here’s a checklist of everything you’ll need to grow endive indoors:
* Endive Seeds: Choose a variety that suits your taste. ‘Green Curled’ and ‘Broad Batavian’ are popular choices.
* Seed Starting Tray or Small Pots: These are perfect for getting your seeds germinated.
* Seed Starting Mix: A light, well-draining mix is essential for healthy seedling development.
* Larger Pots (6-8 inches in diameter): You’ll need these when you transplant your seedlings.
* Potting Soil: A good quality potting mix that retains moisture but also drains well.
* Grow Lights (Optional but Recommended): Endive needs plenty of light, especially indoors.
* Watering Can or Spray Bottle: For gentle watering.
* Fertilizer: A balanced liquid fertilizer to feed your endive plants.
* Thermometer: To monitor the temperature in your growing area.
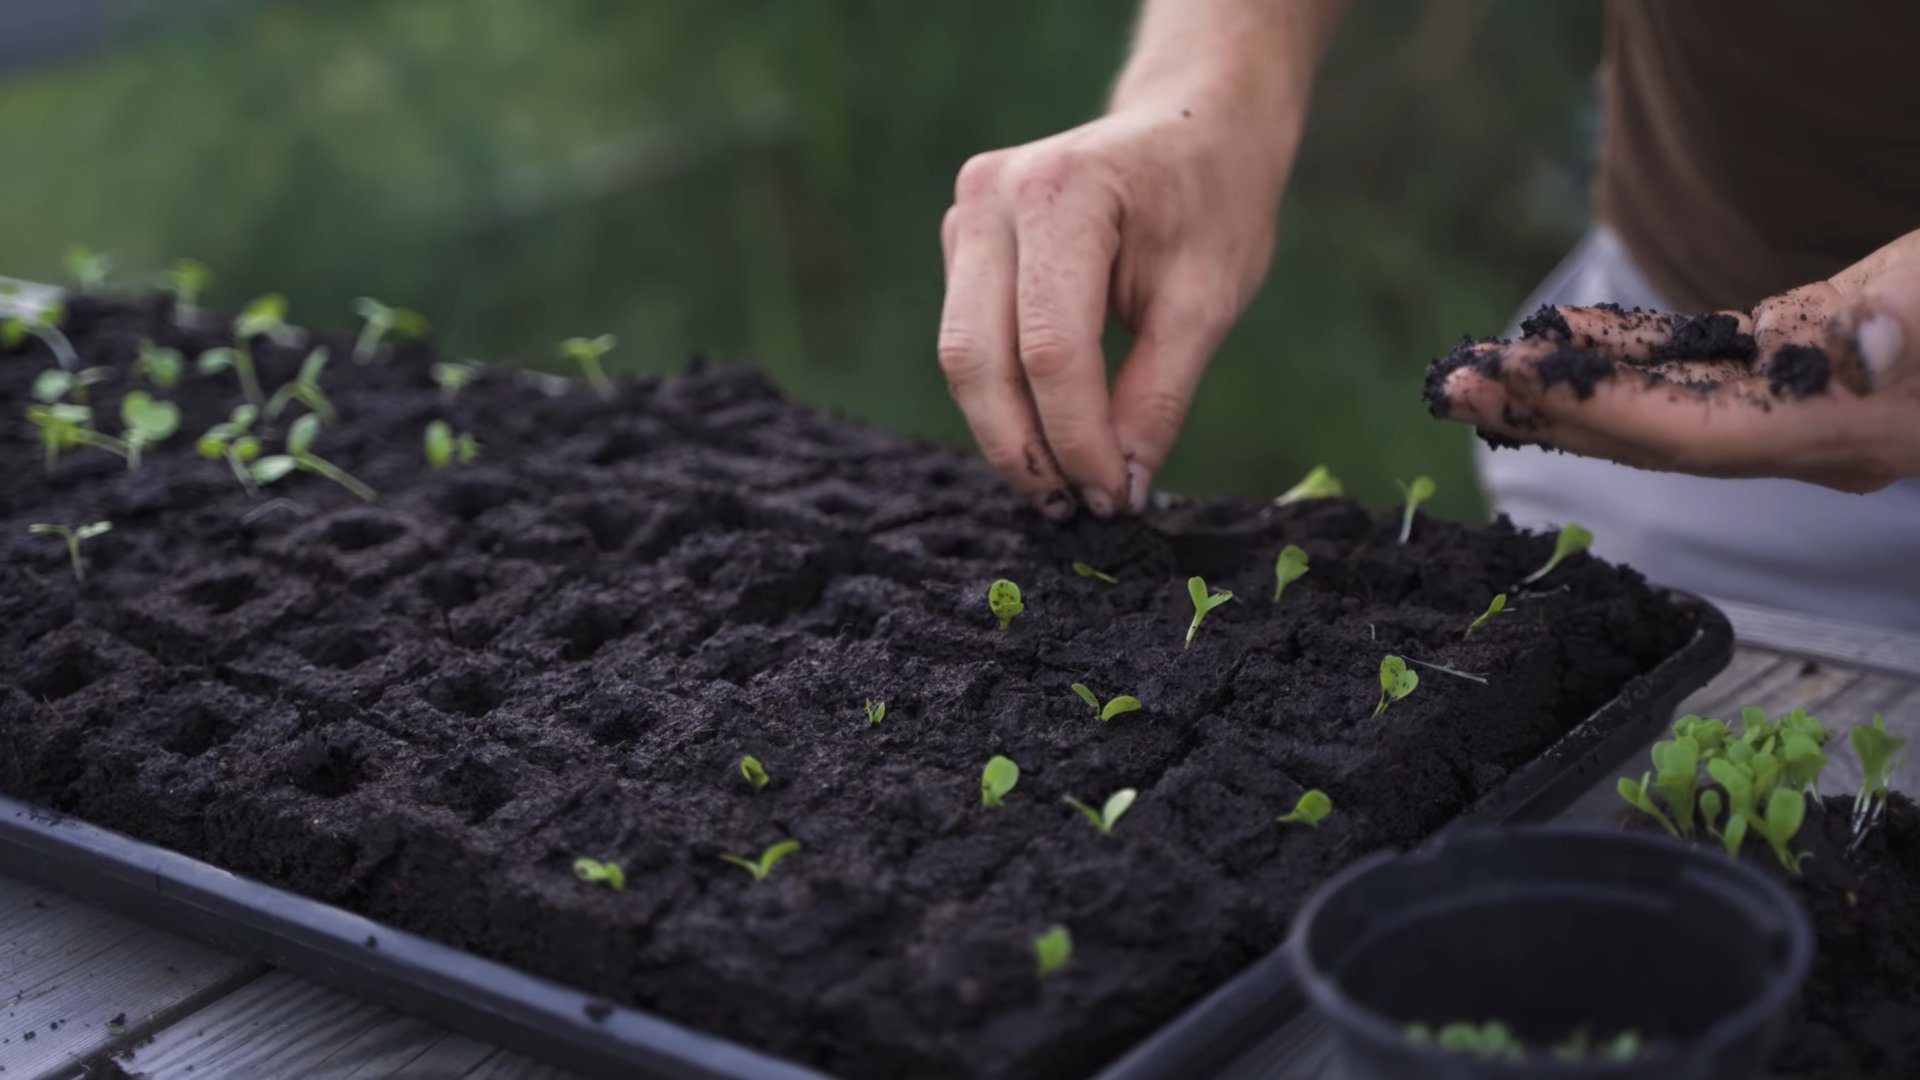
Starting Your Endive Seeds
This is the first crucial step. Getting your seeds to germinate successfully is key to a bountiful harvest.
1. Prepare Your Seed Starting Tray: Fill your seed starting tray or small pots with seed starting mix. Moisten the mix thoroughly, but don’t let it get soggy. You want it damp, not dripping.
2. Sow the Seeds: Sprinkle the endive seeds evenly over the surface of the soil. Gently press them into the soil, but don’t bury them too deep. A depth of about 1/4 inch is perfect.
3. Cover and Water: Lightly cover the seeds with a thin layer of seed starting mix. Then, gently water the surface using a spray bottle. This will prevent the seeds from being disturbed.
4. Create a Humid Environment: Cover the seed starting tray with a clear plastic lid or plastic wrap. This will help to create a humid environment that’s ideal for germination.
5. Find a Warm Spot: Place the tray in a warm location, ideally between 60-70°F (15-21°C). A heat mat can be helpful if your home is cooler.
6. Monitor and Water: Check the tray daily to ensure the soil remains moist. Water as needed using a spray bottle.
7. Wait for Germination: Endive seeds typically germinate within 7-14 days. Once the seedlings emerge, remove the plastic lid or wrap.
Transplanting Your Endive Seedlings
Once your seedlings have developed a few sets of true leaves (usually around 2-3 weeks after germination), it’s time to transplant them into larger pots.
1. Prepare Your Larger Pots: Fill your 6-8 inch pots with potting soil. Make a small hole in the center of each pot, large enough to accommodate the root ball of the seedling.
2. Carefully Remove the Seedlings: Gently loosen the soil around the seedlings in the seed starting tray. Carefully lift each seedling out of the tray, being mindful not to damage the roots.
3. Transplant the Seedlings: Place each seedling into the hole in the center of the pot. Gently backfill the hole with potting soil, pressing lightly to secure the seedling.
4. Water Thoroughly: Water the transplanted seedlings thoroughly, allowing the water to drain out of the bottom of the pot.
5. Provide Adequate Light: Place the pots in a location that receives plenty of light. If you’re using grow lights, position them about 6-12 inches above the plants.
Caring for Your Endive Plants
Now that your endive plants are in their permanent pots, it’s time to provide them with the care they need to thrive.
1. Watering: Endive plants need consistent moisture, but they don’t like to be waterlogged. Water them when the top inch of soil feels dry to the touch. Avoid overwatering, as this can lead to root rot.
2. Lighting: Endive needs at least 6 hours of direct sunlight per day. If you’re growing them indoors, grow lights are highly recommended. Use full-spectrum LED grow lights for best results.
3. Temperature: Endive prefers cooler temperatures, ideally between 60-75°F (15-24°C). Avoid exposing them to extreme heat or cold.
4. Fertilizing: Feed your endive plants every 2-3 weeks with a balanced liquid fertilizer. Follow the instructions on the fertilizer label.
5. Air Circulation: Good air circulation is important to prevent fungal diseases. Ensure there’s adequate airflow around your plants. A small fan can help.
6. Pest Control: Keep an eye out for pests such as aphids and slugs. If you spot any pests, treat them with an appropriate organic insecticide or insecticidal soap.
7. Blanching (Optional): Blanching endive reduces its bitterness and makes it more tender. About two weeks before harvest, you can blanch the plants by covering them with a dark cloth or placing an opaque container over them. This will block out the light and cause the leaves to turn pale.
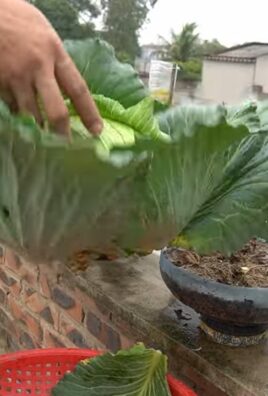
Harvesting Your Endive
The moment you’ve been waiting for! Harvesting your own homegrown endive is incredibly rewarding.
1. When to Harvest: Endive is typically ready to harvest about 80-100 days after sowing. The heads should be firm and compact.
2. How to Harvest: Use a sharp knife to cut the endive head at the base of the plant.
3. Storage: Store harvested endive in the refrigerator for up to a week. Wrap it in a damp paper towel to keep it fresh.
Troubleshooting
Even with the best care, you might encounter some challenges along the way. Here are some common problems and how to address them:
* Leggy Seedlings: This usually indicates insufficient light. Make sure your seedlings are getting enough light, either from a sunny window or grow lights.
* Yellowing Leaves: This could be a sign of overwatering, underwatering, or nutrient deficiency. Check the soil moisture and adjust your watering schedule accordingly. Fertilize your plants if they’re lacking nutrients.
* Root Rot: This is caused by overwatering and poor drainage. Make sure your pots have drainage holes and avoid overwatering.
* Pests: Inspect your plants regularly for pests. Treat any infestations promptly with an appropriate organic insecticide or insecticidal soap.
Tips for Success
Here are a few extra tips to help you succeed in growing endive indoors:
* Choose the Right Variety: Some endive varieties are better suited for indoor growing than others. ‘Green Curled’ and ‘Broad Batavian’ are good choices.
* Use High-Quality Potting Mix: A good quality potting mix will provide your plants with the nutrients they need to thrive.
* Provide Adequate Light: Endive needs plenty of light, especially indoors. Grow lights are highly recommended.
* Water Consistently: Endive plants need consistent moisture, but they don’t like to be waterlogged.
* Fertilize Regularly: Feed your endive plants every 2-3 weeks with a balanced liquid fertilizer.
* Monitor for Pests and Diseases: Inspect your plants regularly for pests and diseases. Treat any problems promptly.
* Be Patient: Growing endive takes time and patience. Don’t get discouraged if you encounter some challenges along the way.
Growing endive indoors can be a fun and rewarding experience. With a little bit of care and attention, you can enjoy fresh, homegrown endive all year round. Happy gardening!
Conclusion
So, there you have it! Growing endive indoors is not only possible, but it’s also a surprisingly rewarding experience. Forget those wilted, overpriced heads at the grocery store. With a little patience and this simple DIY trick, you can have a constant supply of fresh, crisp endive right at your fingertips.
Why is this a must-try? Because it puts you in control of your food source. You know exactly what’s going into your endive – no pesticides, no questionable storage practices, just pure, homegrown goodness. Plus, the flavor of freshly forced endive is simply unparalleled. It’s subtly bitter, refreshingly crunchy, and adds a sophisticated touch to salads, appetizers, and even cooked dishes.
But the benefits don’t stop there. Growing endive indoors is also a fantastic way to reduce food waste. Instead of tossing those endive roots after enjoying the initial head, you’re giving them a second life, transforming them into something delicious and nutritious. It’s a sustainable practice that’s good for your wallet and good for the planet.
Looking for variations? Experiment with different varieties of endive! Belgian endive is the most common, but you can also try French endive or even broad-leaved endive for a slightly different flavor and texture. You can also play around with the forcing environment. Some growers prefer complete darkness, while others find that a little bit of indirect light enhances the flavor. Don’t be afraid to experiment and find what works best for you. Consider using different potting mixes as well. A well-draining mix is crucial, but you can add compost or other organic matter to boost nutrient levels.
And if you’re feeling adventurous, try forcing other root vegetables like chicory or dandelion greens. The process is similar, and you might discover a new favorite leafy green.
The key to successful indoor endive cultivation is patience and attention to detail. Keep the roots consistently moist, maintain a cool, dark environment, and be patient. It takes time for the chicons to develop, but the wait is well worth it.
We’re confident that once you try this DIY trick, you’ll be hooked. It’s a simple, sustainable, and satisfying way to enjoy fresh, flavorful endive year-round. So, grab those endive roots, gather your supplies, and get ready to embark on your indoor growing adventure.
Don’t forget to share your experiences with us! We’d love to hear about your successes, your challenges, and any tips or tricks you discover along the way. Post photos of your homegrown endive on social media and tag us. Let’s create a community of indoor endive enthusiasts! Let us know if you have any questions about how to grow endive indoors.
Frequently Asked Questions (FAQ)
What exactly is forcing, and why is it necessary for growing endive indoors?
Forcing is a horticultural technique that encourages a plant to produce new growth outside of its normal growing season. In the case of endive, forcing involves stimulating the root to produce a new head, or chicon, in a dark, cool environment. This is necessary because endive naturally grows as a leafy green in the field during the warmer months. To get those tightly packed, blanched heads indoors, we need to mimic the conditions that trigger this secondary growth. The darkness prevents chlorophyll production, resulting in the pale, tender leaves that are characteristic of Belgian endive. Without forcing, you’d just have a root!
How long does it take to grow endive indoors using this method?
The forcing process typically takes about 3-5 weeks. The exact timeframe can vary depending on factors such as the variety of endive, the temperature of the forcing environment, and the overall health of the root. You’ll know the endive is ready to harvest when the chicon is firm, tightly packed, and about 4-6 inches long. Be patient, and don’t rush the process. Allowing the endive to mature fully will result in a better flavor and texture.
What kind of container should I use for forcing endive?
You can use a variety of containers for forcing endive, as long as they are deep enough to accommodate the roots and have drainage holes. Plastic pots, terracotta pots, or even repurposed containers like yogurt tubs or milk cartons can work well. The size of the container will depend on the number of roots you’re forcing. A good rule of thumb is to allow at least 2-3 inches of space between each root. Make sure the container is opaque or can be covered to maintain darkness.
What is the ideal temperature for forcing endive indoors?
The ideal temperature for forcing endive is between 60-65°F (15-18°C). This cool temperature range encourages the development of the chicon without causing it to bolt or become bitter. Avoid exposing the endive to temperatures above 70°F (21°C), as this can negatively impact the flavor and texture. A basement, garage, or cool pantry are often good locations for forcing endive.
How often should I water the endive roots during the forcing process?
Keep the potting mix consistently moist, but not waterlogged. Water thoroughly when the top inch of soil feels dry to the touch. Avoid overwatering, as this can lead to root rot. The frequency of watering will depend on factors such as the temperature and humidity of the forcing environment. Check the soil moisture regularly and adjust your watering schedule accordingly.
Can I reuse the endive roots after harvesting the first chicon?
Unfortunately, endive roots typically only produce one good chicon. While you might be tempted to try forcing them again, the second growth will likely be smaller, less flavorful, and more prone to bitterness. It’s best to compost the roots after harvesting the first chicon and start with fresh roots for your next batch of indoor endive.
What if my endive chicons are bitter?
Bitterness in endive can be caused by several factors, including exposure to light, high temperatures, and insufficient watering. To minimize bitterness, ensure that the forcing environment is completely dark, maintain a cool temperature, and keep the potting mix consistently moist. You can also try blanching the endive chicons before eating them. To blanch, simply soak them in cold water for about 30 minutes. This will help to remove some of the bitter compounds.
Can I grow endive from seed indoors?
While you can technically grow endive from seed indoors, it’s a much longer and more involved process than forcing. Growing from seed requires starting the seeds indoors several weeks before the last frost, transplanting them into larger containers, and then waiting for them to mature before harvesting the roots for forcing. For most home gardeners, forcing endive from purchased roots is a more practical and efficient option.
Where can I find endive roots for forcing?
Endive roots are often available at farmers’ markets, specialty produce stores, and online retailers. Look for roots that are firm, healthy, and free from blemishes. You can also save the roots from endive heads that you purchase at the grocery store, but be sure to choose heads that are fresh and have healthy-looking roots.
Is growing endive indoors organic?
Whether your indoor endive is organic depends on the materials and methods you use. If you use organic potting mix, organic fertilizer (if needed), and avoid using any synthetic pesticides or herbicides, then your endive can be considered organic. Remember to source your endive roots from a reputable supplier who uses organic practices.


Leave a Comment