
Grow Malabar Spinach Easily and unlock a world of vibrant, nutritious greens right in your own backyard! Have you ever dreamed of harvesting fresh, leafy spinach without the fuss of complicated gardening techniques? I know I have! This DIY guide is your passport to a thriving Malabar Spinach patch, even if you’re a complete beginner.
Malabar Spinach, also known as Basella alba, isn’t just another leafy green; it’s a culinary treasure with roots stretching back centuries in Asia and Africa. It’s been a staple in traditional diets, prized for its unique flavor and impressive health benefits. But beyond its historical significance, growing your own Malabar Spinach offers a fantastic alternative to store-bought greens.
Why should you learn to grow Malabar Spinach easily? Well, for starters, it’s incredibly resilient and thrives in warm weather, making it perfect for those of us who struggle with traditional spinach varieties. Plus, it’s a climbing vine, adding a beautiful vertical element to your garden. Imagine fresh, delicious spinach readily available for your salads, stir-fries, and smoothies, all while beautifying your outdoor space. This DIY guide will provide you with simple, step-by-step instructions and clever hacks to ensure a bountiful harvest. Let’s get started!
Grow Your Own Malabar Spinach: A Beginner’s Guide
Hey there, fellow gardening enthusiasts! I’m so excited to share my experience with growing Malabar spinach. This isn’t your typical spinach; it’s a heat-loving vine that thrives in warm weather, making it perfect for those of us who struggle to keep regular spinach alive during the summer months. Plus, it’s incredibly easy to grow, even if you’re a complete beginner like I was!
What You’ll Need
Before we dive in, let’s gather our supplies. You probably have some of these already!
* Malabar spinach seeds or cuttings (I’ll explain both methods)
* A sunny spot in your garden (at least 6 hours of direct sunlight)
* Well-draining soil (a mix of compost, potting soil, and garden soil works great)
* A trellis, fence, or other support structure (this stuff vines!)
* Watering can or hose
* Gardening gloves (optional, but I always wear them)
* Small pots or seed trays (if starting from seed indoors)
* Seed starting mix (if starting from seed indoors)
* Pruning shears or scissors
Starting from Seed: A Step-by-Step Guide
Okay, let’s get those seeds germinating! I’ve found that starting seeds indoors gives them a head start, especially if you live in a cooler climate.
1. Soak the Seeds: Malabar spinach seeds have a tough outer shell, so soaking them in warm water for 24-48 hours helps them germinate faster. I usually put them in a small bowl and change the water once a day.
2. Prepare Your Seed Trays or Pots: Fill your seed trays or small pots with seed starting mix. Make sure the mix is moist but not soggy.
3. Sow the Seeds: Plant the seeds about ½ inch deep in the soil. I usually put 2-3 seeds in each cell or pot to increase my chances of success.
4. Water Gently: Water the seeds gently using a spray bottle or watering can with a rose attachment. You don’t want to dislodge the seeds.
5. Provide Warmth and Light: Place the seed trays or pots in a warm location, ideally around 70-80°F (21-27°C). A heat mat can be helpful if your house is cool. You’ll also need to provide plenty of light. A sunny windowsill works, but a grow light is even better.
6. Keep the Soil Moist: Keep the soil consistently moist, but not waterlogged. Check the soil daily and water as needed.
7. Wait Patiently: Germination can take anywhere from 7-21 days, so be patient! Once the seedlings emerge, thin them out to one plant per cell or pot. Choose the strongest seedling and snip off the others at the soil line.
8. Harden Off the Seedlings: Before transplanting the seedlings outdoors, you’ll need to harden them off. This means gradually exposing them to outdoor conditions over a period of 7-10 days. Start by placing them in a sheltered spot outdoors for an hour or two each day, gradually increasing the amount of time they spend outside.
9. Transplant Outdoors: Once the seedlings are hardened off and the weather is warm (soil temperature above 65°F or 18°C), you can transplant them into your garden. Choose a sunny spot with well-draining soil. Space the plants about 12-18 inches apart.
Starting from Cuttings: An Even Easier Method!
If you have access to a Malabar spinach plant, starting from cuttings is even easier than starting from seed. This is my preferred method because it’s so quick and reliable.
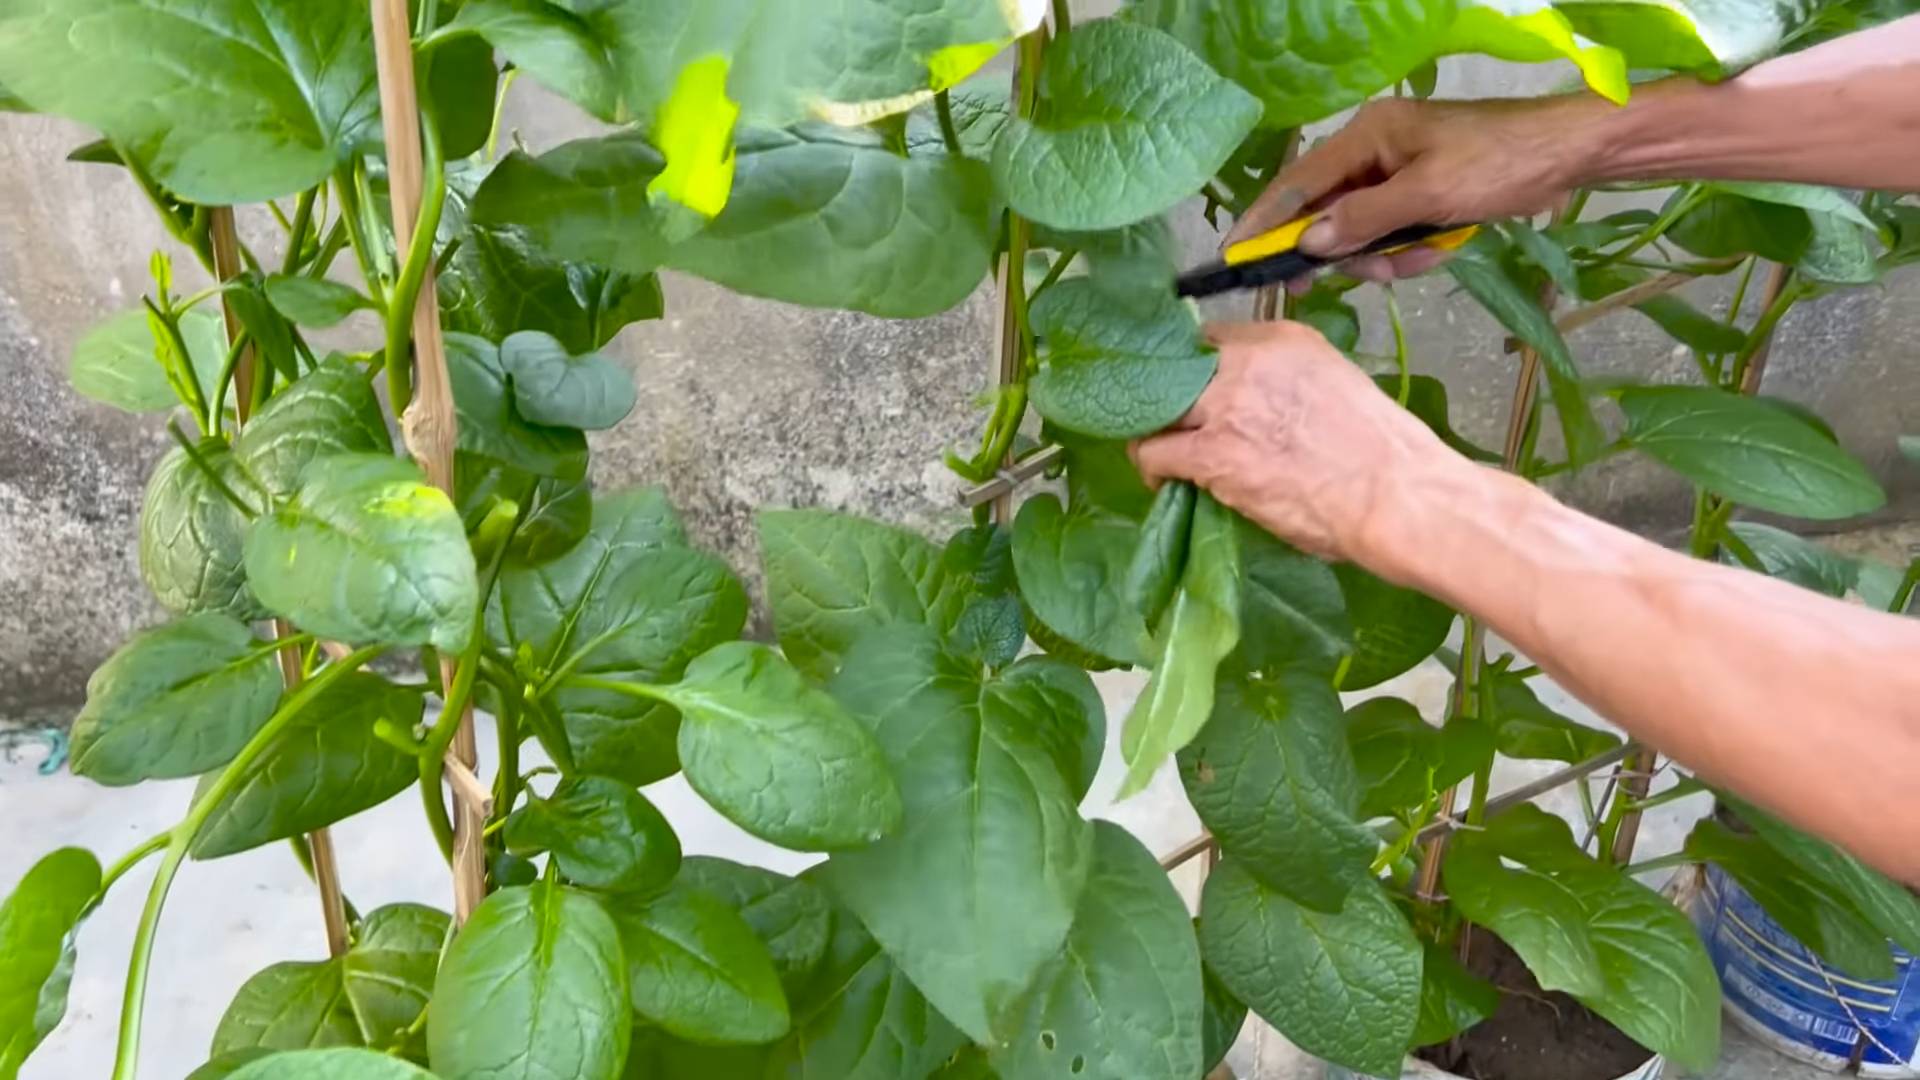
1. Take Cuttings: Using clean pruning shears or scissors, take cuttings that are about 4-6 inches long. Choose stems that are healthy and have several leaves.
2. Remove Lower Leaves: Remove the leaves from the bottom 2 inches of the cutting. This will expose the nodes where roots will form.
3. Rooting in Water (My Favorite): Place the cuttings in a glass or jar of water, making sure that the nodes are submerged. Place the jar in a bright, indirect light location. Change the water every 2-3 days.
4. Rooting in Soil (Alternative): Alternatively, you can dip the cut end of the cutting in rooting hormone (optional) and plant it directly into a small pot filled with moist potting mix. Cover the pot with a plastic bag to create a humid environment.
5. Wait for Roots to Form: Roots should start to form in about 1-2 weeks. You’ll know the cuttings are ready to transplant when the roots are about an inch long.
6. Transplant Outdoors: Once the cuttings have developed roots, you can transplant them into your garden. Choose a sunny spot with well-draining soil. Space the plants about 12-18 inches apart.
Planting and Growing Malabar Spinach
Whether you started from seed or cuttings, the planting process is the same.
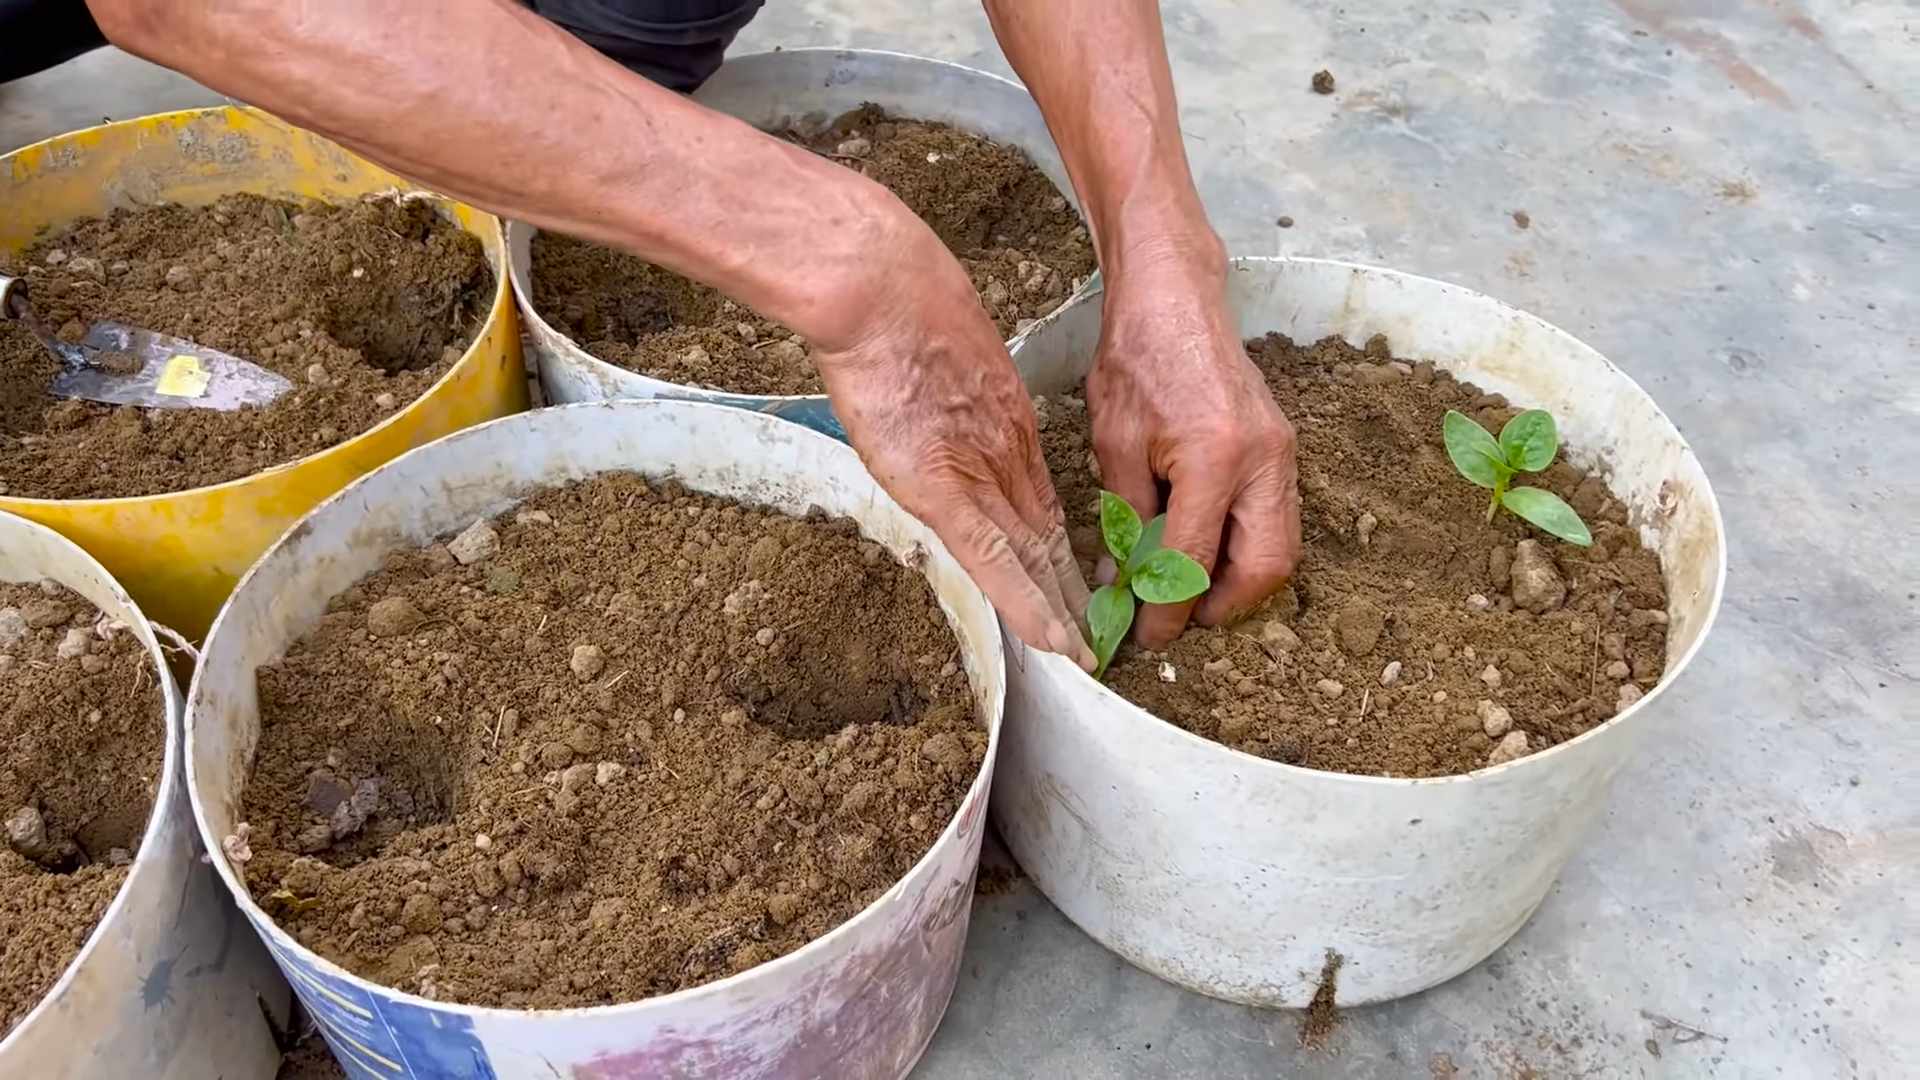
1. Prepare the Soil: Dig a hole that is slightly larger than the root ball of your seedling or cutting. Amend the soil with compost or other organic matter to improve drainage and fertility.
2. Plant Carefully: Gently remove the seedling or cutting from its pot and place it in the hole. Make sure the top of the root ball is level with the surrounding soil.
3. Backfill and Water: Backfill the hole with soil and gently firm it around the plant. Water thoroughly.
4. Provide Support: Malabar spinach is a vine, so it needs a trellis, fence, or other support structure to climb on. Install the support structure near the plant at the time of planting. I use a simple bamboo trellis that I built myself.
5. Water Regularly: Water the plants regularly, especially during hot, dry weather. Malabar spinach prefers consistently moist soil.
6. Fertilize Occasionally: Fertilize the plants every few weeks with a balanced fertilizer. I like to use a liquid seaweed fertilizer.
7. Prune Regularly: Pruning encourages bushier growth and more leaves. Pinch back the tips of the vines regularly.
Harvesting and Using Malabar Spinach
The best part about growing Malabar spinach is harvesting and eating it!
1. Harvest Young Leaves: You can start harvesting leaves as soon as the plant is established. Harvest the young, tender leaves for the best flavor.
2. Harvest Regularly: Regular harvesting encourages more growth. Don’t be afraid to harvest frequently!
3. How to Harvest: Simply snip off the leaves with your fingers or pruning shears.
4. Culinary Uses: Malabar spinach can be used in a variety of dishes. It can be eaten raw in salads, cooked in stir-fries, soups, and stews, or used as a substitute for regular spinach in any recipe. It has a slightly mucilaginous texture, similar to okra, which some people find off-putting. However, cooking it properly can minimize this texture. I love adding it to my smoothies for an extra boost of nutrients!
5. Storage: Store harvested leaves in the refrigerator for up to a week.
Troubleshooting
Malabar spinach is generally pest and disease resistant, but here are a few things to watch out for:
* Aphids: Aphids can sometimes be a problem. Spray them off with a strong stream of water or use insecticidal soap.
* Slugs and Snails: Slugs and snails can also be a nuisance. Use slug bait or handpick them off the plants.
* Yellowing Leaves: Yellowing leaves can be a sign of overwatering or nutrient deficiency. Make sure the soil is well-draining and fertilize regularly.
Why I Love Growing Malabar Spinach
I absolutely love growing Malabar spinach because it’s so easy, productive, and delicious. It’s a great way to add some fresh greens to your diet, especially during the hot summer months when other leafy greens struggle. Plus, it’s a beautiful vine that adds a touch of greenery to my garden. I hope you’ll give it a try! You won’t be disappointed. Happy gardening!
Conclusion
So, there you have it! Growing Malabar spinach easily at home is not only achievable but also incredibly rewarding. Forget those expensive, wilted bunches at the grocery store. Imagine stepping into your garden or onto your balcony and harvesting fresh, vibrant leaves whenever you need them. This DIY trick transforms anyone, regardless of their gardening experience, into a successful Malabar spinach cultivator.
Why is this a must-try? Because it’s economical, sustainable, and guarantees the freshest possible produce. You control the growing environment, ensuring your spinach is free from harmful pesticides and herbicides. Plus, the satisfaction of nurturing a plant from seed to table is simply unmatched.
But the beauty of this method lies in its adaptability. Feel free to experiment with different growing mediums. While we’ve highlighted the benefits of well-draining soil, hydroponic systems can also yield impressive results. Consider adding companion plants like basil or marigolds to deter pests naturally and enhance the overall health of your Malabar spinach.
Don’t be afraid to get creative with your trellising! While a simple bamboo stake works wonders, you can use repurposed materials like old ladders or even create a living wall effect. The possibilities are endless.
And speaking of creativity, think beyond just using the leaves in salads. Malabar spinach is incredibly versatile in the kitchen. Try adding it to stir-fries, soups, or even smoothies for a nutritional boost. Its slightly mucilaginous texture thickens sauces beautifully, adding a unique depth of flavor.
We are confident that once you try this DIY trick, you’ll be hooked. It’s a simple, effective, and incredibly satisfying way to enjoy fresh, homegrown Malabar spinach.
Now, we want to hear from you! Give this method a try and share your experiences in the comments below. What variations did you experiment with? What challenges did you encounter, and how did you overcome them? Your insights will not only inspire other readers but also help us refine this guide even further. Let’s build a community of thriving Malabar spinach growers together! We are excited to see your journey of growing Malabar spinach easily.
Frequently Asked Questions (FAQ)
What exactly is Malabar spinach, and how is it different from regular spinach?
Malabar spinach (Basella alba or Basella rubra) isn’t actually a true spinach. It’s a heat-loving vine that thrives in warm climates, unlike traditional spinach which prefers cooler temperatures. It has thicker, succulent leaves and a slightly different flavor profile – some describe it as having a mild, peppery taste with hints of citrus. It’s also incredibly nutritious, packed with vitamins A and C, iron, and calcium. Because it’s a vine, it requires support to grow vertically, making it an attractive addition to gardens and balconies.
How long does it take to grow Malabar spinach from seed?
Generally, it takes about 2-3 weeks for Malabar spinach seeds to germinate. However, germination rates can be somewhat inconsistent. Soaking the seeds in warm water for 24 hours before planting can significantly improve germination. Once the seedlings emerge, they will grow relatively quickly, and you can start harvesting leaves in about 60-70 days. Remember that consistent watering and adequate sunlight are crucial for optimal growth.
What are the ideal growing conditions for Malabar spinach?
Malabar spinach thrives in warm, humid conditions with plenty of sunlight. Aim for at least 6-8 hours of direct sunlight per day. The ideal temperature range is between 70°F and 90°F (21°C and 32°C). The soil should be well-draining and rich in organic matter. Regular watering is essential, especially during hot, dry periods. Mulching around the base of the plant can help retain moisture and suppress weeds.
What kind of support or trellis does Malabar spinach need?
Since Malabar spinach is a vine, it needs a trellis or other support structure to climb. A simple bamboo stake, a tomato cage, or even a section of fencing will work well. You can also get creative and use repurposed materials like old ladders or branches. The key is to provide a sturdy structure that the vine can easily grip and climb. As the plant grows, you may need to gently guide the vines and tie them to the support.
How often should I water Malabar spinach?
Water Malabar spinach regularly, especially during hot weather. The soil should be consistently moist but not waterlogged. Check the soil moisture by sticking your finger about an inch deep. If the soil feels dry, it’s time to water. Avoid overhead watering, as this can increase the risk of fungal diseases. Instead, water at the base of the plant.
Are there any common pests or diseases that affect Malabar spinach?
Malabar spinach is generally resistant to pests and diseases. However, it can occasionally be affected by aphids, spider mites, or fungal diseases like leaf spot. Regularly inspect your plants for signs of infestation or disease. If you notice any problems, treat them promptly with organic pest control methods or fungicides. Good air circulation and proper watering practices can also help prevent these issues.
How do I harvest Malabar spinach?
You can start harvesting Malabar spinach leaves once the plant is established and has reached a decent size. Simply snip off the leaves with scissors or pruning shears, leaving about an inch of stem attached. Avoid removing too many leaves at once, as this can stress the plant. Regular harvesting will encourage the plant to produce more leaves. You can also harvest the young shoots, which are tender and flavorful.
Can I grow Malabar spinach in a container?
Yes, Malabar spinach grows very well in containers. Choose a pot that is at least 12 inches in diameter and has good drainage holes. Use a high-quality potting mix that is rich in organic matter. Provide a trellis or other support structure for the vine to climb. Water regularly and fertilize every few weeks with a balanced fertilizer. Place the container in a sunny location that receives at least 6-8 hours of direct sunlight per day.
Is Malabar spinach safe to eat raw?
Yes, Malabar spinach leaves are safe to eat raw, although some people prefer the taste and texture when cooked. The raw leaves have a slightly mucilaginous texture, similar to okra. Cooking the leaves reduces this texture and makes them more palatable for some. You can use Malabar spinach in salads, sandwiches, or as a garnish.
How can I store Malabar spinach?
Malabar spinach leaves are best used fresh. However, you can store them in the refrigerator for a few days. Wrap the leaves in a damp paper towel and place them in a plastic bag. Store them in the crisper drawer of your refrigerator. You can also freeze Malabar spinach leaves for longer storage. Blanch the leaves in boiling water for a minute or two, then transfer them to an ice bath. Drain the leaves and squeeze out any excess water. Place them in a freezer bag and store them in the freezer for up to six months.
Leave a Comment