
Grow Mint Indoors? Absolutely! Imagine stepping into your kitchen and snipping fresh, fragrant mint leaves for your tea, mojito, or that delicious lamb dish you’re planning. No more last-minute grocery store runs or settling for wilted, sad-looking mint from the produce aisle. This isn’t just a dream; it’s an achievable reality with a few simple DIY tricks.
Mint, with its vibrant history stretching back to ancient Egypt where it was used for medicinal purposes and in religious ceremonies, has always been cherished for its refreshing qualities. Today, we often take for granted the ease with which we can access herbs, but cultivating your own, especially indoors, connects you to that rich history and provides a sense of self-sufficiency.
Let’s face it, life gets busy. We all crave fresh ingredients, but maintaining an outdoor garden can feel overwhelming. That’s where the magic of indoor gardening comes in! Learning how to grow mint indoors is a game-changer. It’s a low-maintenance, high-reward project that brings a touch of nature into your home, purifies the air, and provides a constant supply of this versatile herb. I’m excited to share some easy-to-follow DIY hacks that will have you enjoying homegrown mint in no time, regardless of your gardening experience. Get ready to unleash your inner green thumb!
Grow Your Own Mint Indoors: A Beginner’s Guide
Hey there, fellow plant enthusiasts! Ever dreamt of having fresh, fragrant mint readily available for your mojitos, teas, or culinary creations? Well, dream no more! Growing mint indoors is surprisingly easy, and I’m here to guide you through every step of the process. Get ready to unleash your inner gardener!
Choosing Your Mint Variety
First things first, let’s talk mint varieties. There’s a whole world of mint out there, from the classic peppermint and spearmint to more exotic options like chocolate mint and apple mint.
* Peppermint: This is your go-to for a strong, refreshing flavor. Perfect for teas and candies.
* Spearmint: Milder and sweeter than peppermint, spearmint is ideal for mojitos and savory dishes.
* Chocolate Mint: As the name suggests, this variety has a subtle chocolatey aroma and flavor. Great for desserts!
* Apple Mint: A fruity and slightly fuzzy mint, apple mint adds a unique twist to salads and drinks.
I recommend starting with peppermint or spearmint, as they’re generally the easiest to grow. Once you’ve mastered those, feel free to experiment with other varieties!
Gathering Your Supplies
Before we dive into the planting process, let’s make sure you have everything you need. Here’s your shopping list:
* Mint Seeds or Cuttings: You can either start from seeds or propagate from cuttings. Cuttings are faster and easier, especially for beginners. You can often get cuttings from a friend who already grows mint, or purchase them online or at a local nursery.
* Potting Mix: Use a well-draining potting mix specifically formulated for containers. Avoid using garden soil, as it can become compacted and doesn’t drain well in pots.
* Pot with Drainage Holes: Choose a pot that’s at least 6 inches in diameter and has drainage holes at the bottom. Mint likes to spread, so a slightly larger pot is always a good idea.
* Watering Can or Spray Bottle: For gentle watering.
* Grow Light (Optional): If you don’t have a sunny windowsill, a grow light can provide the necessary light for your mint to thrive.
* Small Gardening Trowel or Spoon: For handling the potting mix.
* Rooting Hormone (Optional): If you’re using cuttings, rooting hormone can help them develop roots faster.
Planting Your Mint
Okay, let’s get our hands dirty! Here’s how to plant your mint, whether you’re starting from seeds or cuttings.
Planting from Seeds
1. Prepare the Pot: Fill your pot with potting mix, leaving about an inch of space at the top. Gently pat down the soil to remove any air pockets.
2. Sow the Seeds: Sprinkle the mint seeds evenly over the surface of the soil. Mint seeds are tiny, so don’t bury them too deep. A light dusting of soil is all they need.
3. Water Gently: Use a spray bottle to mist the soil thoroughly. You want to keep the soil moist but not waterlogged.
4. Provide Light: Place the pot in a sunny windowsill or under a grow light. Mint needs at least 6 hours of sunlight per day.
5. Maintain Moisture: Keep the soil consistently moist until the seeds germinate. This usually takes about 1-2 weeks. You can cover the pot with plastic wrap to create a humid environment, but be sure to remove it once the seedlings emerge.
6. Thin the Seedlings: Once the seedlings have a few sets of leaves, thin them out so that they’re spaced about 2-3 inches apart. This will give them enough room to grow.
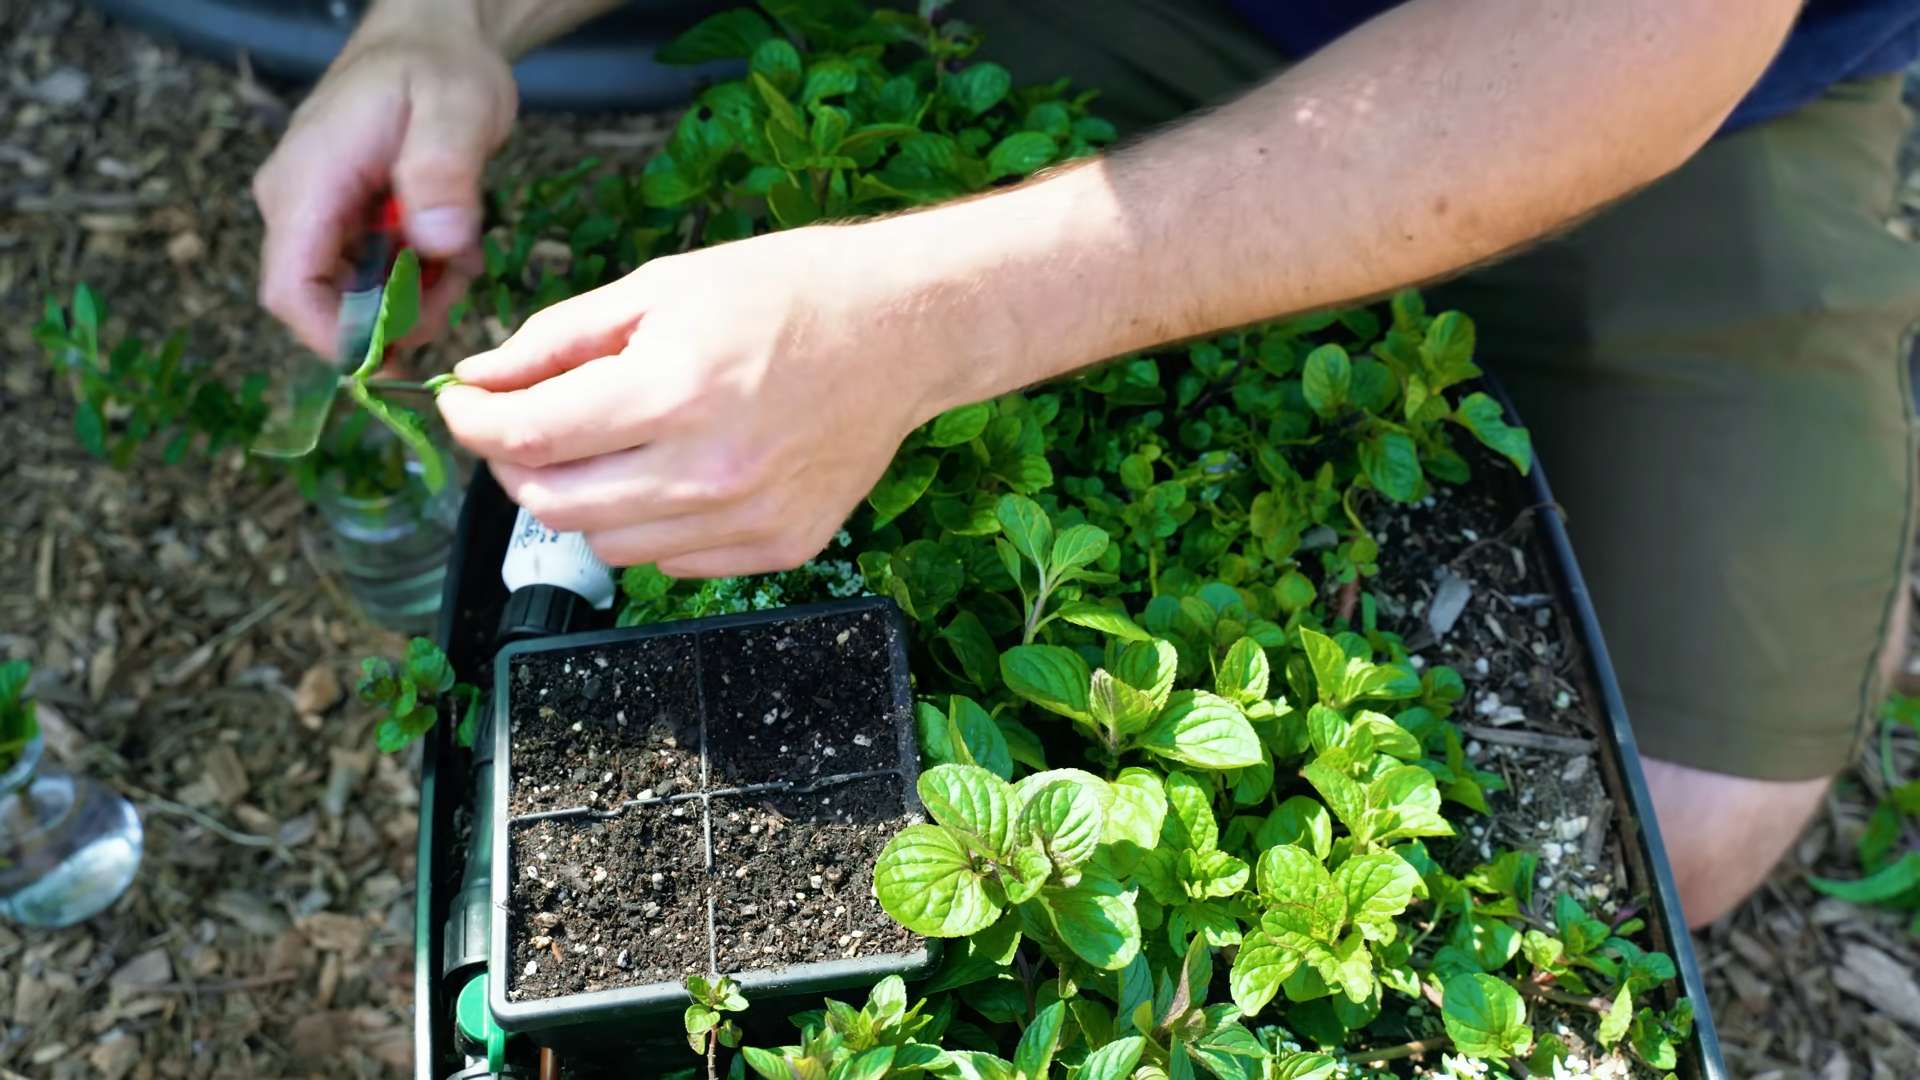
Planting from Cuttings
1. Prepare the Cutting: Take a cutting that is about 4-6 inches long from a healthy mint plant. Remove the leaves from the bottom 2 inches of the cutting.
2. Apply Rooting Hormone (Optional): Dip the cut end of the stem in rooting hormone powder. This will encourage root growth.
3. Plant the Cutting: Make a small hole in the potting mix with your finger or a pencil. Insert the cutting into the hole, making sure that the bottom 2 inches are buried.
4. Water Gently: Water the cutting thoroughly.
5. Create a Humid Environment: Cover the pot with a plastic bag or a clear plastic container to create a humid environment. This will help the cutting retain moisture and develop roots.
6. Provide Light: Place the pot in a bright, indirect light. Avoid direct sunlight, as this can scorch the cutting.
7. Check for Roots: After about 2-3 weeks, gently tug on the cutting. If it resists, it has developed roots.
8. Remove the Cover: Once the cutting has rooted, remove the plastic bag or container.
9. Transplant (If Necessary): If you started the cutting in a small container, transplant it to a larger pot once it has outgrown its current one.
Caring for Your Indoor Mint
Now that your mint is planted, it’s time to learn how to care for it. Here are some tips to keep your mint happy and healthy:
* Watering: Mint likes consistently moist soil, but it doesn’t like to be waterlogged. Water your mint when the top inch of soil feels dry to the touch. Be sure to use a pot with drainage holes to prevent root rot.
* Light: Mint needs at least 6 hours of sunlight per day. If you don’t have a sunny windowsill, use a grow light.
* Fertilizing: Feed your mint with a balanced liquid fertilizer every 2-4 weeks during the growing season (spring and summer).
* Pruning: Prune your mint regularly to encourage bushier growth and prevent it from becoming leggy. Simply pinch off the top leaves and stems. Don’t be afraid to harvest your mint frequently – the more you harvest, the more it will grow!
* Pest Control: Mint is generally pest-resistant, but it can occasionally be bothered by aphids or spider mites. If you notice any pests, spray your mint with insecticidal soap.
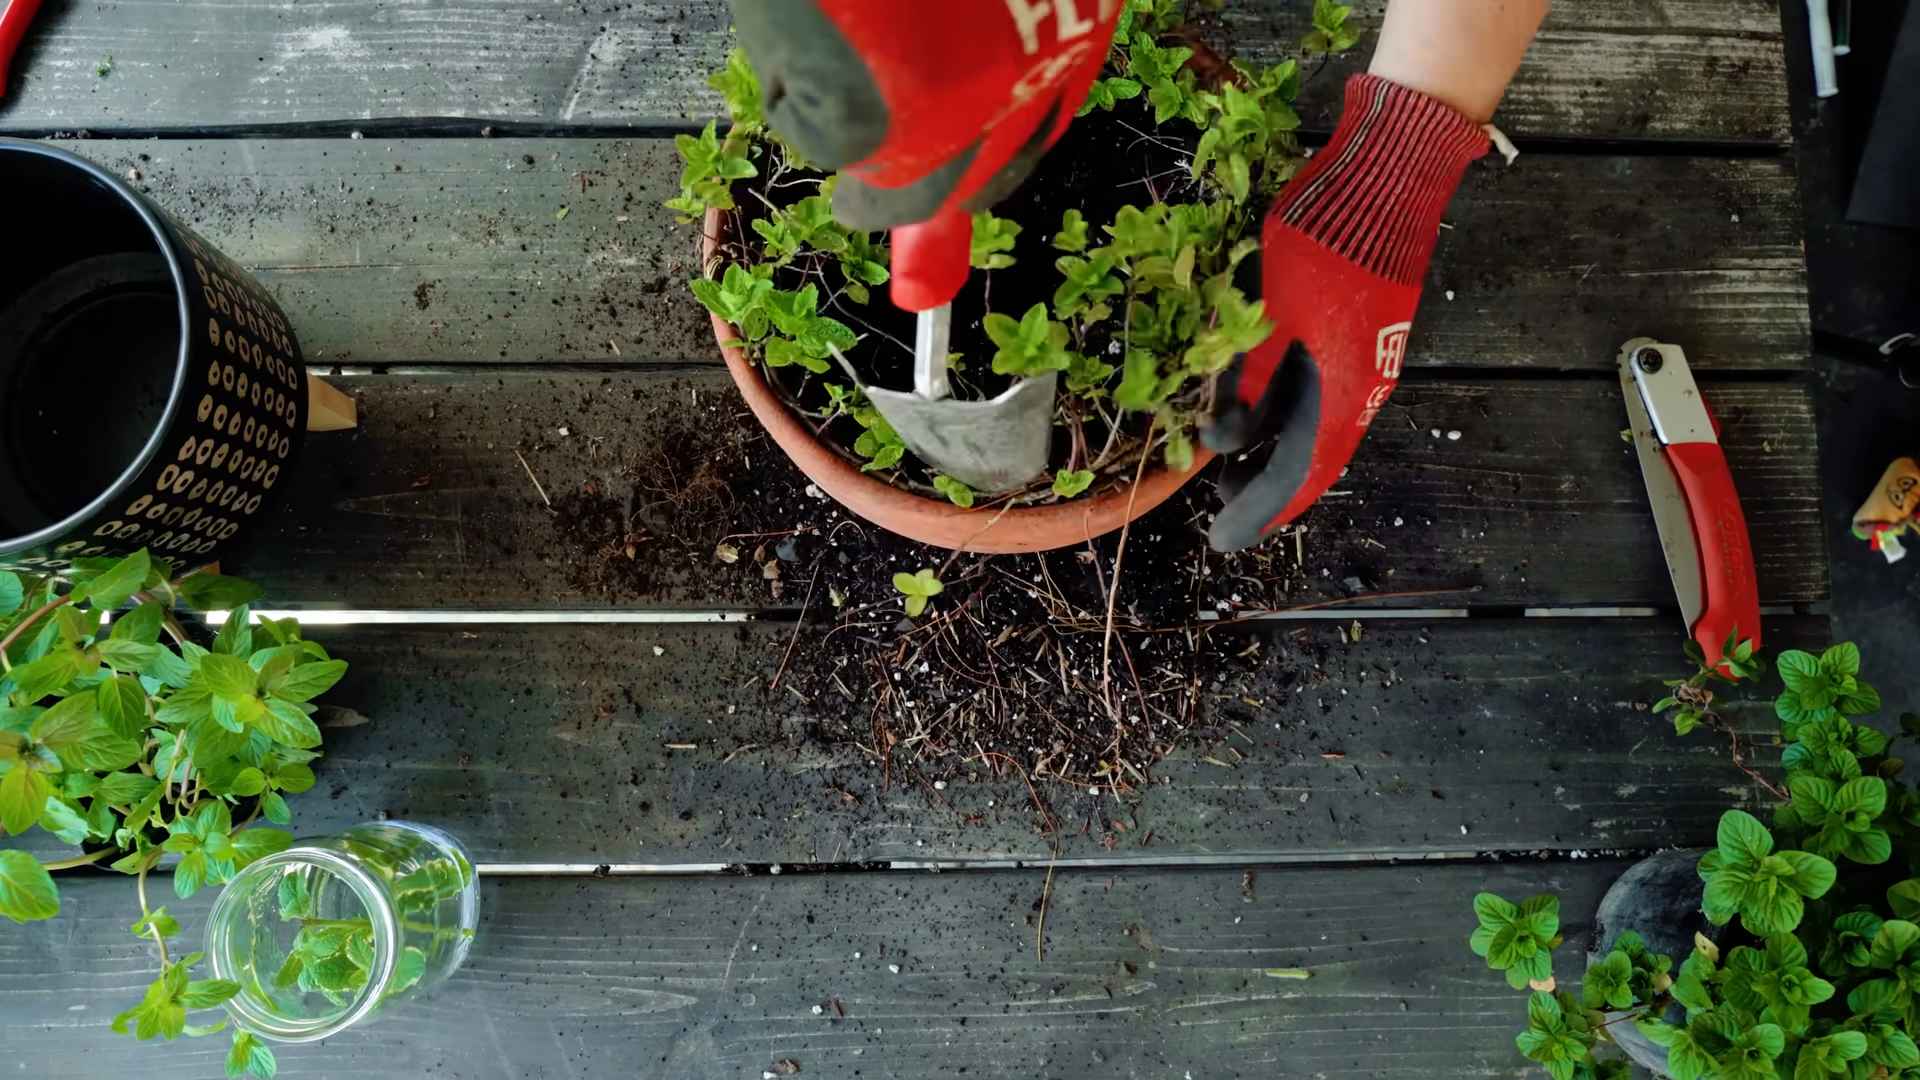
* Repotting: Mint is a fast-growing plant, so you may need to repot it every year or two. Choose a pot that’s slightly larger than the current one.
* Overwintering: Mint is a perennial plant, which means it can live for several years. However, it may go dormant during the winter months. If this happens, don’t worry! Simply reduce watering and move your mint to a cooler location. It will come back to life in the spring.
Harvesting Your Mint
The best part about growing your own mint is, of course, harvesting it! You can start harvesting your mint as soon as it has a few sets of leaves.
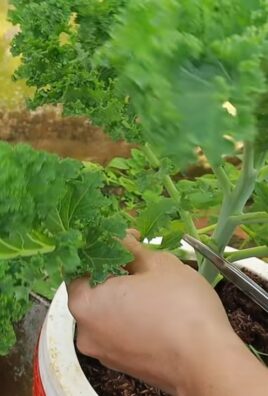
* Harvesting Technique: Use scissors or pruning shears to cut off the stems just above a leaf node (the point where a leaf grows out of the stem). This will encourage new growth.
* Harvesting Frequency: Harvest your mint frequently to encourage bushier growth. You can harvest up to one-third of the plant at a time.
* Preserving Your Mint: If you have more mint than you can use fresh, you can dry it or freeze it. To dry mint, simply hang the stems upside down in a cool, dry place. To freeze mint, chop it up and freeze it in ice cube trays with water.
Troubleshooting
Even with the best care, you may encounter some problems while growing mint indoors. Here are some common issues and how to fix them:
* Yellowing Leaves: This could be a sign of overwatering, underwatering, or nutrient deficiency. Check the soil moisture and adjust your watering accordingly. If the soil is consistently moist, you may be overwatering. If the soil is dry, you may be underwatering. If the leaves are yellowing all over, it could be a sign of nutrient deficiency. Fertilize your mint with a balanced liquid fertilizer.
* Leggy Growth: This is usually caused by insufficient light. Move your mint to a sunnier location or use a grow light.
* Pests: As mentioned earlier, mint can occasionally be bothered by aphids or spider mites. Spray your mint with insecticidal soap.
* Root Rot: This is caused by overwatering and poor drainage. Make sure your pot has drainage holes and that you’re not overwatering your mint. If you suspect root rot, repot your mint in fresh potting mix.
Enjoying Your Homegrown Mint
Now that you’ve successfully grown your own mint indoors, it’s time to enjoy the fruits (or rather, leaves) of your labor! Here are some ideas for using your fresh mint:
* Teas: Add fresh mint leaves to hot or iced tea for a refreshing
Conclusion
So, there you have it! Growing mint indoors is not only achievable, but it’s also a rewarding experience that brings a touch of freshness and vibrancy to your home. Forget those wilted, overpriced bunches from the grocery store. With a little effort and these simple steps, you can have a constant supply of fragrant, flavorful mint right at your fingertips.
Why is this DIY trick a must-try? Because it empowers you to control the quality and freshness of your mint, reduces your reliance on store-bought herbs, and adds a beautiful, green element to your indoor space. Imagine the satisfaction of snipping fresh mint leaves for your morning tea, a refreshing mojito, or a flavorful addition to your favorite dishes. It’s a small change that makes a big difference in your daily life.
But the fun doesn’t stop there! Feel free to experiment with different varieties of mint. Peppermint, spearmint, chocolate mint – the possibilities are endless! You can also try different containers, from repurposed mason jars to stylish ceramic pots, to match your home décor. Consider using a self-watering planter for even easier maintenance, especially if you tend to forget to water your plants. Another variation is to propagate your mint from cuttings. Once your initial plant is thriving, you can easily create new plants by taking cuttings and rooting them in water. This is a great way to expand your mint collection and share the joy of fresh herbs with friends and family.
Growing mint indoors is more than just a gardening project; it’s an investment in your well-being and a step towards a more sustainable lifestyle. It’s a chance to connect with nature, even in the heart of the city, and to enjoy the simple pleasures of fresh, homegrown herbs.
Don’t be intimidated if you’ve never grown herbs indoors before. Mint is a relatively forgiving plant, and with a little attention, you’ll be enjoying its fresh flavor in no time. We encourage you to give this DIY trick a try and discover the joy of growing your own mint.
We’re confident that you’ll be amazed at how easy and rewarding it is. And once you’ve experienced the satisfaction of harvesting your own fresh mint, we’d love to hear about it! Share your experiences, tips, and photos in the comments below. Let’s create a community of indoor mint growers and inspire others to bring the freshness of nature into their homes. What are you waiting for? Get planting!
Frequently Asked Questions (FAQ)
1. What kind of container should I use for growing mint indoors?
The best container for growing mint indoors is one that is at least 6 inches deep and has drainage holes. Mint roots tend to spread, so a wider pot is generally better than a narrow one. You can use plastic, ceramic, or terracotta pots. Terracotta pots are porous, which can help prevent overwatering, but they also dry out faster. Plastic pots retain moisture better, but it’s important to be careful not to overwater. Repurposed containers like mason jars or yogurt containers can also work, as long as they have drainage holes. Ensure the container is clean before planting to prevent the spread of diseases.
2. What type of soil is best for growing mint indoors?
Mint thrives in well-draining soil that is rich in organic matter. A good potting mix specifically formulated for herbs is ideal. You can also create your own mix by combining equal parts of potting soil, compost, and perlite or vermiculite. The compost provides nutrients, while the perlite or vermiculite improves drainage and aeration. Avoid using garden soil, as it can be too heavy and may contain pests or diseases. The pH of the soil should be slightly acidic to neutral, around 6.0 to 7.0.
3. How much sunlight does indoor mint need?
Mint needs at least 4-6 hours of sunlight per day to thrive. A south-facing window is usually the best option, but an east- or west-facing window can also work. If you don’t have access to enough natural light, you can supplement with a grow light. Position the grow light about 6-12 inches above the plant. Rotate the plant regularly to ensure that all sides receive adequate light. Signs of insufficient light include leggy growth, pale leaves, and a lack of fragrance.
4. How often should I water my indoor mint plant?
Water your mint plant when the top inch of soil feels dry to the touch. Water thoroughly until water drains out of the drainage holes. Avoid overwatering, as this can lead to root rot. Mint prefers consistently moist soil, but it doesn’t like to sit in standing water. During the winter months, when growth slows down, you may need to water less frequently. Check the soil moisture regularly and adjust your watering schedule accordingly.
5. How do I fertilize my indoor mint plant?
Mint benefits from regular fertilization, especially during the growing season (spring and summer). Use a balanced liquid fertilizer diluted to half strength every 2-4 weeks. Alternatively, you can use a slow-release fertilizer at the beginning of the growing season. Avoid over-fertilizing, as this can lead to leggy growth and a loss of flavor. Look for fertilizers specifically formulated for herbs or vegetables.
6. How do I harvest mint leaves from my indoor plant?
Harvest mint leaves by snipping them off with scissors or pinching them off with your fingers. Start harvesting when the plant is about 6 inches tall. To encourage bushier growth, prune the stems just above a leaf node (the point where leaves grow from the stem). You can harvest up to one-third of the plant at a time without harming it. Regular harvesting will also help prevent the plant from flowering, which can reduce the flavor of the leaves.
7. How do I prevent pests and diseases on my indoor mint plant?
Inspect your mint plant regularly for signs of pests or diseases. Common pests include aphids, spider mites, and whiteflies. You can control these pests by spraying the plant with insecticidal soap or neem oil. Ensure good air circulation around the plant to prevent fungal diseases. Avoid overwatering, as this can create a favorable environment for fungal growth. If you notice any signs of disease, remove the affected leaves immediately.
8. Can I grow different varieties of mint in the same container?
It’s generally not recommended to grow different varieties of mint in the same container, as they can cross-pollinate and lose their distinct flavors. Mint also tends to be invasive, and one variety may outcompete the others. If you want to grow multiple varieties of mint, it’s best to keep them in separate containers.
9. My mint plant is getting leggy. What should I do?
Leggy growth in mint plants is often caused by insufficient light. Move your plant to a brighter location or supplement with a grow light. You can also prune the leggy stems to encourage bushier growth. Cut the stems back to just above a leaf node. Regular pruning will help keep your mint plant compact and productive.
10. How do I propagate mint from cuttings?
Propagating mint from cuttings is a simple and effective way to create new plants. Take a 4-6 inch cutting from a healthy stem, just below a leaf node. Remove the lower leaves from the cutting. Place the cutting in a glass of water, making sure that the lower nodes are submerged. Place the glass in a bright, indirect light location. Change the water every few days. Roots should start to develop within a week or two. Once the roots are about an inch long, you can plant the cutting in a pot filled with well-draining potting mix. Water thoroughly and keep the soil moist until the plant is established.
Leave a Comment