
Grow Mint Indoors? Absolutely! Imagine stepping into your kitchen and snipping fresh, fragrant mint leaves for your morning tea, a refreshing mojito, or even a flavorful addition to your favorite dishes. No more last-minute grocery store runs or settling for wilted, lackluster herbs. This isn’t just a dream; it’s a reality you can easily create with a few simple tricks and a little DIY magic.
Mint, with its vibrant history stretching back to ancient Egypt where it was used for medicinal purposes and culinary delights, has always been a beloved herb. From the Romans who spread its cultivation throughout Europe to its prominent role in various cultures worldwide, mint’s versatility is undeniable. But let’s face it, sometimes our outdoor gardens aren’t always cooperative, or perhaps you simply don’t have the space. That’s where the beauty of indoor gardening comes in!
I know what you’re thinking: “I don’t have a green thumb!” But trust me, you don’t need to be a seasoned gardener to successfully grow mint indoors. This DIY guide is designed for everyone, from beginners to experienced plant enthusiasts. I’ll walk you through the essential steps, sharing my favorite tips and tricks to ensure your indoor mint thrives. We’ll cover everything from choosing the right container and soil to providing adequate light and water. Get ready to enjoy the delightful aroma and fresh flavor of homegrown mint all year round!
Grow Your Own Mint Indoors: A Beginner’s Guide
Hey there, fellow plant enthusiasts! Ever dreamt of having fresh, fragrant mint readily available for your mojitos, teas, or culinary creations? Well, dream no more! Growing mint indoors is surprisingly easy, and I’m here to guide you through every step of the process. Trust me, even if you think you have a black thumb, you can totally nail this. Let’s get started!
What You’ll Need
Before we dive in, let’s gather our supplies. Here’s a checklist of everything you’ll need to successfully grow mint indoors:
* **Mint Cuttings or a Mint Plant:** You can either propagate mint from cuttings (taken from a friend’s plant or a store-bought bunch) or purchase a small mint plant from a nursery or garden center. I personally prefer starting with cuttings – it’s more rewarding!
* **Pot with Drainage Holes:** Drainage is crucial for mint. Choose a pot that’s at least 6 inches in diameter and has drainage holes at the bottom. This prevents waterlogging, which mint absolutely hates.
* **Well-Draining Potting Mix:** Regular garden soil is too heavy for indoor containers. Opt for a well-draining potting mix specifically formulated for container gardening. This ensures proper aeration and drainage for your mint’s roots.
* **Watering Can or Spray Bottle:** You’ll need a way to water your mint. A watering can with a long spout is ideal for reaching the soil without splashing the leaves. A spray bottle is great for misting the leaves to increase humidity.
* **Sunny Location:** Mint thrives in bright, indirect sunlight. A windowsill that receives at least 4-6 hours of sunlight per day is perfect. If you don’t have a sunny windowsill, you can supplement with a grow light.
* **Optional: Rooting Hormone (for cuttings):** While not essential, rooting hormone can significantly speed up the rooting process for mint cuttings.
* **Optional: Small Glass or Jar (for rooting cuttings):** If you’re starting with cuttings, you’ll need a small glass or jar to root them in water.
Propagating Mint from Cuttings
This is my favorite method because it’s practically free and super satisfying! Here’s how to do it:
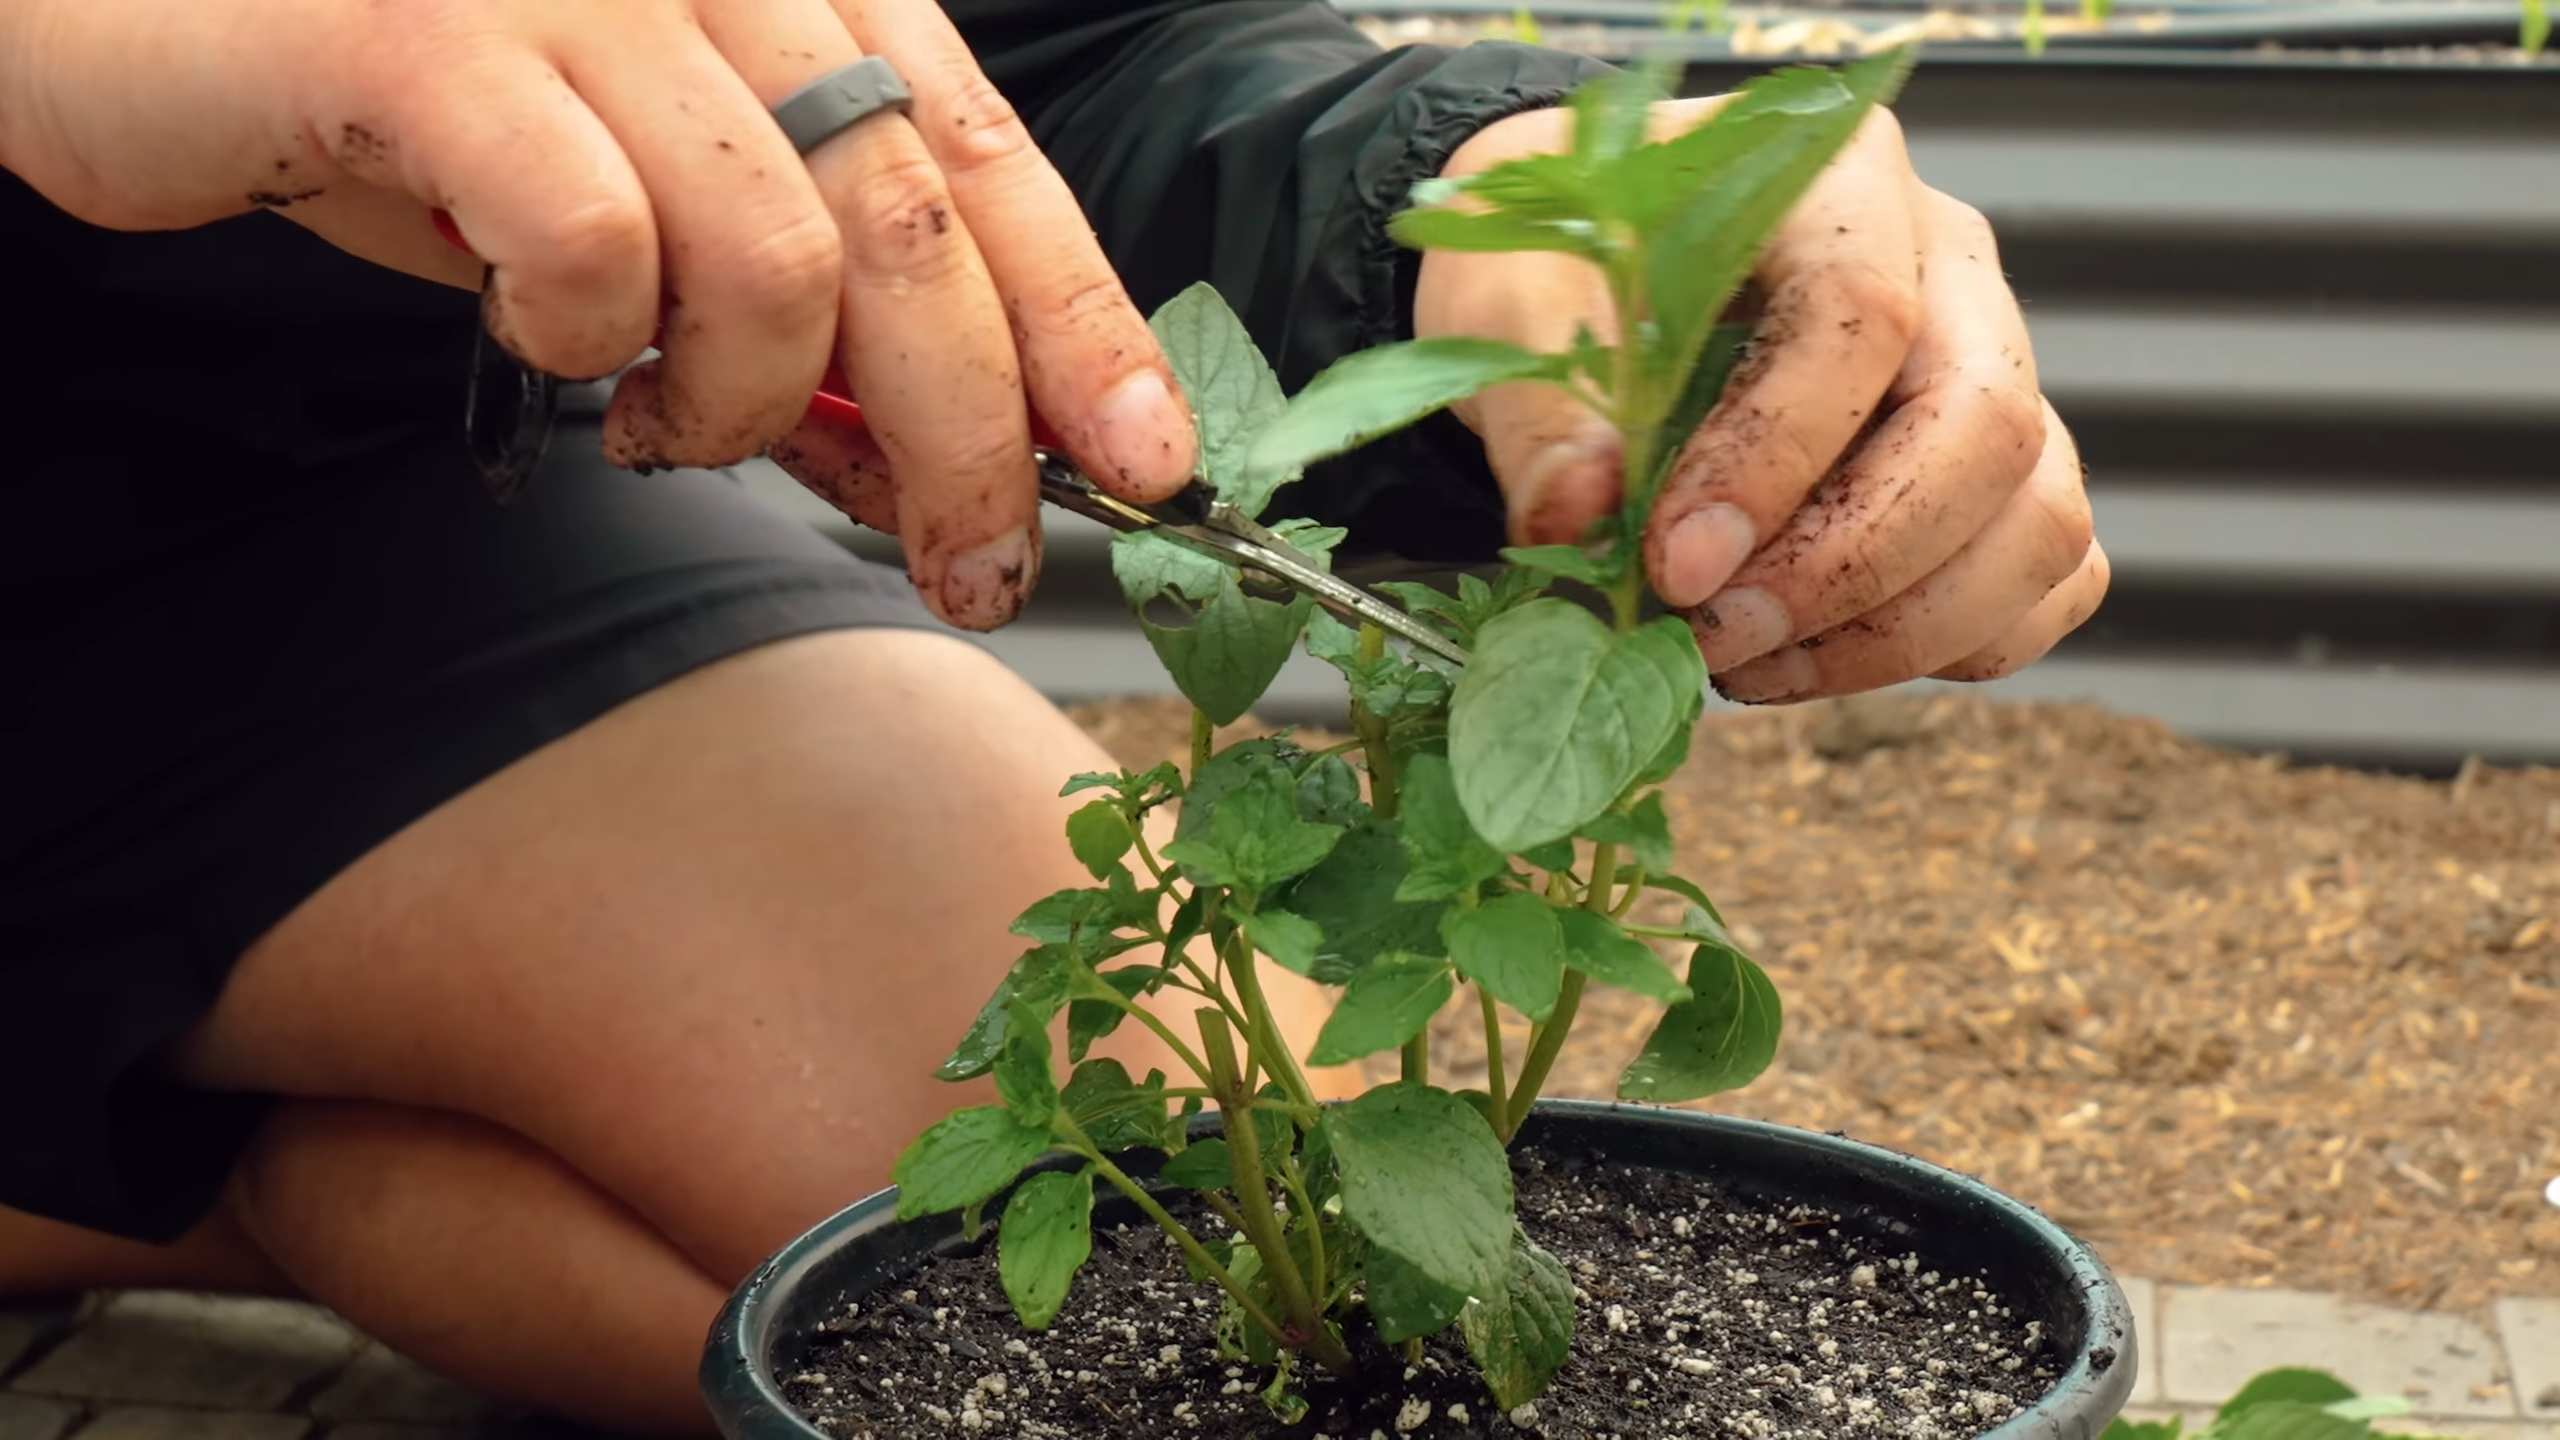
1. **Select Healthy Cuttings:** Choose healthy stems from a mature mint plant. Look for stems that are about 4-6 inches long and have several leaves. Avoid stems that are flowering or have any signs of disease.
2. **Prepare the Cuttings:** Using clean scissors or pruning shears, cut the stems just below a leaf node (the point where a leaf grows from the stem). Remove the leaves from the bottom 1-2 inches of the stem. This is where the roots will emerge.
3. **Root the Cuttings in Water:** Place the cuttings in a glass or jar filled with fresh water. Make sure the bottom 1-2 inches of the stems are submerged, but the leaves are above the water line.
4. **Place in a Bright Location:** Put the glass or jar in a bright, indirect sunlight location. Avoid direct sunlight, which can scorch the leaves.
5. **Change the Water Regularly:** Change the water every 1-2 days to prevent bacterial growth.
6. **Wait for Roots to Develop:** Within a week or two, you should start to see small white roots emerging from the stem. Allow the roots to grow to about 1-2 inches long before planting.
7. **Plant the Rooted Cuttings:** Once the roots are developed, carefully plant the cuttings in your prepared pot with well-draining potting mix.
Planting a Mint Plant
If you’ve opted to purchase a mint plant, the planting process is even simpler:
1. **Choose the Right Pot:** As mentioned earlier, make sure your pot is at least 6 inches in diameter and has drainage holes.
2. **Prepare the Potting Mix:** Fill the pot with well-draining potting mix, leaving about an inch of space at the top.
3. **Remove the Mint Plant from its Container:** Gently remove the mint plant from its original container. If the roots are tightly bound, gently loosen them with your fingers.
4. **Plant the Mint Plant:** Place the mint plant in the center of the pot and fill in the surrounding space with potting mix. Make sure the top of the root ball is level with the soil surface.
5. **Water Thoroughly:** Water the mint plant thoroughly until water drains out of the drainage holes. This helps settle the soil and ensures the roots are properly hydrated.
Caring for Your Indoor Mint
Now that your mint is planted, it’s time to learn how to keep it happy and healthy. Here’s a breakdown of the essential care tips:
* **Light:** Mint needs at least 4-6 hours of bright, indirect sunlight per day. If you don’t have a sunny windowsill, supplement with a grow light. Rotate the pot regularly to ensure all sides of the plant receive adequate light.
* **Watering:** Mint likes consistently moist soil, but it doesn’t like to be waterlogged. Water thoroughly when the top inch of soil feels dry to the touch. Avoid overwatering, which can lead to root rot.
* **Humidity:** Mint prefers moderate humidity. If your home is dry, you can increase humidity by misting the leaves regularly with a spray bottle or placing the pot on a tray filled with pebbles and water.
* **Fertilizing:** Feed your mint plant every 2-4 weeks with a balanced liquid fertilizer diluted to half strength. This will provide the necessary nutrients for healthy growth.
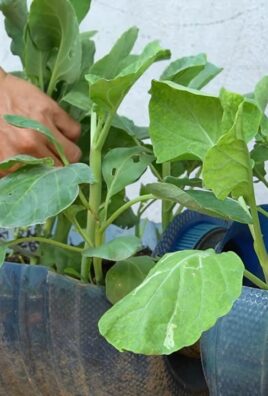
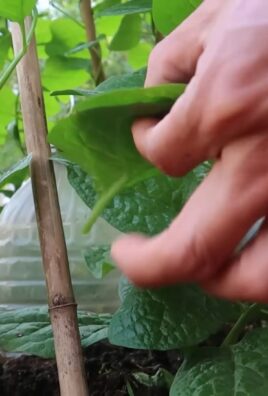
* **Pruning:** Regular pruning is essential for keeping your mint plant bushy and productive. Pinch off the top leaves of the stems to encourage branching. You can also harvest leaves as needed for culinary use.
* **Pest Control:** Keep an eye out for common houseplant pests like aphids, spider mites, and whiteflies. If you notice any pests, treat them promptly with insecticidal soap or neem oil.
* **Repotting:** Mint is a fast-growing plant, so you may need to repot it into a larger container every year or two. When repotting, choose a pot that’s 1-2 inches larger in diameter than the previous one.
Troubleshooting
Even with the best care, you might encounter some challenges along the way. Here are some common problems and how to fix them:
* **Yellowing Leaves:** Yellowing leaves can be caused by overwatering, underwatering, or nutrient deficiencies. Check the soil moisture and adjust your watering accordingly. If the soil is consistently moist, reduce your watering frequency. If the soil is dry, water more often. You can also try fertilizing your plant with a balanced liquid fertilizer.
* **Leggy Growth:** Leggy growth (long, spindly stems with few leaves) is usually caused by insufficient light. Move your mint plant to a brighter location or supplement with a grow light.
* **Brown Leaf Tips:** Brown leaf tips can be caused by dry air or salt buildup in the soil. Increase humidity by misting the leaves regularly or placing the pot on a tray filled with pebbles and water. You can also flush the soil with water to remove excess salts.
* **Pests:** As mentioned earlier, keep an eye out for common houseplant pests. Treat them promptly with insecticidal soap or neem oil.
Harvesting Your Mint
The best part about growing your own mint is, of course, harvesting it! You can start harvesting leaves as soon as the plant is established and has several stems.
* **Harvesting Technique:** Use clean scissors or pruning shears to cut off stems just above a leaf node. This will encourage new growth.
* **Harvesting Frequency:** You can harvest leaves as needed for culinary use. Regular harvesting will also help keep your mint plant bushy and productive.
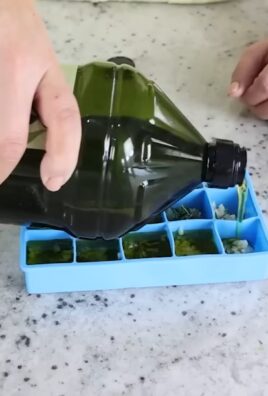
* **Preserving Mint:** If you have more mint than you can use fresh, you can preserve it by drying, freezing, or making mint-infused oil or vinegar.
Enjoy Your Fresh Mint!
And there you have it! You’re now equipped with the knowledge and skills to grow your own thriving mint plant indoors. Enjoy the fresh, fragrant leaves in your favorite recipes, teas, and cocktails. Happy gardening!

Conclusion
So, there you have it! Growing mint indoors is not only achievable, but it’s also a rewarding experience that brings a touch of freshness and vibrancy to your home. Forget those wilting, overpriced bunches from the grocery store. With a little effort and the right conditions, you can have a constant supply of fragrant, flavorful mint right at your fingertips.
Why is this DIY trick a must-try? Because it empowers you to control the quality and freshness of your mint. You’ll know exactly where it came from and how it was grown, ensuring it’s free from pesticides and other harmful chemicals. Plus, it’s incredibly satisfying to nurture a plant from a tiny sprig to a thriving bush. Imagine the joy of snipping fresh mint leaves for your morning tea, a refreshing mojito, or a flavorful addition to your favorite dishes. The possibilities are endless!
Beyond the basic method, there are several variations you can explore. Experiment with different varieties of mint, such as peppermint, spearmint, chocolate mint, or even orange mint, each offering a unique flavor profile. Consider using different types of containers, from simple terracotta pots to stylish self-watering planters. You can even create a miniature indoor herb garden by combining mint with other easy-to-grow herbs like basil, parsley, and chives.
For those who want to take their indoor mint growing to the next level, try propagating new plants from cuttings. This is a simple and effective way to expand your mint collection and share your bounty with friends and family. You can also experiment with different lighting conditions to see how they affect the growth and flavor of your mint. Some growers find that supplementing natural light with a grow light can significantly boost growth, especially during the darker winter months.
Don’t be intimidated if you’ve never grown anything before. Growing mint indoors is a forgiving process, and even beginners can achieve success with a little patience and attention. The key is to provide the right conditions – adequate light, well-draining soil, and consistent watering. And remember, even if you encounter a few setbacks along the way, don’t give up! Learning from your mistakes is part of the fun.
We wholeheartedly encourage you to try this DIY trick and experience the joy of growing your own mint indoors. It’s a simple, affordable, and rewarding way to add a touch of green to your home and elevate your culinary creations.
Once you’ve given it a try, we’d love to hear about your experience! Share your tips, tricks, and photos in the comments section below. Let us know what varieties of mint you’re growing, what challenges you’ve faced, and what successes you’ve celebrated. Together, we can create a community of indoor mint enthusiasts and inspire others to embrace the joys of homegrown herbs. So, go ahead, get your hands dirty, and start growing your own fresh, flavorful mint today! You’ll be amazed at how easy and rewarding it is.
Frequently Asked Questions (FAQ)
What kind of soil is best for growing mint indoors?
Mint thrives in well-draining soil that is rich in organic matter. A good potting mix specifically formulated for herbs is ideal. You can also create your own mix by combining equal parts of potting soil, perlite, and compost. The perlite helps to improve drainage, while the compost provides essential nutrients. Avoid using garden soil, as it can be too heavy and may contain pests or diseases.
How much sunlight does indoor mint need?
Mint needs at least 6 hours of sunlight per day to thrive. A sunny windowsill facing south or west is usually the best location. If you don’t have enough natural light, you can supplement with a grow light. Place the grow light about 6-12 inches above the plants and keep it on for 12-16 hours per day. Insufficient light can lead to leggy growth and a lack of flavor.
How often should I water my indoor mint?
Water your mint regularly, keeping the soil consistently moist but not waterlogged. Check the soil moisture by sticking your finger about an inch into the soil. If it feels dry, it’s time to water. Avoid letting the soil dry out completely, as this can stress the plant. However, be careful not to overwater, as this can lead to root rot. Ensure that your pot has drainage holes to allow excess water to escape.
How do I harvest mint leaves?
Harvest mint leaves by snipping them off with scissors or pinching them off with your fingers. Start by harvesting the older, lower leaves first. Regular harvesting encourages the plant to produce new growth. You can harvest up to one-third of the plant at a time without harming it. For the best flavor, harvest mint leaves in the morning, after the dew has dried.
Why is my indoor mint plant turning yellow?
Yellowing leaves can be a sign of several problems, including overwatering, underwatering, nutrient deficiencies, or pests. Check the soil moisture to ensure that you’re not overwatering or underwatering. If the soil is consistently wet, allow it to dry out slightly before watering again. If the soil is dry, water thoroughly. You can also try fertilizing your mint plant with a balanced liquid fertilizer to address any nutrient deficiencies. Inspect the leaves for pests, such as aphids or spider mites, and treat accordingly.
How do I propagate mint from cuttings?
Propagating mint from cuttings is a simple and effective way to create new plants. Take a 4-6 inch cutting from a healthy stem, just below a node (where leaves grow). Remove the lower leaves from the cutting, leaving only a few leaves at the top. Place the cutting in a glass of water, making sure that the nodes are submerged. Change the water every few days. After a few weeks, roots will begin to form. Once the roots are about an inch long, you can plant the cutting in a pot filled with well-draining potting mix.
My mint plant is growing too fast. How do I control its growth?
Mint is a vigorous grower and can quickly become invasive if left unchecked. To control its growth, prune it regularly by snipping off the stems and leaves. You can also pinch off the flower buds to prevent the plant from going to seed. If your mint plant is becoming too large for its pot, you can repot it into a larger container or divide the plant into smaller sections.
What are some common pests that affect indoor mint plants?
Common pests that can affect indoor mint plants include aphids, spider mites, and whiteflies. These pests can suck the sap from the leaves, causing them to yellow, wilt, and eventually die. Inspect your mint plant regularly for signs of pests. If you find any, you can try washing them off with a strong stream of water or treating the plant with an insecticidal soap or neem oil.
Can I grow mint indoors year-round?
Yes, you can grow mint indoors year-round, provided that you provide the right conditions. Mint needs adequate light, water, and nutrients to thrive. During the winter months, you may need to supplement natural light with a grow light. You may also need to adjust your watering schedule, as the soil may dry out more slowly in cooler temperatures.
Is it safe to eat mint that has been grown indoors?
Yes, it is generally safe to eat mint that has been grown indoors, provided that you have not used any harmful pesticides or chemicals on the plant. Wash the leaves thoroughly before eating them. If you are unsure about the safety of your mint, it is best to err on the side of caution and discard it.
Leave a Comment