
Grow Potatoes at Home – imagine harvesting a bounty of fresh, earthy potatoes right from your own backyard! Forget those bland, store-bought spuds; with a few simple tricks, you can cultivate flavorful, homegrown potatoes that will elevate your meals to a whole new level.
For centuries, potatoes have been a staple food around the world, originating in the Andes Mountains and playing a crucial role in feeding populations across continents. From simple peasant fare to gourmet dishes, the humble potato has proven its versatility and nutritional value. But did you know that growing your own potatoes is surprisingly easy and incredibly rewarding?
In this DIY guide, I’m going to share some of my favorite home gardening tricks to help you grow potatoes at home, even if you have limited space. We’ll explore everything from choosing the right potato varieties to preparing the soil and mastering the art of “hilling.” Why spend money on potatoes when you can enjoy the satisfaction of harvesting your own organic crop? Plus, homegrown potatoes simply taste better! Get ready to dig in and discover the joy of growing your own delicious potatoes.
Grow Your Own Potatoes: A Beginner-Friendly DIY Guide
Hey there, fellow gardening enthusiasts! Ever dreamt of digging up your own homegrown potatoes, bursting with fresh flavor? Well, dream no more! Growing potatoes at home is surprisingly easy and incredibly rewarding. I’m going to walk you through a simple, step-by-step guide that will have you harvesting your own spuds in no time. Let’s get our hands dirty!
Choosing Your Potato Variety
Before we dive into the planting process, let’s talk about potato varieties. There are tons to choose from, each with its own unique characteristics. Consider these factors when making your selection:
* Maturity Time: Some potatoes mature faster than others. “Early” varieties are ready in about 70-80 days, “mid-season” varieties take 90-100 days, and “late” varieties need 120 days or more. Choose based on your climate and growing season.
* Flavor and Texture: Do you prefer waxy potatoes for salads or fluffy potatoes for baking? Research different varieties to find one that suits your taste. Yukon Gold, Russet, Red Pontiac, and Fingerling are all popular choices.
* Disease Resistance: Some varieties are more resistant to common potato diseases like blight. If you live in an area prone to these issues, opt for a disease-resistant variety.
* Storage Potential: If you plan on storing your potatoes for later use, choose a variety known for its good storage qualities.
Getting Started: Sprouting Your Seed Potatoes
Now, you might be wondering, “What are seed potatoes?” These aren’t seeds in the traditional sense. They’re actually small potatoes or pieces of potatoes that have “eyes” (buds) on them. These eyes will sprout and grow into new potato plants.
Here’s how to sprout your seed potatoes:
1. Purchase Seed Potatoes: You can find seed potatoes at your local garden center or online. Avoid using potatoes from the grocery store, as they may have been treated to prevent sprouting.
2. Chitting (Optional but Recommended): This process encourages the seed potatoes to sprout before planting, giving them a head start. Place your seed potatoes in a cool, bright location (but not direct sunlight) for a few weeks. An egg carton or a tray works well. The eyes will start to sprout small, green shoots.
3. Cutting (If Necessary): If your seed potatoes are large, you can cut them into pieces, ensuring that each piece has at least 2-3 eyes. Let the cut pieces dry for a day or two to form a callus, which will help prevent rotting.
Planting Your Potatoes: In the Ground or in Containers
You can grow potatoes in the ground or in containers. I’ll cover both methods:
Planting in the Ground
1. Choose a Sunny Location: Potatoes need at least 6-8 hours of sunlight per day.
2. Prepare the Soil: Potatoes prefer well-drained, slightly acidic soil. Amend your soil with compost or other organic matter to improve drainage and fertility.
3. Dig Trenches: Dig trenches that are about 6-8 inches deep and 2-3 feet apart.
4. Plant the Seed Potatoes: Place the seed potatoes in the trenches, with the eyes facing up, about 12 inches apart.
5. Cover with Soil: Cover the seed potatoes with about 4 inches of soil.
6. Water Thoroughly: Water the soil well after planting.
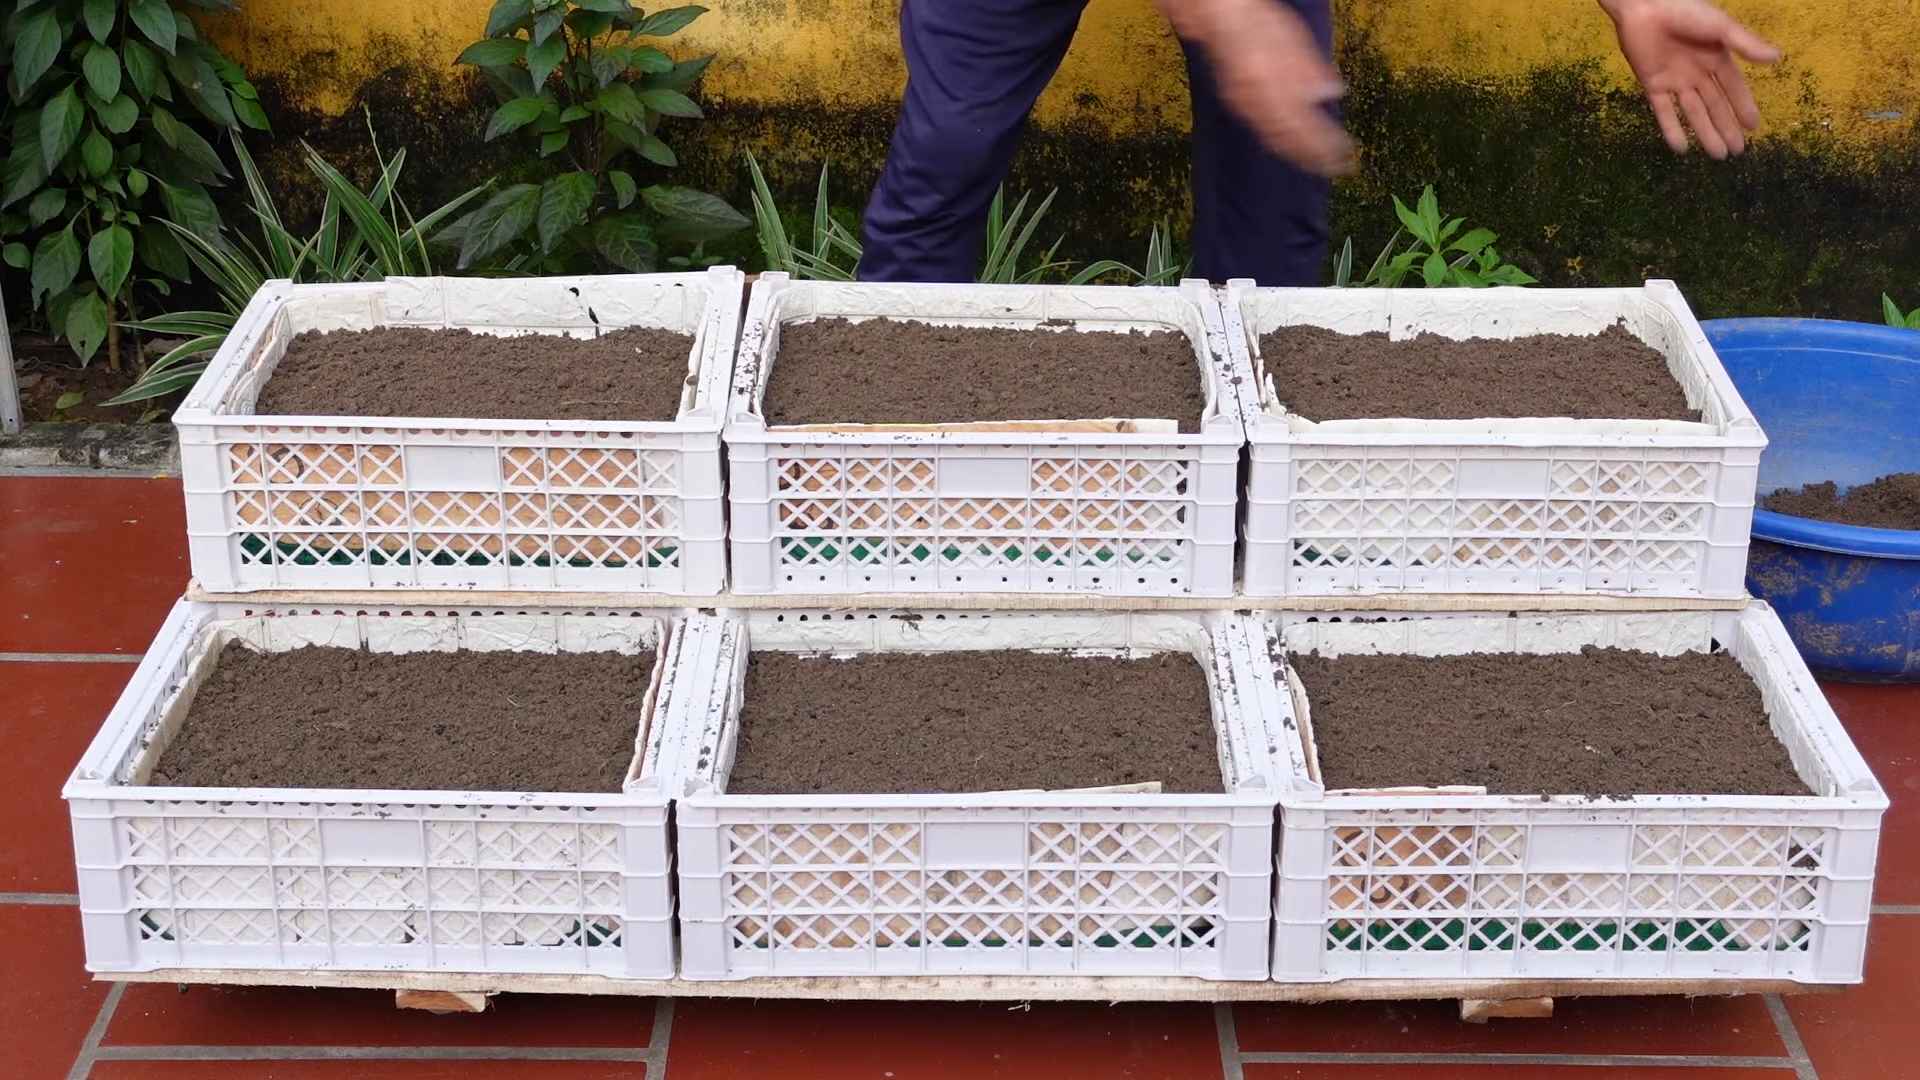
Planting in Containers
1. Choose a Large Container: Potatoes need plenty of room to grow. A 10-gallon container or larger is ideal.
2. Use a Well-Draining Potting Mix: Avoid using garden soil in containers, as it can become compacted and prevent proper drainage.
3. Fill the Container Partially: Fill the container with about 4-6 inches of potting mix.
4. Plant the Seed Potatoes: Place 1-3 seed potatoes (depending on the size of the container) on top of the soil, with the eyes facing up.
5. Cover with Soil: Cover the seed potatoes with about 4 inches of potting mix.
6. Water Thoroughly: Water the soil well after planting.
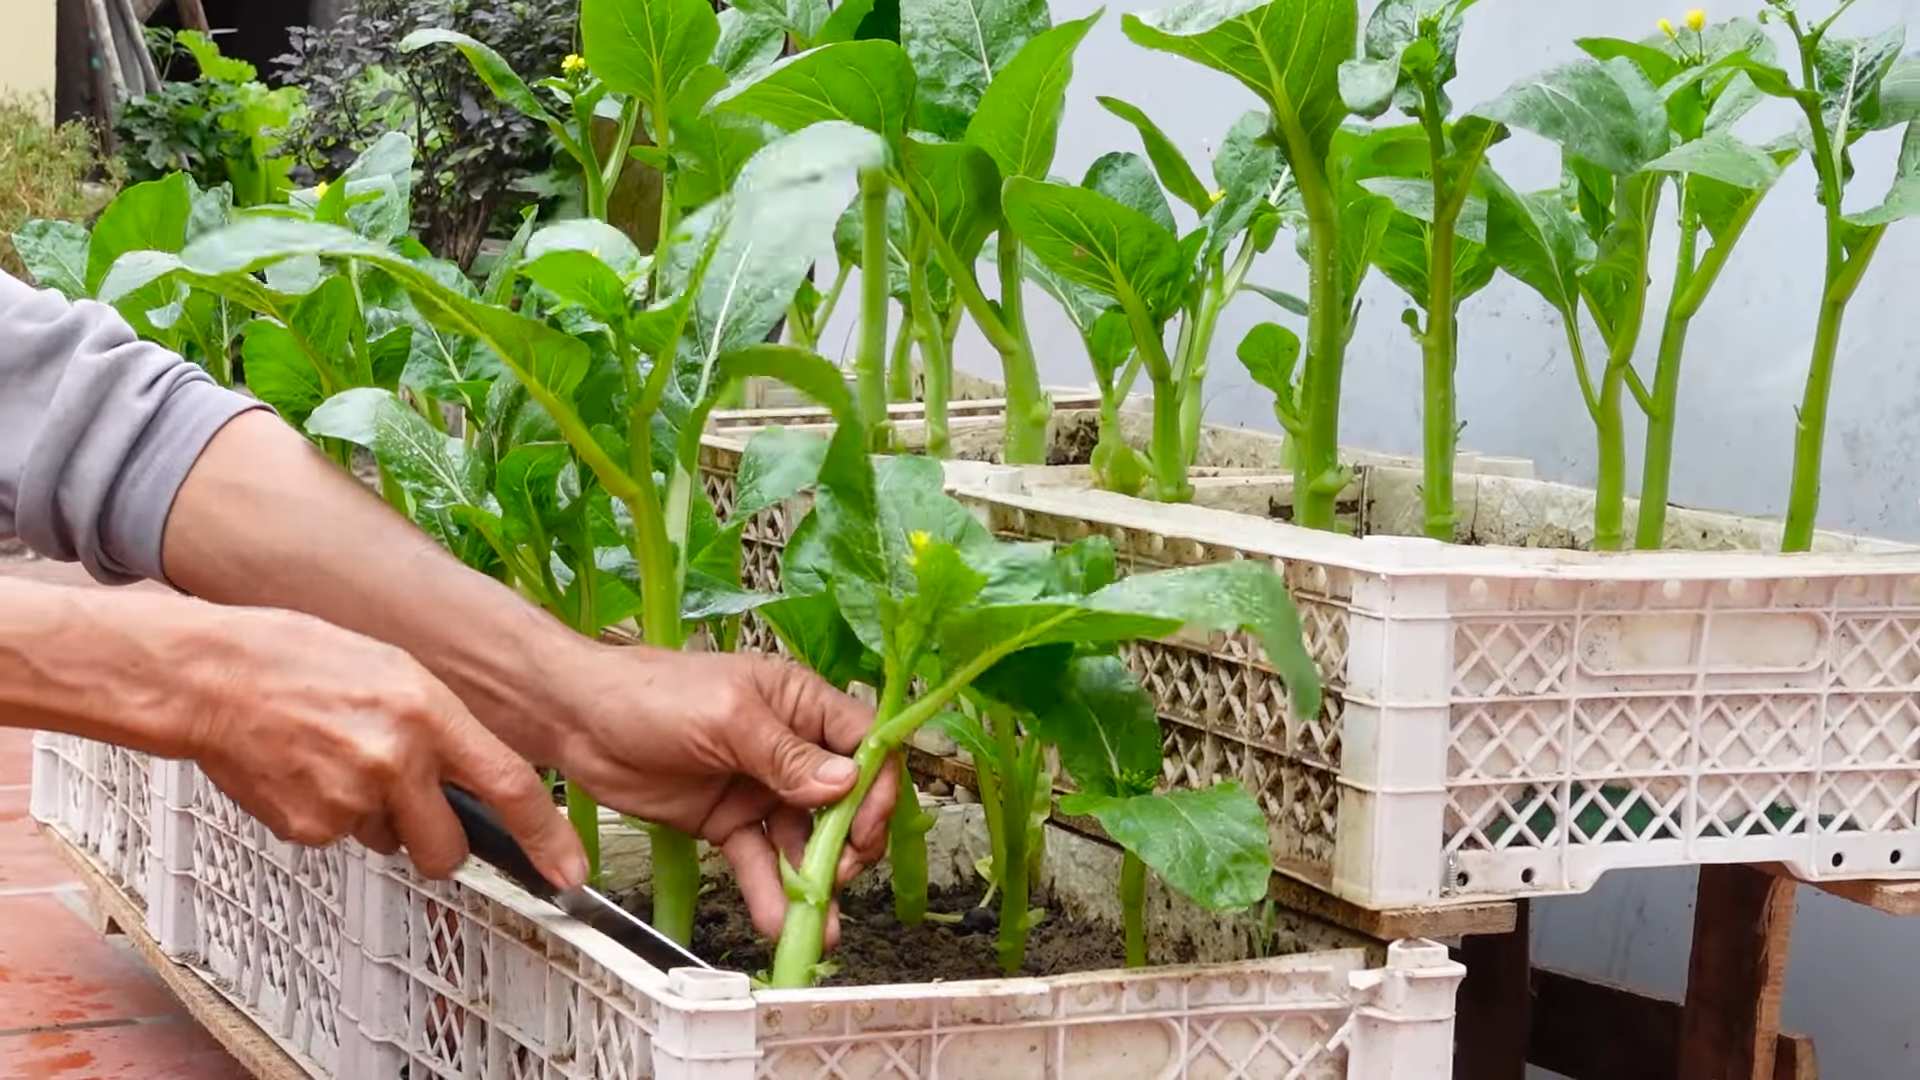
Hilling: The Key to More Potatoes
Hilling is a crucial step in growing potatoes. As the potato plants grow, you’ll need to gradually add more soil around the stems. This encourages the plants to produce more potatoes along the buried stems.
1. Wait for Shoots to Emerge: Once the potato plants have grown about 6-8 inches tall, it’s time to start hilling.
2. Add Soil: Gently mound soil around the base of the plants, covering about half of the stems.
3. Repeat the Process: Continue hilling every few weeks as the plants grow, until the mounds are about 12 inches high.
4. For Container Potatoes: Add more potting mix to the container as the plants grow, leaving a few inches of the stems exposed.
Caring for Your Potato Plants
Here are some tips for keeping your potato plants healthy and productive:
* Watering: Potatoes need consistent moisture, especially during tuber formation. Water deeply whenever the top inch of soil feels dry. Avoid overwatering, which can lead to rot.
* Fertilizing: Feed your potato plants with a balanced fertilizer every few weeks. Look for a fertilizer that’s specifically formulated for vegetables.
* Weeding: Keep the area around your potato plants free of weeds, which can compete for nutrients and water.
* Pest and Disease Control: Monitor your plants for pests and diseases. Common potato pests include aphids, potato beetles, and flea beetles. Common diseases include blight and scab. Use organic pest control methods whenever possible.
Harvesting Your Potatoes: The Moment of Truth!
The time to harvest your potatoes depends on the variety you planted and the maturity time.
* Early Potatoes: These can be harvested when the plants are still flowering. The potatoes will be small and tender.
* Maincrop Potatoes: These are typically harvested after the plants have died back. This indicates that the potatoes have reached their full size and maturity.
Here’s how to harvest your potatoes:
1. Dig Carefully: Use a garden fork or shovel to carefully dig around the potato plants. Be careful not to damage the potatoes.
2. Lift the Plants: Gently lift the plants from the soil, and the potatoes should come up with them.
3. Collect the Potatoes: Gather the potatoes and brush off any excess soil.
4. Cure the Potatoes (Optional): If you plan on storing your potatoes, cure them for a week or two in a cool, dry, and dark place. This will help them develop a thicker skin and prevent rotting.
Storing Your Potatoes: Keeping Them Fresh
Proper storage is essential for keeping your potatoes fresh and delicious for months.
1. Choose Healthy Potatoes: Only store potatoes that are free from bruises, cuts, or signs of disease.
2. Store in a Cool, Dark, and Dry Place: The ideal storage temperature for potatoes is between 40-50°F (4-10°C). A root cellar, basement, or unheated garage are good options.
3. Avoid Sunlight: Sunlight can cause potatoes to turn green and produce solanine, a toxic compound.
4. Don’t Store with Apples: Apples release ethylene gas, which can cause potatoes to sprout prematurely.
5. Check Regularly: Check your stored potatoes regularly for signs of spoilage. Remove any rotten potatoes to prevent them from affecting the others.
Troubleshooting: Common Potato Problems
Even with the best care, you might encounter some problems while growing potatoes. Here are a few common issues and how to address them:
* Potato Blight: This fungal disease can cause brown spots on the leaves and tubers. Prevent blight by choosing disease-resistant varieties, providing good air circulation, and avoiding overhead watering. If blight does occur, remove infected leaves and spray with a fungicide.
* Potato Scab: This bacterial disease causes rough, scabby patches on the potato skins. Prevent scab by maintaining a slightly acidic soil pH and avoiding overwatering.
* Potato Beetles: These pests can defoliate potato plants. Handpick the beetles and larvae, or use an organic insecticide.
* Aphids: These small, sap-sucking insects can weaken potato plants. Spray with insecticidal soap or neem oil.
Enjoying Your Homegrown Potatoes
Congratulations! You’ve successfully grown your own potatoes. Now it’s time to enjoy the fruits (or rather, tubers) of your labor. There are endless ways to cook and enjoy homegrown potatoes. Roast them, mash them, fry them, bake them, or add them to soups and stews. The possibilities are endless!
Growing potatoes at home is a fun and rewarding experience.
Conclusion
So, there you have it! Growing potatoes at home is not only achievable, but it’s also incredibly rewarding. From the satisfaction of harvesting your own food to the superior taste of freshly dug potatoes, the benefits are undeniable. This DIY project transforms your garden, balcony, or even a spare corner into a miniature farm, offering a connection to nature and a deeper understanding of where your food comes from.
Why is this a must-try? Because it empowers you to control the quality of your potatoes. You know exactly what goes into the soil, ensuring they are free from unwanted chemicals and pesticides. Plus, the taste difference is remarkable. Store-bought potatoes simply can’t compare to the earthy, fresh flavor of homegrown spuds. Imagine serving a potato salad made with potatoes you nurtured from seed to harvest – the bragging rights alone are worth the effort!
But the fun doesn’t stop there. Experiment with different potato varieties! Try growing colorful potatoes like purple or red varieties for a visually stunning dish. Consider adding companion plants like marigolds to deter pests naturally. You can also adjust the growing method to suit your space. If you’re short on space, container gardening is a fantastic option. Use large pots or even grow bags to cultivate your potatoes on a patio or balcony. For those with more space, consider raised beds for improved drainage and easier harvesting.
Don’t be afraid to get your hands dirty and embrace the learning process. Growing potatoes at home is a journey, and every season brings new lessons and opportunities for improvement. Whether you’re a seasoned gardener or a complete beginner, this DIY project is accessible and adaptable to your skill level.
We wholeheartedly encourage you to give this a try. Start small, learn as you go, and most importantly, have fun! Once you’ve experienced the joy of harvesting your own potatoes, you’ll be hooked.
And remember, the best part of any DIY project is sharing the experience. We’d love to hear about your potato-growing adventures! Share your photos, tips, and stories in the comments below. Let’s build a community of home gardeners and inspire others to discover the joys of growing their own food. Let us know what kind of fertilizer you used, what challenges you faced, and what you learned along the way. Your insights could be invaluable to other aspiring potato growers. So, grab your gardening gloves, find some seed potatoes, and get ready to embark on a delicious and rewarding journey of growing potatoes at home!
Frequently Asked Questions (FAQ)
What are seed potatoes, and where can I get them?
Seed potatoes are potatoes specifically grown to be planted and grown into new potato plants. They are different from the potatoes you buy at the grocery store, which are meant for consumption. Seed potatoes are certified disease-free and are available at most garden centers, nurseries, and online retailers. Look for varieties that are well-suited to your climate and growing conditions. You can also sometimes sprout potatoes from the grocery store, but this carries a higher risk of disease and may not produce the best results.
How much sunlight do potatoes need?
Potatoes need at least six to eight hours of direct sunlight per day to thrive. Choose a location in your garden that receives plenty of sunlight throughout the day. If you’re growing potatoes in containers, make sure to place them in a sunny spot. Insufficient sunlight can lead to weak plants and smaller potato yields.
What kind of soil is best for growing potatoes?
Potatoes prefer well-drained, loose soil that is rich in organic matter. Amend your soil with compost or well-rotted manure before planting to improve drainage and fertility. Avoid heavy clay soils, as they can become waterlogged and hinder potato growth. A slightly acidic soil pH of around 6.0 to 6.5 is ideal.
How often should I water my potato plants?
Water your potato plants regularly, especially during dry periods. Keep the soil consistently moist, but avoid overwatering, which can lead to rot. Water deeply and less frequently, rather than shallowly and more often. A good rule of thumb is to water when the top inch of soil feels dry to the touch. Mulching around the plants can help retain moisture and reduce the need for watering.
When is the best time to plant potatoes?
The best time to plant potatoes is in early spring, about two to four weeks before the last expected frost. The soil temperature should be at least 45 degrees Fahrenheit. In warmer climates, you can also plant potatoes in the fall for a winter harvest. Check your local planting calendar for specific dates based on your region.
How do I “hill” my potato plants?
Hilling is the process of mounding soil around the base of the potato plants as they grow. This encourages the plants to produce more potatoes along the buried stems. Start hilling when the plants are about 6 inches tall. Gradually add soil around the stems, leaving only the top few leaves exposed. Repeat this process every few weeks as the plants continue to grow.
What are common potato pests and diseases, and how can I prevent them?
Common potato pests include potato beetles, aphids, and flea beetles. Common diseases include blight, scab, and early blight. To prevent pests and diseases, choose disease-resistant potato varieties, practice crop rotation, and keep your garden clean and free of debris. Use organic pest control methods, such as insecticidal soap or neem oil, to control pests. Ensure good air circulation around the plants to prevent fungal diseases.
How do I know when my potatoes are ready to harvest?
Potatoes are typically ready to harvest when the plants begin to flower or when the foliage starts to die back. You can harvest “new potatoes” (small, immature potatoes) a few weeks after flowering. For mature potatoes, wait until the foliage has completely died back and the skins have hardened. Gently dig around the plants to harvest the potatoes, being careful not to damage them.
How should I store my harvested potatoes?
Store your harvested potatoes in a cool, dark, and well-ventilated place. The ideal storage temperature is between 40 and 50 degrees Fahrenheit. Avoid storing potatoes near apples or onions, as they can release gases that cause potatoes to sprout or rot. Properly stored potatoes can last for several months.
Can I grow potatoes in containers?
Yes, potatoes can be successfully grown in containers. Choose a large container with drainage holes, at least 15 gallons in size. Fill the container with a well-draining potting mix and plant your seed potatoes. As the plants grow, add more soil to the container, burying the stems to encourage potato production. Water regularly and fertilize as needed. Container-grown potatoes may require more frequent watering and fertilization than those grown in the ground.

Leave a Comment