
Grow Purple Cabbage Home – sounds like a dream, right? I know, I know, you might be thinking, “Cabbage? Isn’t that a bit…boring?” But trust me, once you see the vibrant purple hues of your own homegrown cabbage gracing your dinner table, you’ll be hooked! Forget those bland, store-bought heads; we’re talking about a culinary masterpiece you nurtured yourself.
For centuries, cabbage has been a staple in diets across the globe, from the humble peasant’s stew to the elaborate feasts of royalty. Its resilience and nutritional value have made it a vital crop. But the purple variety? It’s not just about sustenance; it’s about adding a touch of artistry to your garden and your plate.
But why should you bother with this DIY project? Well, for starters, growing purple cabbage home allows you to control exactly what goes into your food – no nasty pesticides or questionable fertilizers. Plus, let’s be honest, there’s a certain satisfaction that comes from nurturing something from seed to harvest. And with a few simple tricks and hacks, even if you’re a complete beginner, you can successfully cultivate these beautiful and nutritious vegetables. So, let’s dive in and unlock the secrets to a thriving purple cabbage patch right in your own backyard!
Growing Gorgeous Purple Cabbage at Home: A DIY Guide
Hey there, fellow gardening enthusiasts! I’m so excited to share my experience with growing vibrant purple cabbage right in my backyard. It’s easier than you might think, and the results are absolutely stunning – not only are they delicious, but they also add a pop of color to your garden and your plate! This guide will walk you through every step, from seed to harvest, ensuring you have a thriving purple cabbage patch.
Choosing the Right Variety
Before we dive into the nitty-gritty, let’s talk about cabbage varieties. While all purple cabbages share that beautiful hue, there are subtle differences in size, shape, and maturity time. Here are a few popular options:
* ‘Red Acre’: This is a classic, reliable variety that produces medium-sized, round heads. It’s known for its good storage capabilities, making it a great choice if you want to enjoy your harvest for an extended period.
* ‘Ruby Perfection’: As the name suggests, this variety is prized for its deep, rich purple color and uniform, round heads. It matures relatively quickly, making it a good option for shorter growing seasons.
* ‘Red Express’: If you’re looking for a super-fast grower, ‘Red Express’ is your best bet. It produces smaller, more compact heads that are perfect for salads and slaws.
I personally love ‘Red Acre’ because of its versatility and storage potential, but feel free to experiment and find the variety that best suits your needs and preferences.
Starting Your Cabbage Journey: From Seed to Seedling
You can either start your cabbage seeds indoors or directly sow them in your garden. I prefer starting them indoors because it gives them a head start and protects them from pests and harsh weather conditions.
Materials You’ll Need:
* Cabbage seeds (of your chosen variety)
* Seed starting trays or small pots
* Seed starting mix (a light, well-draining soil mix)
* Watering can or spray bottle
* Grow lights (optional, but highly recommended)
Step-by-Step Instructions:
1. Sow the Seeds: Fill your seed starting trays or pots with seed starting mix. Gently press the soil down to create a firm surface. Sow the cabbage seeds about ¼ inch deep, spacing them about 1 inch apart.
2. Water Gently: Water the soil gently using a watering can or spray bottle. You want to moisten the soil without disturbing the seeds.
3. Provide Warmth and Light: Place the seed starting trays in a warm location (around 70-75°F) and provide them with plenty of light. If you don’t have a sunny windowsill, grow lights are a great investment. I usually keep my grow lights on for about 14-16 hours a day.
4. Keep the Soil Moist: Keep the soil consistently moist, but not soggy. Check the soil moisture daily and water as needed.
5. Thin the Seedlings: Once the seedlings have developed their first true leaves (the leaves that appear after the initial seed leaves), thin them out, leaving only the strongest seedling in each cell or pot.
6. Harden Off the Seedlings: About a week before you plan to transplant the seedlings into your garden, you’ll need to “harden them off.” This process gradually acclimates the seedlings to outdoor conditions. Start by placing the seedlings outdoors in a sheltered location for a few hours each day, gradually increasing the amount of time they spend outside.
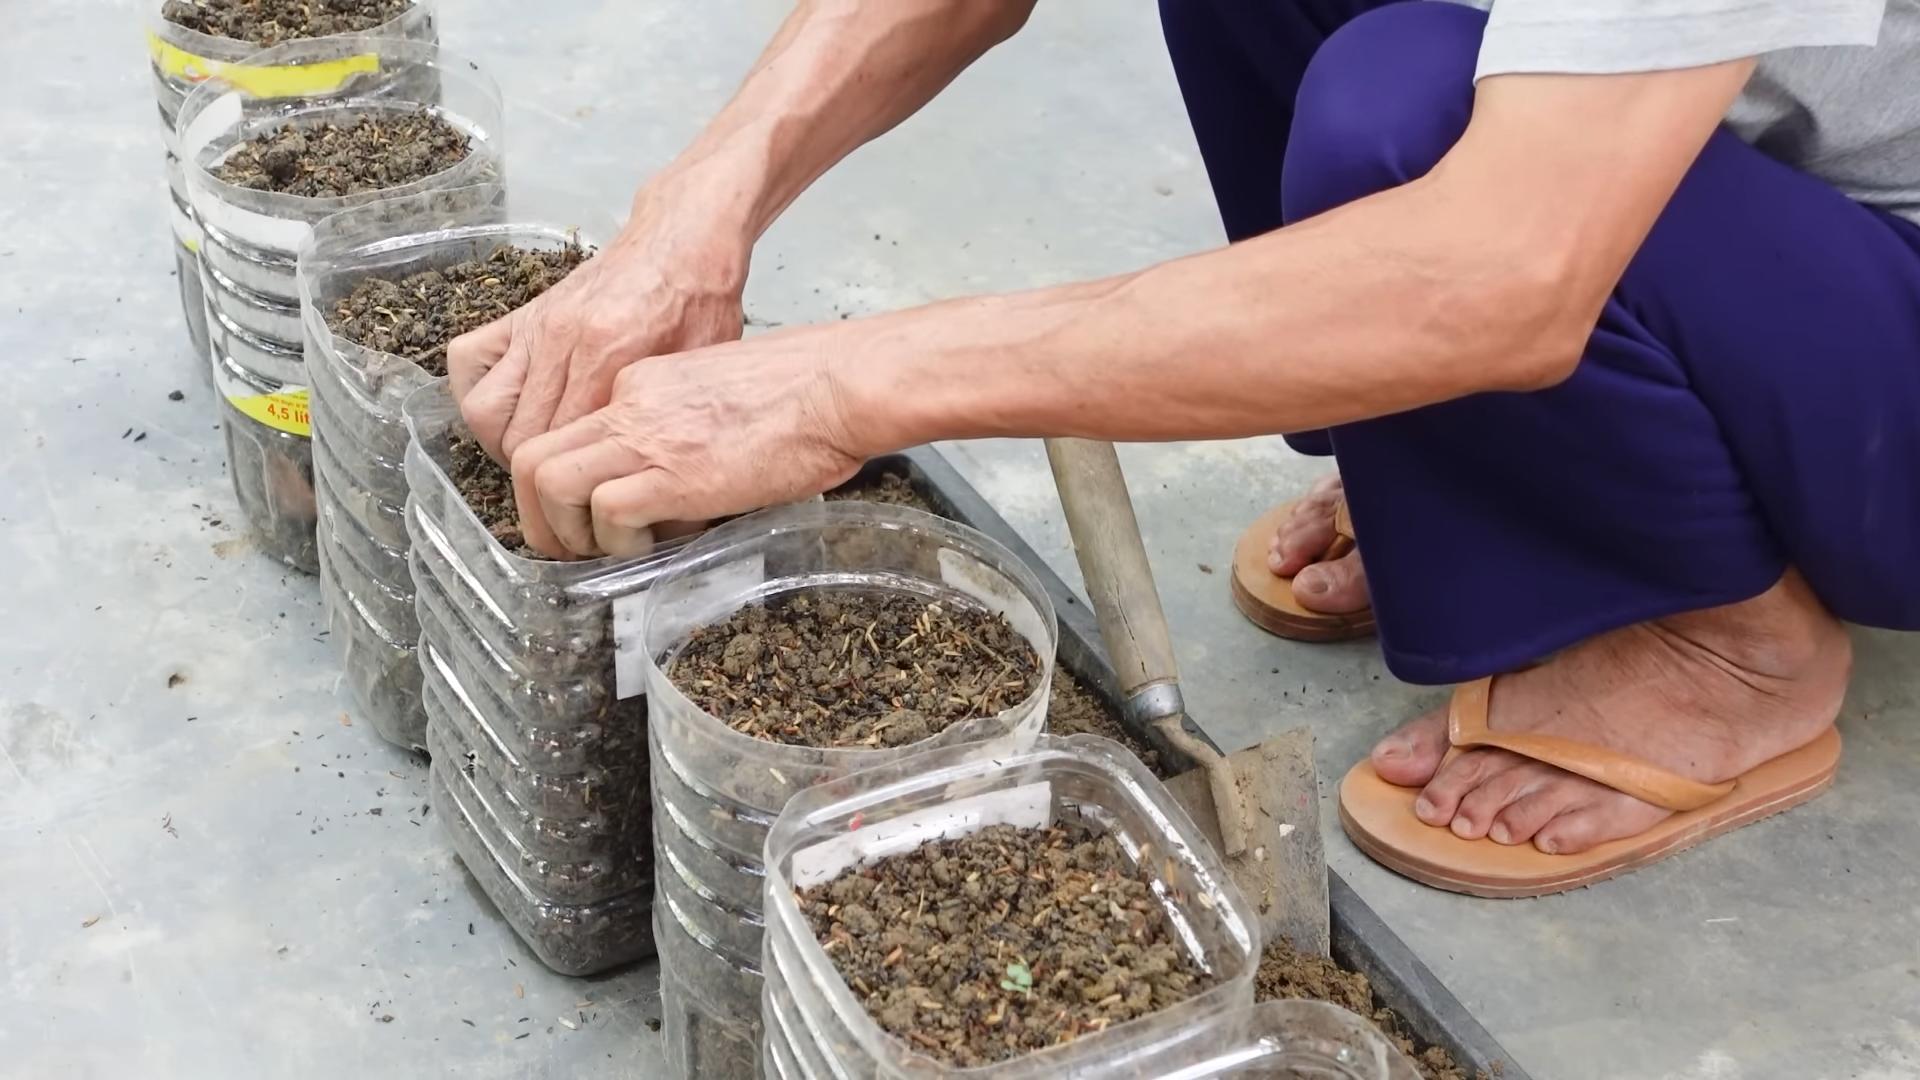
Preparing Your Garden Bed
Cabbage thrives in well-drained, fertile soil that is rich in organic matter. Before transplanting your seedlings, it’s essential to prepare your garden bed properly.
Materials You’ll Need:
* Garden fork or tiller
* Compost or well-rotted manure
* Fertilizer (optional, but recommended)
* pH testing kit (optional, but helpful)
Step-by-Step Instructions:
1. Choose a Sunny Location: Select a location in your garden that receives at least 6 hours of sunlight per day.
2. Prepare the Soil: Use a garden fork or tiller to loosen the soil to a depth of at least 12 inches. Remove any rocks, weeds, or debris.
3. Amend the Soil: Incorporate a generous amount of compost or well-rotted manure into the soil. This will improve drainage, fertility, and water retention. I usually add about 2-3 inches of compost to my garden bed.
4. Fertilize (Optional): If your soil is lacking in nutrients, you can add a balanced fertilizer to the soil. Follow the instructions on the fertilizer package.
5. Test the pH (Optional): Cabbage prefers a soil pH of 6.0 to 7.0. If you’re unsure about your soil pH, you can use a pH testing kit to check it. If the pH is too low (acidic), you can add lime to raise it. If the pH is too high (alkaline), you can add sulfur to lower it.
Transplanting Your Cabbage Seedlings
Once your seedlings are hardened off and your garden bed is prepared, it’s time to transplant them into their permanent home.
Step-by-Step Instructions:
1. Choose a Cloudy Day: Transplant your cabbage seedlings on a cloudy day or in the late afternoon to minimize stress.
2. Space the Seedlings: Space the seedlings about 18-24 inches apart in rows that are 24-36 inches apart. This will give them enough room to grow and mature.
3. Dig the Holes: Dig holes that are slightly larger than the root balls of the seedlings.
4. Gently Remove the Seedlings: Gently remove the seedlings from their seed starting trays or pots. Be careful not to damage the roots.
5. Place the Seedlings in the Holes: Place the seedlings in the holes and backfill with soil. Gently firm the soil around the base of the plants.
6. Water Thoroughly: Water the seedlings thoroughly after transplanting.
Caring for Your Cabbage Plants
Once your cabbage plants are in the ground, it’s important to provide them with proper care to ensure they thrive.
Watering:
Cabbage plants need consistent moisture, especially during hot, dry weather. Water deeply and regularly, aiming to keep the soil consistently moist but not soggy. I usually water my cabbage plants every 2-3 days, depending on the weather.
Fertilizing:
Cabbage plants are heavy feeders, so they benefit from regular fertilization. You can use a balanced fertilizer or a fertilizer that is specifically formulated for vegetables. Follow the instructions on the fertilizer package. I like to side-dress my cabbage plants with compost tea every few weeks.
Weeding:
Keep your garden bed free of weeds, as they can compete with your cabbage plants for nutrients and water. Hand-pull weeds regularly or use a hoe to cultivate the soil.
Pest and Disease Control:
Cabbage plants are susceptible to a variety of pests and diseases, including cabbage worms, aphids, and clubroot. Here are a few tips for controlling pests and diseases:
* Cabbage Worms: These pesky caterpillars can quickly devour your cabbage leaves. Hand-pick them off the plants or use a biological insecticide like Bacillus thuringiensis (Bt).
* Aphids: These tiny insects suck the sap from cabbage leaves, causing them to curl and distort. Spray the plants with a strong stream of water or use an insecticidal soap.
* Clubroot: This soilborne disease causes the roots of cabbage plants to swell and distort, stunting their growth. To prevent clubroot, plant your cabbage in well-drained soil and rotate your crops regularly.
I also like to use row covers to protect my cabbage plants from pests. Row covers are lightweight fabric covers that you can place over your plants to keep insects out.
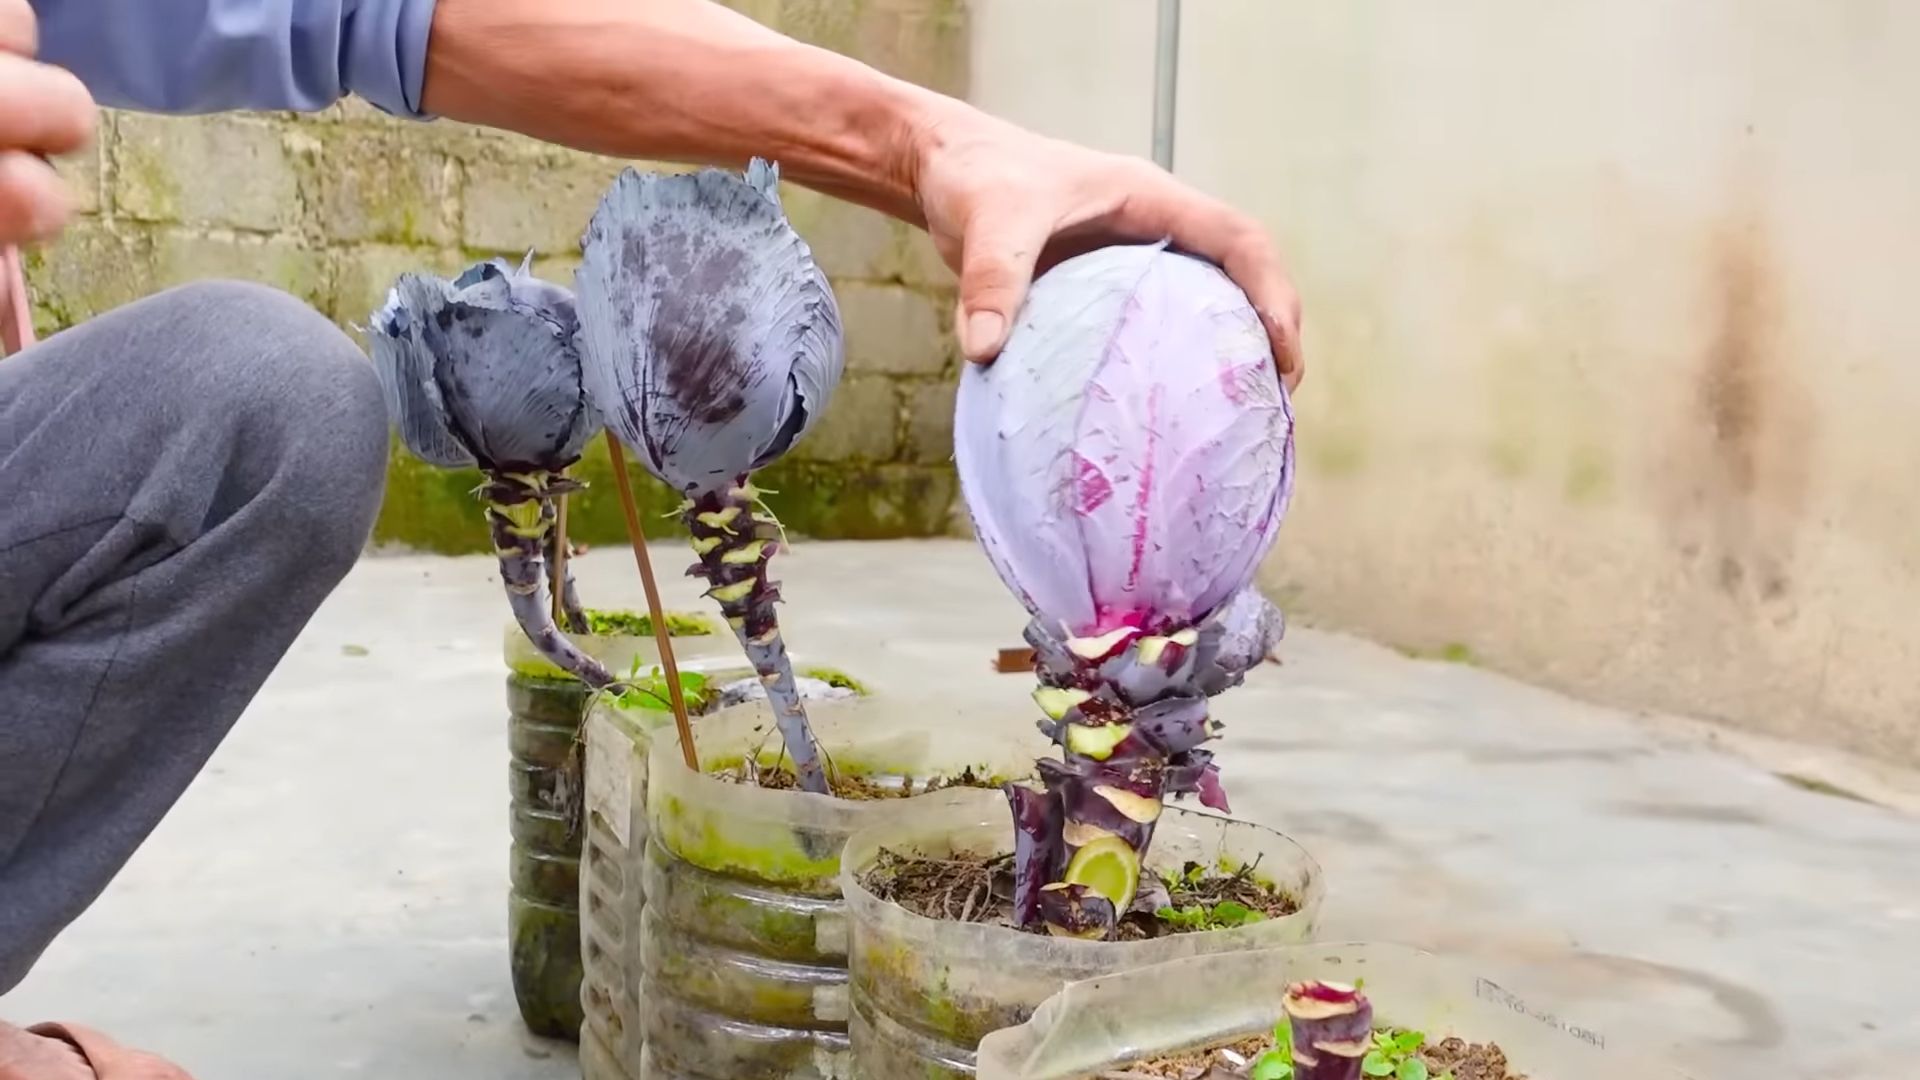
Harvesting Your Purple Cabbage
The moment you’ve been waiting for! Harvesting your beautiful purple cabbage.
When to Harvest:
Cabbage is typically ready to harvest when the heads are firm and solid. The exact time will depend on the variety you’re growing, but most varieties mature in 70-100 days from transplanting.
How to Harvest:
1. Cut the Head: Use a sharp knife to cut the cabbage head from the stem, leaving a few outer leaves attached.
2. Store Properly: Store your harvested cabbage in a cool, dry place. It can last for several weeks in the refrigerator.
Enjoying Your Homegrown Purple Cabbage
Now that you’ve harvested your beautiful purple cabbage, it’s time to enjoy it! Purple cabbage is incredibly versatile and can be used in a variety of dishes. Here are a few of my favorite ways to use it:
* Salads: Shredded purple cabbage adds a vibrant color and crunchy texture to salads.
* Slaws: Purple cabbage is a key
Conclusion
So, there you have it! Growing your own purple cabbage at home isn’t just a gardening project; it’s an investment in vibrant health, culinary creativity, and a touch of purple magic in your backyard. We’ve walked through the process, demystified the challenges, and hopefully, ignited your passion for cultivating this beautiful and nutritious vegetable.
Why is this DIY trick a must-try? Because store-bought purple cabbage simply can’t compare to the flavor and freshness of homegrown. Imagine the crisp, slightly peppery taste of a cabbage you nurtured from seed, knowing exactly where it came from and what went into its growth. Plus, you’ll be saving money, reducing your carbon footprint, and enjoying the immense satisfaction of harvesting your own food.
But the benefits extend beyond the practical. Growing purple cabbage is a therapeutic activity, a chance to connect with nature, and a rewarding experience for the whole family. It’s a fantastic way to teach children about where their food comes from and encourage healthy eating habits.
Don’t be afraid to experiment with variations! Try different varieties of purple cabbage, such as ‘Red Acre’ for its deep color and compact size, or ‘Ruby Perfection’ for its excellent storage capabilities. Consider companion planting with herbs like rosemary and thyme to deter pests and enhance flavor. You can also adjust the soil pH to influence the intensity of the purple hue – more acidic soil generally results in a deeper color.
And speaking of experimentation, think beyond the traditional coleslaw! Use your homegrown purple cabbage in stir-fries, soups, salads, or even fermented dishes like sauerkraut. Its vibrant color adds visual appeal to any meal, and its nutritional benefits are undeniable.
We understand that gardening can sometimes feel daunting, but with a little patience and the right guidance, anyone can successfully grow purple cabbage at home. Remember to start small, be observant, and don’t be afraid to ask for help. There are countless online resources and local gardening communities eager to share their knowledge and experience.
So, what are you waiting for? Grab some seeds, prepare your soil, and embark on your purple cabbage growing adventure today! We’re confident that you’ll be amazed by the results.
And most importantly, we want to hear about your experience! Share your tips, tricks, and triumphs in the comments below. Let us know what challenges you faced, what worked well, and what you learned along the way. Your feedback will not only help us improve this guide but also inspire other aspiring gardeners to give it a try. Let’s create a community of purple cabbage enthusiasts and celebrate the joy of homegrown goodness! We encourage you to share pictures of your beautiful purple cabbage harvest on social media using #HomegrownPurpleCabbage. We can’t wait to see what you create!
Frequently Asked Questions (FAQ)
Q: How long does it take to grow purple cabbage from seed?
A: Generally, it takes about 70-80 days from transplanting seedlings to harvest. If you’re starting from seed indoors, add another 6-8 weeks for germination and initial growth. So, you’re looking at roughly 100-120 days from seed to harvest. This timeframe can vary slightly depending on the specific variety of purple cabbage and your local climate.
Q: What are the best growing conditions for purple cabbage?
A: Purple cabbage thrives in full sun (at least 6 hours of direct sunlight per day) and well-drained soil that is rich in organic matter. The ideal soil pH is between 6.0 and 7.0. Consistent watering is crucial, especially during dry periods. Aim for about 1-1.5 inches of water per week. Cool temperatures are preferred, as excessive heat can cause the cabbage heads to bolt (go to seed prematurely).
Q: How do I prevent pests and diseases from affecting my purple cabbage?
A: Several pests and diseases can affect purple cabbage, including cabbage worms, aphids, flea beetles, and clubroot. To prevent these problems, practice crop rotation, use row covers to protect young plants, and inspect your plants regularly for signs of infestation or disease. Handpick pests whenever possible. For more serious infestations, consider using organic insecticides like Bacillus thuringiensis (Bt) for cabbage worms or insecticidal soap for aphids. Ensure good air circulation to minimize fungal diseases. If clubroot is a problem in your area, amend the soil with lime to raise the pH and consider using resistant varieties.
Q: How do I know when my purple cabbage is ready to harvest?
A: Your purple cabbage is ready to harvest when the head is firm and solid to the touch. The size of the head will vary depending on the variety, but generally, a head that is 6-8 inches in diameter is mature. Check the maturity date on your seed packet or plant tag as a guideline. To harvest, use a sharp knife to cut the head from the stem, leaving a few outer leaves intact.
Q: Can I grow purple cabbage in containers?
A: Yes, you can successfully grow purple cabbage in containers, but you’ll need to choose a large container (at least 12 inches in diameter and depth) to accommodate the plant’s root system. Use a high-quality potting mix that is well-draining and rich in organic matter. Water regularly and fertilize every 2-3 weeks with a balanced fertilizer. Make sure the container receives at least 6 hours of direct sunlight per day.
Q: How do I store purple cabbage after harvesting?
A: To store purple cabbage, remove any loose or damaged outer leaves. Wrap the head tightly in plastic wrap and store it in the refrigerator crisper drawer. Properly stored, purple cabbage can last for several weeks. You can also shred or chop the cabbage and freeze it for later use. Blanching the cabbage for a few minutes before freezing will help preserve its color and texture.
Q: Why is my purple cabbage not as purple as I expected?
A: The intensity of the purple color in purple cabbage can be influenced by several factors, including soil pH, temperature, and sunlight. More acidic soil generally results in a deeper purple color. Cool temperatures also tend to enhance the color. Make sure your plants are receiving plenty of sunlight. If your soil is alkaline, you can amend it with sulfur or peat moss to lower the pH.
Q: Can I eat the outer leaves of purple cabbage?
A: Yes, you can eat the outer leaves of purple cabbage, as long as they are not damaged or discolored. However, the outer leaves tend to be tougher and more fibrous than the inner leaves. You may want to remove the tough ribs before cooking or using them in salads.
Q: Is purple cabbage more nutritious than green cabbage?
A: While both purple and green cabbage are nutritious, purple cabbage generally contains higher levels of antioxidants, particularly anthocyanins, which give it its vibrant color. Anthocyanins have been linked to various health benefits, including reducing the risk of heart disease and certain types of cancer. Purple cabbage also tends to be slightly higher in vitamin C and vitamin A than green cabbage. So, while both are healthy choices, purple cabbage offers a slight nutritional edge.


Leave a Comment