
Grow Radicchio Indoors Easily – yes, you read that right! Forget those expensive grocery store runs for bitter greens. I’m about to let you in on a little secret: you can cultivate your own vibrant, flavorful radicchio right in the comfort of your home.
Radicchio, with its striking burgundy leaves and slightly bitter bite, has a rich history rooted in Italian cuisine. For centuries, it’s been a staple in salads, risottos, and grilled dishes, adding a unique depth of flavor. But did you know that this culinary gem is surprisingly easy to grow indoors?
In today’s fast-paced world, we’re all looking for ways to connect with nature and enjoy fresh, healthy food. And that’s where this DIY guide comes in. Learning how to grow radicchio indoors easily not only provides you with a constant supply of delicious greens, but it’s also a rewarding and therapeutic experience. Imagine the satisfaction of harvesting your own radicchio, knowing exactly where it came from and how it was grown. Plus, it’s a fantastic way to add a touch of green to your living space, especially during those long winter months. So, are you ready to ditch the store-bought radicchio and embark on this exciting indoor gardening adventure with me? Let’s get started!
Grow Radicchio Indoors: A Beginner’s Guide
Hey there, fellow gardening enthusiasts! Ever thought about growing radicchio indoors? It’s easier than you might think, and the vibrant colors and slightly bitter flavor add a fantastic touch to salads and other dishes. I’ve been growing radicchio indoors for a while now, and I’m excited to share my tips and tricks with you. Let’s get started!
What You’ll Need
Before we dive into the nitty-gritty, let’s gather all the necessary supplies. Having everything on hand will make the process smoother and more enjoyable.
* **Radicchio Seeds:** Choose a variety that suits your taste. Some popular options include ‘Chioggia’, ‘Treviso’, and ‘Castelfranco’. I personally love ‘Chioggia’ for its beautiful round heads.
* **Seed Starting Trays or Small Pots:** These will be your radicchio’s first home. Make sure they have drainage holes.
* **Seed Starting Mix:** This is a lightweight, sterile mix that provides the perfect environment for germination.
* **Potting Mix:** Once the seedlings are ready to transplant, you’ll need a good quality potting mix.
* **Grow Lights:** Radicchio needs plenty of light, especially indoors. LED grow lights are energy-efficient and work wonders.
* **Watering Can or Spray Bottle:** For gentle watering.
* **Fertilizer:** A balanced liquid fertilizer to feed your radicchio plants.
* **Larger Pots (6-8 inches):** For transplanting the seedlings once they’ve grown a bit.
* **Optional: Heat Mat:** To speed up germination (especially helpful in cooler climates).
* **Optional: Humidity Dome:** To maintain moisture levels during germination.
Phase 1: Starting Your Radicchio Seeds
This is where the magic begins! Getting your seeds to sprout is the first crucial step.
1. **Prepare Your Seed Starting Trays:** Fill your seed starting trays or small pots with seed starting mix. Gently pat it down to create a level surface.
2. **Sow the Seeds:** Sprinkle a few radicchio seeds on top of the soil in each cell or pot. I usually aim for 2-3 seeds per cell to increase the chances of germination.
3. **Cover the Seeds:** Lightly cover the seeds with a thin layer of seed starting mix. Radicchio seeds need light to germinate, so don’t bury them too deep.
4. **Water Gently:** Use a spray bottle or watering can with a gentle nozzle to moisten the soil. Be careful not to dislodge the seeds. The soil should be damp but not soggy.
5. **Provide Warmth and Humidity:** Place the seed starting trays on a heat mat (optional) and cover them with a humidity dome (optional). This will create a warm, humid environment that encourages germination.
6. **Place Under Grow Lights:** Position your grow lights about 2-4 inches above the seed starting trays. Turn on the lights for 14-16 hours per day.
7. **Monitor and Water:** Check the soil moisture daily. Keep the soil consistently moist but not waterlogged. Water as needed.
8. **Wait for Germination:** Radicchio seeds typically germinate in 5-10 days. Once the seedlings emerge, remove the humidity dome and continue to provide light and water.
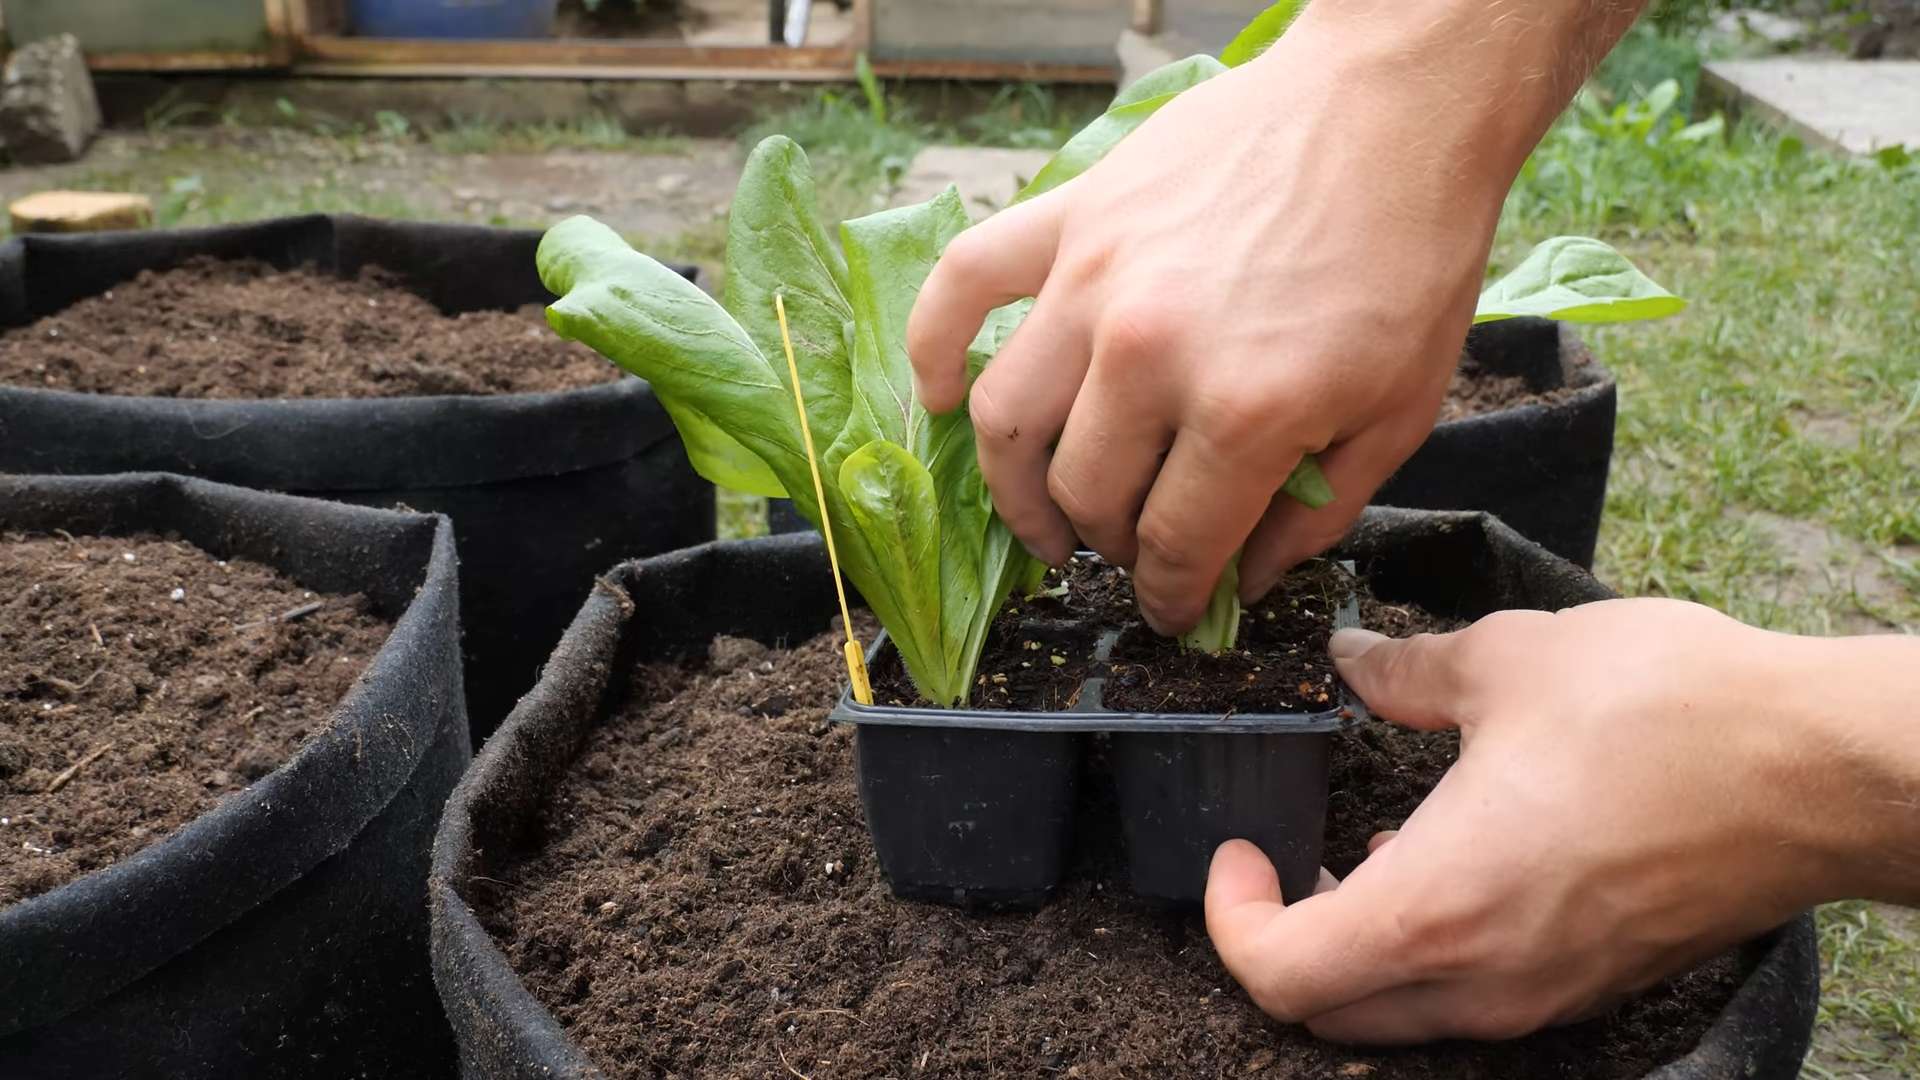
Phase 2: Transplanting Your Radicchio Seedlings
Once your seedlings have developed a few true leaves (the leaves that appear after the initial seed leaves), it’s time to transplant them into larger pots.
1. **Prepare Your Larger Pots:** Fill your 6-8 inch pots with potting mix. Make a small hole in the center of each pot.
2. **Carefully Remove the Seedlings:** Gently loosen the soil around the seedlings in the seed starting trays. Carefully lift each seedling out of its cell or pot, being careful not to damage the roots. If you planted multiple seeds in one cell, choose the strongest seedling and gently separate it from the others.
3. **Transplant the Seedlings:** Place each seedling into the hole in the center of the larger pot. Gently backfill with potting mix, making sure the top of the root ball is level with the soil surface.
4. **Water Thoroughly:** Water the transplanted seedlings thoroughly to help settle the soil.
5. **Return to Grow Lights:** Place the transplanted seedlings back under the grow lights. Continue to provide 14-16 hours of light per day.
Phase 3: Caring for Your Radicchio Plants
Now that your radicchio plants are in their larger pots, it’s time to provide them with the care they need to thrive.
1. **Watering:** Water your radicchio plants regularly, keeping the soil consistently moist but not waterlogged. Check the soil moisture by sticking your finger into the soil. If the top inch feels dry, it’s time to water.
2. **Fertilizing:** Feed your radicchio plants with a balanced liquid fertilizer every 2-3 weeks. Follow the instructions on the fertilizer label. I like to use a fertilizer that’s specifically formulated for leafy greens.
3. **Light:** Radicchio needs plenty of light to grow properly. Continue to provide 14-16 hours of light per day under your grow lights. If you notice your plants are getting leggy (tall and spindly), it means they’re not getting enough light.
4. **Temperature:** Radicchio prefers cooler temperatures, ideally between 60-70°F (15-21°C). Avoid placing your plants in direct sunlight or near heat sources, as this can cause them to bolt (go to seed prematurely).
5. **Air Circulation:** Good air circulation is important to prevent fungal diseases. Make sure your plants have enough space between them and that there’s good airflow in the room. A small fan can help improve air circulation.
6. **Pest Control:** Keep an eye out for pests such as aphids, spider mites, and whiteflies. If you notice any pests, treat them with an insecticidal soap or neem oil. I prefer to use organic pest control methods whenever possible.
7. **Rotation:** Rotate your plants regularly to ensure they receive even light exposure on all sides. This will help them grow evenly.
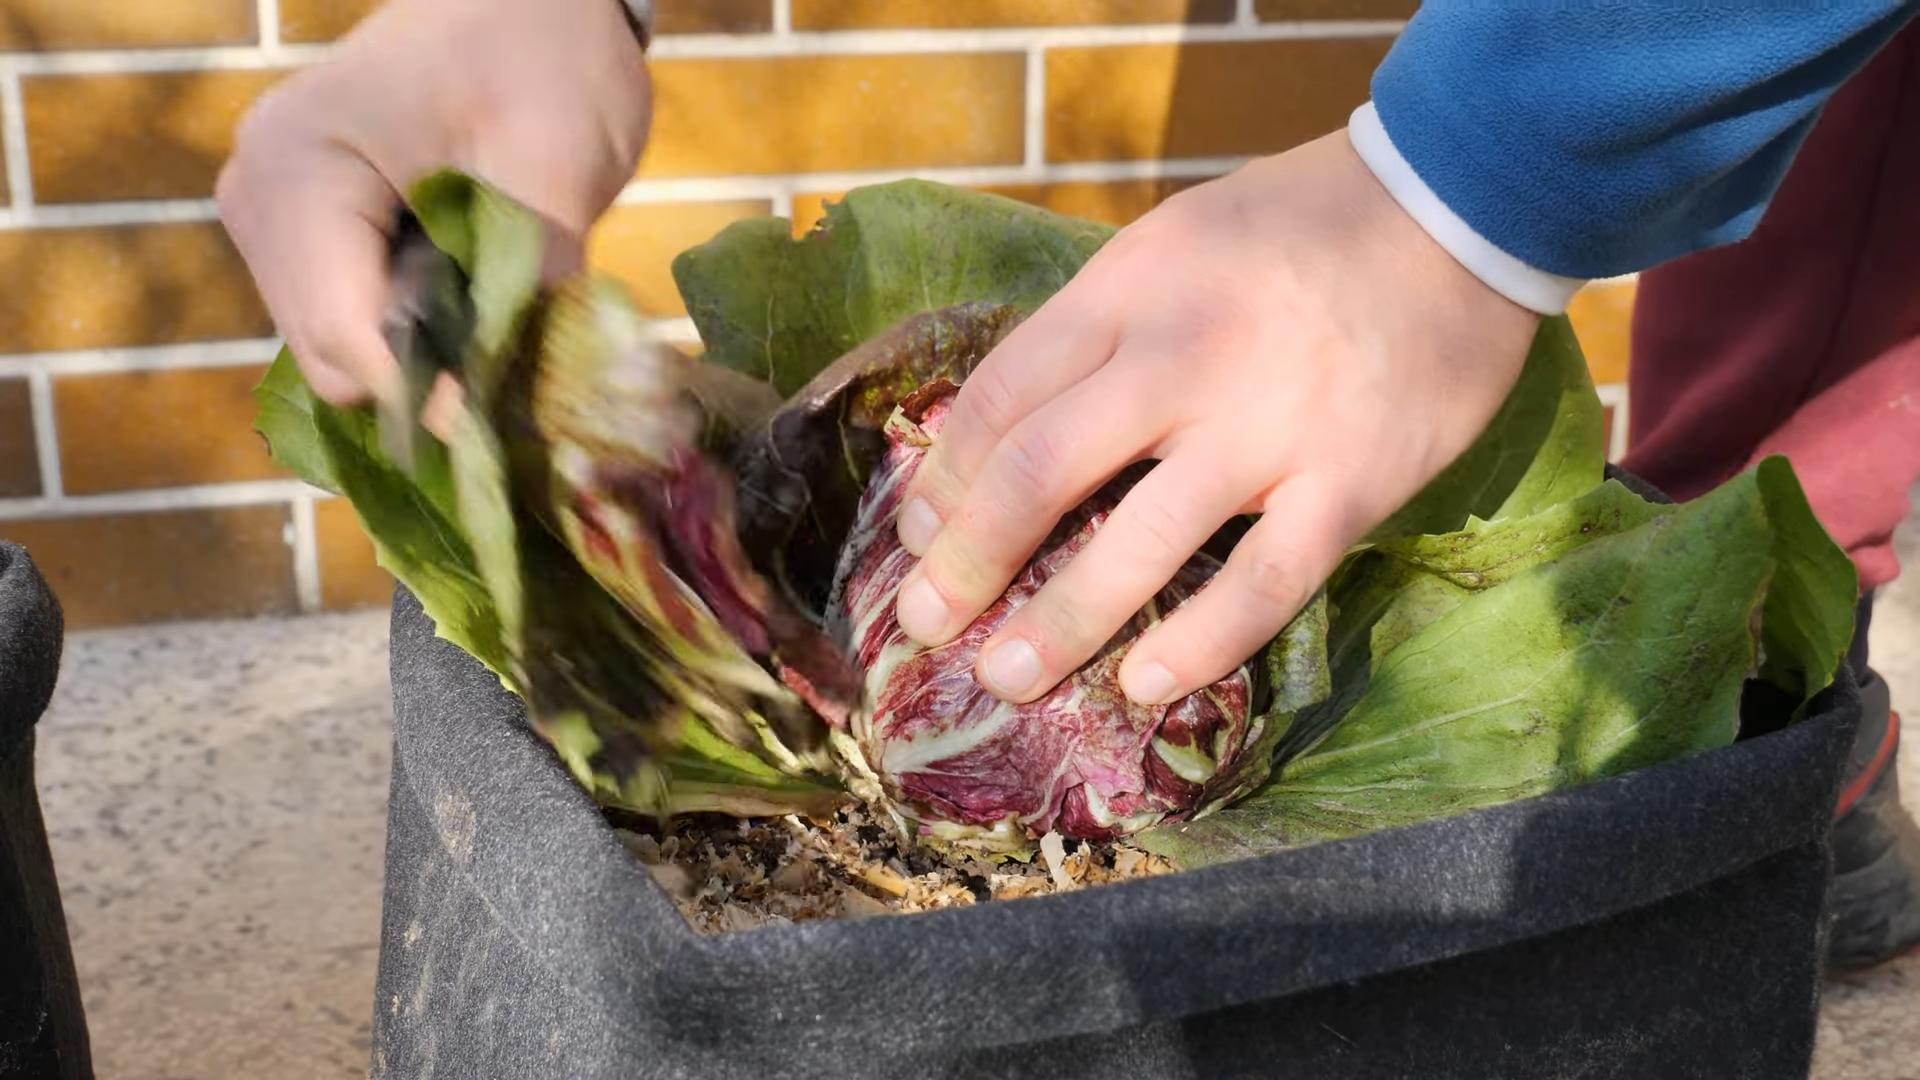
Phase 4: Harvesting Your Radicchio
The moment you’ve been waiting for! Harvesting your homegrown radicchio is incredibly rewarding.
1. **Harvest Time:** Radicchio is typically ready to harvest in 60-80 days from sowing, depending on the variety. You can harvest the entire head at once, or you can harvest individual leaves as needed.
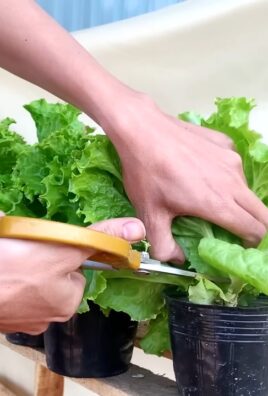
2. **Harvesting the Entire Head:** To harvest the entire head, use a sharp knife to cut the stem just above the soil line.
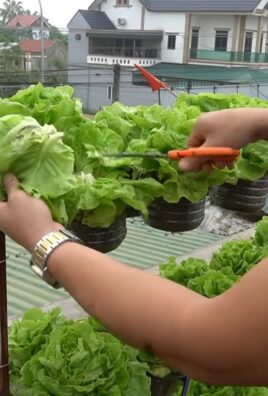
3. **Harvesting Individual Leaves:** To harvest individual leaves, simply pluck them off the plant as needed. Start with the outer leaves and work your way inwards.
4. **Storage:** Store harvested radicchio in the refrigerator in a plastic bag or container. It will typically last for about a week.
Troubleshooting Tips
Even with the best care, you might encounter some challenges along the way. Here are a few common problems and how to address them:
* **Leggy Plants:** This usually indicates insufficient light. Move your grow lights closer to the plants or increase the amount of time they’re on.
* **Yellowing Leaves:** This could be a sign of overwatering or nutrient deficiency. Check the soil moisture and adjust your watering schedule accordingly. If you suspect a nutrient deficiency, fertilize your plants with a balanced liquid fertilizer.
* **Bolting:** Bolting occurs when the plant goes to seed prematurely. This can be caused by high temperatures or stress. Try to keep your plants in a cool, well-ventilated area.
* **Pests:** Regularly inspect your plants for pests and treat them promptly with an appropriate insecticide.
Variety Recommendations
Choosing the right radicchio variety can make a big difference in your indoor growing success. Here are a few of my favorites:
* **Chioggia:** This is a classic variety with round, tightly packed heads and a slightly bitter flavor. It’s relatively easy to grow and produces beautiful, vibrant red leaves with white veins.
* **Treviso:** This variety has elongated heads and a milder, sweeter flavor than Chioggia. It’s a bit more challenging to grow, but the unique shape and flavor make it worth the effort.
* **Castelfranco:** This variety is known for its beautiful, variegated leaves that are speckled with red and green. It has a mild, slightly sweet flavor and is a great addition to salads.
Growing radicchio indoors is a fun and rewarding experience. With a little bit of care and attention, you can enjoy fresh, homegrown radicchio all year round. Happy gardening!
Conclusion
So, there you have it! Growing radicchio indoors might seem like a challenge reserved for seasoned gardeners, but with this simple DIY trick, you can enjoy the slightly bitter, beautifully colored leaves of this Italian chicory right from your own home, regardless of the season or your outdoor space. We’ve demystified the process, breaking it down into manageable steps that even a complete beginner can follow.
Why is this DIY method a must-try? Because it offers a level of control and convenience that outdoor gardening simply can’t match. You dictate the environment, protecting your radicchio from pests, unpredictable weather, and even excessive sunlight that can lead to bolting (premature flowering). Plus, imagine the satisfaction of harvesting fresh, vibrant radicchio leaves whenever you need them, adding a touch of gourmet flair to your salads, risottos, or grilled dishes.
But the beauty of this DIY approach lies in its adaptability. Feel free to experiment with different varieties of radicchio. ‘Chioggia’ is a classic choice with its round heads and distinctive red and white markings, while ‘Treviso’ offers elongated leaves with a milder flavor. You can also play around with the growing medium. While we recommend a well-draining potting mix, you could incorporate compost or other organic matter to enrich the soil and boost nutrient availability. Consider using grow lights with different spectrums to see how they affect the color and flavor of your radicchio. Some growers swear by blue light for promoting leaf growth and red light for encouraging head formation.
Don’t be afraid to get creative with your containers, too. While standard pots work perfectly well, you could repurpose old buckets, baskets, or even plastic containers, as long as they have adequate drainage. Vertical gardening systems are also a great option for maximizing space, especially if you’re short on room.
And speaking of space, remember that radicchio needs adequate air circulation to prevent fungal diseases. So, avoid overcrowding your plants and ensure that they’re not touching each other. A small fan can also help to improve airflow, especially in humid environments.
The key to successful indoor radicchio cultivation is consistent monitoring. Check the soil moisture regularly, water when the top inch feels dry, and fertilize every few weeks with a balanced liquid fertilizer. Keep an eye out for pests like aphids or spider mites and take action promptly if you spot any signs of infestation.
We are confident that with a little patience and attention, you’ll be harvesting your own homegrown radicchio in no time. The deep red and white leaves will add a touch of elegance to your meals, and the slightly bitter flavor will tantalize your taste buds.
So, what are you waiting for? Gather your supplies, follow our simple steps, and embark on your indoor radicchio growing adventure today! We’re eager to hear about your experiences. Share your photos, tips, and challenges in the comments below. Let’s build a community of indoor radicchio enthusiasts and learn from each other’s successes and failures. Let us know if this DIY trick helped you to **grow radicchio indoors easily**. Happy growing!
Frequently Asked Questions (FAQ)
What is radicchio, and what does it taste like?
Radicchio is a leafy vegetable belonging to the chicory family. It’s known for its distinctive red or variegated leaves and slightly bitter flavor. The bitterness can vary depending on the variety and growing conditions, with some types being milder than others. Radicchio is often used in salads, grilled, or added to cooked dishes for a touch of bitterness and visual appeal.
How much sunlight does indoor radicchio need?
Radicchio needs at least 6 hours of sunlight per day to thrive. If you don’t have a sunny windowsill, you can supplement with grow lights. Position the lights about 6-12 inches above the plants and use a timer to ensure they receive adequate light exposure. LED grow lights are a great option as they are energy-efficient and produce very little heat.
What kind of soil is best for growing radicchio indoors?
A well-draining potting mix is essential for growing radicchio indoors. You can use a commercial potting mix or create your own by combining equal parts of peat moss, perlite, and vermiculite. Adding compost to the mix can also improve drainage and provide essential nutrients. Avoid using garden soil, as it can be too heavy and may contain pests or diseases.
How often should I water my indoor radicchio plants?
Water your radicchio plants when the top inch of soil feels dry to the touch. Avoid overwatering, as this can lead to root rot. Water thoroughly, allowing excess water to drain out of the bottom of the pot. The frequency of watering will depend on factors such as temperature, humidity, and the size of the pot.
What kind of fertilizer should I use for indoor radicchio?
Use a balanced liquid fertilizer, such as a 10-10-10 or 20-20-20, diluted to half strength. Fertilize every 2-3 weeks during the growing season. Avoid over-fertilizing, as this can lead to excessive leaf growth and reduced head formation. Organic fertilizers, such as fish emulsion or seaweed extract, are also good options.
How long does it take to grow radicchio indoors?
Radicchio typically takes 60-90 days to mature from seed. However, you can start harvesting the outer leaves earlier if you prefer a milder flavor. The exact time will depend on the variety, growing conditions, and your desired size.
What are some common pests and diseases that affect indoor radicchio?
Common pests that can affect indoor radicchio include aphids, spider mites, and whiteflies. You can control these pests by spraying the plants with insecticidal soap or neem oil. Fungal diseases, such as powdery mildew and downy mildew, can also be a problem. To prevent these diseases, ensure good air circulation and avoid overwatering.
Can I grow radicchio from cuttings?
While it’s possible to propagate some plants from cuttings, radicchio is typically grown from seed. Starting from seed allows you to choose the specific variety you want and ensures that you have healthy, vigorous plants.
How do I harvest radicchio?
You can harvest radicchio by cutting off the entire head at the base of the plant or by harvesting individual leaves as needed. If you harvest individual leaves, the plant will continue to produce new leaves. Harvest in the morning when the leaves are crisp and cool.
How do I store harvested radicchio?
Store harvested radicchio in the refrigerator in a plastic bag or container. It will keep for up to a week. To prevent wilting, you can wrap the radicchio in a damp paper towel before storing it.
My radicchio is bolting (flowering). What should I do?
Bolting is a common problem with radicchio, especially in hot weather. Once radicchio bolts, the leaves become more bitter and less palatable. To prevent bolting, provide adequate shade during hot weather and ensure that the plants receive consistent watering. If your radicchio does bolt, you can still harvest the leaves, but be aware that they will be more bitter.
Can I grow different varieties of radicchio together?
Yes, you can grow different varieties of radicchio together, but be aware that they may cross-pollinate if they are allowed to flower. This can result in seeds that produce plants with mixed characteristics. If you want to save seeds from your radicchio, it’s best to grow only one variety at a time or to isolate the plants to prevent cross-pollination.

Leave a Comment