
Grow Sweet Peppers
I’ve always loved the vibrant colors and sweet taste of homegrown peppers, and that’s why I’m so excited to share my best Grow Sweet Peppers tricks and DIY projects with you! Forget expensive grocery store peppers – imagine biting into a juicy, sun-ripened pepper you nurtured from a tiny seed, bursting with flavor you simply can’t find anywhere else. This isn’t just about saving money; it’s about connecting with nature and experiencing the immense satisfaction of growing your own food.
The history of cultivating peppers is fascinating! Originally domesticated in the Americas, these spicy fruits have traveled the globe, becoming a staple in countless cuisines. From mild bell peppers to fiery habaneros, the diversity is astounding. But growing your own sweet peppers, specifically, offers a unique reward – the ability to tailor your harvest to your exact preferences, ensuring perfectly sweet peppers every time.
Why You Need These Grow Sweet Peppers Hacks
Let’s be honest, growing peppers isn’t always easy. Pest infestations, unpredictable weather, and nutrient deficiencies can all derail your efforts. That’s where these DIY Grow Sweet Peppers tips come in. I’ll guide you through simple, yet effective techniques to overcome common challenges, maximizing your yield and ensuring a bountiful harvest. Whether you’re a seasoned gardener or a complete beginner, these practical hacks will help you cultivate healthy, delicious sweet peppers, transforming your garden into a vibrant pepper paradise.
From creating the perfect soil mix to building DIY pepper supports, these projects are designed to be both fun and informative. Get ready to embark on a rewarding journey of growing your own sweet peppers – you won’t regret it!
Growing Sweet Peppers: A DIY Guide to a Bountiful Harvest
Growing your own sweet peppers is incredibly rewarding! It’s more manageable than you might think, and the taste of a homegrown pepper is unbeatable. This guide will walk you through the entire process, from seed to harvest.
Phase 1: Starting Seeds Indoors
- Choosing Your Seeds: Select high-quality sweet pepper seeds from a reputable supplier. Consider the variety – some are better suited to certain climates than others. I like to choose a few different types to experiment with!
- Seed Starting Mix: Don’t use regular garden soil. A seed starting mix is crucial because it’s lighter and drains better, preventing the seeds from rotting. You can find this at most garden centers.
- Planting the Seeds: Sow the seeds about ¼ inch deep and about 1 inch apart in small pots or seed trays. Gently water them in. Don’t overwater!
- Providing Warmth and Light: Peppers need warmth to germinate. A heat mat set to around 75-80°F (24-27°C) will significantly speed up the process. They also need plenty of light – at least 6-8 hours a day. A sunny windowsill is ideal, but a grow light is even better.
- Maintaining Moisture: Keep the soil consistently moist but not soggy. Check it daily and water when the top inch feels dry. Use a spray bottle for gentle watering to avoid disturbing the delicate seedlings.
- Fill your seed starting containers with the seed starting mix, leaving about ½ inch from the top.
- Gently press the seeds into the soil, ensuring they are about ¼ inch deep.
- Cover the seeds with a thin layer of soil and gently firm it down.
- Water the seeds using a spray bottle until the soil is evenly moist.
- Place the containers in a warm location with plenty of sunlight or under a grow light.
- Monitor the moisture levels daily, keeping the soil consistently moist but not waterlogged.
- Once the seedlings emerge (usually within 7-21 days), ensure they receive at least 6-8 hours of sunlight daily.
- If using a grow light, adjust its height as the seedlings grow to maintain optimal light levels.
Phase 2: Transplanting Seedlings
- Hardening Off: Before transplanting your seedlings outdoors, you need to “harden them off.” This gradually acclimates them to the outdoor environment. Start by placing them outside for a few hours each day, gradually increasing the time over a week.
- Choosing the Right Location: Peppers need at least 6-8 hours of direct sunlight per day. Select a location in your garden that receives ample sun. They also need well-drained soil.
- Preparing the Soil: Amend your garden soil with compost or other organic matter to improve drainage and fertility. Peppers appreciate rich soil.
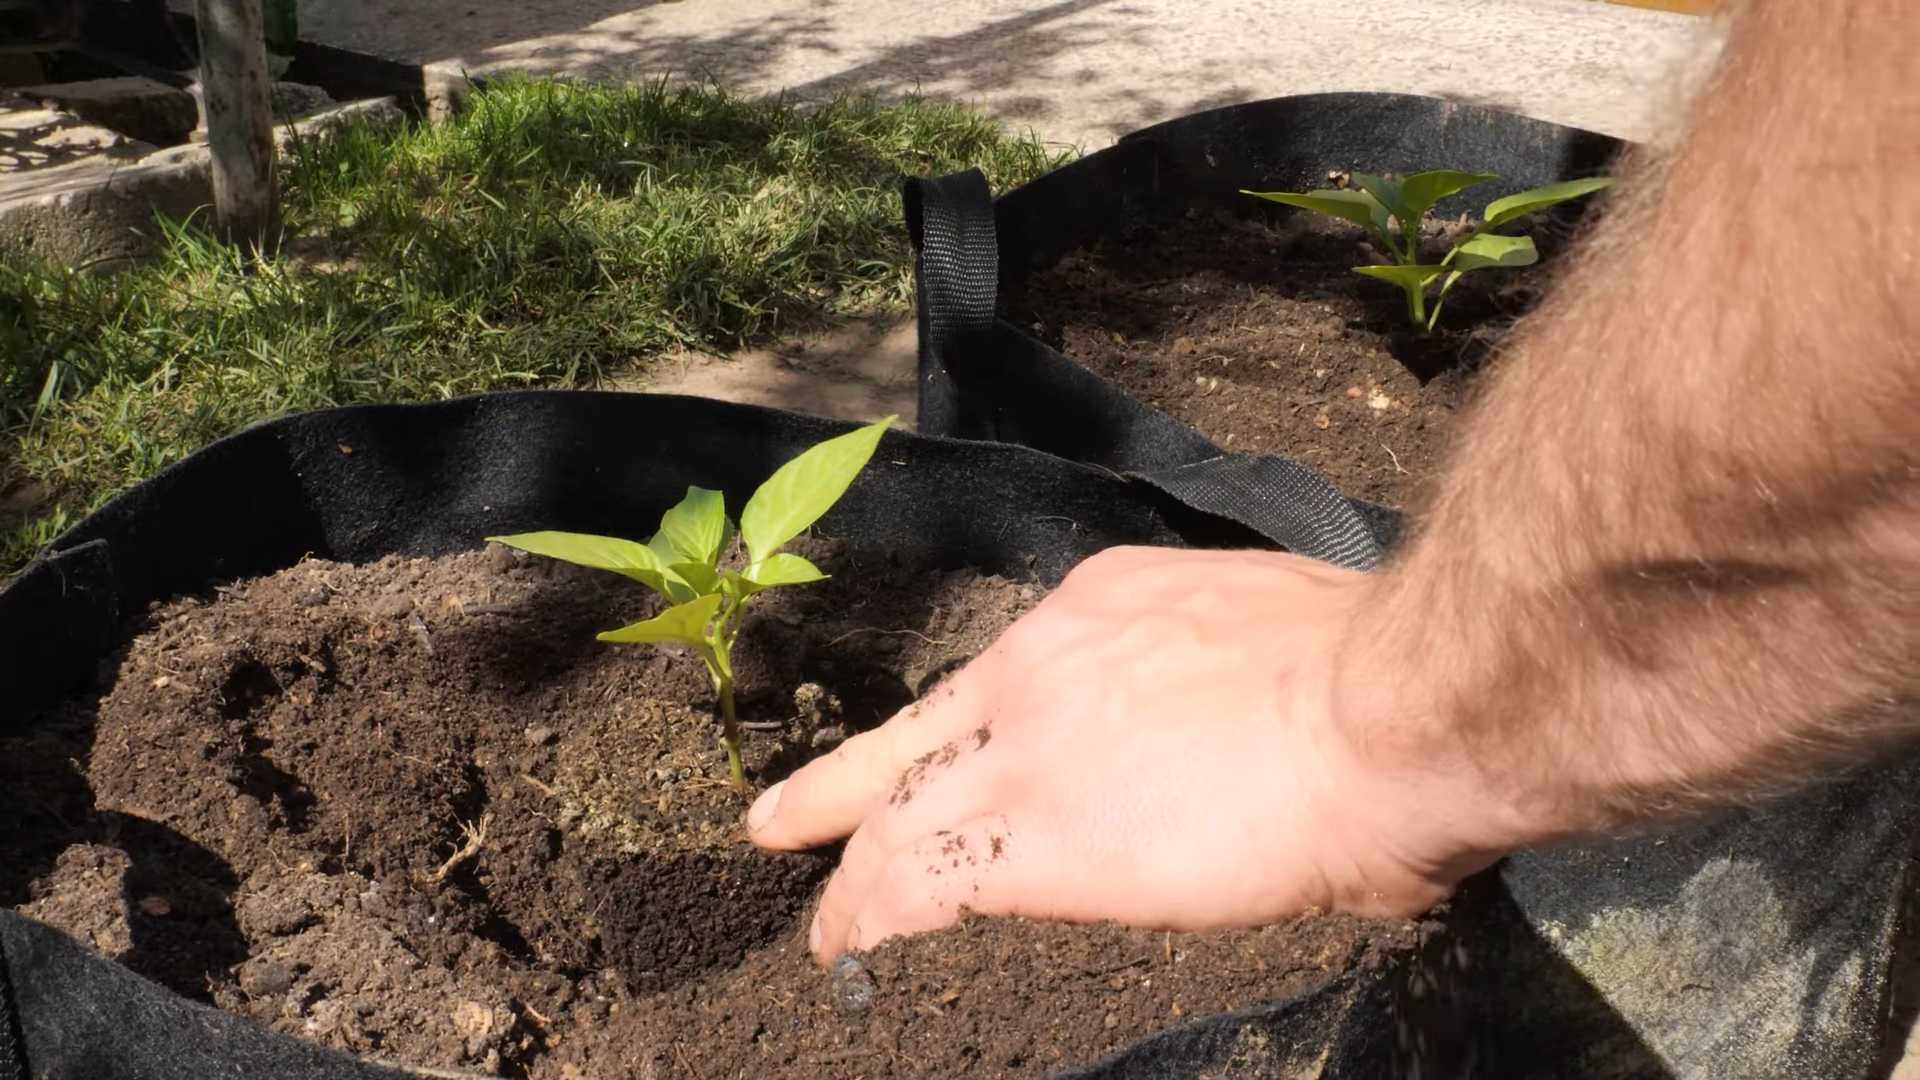
- Transplanting: Once the danger of frost has passed and the soil has warmed up, carefully transplant your seedlings into the garden. Space them about 18-24 inches apart, depending on the variety.
- Watering After Transplanting: Water deeply after transplanting to help the seedlings settle in.
- Gradually introduce your seedlings to outdoor conditions over a week, starting with a few hours of sunlight and gradually increasing the exposure.
- Choose a sunny location in your garden with well-drained soil.
- Amend the soil with compost or other organic matter to improve its fertility and drainage.
- Dig holes large enough to accommodate the root balls of your seedlings.
- Carefully remove the seedlings from their pots, being mindful not to damage the roots.
- Plant the seedlings in the holes, ensuring the top of the root ball is level with the soil surface.
- Gently firm the soil around the base of each seedling.
- Water deeply after transplanting to help the seedlings establish themselves.
Phase 3: Ongoing Care
- Watering: Water regularly, especially during dry periods. Aim for consistent moisture, but avoid overwatering, which can lead to root rot.
- Fertilizing: Feed your pepper plants every 2-3 weeks with a balanced fertilizer. Follow the instructions on the fertilizer packaging.
- Pest and Disease Control: Regularly inspect your plants for pests and diseases. Address any problems promptly using appropriate organic methods or pesticides if necessary. Prevention is key!
- Staking or Caging: Many sweet pepper varieties benefit from staking or caging to support the plants and prevent them from sprawling.
- Mulching: Applying a layer of mulch around the plants helps retain moisture, suppress weeds, and regulate soil temperature.
- Water your pepper plants deeply and regularly, especially during dry spells. Aim for consistently moist soil, but avoid overwatering.
- Fertilize your plants every 2-3 weeks using a balanced liquid fertilizer, following the instructions on the product label.
- Regularly inspect your plants for signs of pests or diseases. Address any issues promptly using appropriate organic methods or pesticides if necessary.
- Stake or cage your pepper plants to support their growth and prevent them from sprawling on the ground.
- Apply a layer of mulch around the base of the plants to help retain moisture, suppress weeds, and regulate soil temperature.
- Continue to monitor the plants for any signs of stress or disease and take appropriate action as needed.
Phase 4: Harvesting
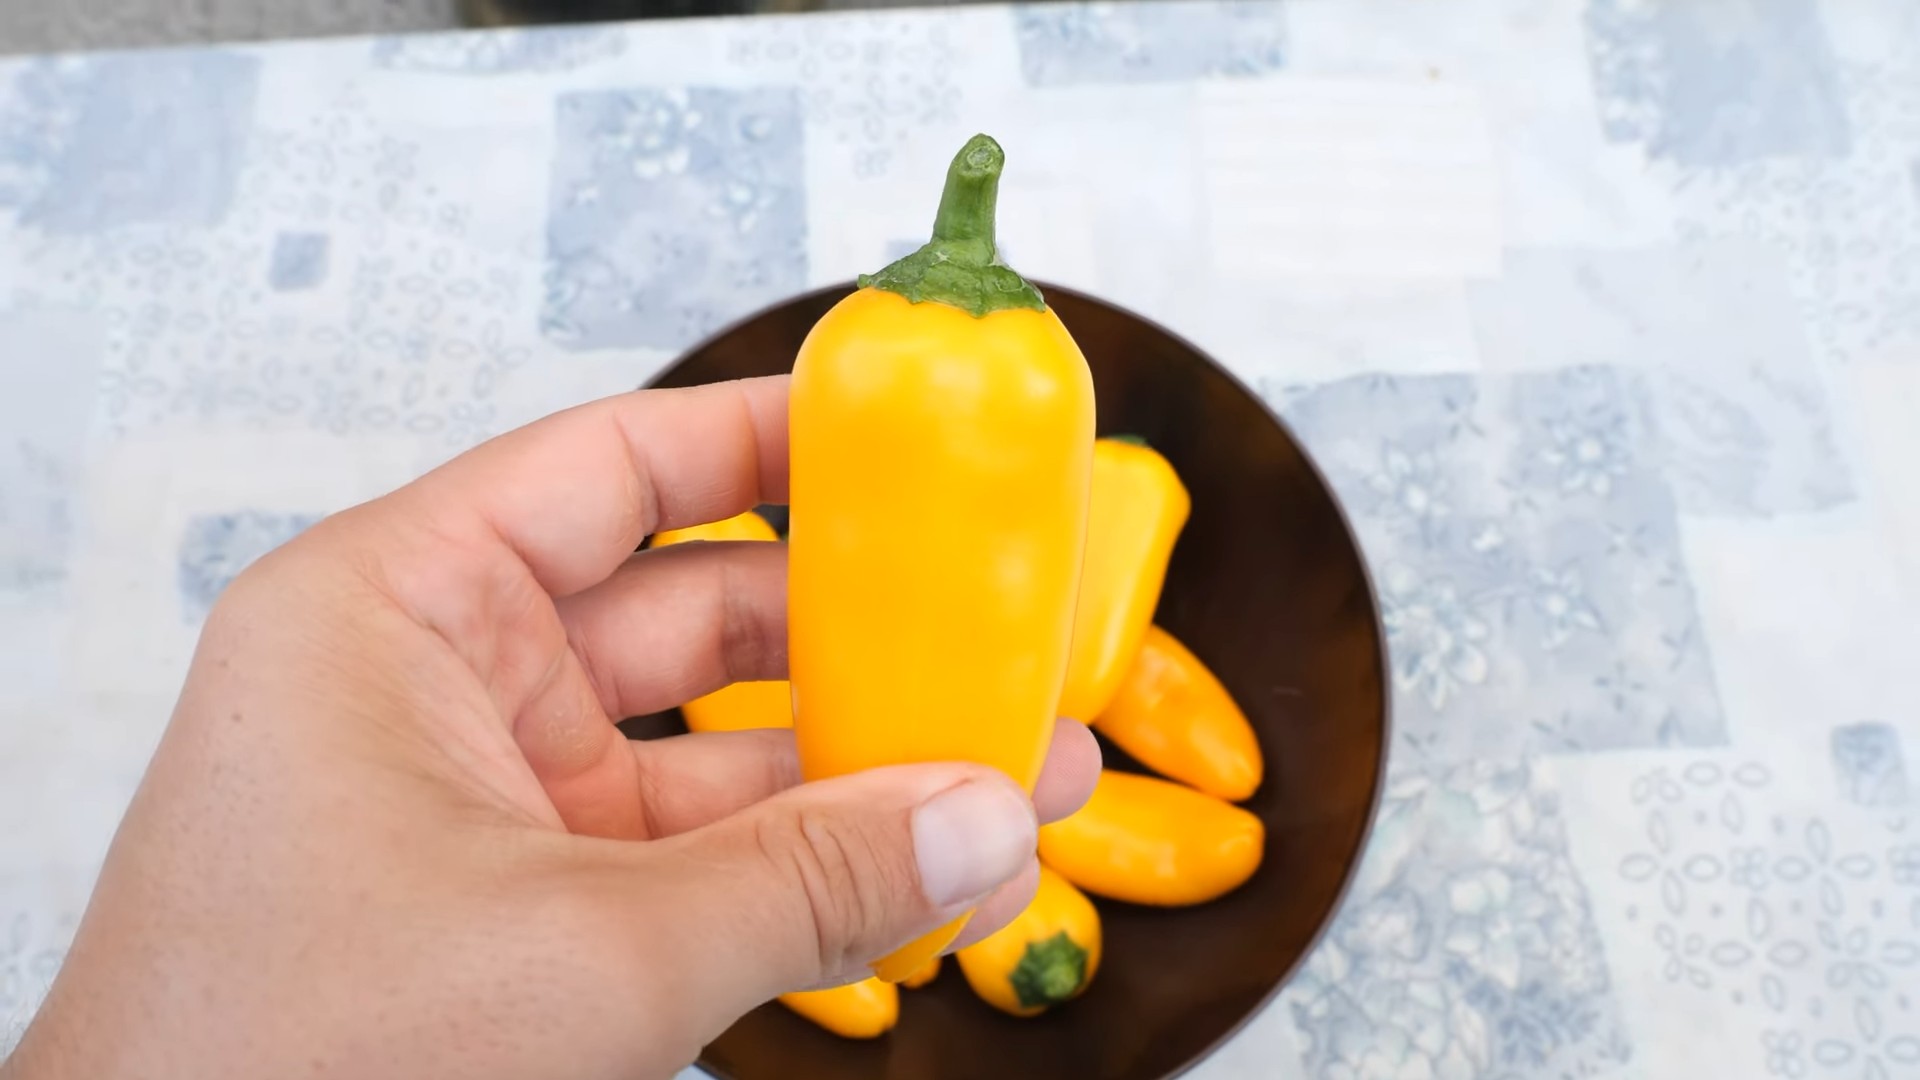
- Harvesting Time: Peppers are ready for harvest when they reach their mature size and color. The color will vary depending on the variety you’ve chosen.
- Harvesting Technique: Use sharp scissors or a knife to cut the peppers from the plant, leaving a short stem attached. Avoid pulling them off, as this can damage the plant.
- Storage: Store harvested peppers in a cool, dry place. They can also be refrigerated for extended storage.
- Harvest your peppers when they reach their mature size and characteristic color, which varies depending on the variety.
- Use sharp scissors or a knife to carefully cut the peppers from the plant, leaving a short stem attached.
- Avoid pulling the peppers off, as this can damage the plant and reduce future yields.
- Store your harvested peppers in a cool, dry place or refrigerate them for longer storage.
- Enjoy the fruits of your labor – your delicious homegrown sweet peppers!
Remember: Patience is key! Growing peppers takes time and effort, but the reward of fresh, flavorful peppers from your own garden is well worth it.
Conclusion
So there you have it – a comprehensive guide to growing sweet peppers from seed, a truly rewarding gardening experience! This DIY approach to growing your own sweet peppers offers unparalleled flavor and freshness compared to store-bought options. You control the growing process from seed to harvest, ensuring pesticide-free, sun-ripened peppers bursting with flavor. The satisfaction of nurturing a tiny seed into a vibrant plant laden with delicious peppers is simply unmatched. This method isn’t just about saving money; it’s about connecting with nature and enjoying the fruits (or rather, vegetables!) of your labor. Growing your own sweet peppers is a fantastic way to introduce yourself to the joys of gardening, even if you’re a complete beginner. The process is surprisingly straightforward, and the rewards are incredibly sweet – literally!
Beyond the basic method outlined, there are numerous ways to personalize your sweet pepper growing journey. Experiment with different pepper varieties – from the classic bell pepper to the fiery jalapeño, the options are endless! Consider companion planting; basil, oregano, and marigolds are excellent choices that can deter pests and enhance the growth of your peppers. If you have limited space, explore vertical gardening techniques or grow your peppers in containers. For those with shorter growing seasons, starting your seeds indoors under grow lights is a great way to get a head start. Don’t be afraid to experiment and find what works best for you and your garden. The beauty of this DIY approach is its adaptability; you can tailor it to your specific needs and preferences.
We strongly encourage you to try this DIY method of growing sweet peppers. It’s a fun, educational, and delicious adventure that will connect you with the natural world in a meaningful way. Share your experiences with us! Post pictures of your thriving pepper plants and your delicious harvests on social media using #GrowSweetPeppers. We’d love to see your success stories and learn from your experiences. Let’s build a community of passionate home gardeners, sharing tips, tricks, and the joy of growing our own food. Remember, even small successes in the garden are significant victories, and the taste of a homegrown sweet pepper is a reward beyond compare. So grab some seeds, get your hands dirty, and embark on this rewarding journey of growing your own sweet peppers. You won’t regret it!
Frequently Asked Questions
What type of soil is best for growing sweet peppers?
Sweet peppers thrive in well-draining, fertile soil with a slightly acidic pH of 6.0 to 6.8. You can amend your existing soil with compost or other organic matter to improve its drainage and fertility. A soil test can help determine your soil’s pH and nutrient levels, allowing you to make necessary adjustments.
How much sunlight do sweet peppers need?
Sweet peppers are sun-worshippers! They need at least six to eight hours of direct sunlight per day to produce a bountiful harvest. Choose a location in your garden that receives ample sunlight throughout the day. If you’re growing peppers in containers, ensure they are placed in a sunny spot.
How often should I water my sweet peppers?
Consistent watering is crucial for healthy pepper plants. Water deeply and regularly, especially during dry periods. Aim to keep the soil consistently moist but not waterlogged. Overwatering can lead to root rot, while underwatering can stress the plants and reduce yields. Mulching around the plants can help retain soil moisture.
When can I expect to harvest my sweet peppers?
The time it takes to harvest sweet peppers depends on the variety and growing conditions. Generally, you can expect to harvest your first peppers 60 to 80 days after transplanting seedlings or 70 to 90 days after direct sowing. Harvest peppers when they are firm, brightly colored, and have reached their mature size. Regular harvesting encourages the plant to produce more peppers.
What are some common pests and diseases that affect sweet peppers?
Sweet peppers can be susceptible to various pests and diseases, including aphids, spider mites, blossom-end rot, and bacterial leaf spot. Regularly inspect your plants for signs of pests or diseases. Implementing preventative measures such as proper spacing, good air circulation, and using disease-resistant varieties can help minimize problems. If pests or diseases do occur, address them promptly using appropriate organic control methods.
Can I grow sweet peppers in containers?
Absolutely! Container gardening is a great option for growing sweet peppers, especially if you have limited space. Choose large containers (at least 5 gallons) with drainage holes. Use a high-quality potting mix and ensure the containers receive ample sunlight. Regular watering is essential, as containers dry out more quickly than garden beds.
What should I do if my sweet pepper plants aren’t producing many peppers?
Several factors can affect pepper production, including insufficient sunlight, inadequate watering, nutrient deficiencies, or pest infestations. Ensure your plants are receiving enough sunlight and water. Consider fertilizing with a balanced fertilizer to provide essential nutrients. Check for pests and diseases and address any issues promptly. Sometimes, simply waiting a bit longer can yield results, as pepper plants may take time to mature and produce a substantial harvest.
Can I save seeds from my homegrown sweet peppers to plant next year?
Yes, you can save seeds from your homegrown sweet peppers for planting the following year. Allow the peppers to fully ripen on the plant until they are brightly colored and slightly soft. Remove the seeds, clean them, and allow them to dry completely before storing them in a cool, dry place. Proper seed saving techniques ensure the viability of your seeds for the next growing season. Remember that hybrid pepper varieties may not produce true-to-type plants from saved seeds.

Leave a Comment